
Planning Guides, Style Guide
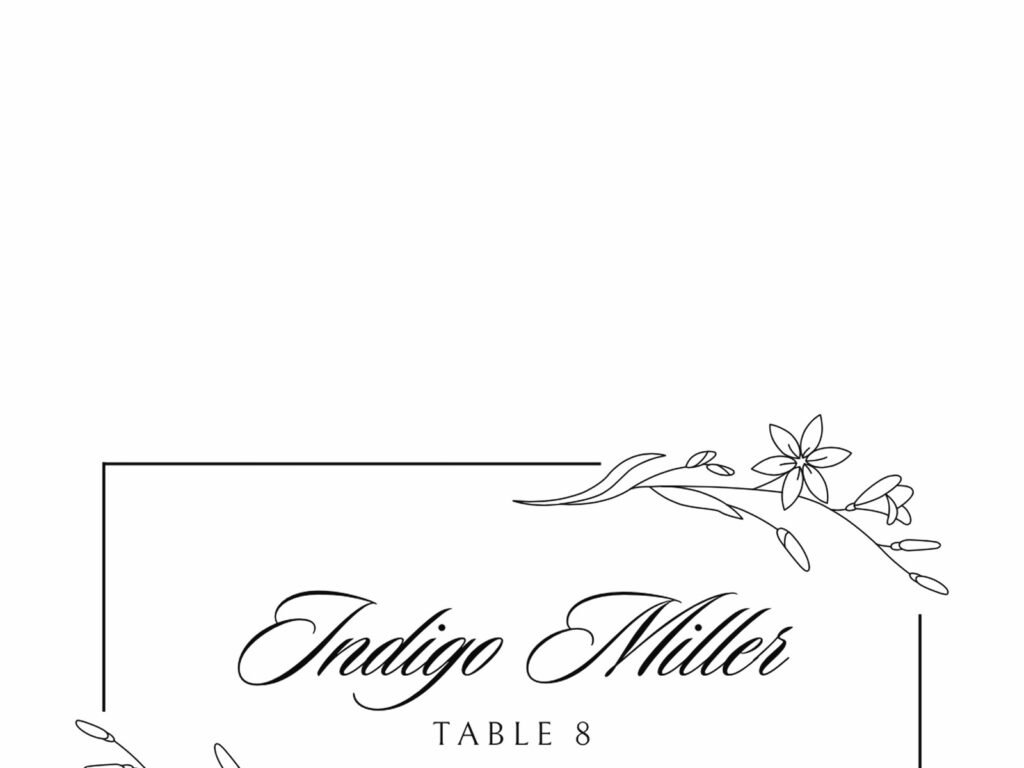
Table Name Cards Template: Place Card Downloads
Jul
Okay So Place Card Templates Are Actually a Lifesaver
Listen, I’ve been doing this wedding planning thing for like fifteen years now and table name cards are one of those details that people either completely forget about until two days before the wedding or they obsess over for months. There’s no in-between, I swear.
So you’re looking for downloadable templates which is honestly the smart move. I’m gonna walk you through what actually works because I’ve seen every possible disaster with these things and also some really successful DIY situations that turned out gorgeous.
What You Actually Need Before Downloading Anything
First thing – and I know this sounds obvious but you’d be surprised – figure out what size you need. Standard place cards are usually 2×3.5 inches when folded (like a little tent) or 3.5×2 inches flat. But here’s the thing, your printer matters more than the template sometimes? Like I had this bride in spring 2023 who downloaded these beautiful templates and then realized her home printer couldn’t handle cardstock thicker than 65lb and the whole thing was a mess.
You gotta check:
- Your printer specs (does it do cardstock or just regular paper)
- Whether you want tent-style or flat cards
- If you’re printing at home or using a print shop
- How many guests you actually have because template sheets usually fit 8-10 cards per page
Also measure your table! I know that sounds weird but if you’re doing table name cards (not individual place cards), you need to know if you have room for a 4×6 or if you need something smaller. My cat knocked over a mockup once during a client meeting and honestly it was kinda helpful because we realized the card was way too big for their centerpiece situation.
Where to Find Templates That Don’t Suck
Alright so there’s like a million places to download these but most of them are either ugly, don’t work properly, or cost way more than they should.
Etsy is probably your best bet honestly. You can find templates for $5-15 that are actually customizable. Look for sellers who specifically mention what program you need – usually it’s Canva, Microsoft Word, or Templett. The Templett ones are my favorite because you edit them in your browser and don’t need to download software.
Canva has free templates built in if you have an account (the free version works fine). They’ve got tons of place card designs and you can customize colors, fonts, all that. The only annoying thing is their print quality can be hit or miss if you’re printing through them directly, so I usually tell people to download the PDF and print elsewhere.
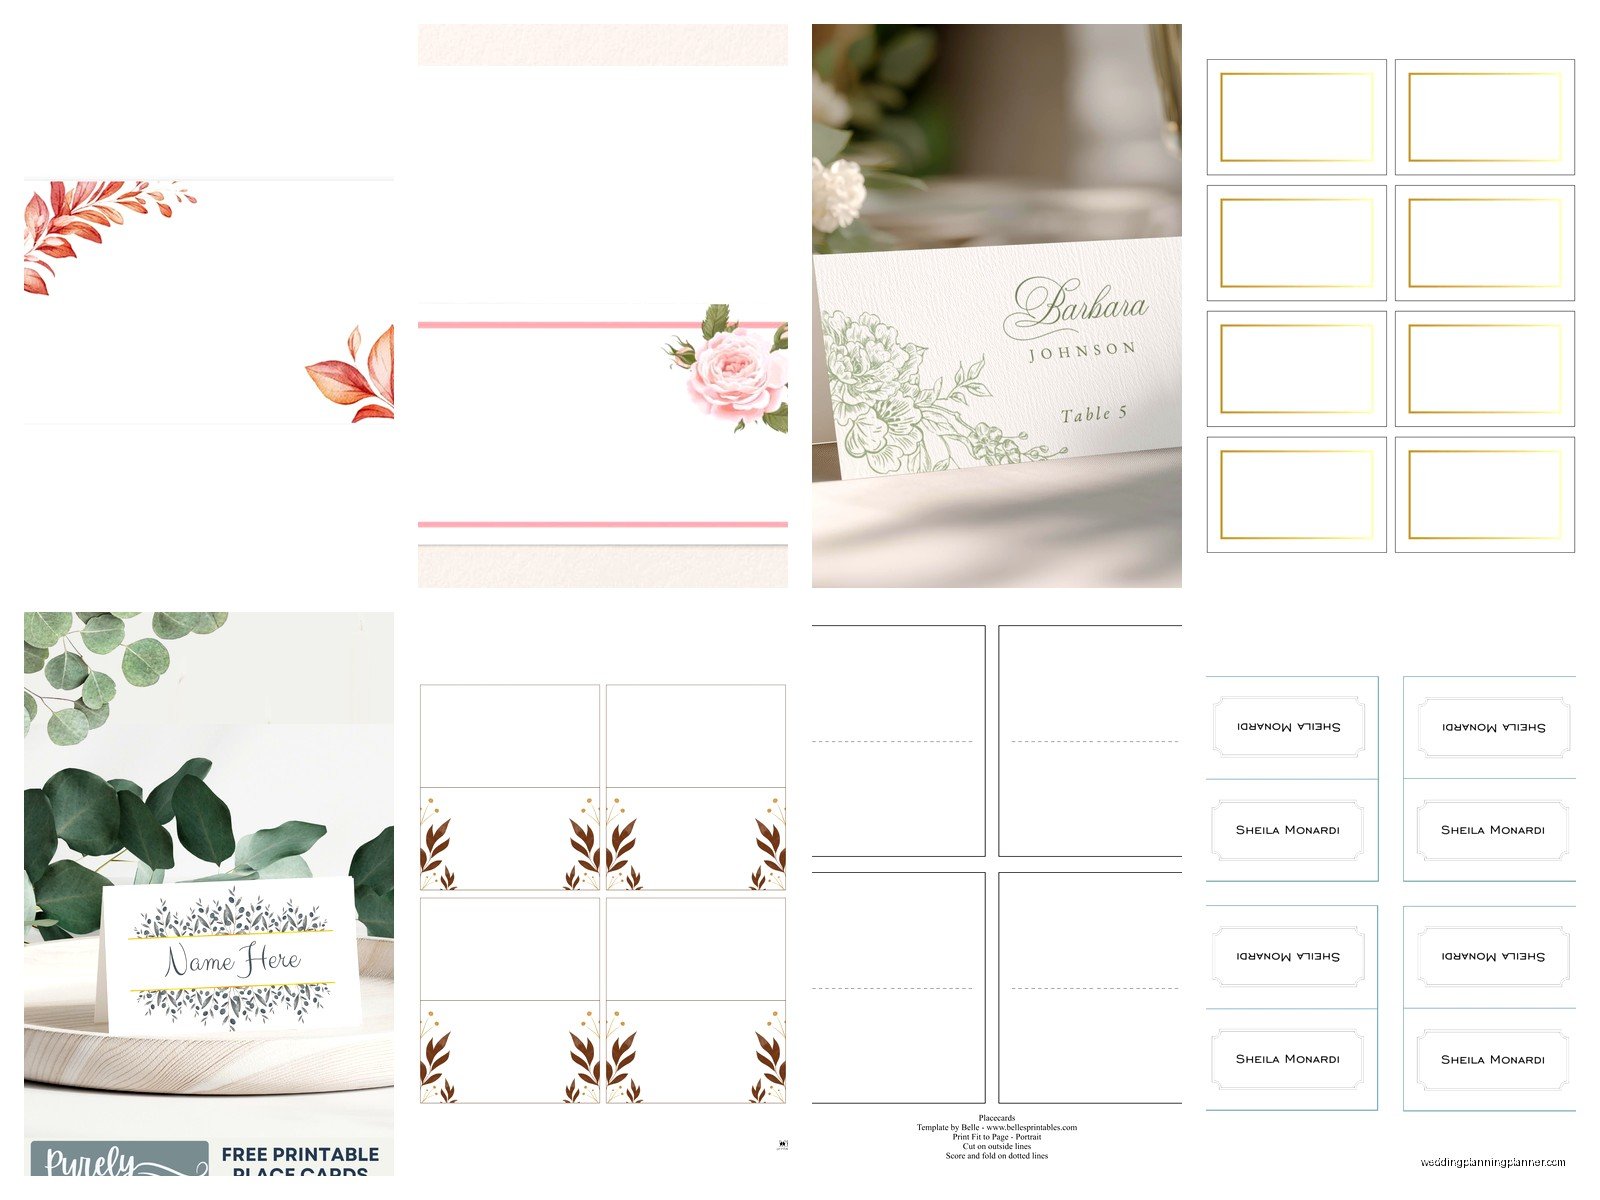
Microsoft Word templates – okay so these exist and they’re free through Office but they’re kinda… basic? They work great if you want something super simple and classic. You can find them by opening Word and searching “place cards” in the template gallery.
Template.net and sites like that – nah, most of these are spam-heavy and the downloads are sketchy. I clicked on one once and it tried to install something weird on my computer.
The Actual Download and Setup Process
Once you pick a template, here’s what you’re looking at. If it’s a Canva template, you’ll click “use template” and it opens in your Canva account. Super straightforward. You can change the text, fonts, colors, add little graphics or borders.
For Etsy templates that use Templett, you get a link after purchase. Click it, and you’re editing in your browser. It’s really intuitive – just click on the text boxes and type your guests’ names. You can usually change colors but not always fonts, depending on what the seller locked.
Word templates are… well, they’re Word documents. You download them, open in Word, and there’s usually a mail merge situation if you’re doing lots of cards or you just manually type into each card space.
Here’s what annoyed me recently though – I bought a template that looked gorgeous in the preview but when I downloaded it, half the fonts weren’t embedded properly and it looked completely different. Make sure you read reviews and check if fonts are included or if you need to download them separately.
Paper and Printing Stuff You Should Know
The template is only half the battle, you also need the right paper or it’s gonna look cheap no matter how pretty the design is.
I always recommend 80lb or 110lb cardstock. Anything lighter and it won’t stand up if you’re doing tent cards. You can get pre-scored cardstock sheets which makes folding SO much easier – Avery and Neenah both make them.
Make sure your template matches your paper size! This is where people mess up constantly. If you bought 8.5×11 sheets that have perforations for 10 cards, your template needs to be set up for that exact layout. Some templates tell you exactly which Avery product number to buy, which is super helpful.
Home Printing vs Print Shop
If you’re printing at home, do a test run first. Seriously, buy one pack of the cardstock and print like three sheets to make sure everything lines up. I had a situation in summer 2021 where a bride printed 200 place cards and every single one was offset by like a quarter inch because her printer settings were wrong.
Print shops (like FedEx Office or local places) are honestly worth it if you’re doing more than like 50 cards. They have better printers, better paper options, and if something goes wrong it’s their problem not yours. You just bring them your PDF.
Customizing Your Template the Smart Way
Okay so you’ve got your template open and you’re ready to add names. Few things that’ll make your life easier:
Keep a spreadsheet of all your guest names with the exact spelling you want. Copy and paste from there instead of typing each time because typos happen and you don’t wanna be reprinting cards at midnight the day before the wedding.
Stick to 2-3 fonts maximum. I know it’s tempting to get fancy but it starts looking cluttered real fast. Usually one script font for names and one simple font for table numbers or other details works great.
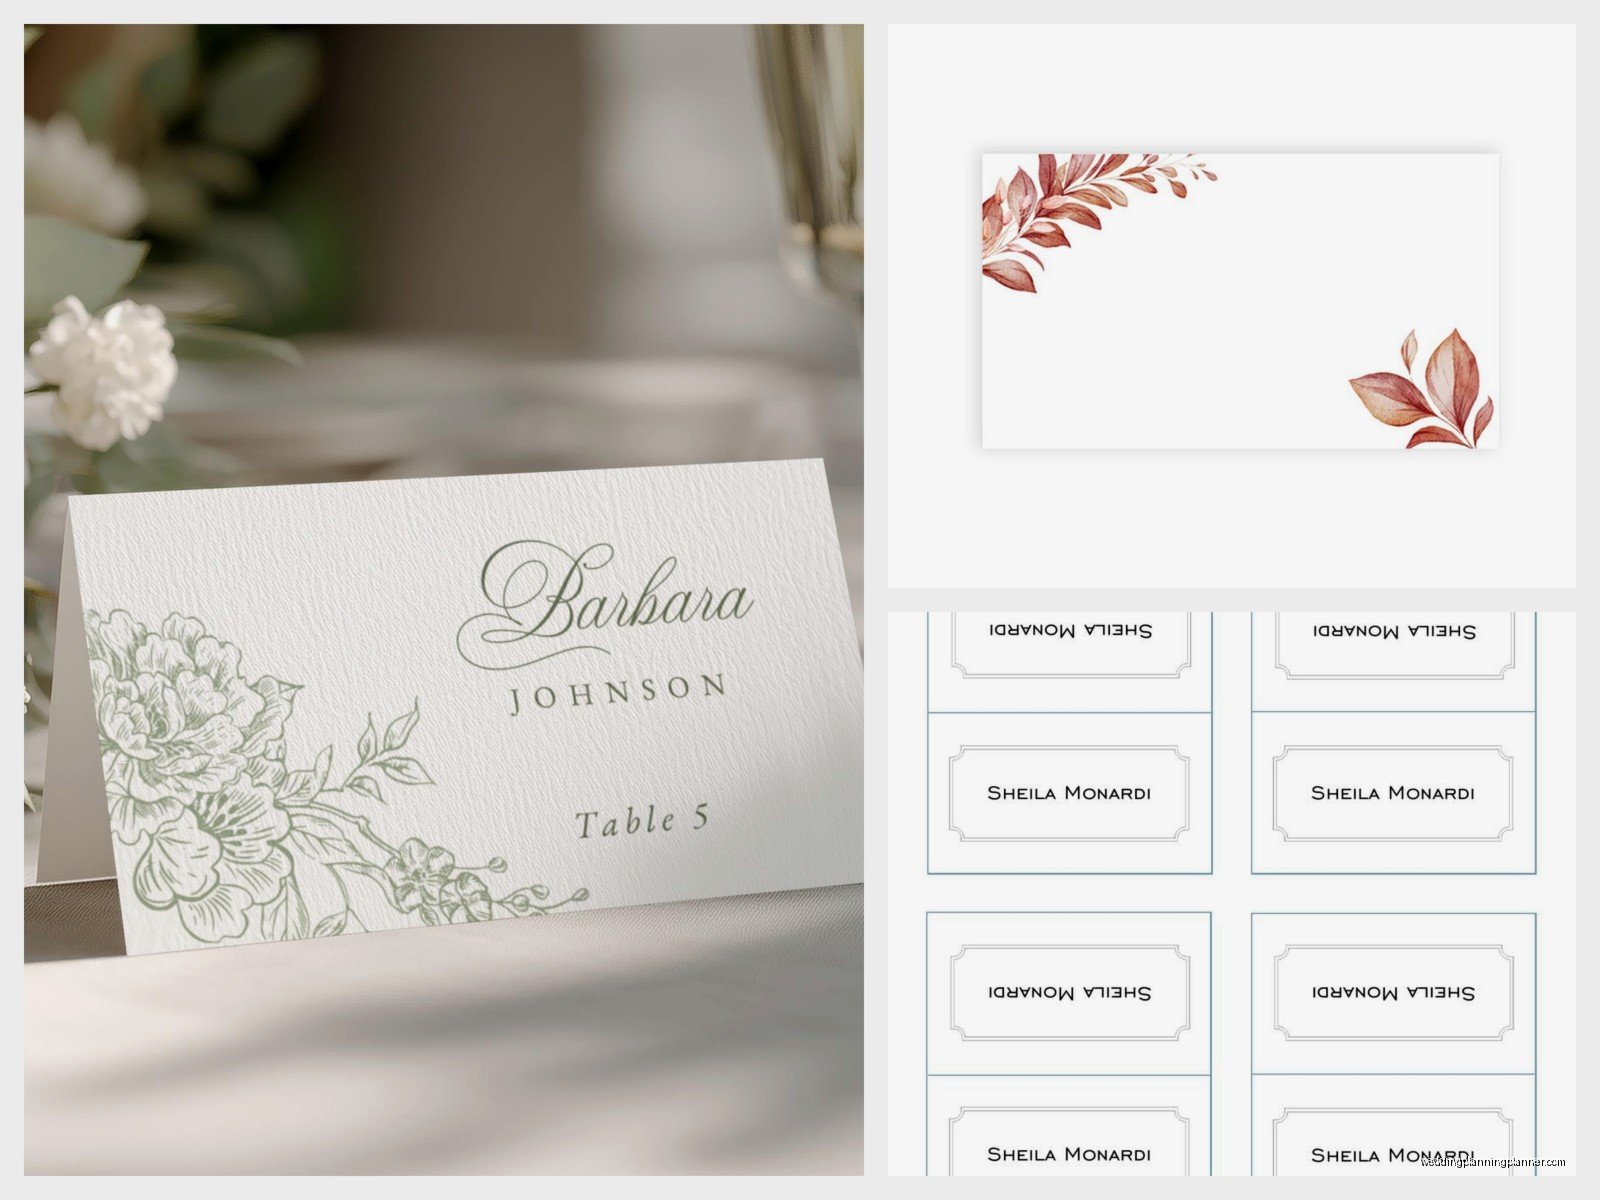
Color matching – if you’re trying to match your wedding colors exactly, know that what you see on screen won’t be exactly what prints. Colors look different on paper, especially if you’re using a home inkjet printer. Print a test page.
Don’t make the text too small! I see this all the time where people shrink the font down to fit longer names and then no one can read them. If you have guests with long names, either abbreviate or… actually I usually just tell people to use a slightly larger card size for those few.
Tent Cards vs Flat Cards vs Weird Other Options
Most templates come in a few styles and honestly each has pros and cons.
Tent cards (the folded ones that stand up) are classic and work on any table. They’re easy to see from both sides if you print the name on both panels. The downside is they take up more space and if your table is crowded they might get knocked over.
Flat cards that lay on the plate or table are more modern looking and take up less room. But you gotta make sure they don’t blow away if you’re outdoors and sometimes they get covered by napkins or whatever.
Cards with little stands or holders – you can get templates for cards that slide into holders (you’d buy the holders separately). These look really polished but it’s an extra expense and you gotta store the holders after.
There’s also those weird long skinny ones that some people do for modern weddings but honestly I think they’re kinda hard to read and they fall over easily.
The Actual Logistics of Getting This Done
Timeline-wise, I tell people to have their final guest list locked down at least 3 weeks before the wedding. Then order your paper and do your printing about 2 weeks out. This gives you time to fix mistakes without panicking.
You’re gonna have last-minute changes. Someone’s gonna break up, someone’s gonna bring a different plus-one, whatever. Keep extra blank cards printed (or at least extra paper and your template ready to go) so you can add cards at the last minute.
For assembly, if you’re doing tent cards, use a ruler or bone folder to make crisp folds. Eyeballing it leads to wonky cards that don’t stand up straight. I learned this the hard way trying to help a friend do 150 cards the night before her wedding while we were also watching The Bachelor and drinking wine, which… probably not the best plan.
Table Name Cards Specifically
If you’re doing table name cards instead of individual place cards (like “Table 1” or “The Tuscany Table” or whatever theme you’ve got going), these are usually bigger – 4×6 or 5×7 typically. The template process is the same but you probably want sturdier paper since they’re more of a focal point.
Some people do one card per table, some do two (one for each side of the table so everyone can see). Just depends on your table size and layout.
Common Screw-Ups to Avoid
Don’t forget to mirror-check your names if you’re doing tent cards! The name should read correctly from both sides, which means you need to set up your template so it prints on both panels of the fold.
Watch out for bleeds and margins. Some templates have designs that go to the edge of the card, which is fine, but your home printer probably can’t print to the very edge. You’ll get white borders. If that’s gonna bother you, either use a print shop or pick a template with built-in margins.
Spelling. Triple-check spelling. I’m not even kidding, I’ve seen “Micheal” instead of “Michael” so many times. And people get really weird about their names being spelled wrong at weddings.
The other thing is — and this might just be me being picky — make sure your template isn’t like super outdated looking? I downloaded a free template once that had this weird gradient effect that screamed 2008 and it just looked off with everything else.
Alternatives and Workarounds
If templates aren’t working for you or you want something more unique, you can create your own pretty easily in Canva or even PowerPoint. Just set up your page size to match your paper, add a text box for the name, maybe a little decorative element, and copy it across the page.
You could also do handwritten place cards if you’ve got nice handwriting or know someone who does calligraphy. Just print a template with light guidelines and write over them, or print on regular paper as a guide and write on blank cards using a lightbox or window.
Some people skip place cards entirely and do a seating chart display instead, which saves a ton of work. Just saying that’s an option if this whole thing is stressing you out.
Quick Checklist Before You Commit to a Template
Before you buy or download, make sure:
- It matches your paper size and type
- You can edit it with software you have access to
- The style fits your wedding vibe
- Reviews are good (if it’s a paid template)
- Fonts are included or you can download them
- You understand the printing requirements
And honestly just remember that guests aren’t gonna examine these super closely. They’re gonna glance at them to find their seat and that’s it. So don’t make yourself crazy trying to get them absolutely perfect – good enough is actually good enough here. I’ve seen people spend hours agonizing over place cards when there were way bigger things that needed attention, and in the end the cards looked great and no one remembered them the next day anyway.
The main thing is legibility and making sure people can find their seats without confusion. Everything else is just bonus. Oh and print extras because someone will spill wine on one or you’ll misspell something or a card will go missing. I always do like 10% extra minimum, sometimes more if it’s a complicated setup or outdoor venue where things might blow away or get messed up during setup
