Planning Guides, Style Guide
Wedding Card Printing: Professional Service Guide
Sep
Okay so you’re trying to figure out wedding card printing services
Look, the first thing you gotta understand is that not all printing services are created equal and I learned this the hard way back in summer 2021 when I had a bride who wanted this gorgeous letterpress invite with gold foil and the printer I recommended totally botched the job three weeks before her wedding. Never making that mistake again.
So when you’re looking at professional printing services, you need to start by figuring out what printing method actually makes sense for your budget and design. There’s digital printing, offset printing, letterpress, thermography, engraving, and foil stamping. Digital is gonna be your most affordable option and honestly it’s come SO far in the last few years that most people can’t even tell the difference between digital and offset anymore unless they’re really looking closely.
Digital Printing vs Everything Else
Digital printing is basically like a fancy office printer but way better quality. It’s perfect if you need under 300 invitations or if your design has lots of colors or photos. The setup costs are low which means you’re not paying a fortune just to get started. I use digital for probably 60% of my clients now because the turnaround time is fast and you can do variable data printing which is super helpful for addressing envelopes or personalizing each invite.
Offset printing is what you want if you’re doing 300+ invitations and you want that really crisp, professional look. The colors are more consistent across all the cards and it handles large quantities better. But here’s the thing – you’re paying for plates and setup so it doesn’t make financial sense for smaller orders. The minimum order quantities can be annoying too.
Letterpress though… okay this is where I get all excited because there’s nothing quite like a letterpress invitation. You can actually feel the impression of the letters pressed into the paper and it’s just beautiful. But you’re looking at $8-15 per invitation easily, sometimes more. And the turnaround time is longer because it’s a more manual process. I had this client in spring 2023 who insisted on letterpress and then freaked out about the cost and we had to scramble to redesign everything for thermography instead which was kinda stressful for everyone.
Finding the Right Printing Service
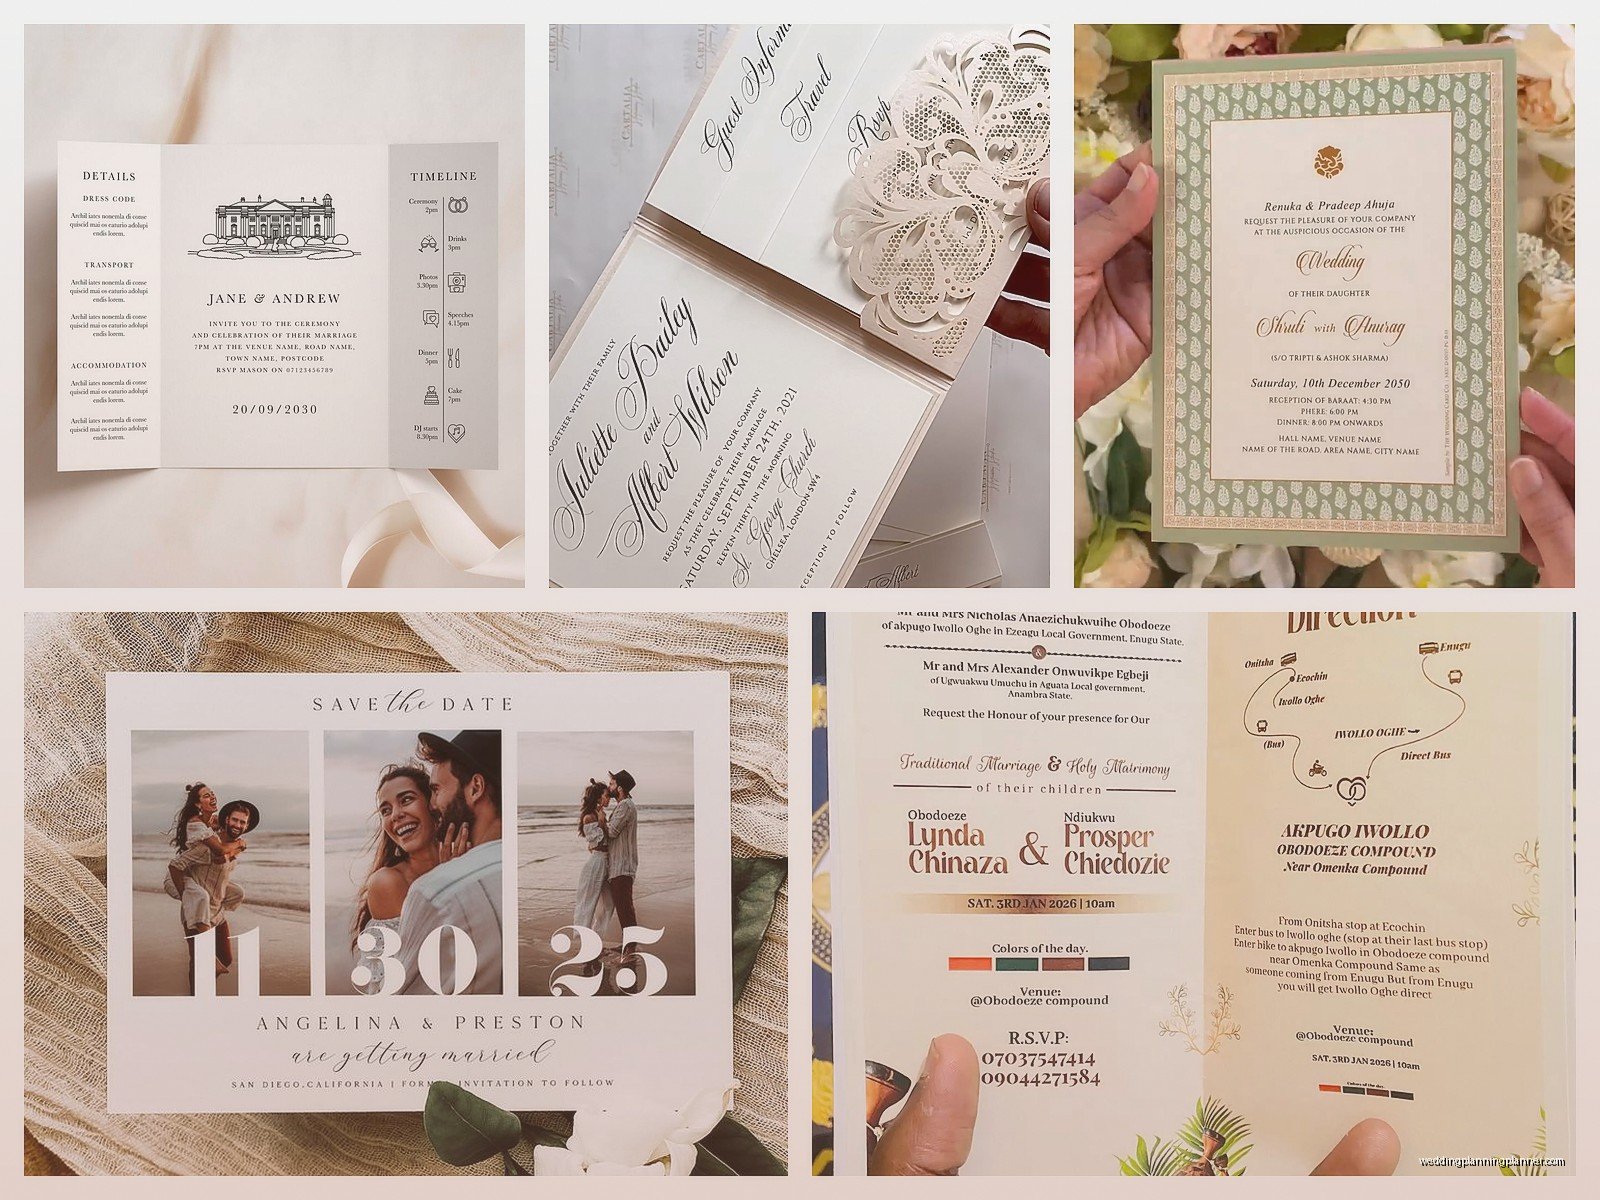
So here’s what I do when I’m vetting a new printer for a client. First, I check their minimum order quantities because some places won’t even talk to you if you’re doing less than 100 or 200 pieces. Then I look at their sample packs – any legit printer will send you samples of their work and if they won’t, that’s a red flag.
You want to ask about their turnaround times too. Standard is usually 2-3 weeks for most printing methods but letterpress and engraving can take 4-6 weeks or longer during peak wedding season which is basically May through October. Always add a buffer because things go wrong. Trust me on this.
Paper stock is another huge thing. You need to know what weights they offer and what finishes. I typically recommend 110lb cardstock minimum for invitations because anything lighter feels cheap. You can go up to 130lb or even 220lb for a really luxurious feel. Finishes include matte, glossy, pearl, linen, and textured options. Matte is my go-to because it doesn’t show fingerprints and it’s easy to write on if people need to add notes.
What to Send Your Printer
Okay so this part trips people up ALL the time and it honestly annoys me when clients don’t follow the printer’s specs because then we end up with delays and extra costs. Your printer is gonna need high-resolution files – we’re talking 300 DPI minimum. If you’re working with a designer, make sure they know what printing method you’re using because the file setup is different for digital vs letterpress vs foil stamping.
Most printers want PDF files with fonts embedded and images in CMYK color mode not RGB. If you don’t know what that means, your designer should but basically CMYK is for printing and RGB is for screens. Colors look different between the two and you might be disappointed if you don’t convert properly.
Include bleed in your design – that’s usually 0.125 inches beyond where the card will be cut. This prevents white edges if the cutting is slightly off. And make sure you mark your trim lines and any fold marks clearly.
Proofing Is Not Optional
I cannot stress this enough – always get a physical proof before you approve the full print run. Digital proofs on your screen are fine for checking layout and spelling but they don’t show you the actual colors or paper quality. Some printers charge for physical proofs but it’s worth every penny.
When you get your proof, check it in natural daylight and indoor lighting because colors look different. Make sure all your text is spelled correctly – I once had a bride approve a proof without noticing they spelled the groom’s name wrong and we had to reprint 200 invitations. Check that your colors match what you expected, that the paper feels right, and that any special finishes like foil or embossing look good.
If something’s off, speak up. Don’t approve it thinking it’ll somehow look better in the full run because it won’t. The proof is literally showing you what you’re gonna get.
Special Finishes and Add-Ons
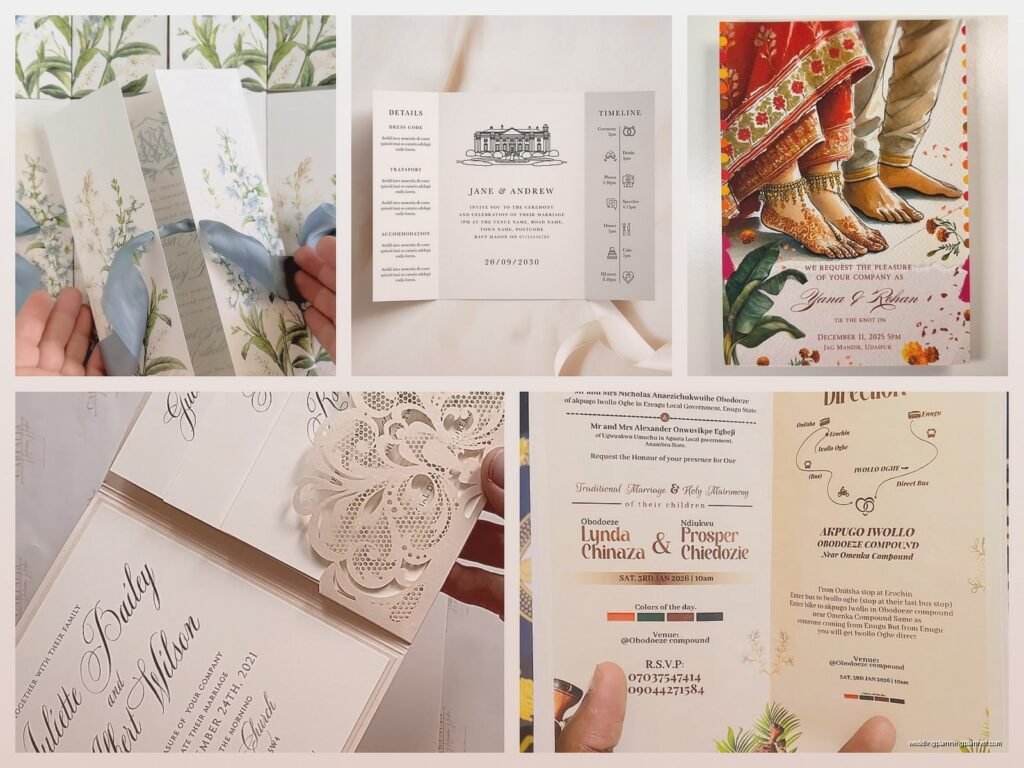
Foil stamping is gorgeous and it’s having a huge moment right now. You can do gold, silver, rose gold, copper, or even colored foils. It adds this really elegant touch but it does increase your cost. Foil stamping requires a custom die which is a one-time setup fee usually between $50-150 depending on the complexity of your design.
Thermography is like a budget-friendly version of engraving. It creates raised text that you can feel but it’s done with a powder and heat process instead of… wait I should explain engraving first. Engraving is when the text is actually pressed into the paper from behind so it’s raised on the front and you can see the indentation on the back. It’s super traditional and formal but expensive. Thermography gives you a similar raised effect for way less money.
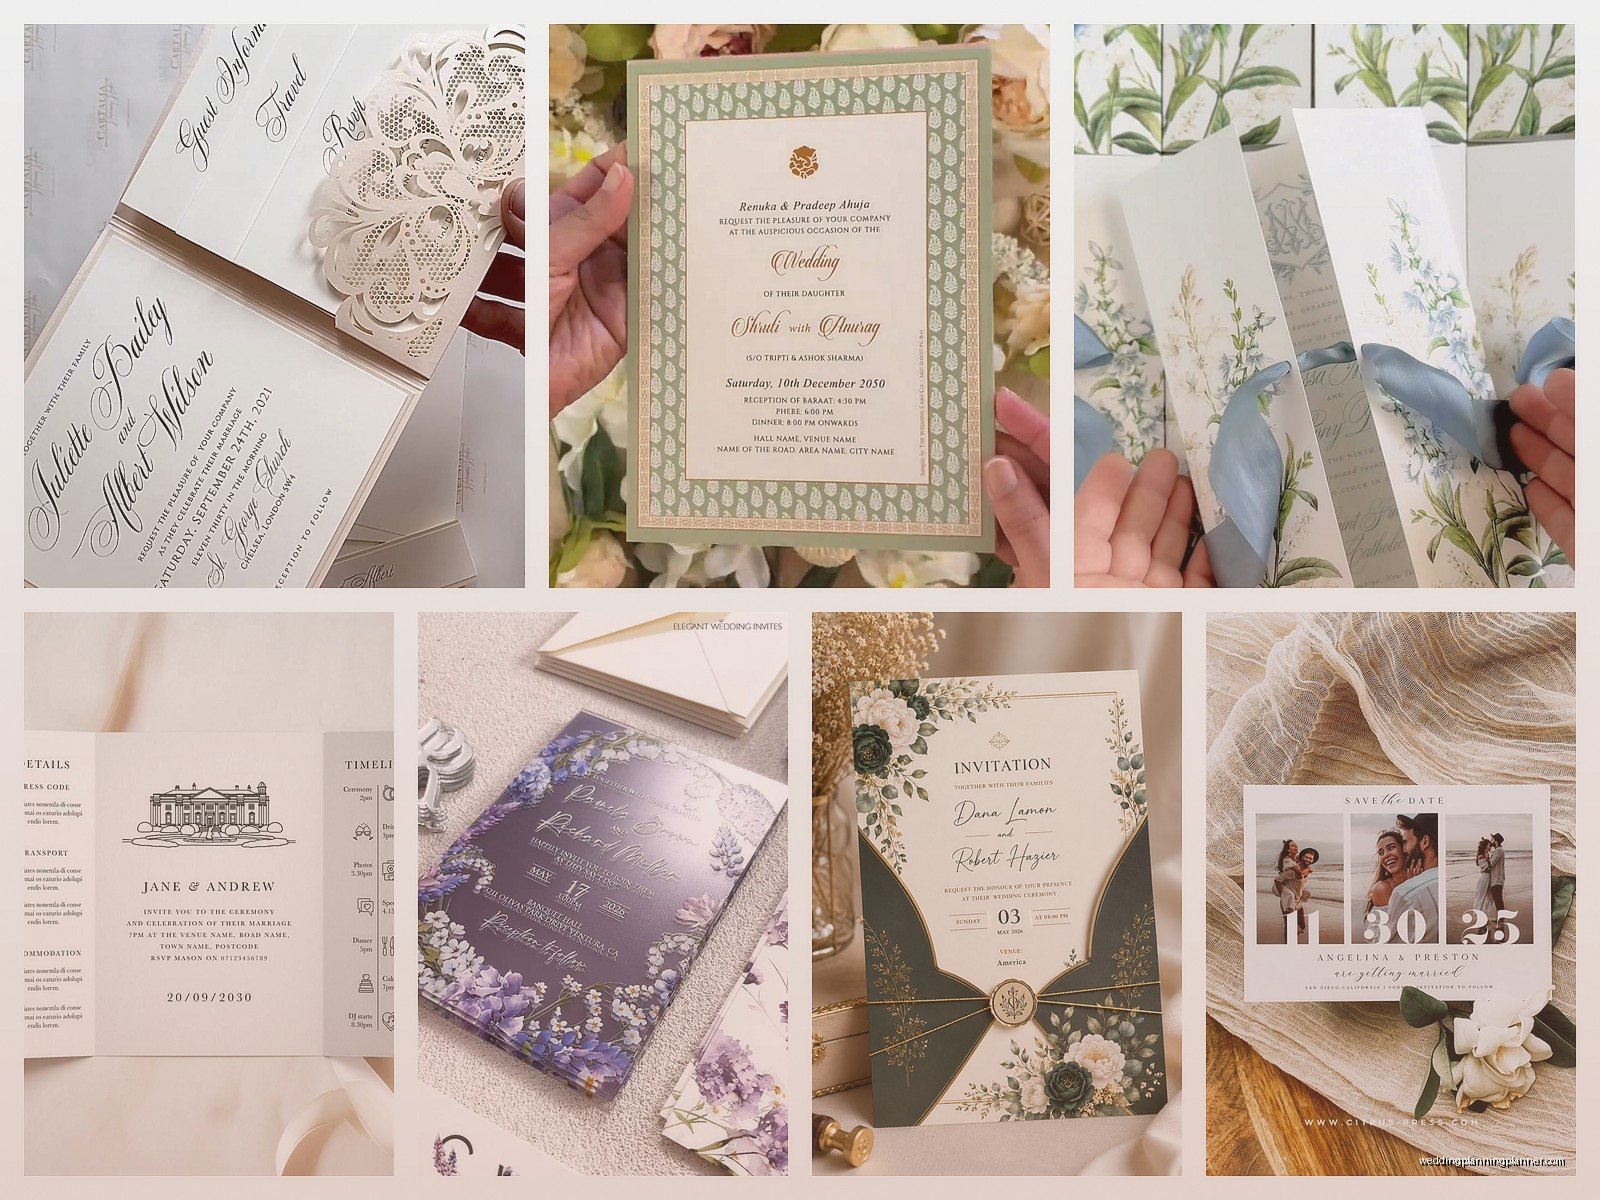
Edge painting is another cool option where they literally paint the edges of your cards in a color. It’s a small detail but it makes the invitations feel really custom and special. My cat knocked over a stack of edge-painted invitations once and I almost cried because we had to reorder like 20 of them.
Envelope Printing Options
Don’t forget about your envelopes because they’re the first thing people see. You can do digital printing directly on envelopes, you can use envelope liners for a pop of color or pattern, or you can go with calligraphy or hand-lettering for the addresses.
Digital envelope printing is the most cost-effective and it looks clean and professional. Most printers can print return addresses and guest addresses. Just make sure your printer can handle the envelope size you want – some digital presses have limitations on envelope dimensions.
Envelope liners are easier than you think. You can order them pre-cut from your printer or you can buy sheets of decorative paper and cut them yourself using a template. I actually find cutting envelope liners kinda therapeutic but I know not everyone wants to spend their time doing that.
Timing and Ordering Quantities
Order your invitations at least 4 months before your wedding date. That gives you time for design, proofing, printing, and assembly plus addressing and mailing. If you’re doing letterpress or engraving or if it’s peak wedding season, bump that up to 5-6 months.
For quantities, order about 10-15% more than your guest count to account for mistakes in addressing, last-minute additions to your guest list, and keepsakes. So if you’re inviting 100 guests, order 110-115 invitations. Some printers have minimum quantities or they price in tiers so sometimes it costs almost the same to order 125 as it does to order 100.
Don’t forget you need extra envelopes too because people mess up addressing all the time. I usually recommend ordering 20-25% extra envelopes beyond your invitation quantity.
Questions to Ask Any Printing Service
Here’s my list that I run through with every printer before I recommend them to clients. What’s your turnaround time? What’s your rush fee if we need it faster? Do you offer design services or design templates? What file formats do you accept? What’s your proofing process? Do you ship assembled or do we need to assemble everything ourselves?
Also ask about their reprint policy – if there’s a mistake on their end, will they reprint for free? What if the mistake is on your end? Some printers offer one free revision on the proof stage but charge for additional changes so know that upfront.
Ask about their paper options in detail. Can you see physical samples? Do they have specialty papers or are you limited to their standard stock? Can you provide your own paper if you want something specific? Not all printers allow this but some do.
Online Printers vs Local Print Shops
I’ve used both extensively and there are pros and cons to each. Online printers like Minted, Artifact Uprising, or Catprint offer convenience and usually lower prices because of their volume. They have design templates which is helpful if you’re not working with a designer. The downside is you can’t walk in and talk to someone face-to-face if something goes wrong.
Local print shops give you that personal relationship and you can actually see and touch samples in person before ordering. If there’s a problem, you can drive over there and sort it out. They’re often more flexible with custom requests too. But they might be more expensive and their design resources might be limited compared to big online companies.
Honestly I use both depending on the project. For simple, straightforward invitations with standard designs, online printers are great. For complicated custom work or when a client wants something really unique, I go local because we need that back-and-forth collaboration.
Assembly and Extras
Some printing services will assemble your invitations for you – tucking in all the enclosure cards, adding belly bands or ribbons, sealing envelopes, whatever you need. This is super helpful if you’re doing a complicated invitation suite with multiple pieces. But it adds cost so you gotta decide if your time and sanity are worth the extra money. In my opinion they usually are.
If you’re assembling yourself, make sure you have a clean workspace and set up an assembly line system. I like to lay out all the pieces in order and then go through each invitation one at a time. Put on a good podcast or some music because you’re gonna be there for a while.
Belly bands, ribbon, wax seals, vellum overlays – these are all extras that make your invitations feel more special but they add time and cost. Wax seals are really popular right now but heads up, they can increase your postage because they make the envelope thicker and sometimes they break off in the mail which is heartbreaking after you spent all that time applying them.
Postage and Mailing
Take a fully assembled invitation to the post office and have them weigh it before you buy stamps. Square envelopes, oversized envelopes, and thick envelopes all cost more to mail than standard rectangles. Wax seals and ribbon might mean your invitations need to be hand-cancelled which is an additional fee.
Buy your stamps early because if you want something other than the standard flag stamps, popular designs sell out. You can order custom stamps through some services but they’re pricey. Vintage stamps are cool if you can find them but you usually need to buy them from collectors and piece together enough to cover your postage which is sorta a pain.
Mail yourself a test invitation first to make sure everything arrives intact and that your postage is correct. Better to find out you need an extra 20 cents per invite before you mail all 150 of them and they come back to you.