
Planning Guides, Style Guide
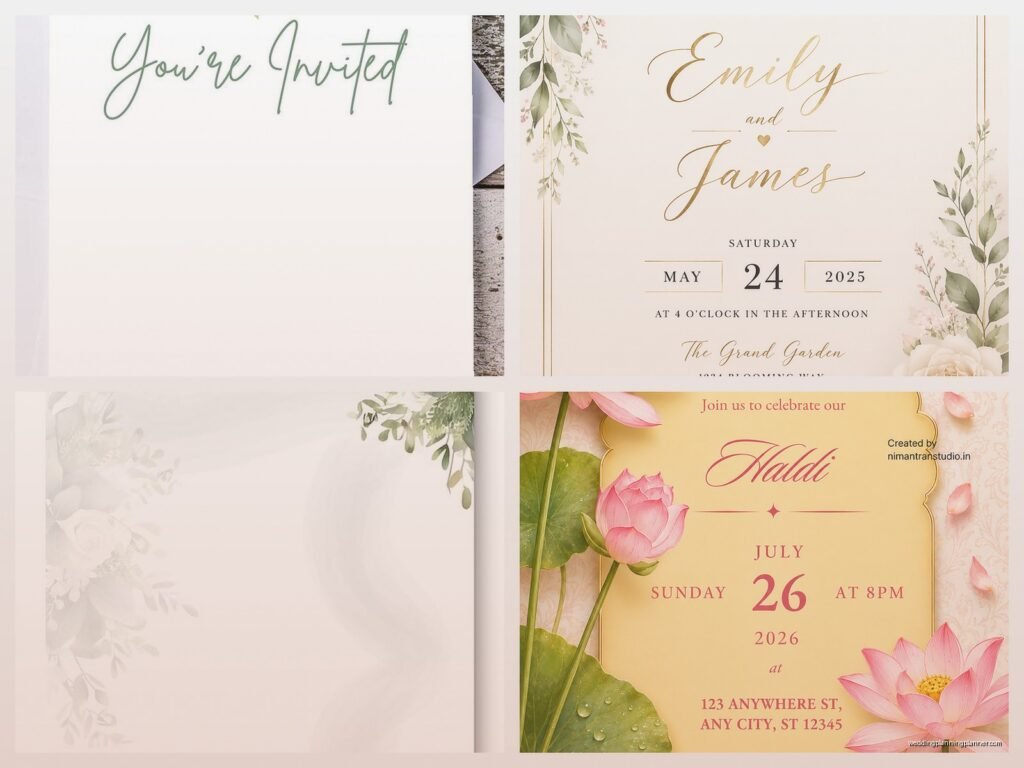
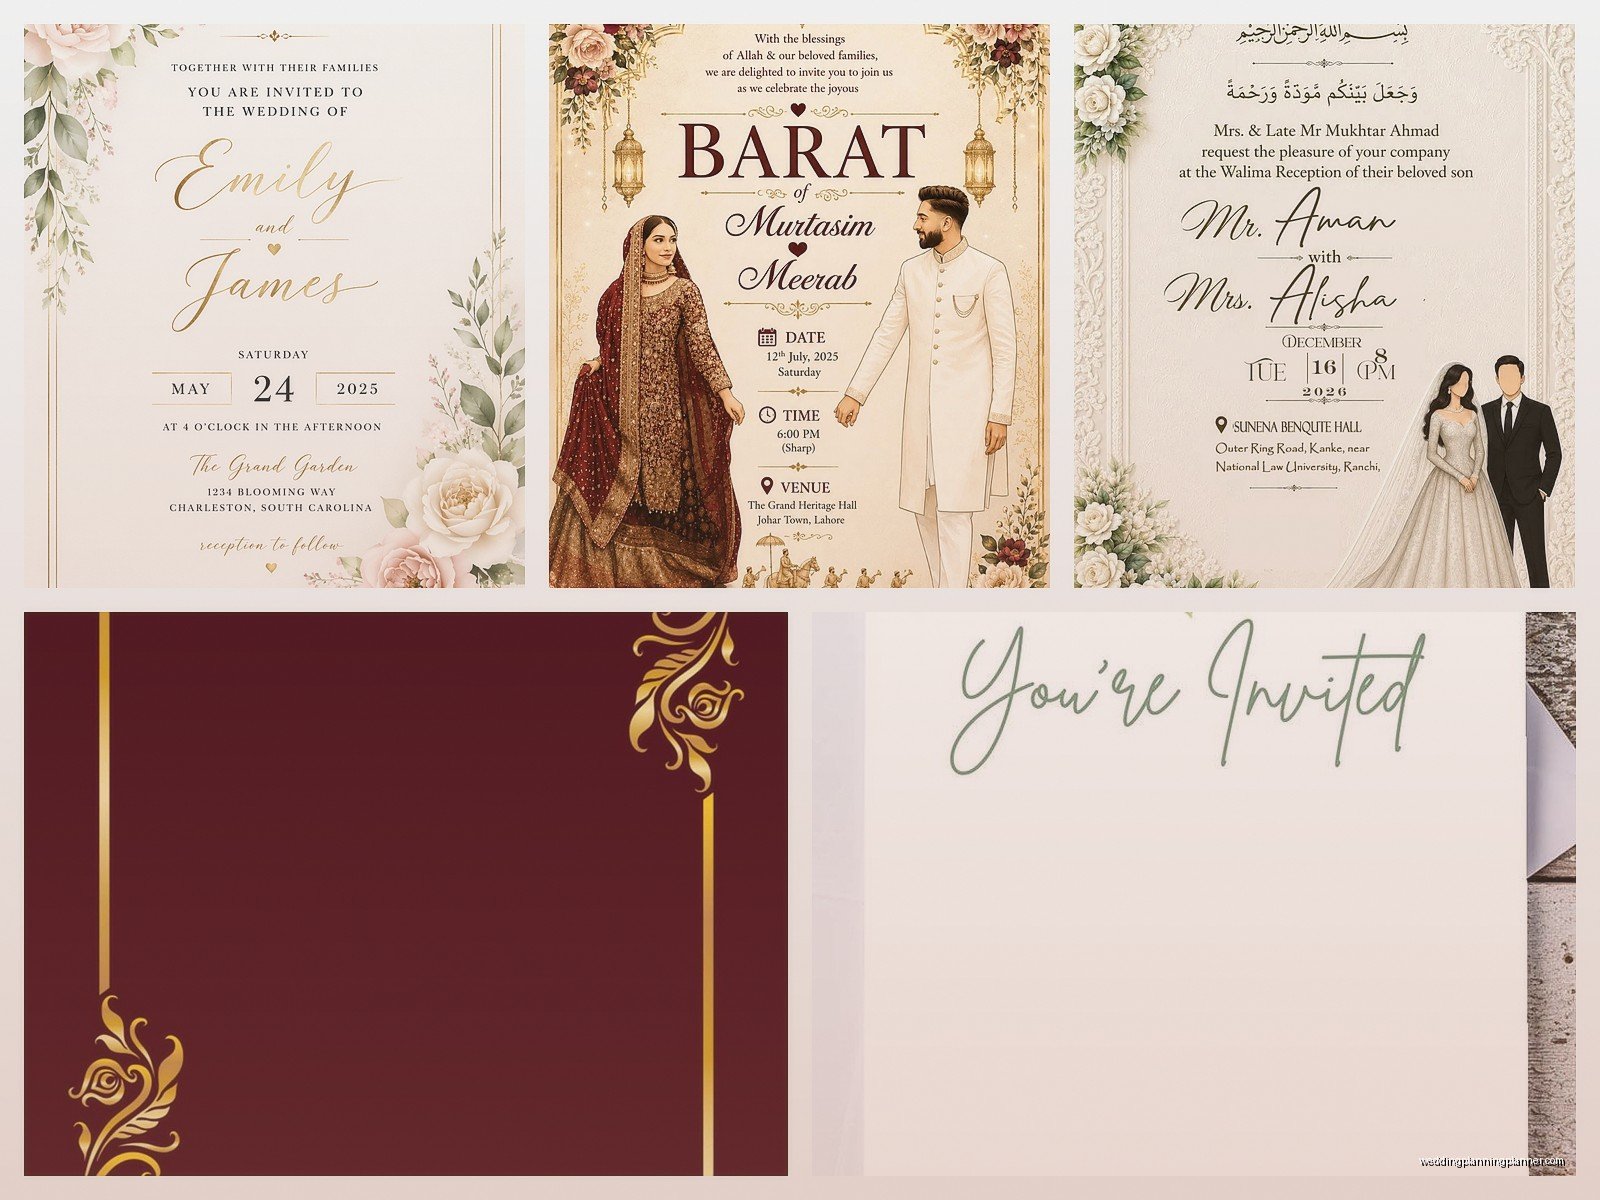
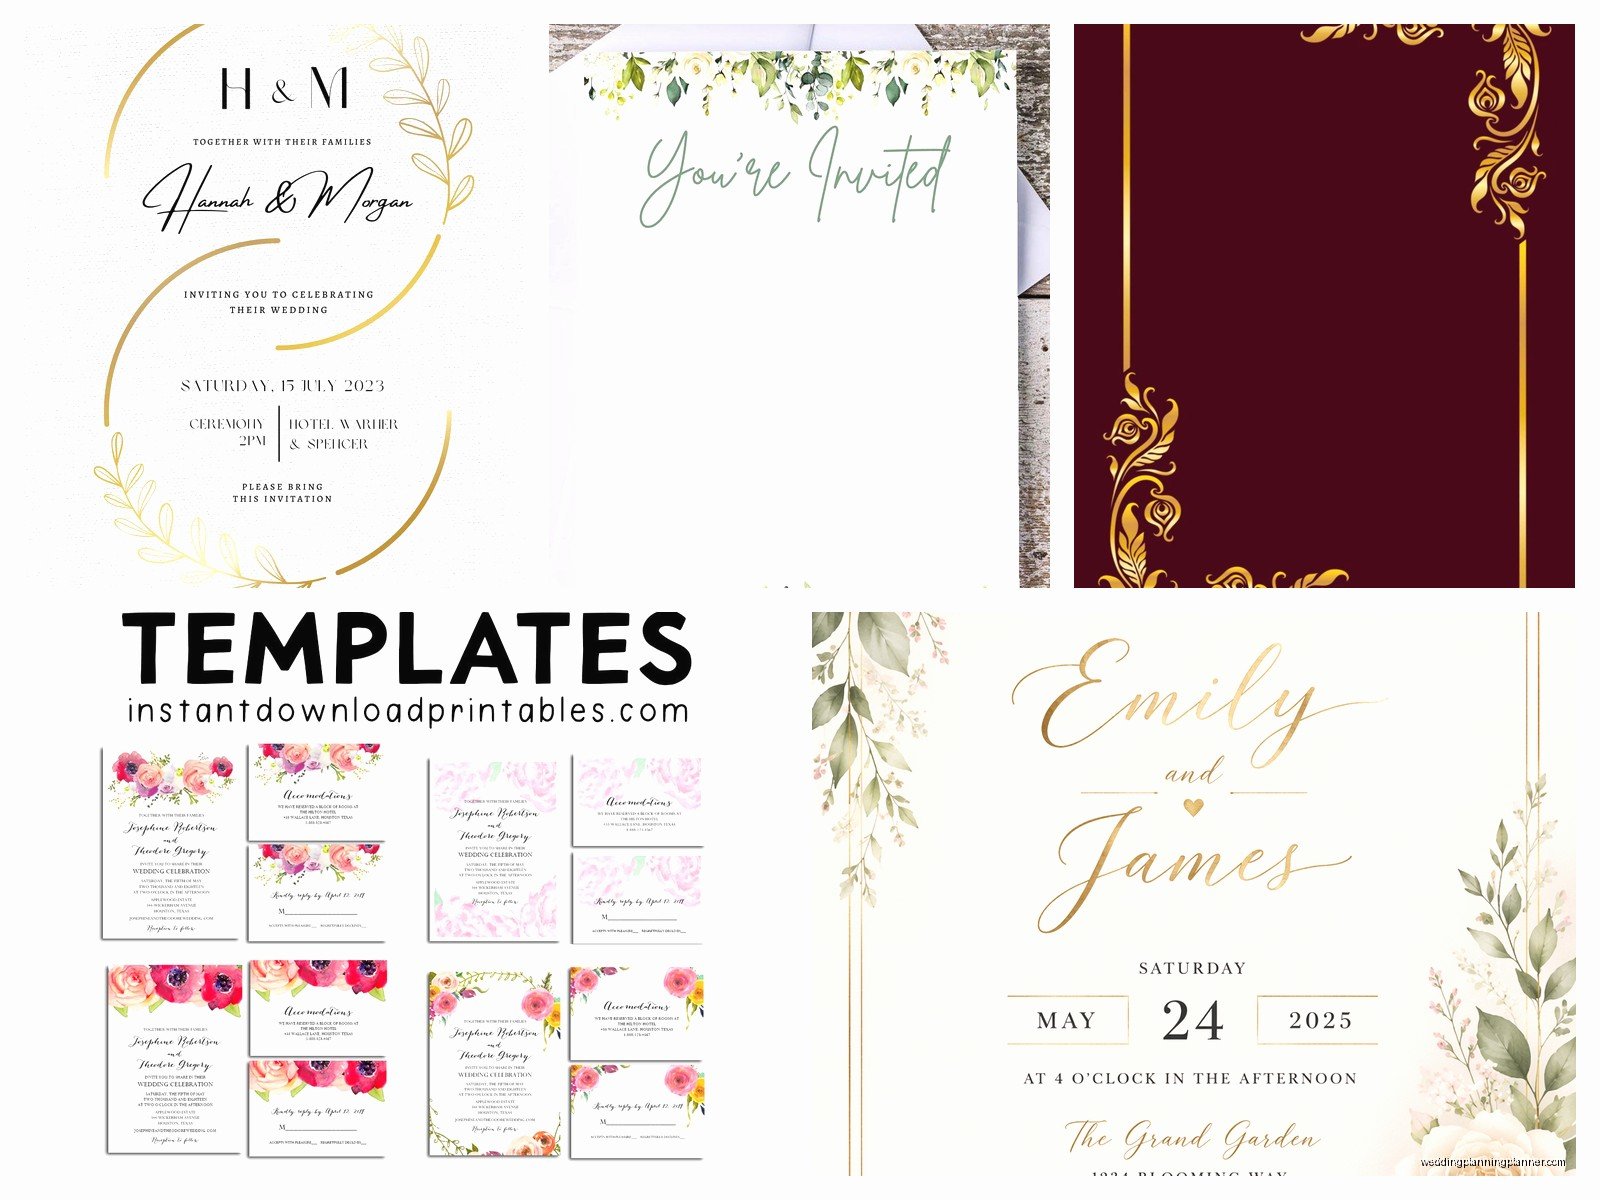
Wedding Invitation Card Template: Free Design Downloads
Jul
Okay So Free Wedding Invitation Templates Are Actually Pretty Good Now
Look, I’m gonna be honest with you – when I first started as a wedding planner back in like 2009, free templates were absolutely terrible. We’re talking clipart roses and Comic Sans level bad. But things have changed so much, and honestly some of my budget-conscious couples in 2023 used free templates that looked just as good as the $800 custom suites I was seeing from boutique designers.
The main thing you need to know is WHERE to download them and HOW to actually customize them without making them look like you just slapped your names onto someone else’s wedding invite. Because that’s the trap, right? Everyone can spot a template that wasn’t properly edited.
Where I Actually Send My Clients for Free Templates
So there’s like a million websites claiming to have “free” templates but then you download them and surprise – you need to pay $40 or sign up for a subscription or whatever. Super annoying. Here’s where I actually find legitimately free stuff:
Canva (Obviously)
Yeah yeah, everyone knows about Canva now, but seriously their free wedding invitation templates are pretty solid. You don’t even need Canva Pro for most of them. I had this bride in spring 2023 who was SO stressed about her budget – like she was literally crying in our consultation because she’d already blown through half her funds on the venue deposit – and I showed her Canva and she designed her entire invitation suite in one weekend.
The thing with Canva is you gotta scroll past all the “Pro” templates first. They mix them together which is kinda annoying but whatever. Look for the ones without the little crown icon. You can customize fonts, colors, add your own photos, move elements around. It’s pretty intuitive even if you’re not design-savvy.
Template.net
This one’s less known but they have actual downloadable files – like Word documents, Photoshop files, InDesign files if you know how to use those programs. Some are genuinely free, others require their premium thing. The quality is hit or miss though, so you gotta dig through them.
Greetings Island
I stumbled on this website when my cat knocked over my coffee onto some sample invitations I was showing a client and I desperately needed to reprint something in like 20 minutes. They have free templates you can customize right on their site and then download as a PDF. The designs are… fine? Not groundbreaking but definitely usable for casual weddings or save-the-dates.
Adobe Express (Used to Be Adobe Spark)
If you have an Adobe account, their free tier actually gives you access to some decent templates. Not as many options as Canva but the quality is usually higher because it’s, you know, Adobe. The interface is a bit less user-friendly though.
What Format Should You Actually Download
This is where people mess up constantly. You find a gorgeous template and download it as a JPG and then wonder why it looks pixelated when you try to print it. Here’s what you need:
For printing at home: PDF format, 300 DPI minimum. Anything less will look blurry. I cannot stress this enough. Your home printer can handle PDF files and they’ll maintain quality.
For sending to a print shop: PDF or if you’re working with a designer or print shop directly, they might want the editable files (PSD, AI, INDD). Most print-on-demand services like Minted or Vistaprint accept PDFs though.
For digital invites: JPG or PNG is fine since you’re not printing. Just make sure it’s still high resolution because people might view it on big screens.
How to Customize Without Making It Look Cheap
Alright so you’ve downloaded your free template. Now what? This is where I see people go wrong all the time and honestly it drives me crazy because a little effort makes SUCH a difference.
Change More Than Just the Names
Please, please don’t just replace “Bride & Groom” with your names and call it done. Change the colors to match your wedding palette. Swap out the fonts – but here’s the thing, only use 2-3 fonts maximum or it starts looking chaotic. One for headers, one for body text, maybe one for accent details.
I had this couple who kept every single design element from the template except their names and wondered why their invitations looked “off” – it’s because the template had navy and gold colors and their wedding was blush and sage green. It clashed with everything else they were planning.
Remove Elements You Don’t Need
Most templates come loaded with decorative elements – flourishes, borders, background patterns, little leaf illustrations or whatever. You don’t have to keep all of it. Sometimes less is more. If the template has floral corners and a floral border and a floral background, maybe… pick one or two of those and delete the rest?
Check the Sizing
Standard invitation sizes are 5×7 inches or 4×6 inches. Make sure your template is actually set to those dimensions before you start editing. I’ve seen people design an entire invitation and then realize it’s sized for A4 paper or some random dimension that doesn’t fit standard envelopes. That’s a nightmare to fix later.
The Actual Printing Part (Where Things Get Tricky)
So you’ve customized your template and it looks gorgeous on your screen. Now you need to get it onto actual paper and this is where the free template thing can either save you money or end up costing more if you mess it up.
Home Printing
If you’re printing at home, invest in decent cardstock. I’m talking 80lb to 110lb weight minimum. Regular printer paper will look sad and flimsy. You can get cardstock at any office supply store or Amazon.
Test print first. Always. Print one invitation on regular paper to check alignment, colors, spacing. Then print one on your actual cardstock. Colors look different on screen versus paper and you don’t wanna print 100 invitations only to realize the text is too close to the edge.
Your home printer might struggle with thick cardstock – most inkjet printers can handle up to 110lb but check your printer specs. Sometimes you gotta feed sheets one at a time instead of loading the tray.
Online Print Services
Honestly for anything over like 50 invitations, I tell people to just use an online service. Vistaprint, Moo, Printful, Catprint – they all accept uploaded designs. You send them your PDF and they print and ship to you. The quality is usually way better than home printing and when you factor in the cost of cardstock, ink, and your TIME, it’s often cheaper.
The thing is you gotta set up your file correctly. Most services have templates that show you where the trim lines are, where to keep important text (the “safe zone”), and how much to extend your background colors (the “bleed”). This sounds complicated but there are usually tutorials on their websites.
What Actually Needs to Be On Your Invitation
Oh right, I should probably mention the actual content. Some templates include all this, some don’t, so here’s what you need:
- Your names (obviously)
- The date – spell it out, don’t just put numbers
- The time – include “in the evening” or “in the afternoon” for formal invites
- The venue name and city/state
- RSVP information – either a date or a way to respond
- Dress code if it’s not obvious
- Website URL if you have one
You don’t need to include registry information on the actual invitation. That goes on a separate details card or your website. I know some templates include it but it’s considered a bit tacky traditionally, though honestly fewer people care about that rule now.
The Stuff People Forget About
Templates usually just give you the main invitation but you probably need other pieces too:
RSVP Cards
These are smaller, usually 4×6 or smaller. Should match your invitation design. Include a deadline (usually 3-4 weeks before the wedding), meal choices if you’re doing a plated dinner, and space for guests to write their names and number attending.
Details Cards
This is where you put accommodation information, transportation details, wedding website, maybe a weekend schedule if you have multiple events. Not everyone includes these but they’re helpful.
Envelopes
You need two if you’re doing traditional invitations – an inner envelope and outer envelope. Or just one outer envelope for casual weddings. Make sure you order envelopes that FIT your invitation size because I have seen people print 5×7 invitations and then try to stuff them into standard letter envelopes and… no.
Some people get fancy envelope liners – you can find free templates for those too or just buy pre-made ones.
Timeline for Getting This Done
Start looking at templates like 4-5 months before you need to mail them. Wedding invitations should go out 6-8 weeks before the wedding (3-4 months for destination weddings).
Give yourself time to customize, order samples if you’re using a print service, make revisions, actually print everything, assemble the suites, address envelopes, and mail them. It always takes longer than you think.
I had this groom in summer 2021 who waited until 4 weeks before the wedding to even START looking at invitations because he thought “it’s just a template, how hard can it be?” and then he realized he needed to order envelopes, and the print shop had a 2-week turnaround, and then he had to address 150 envelopes by hand… it was a mess. He was literally assembling invitation suites at 11pm the night before they needed to be at the post office.
Common Mistakes I See All the Time
Using too many fonts – stick to 2-3 max like I mentioned earlier. More than that looks chaotic.
Making text too small – remember that some of your guests are older and might have vision issues. Body text should be at least 10-11 point font.
Forgetting to proofread – I’ve seen invitations with typos in the DATE. The actual wedding date. Proofread multiple times and have someone else look at it too.
Not considering postage – big, heavy, or square invitations cost more to mail. A standard 5×7 invitation in a normal envelope with one or two inserts usually qualifies for regular stamp postage, but if you add a heavy belly band or use thick cardstock or go with a square shape, you might need extra postage. Take a fully assembled invitation to the post office and have them weigh it before you stamp all 150.
Choosing a template that doesn’t match your wedding vibe – if you’re having a rustic barn wedding, maybe don’t use the ultra-modern geometric template with gold foil effects? Make sure the template style matches your actual wedding aesthetic.
How to Make Free Templates Look More Expensive
Okay so you want that luxury look without the luxury price tag. Here’s what actually works:
Print on textured cardstock – linen, felt, or cotton cardstock instead of smooth. It costs a bit more but the texture makes it feel fancier.
Add a belly band or vellum overlay – you can buy these pre-made or make them yourself. A simple vellum overlay with your names or monogram printed on it elevates the whole thing.
Use better envelopes – colored envelopes or ones with a deckled edge look more expensive than plain white. You can find these online pretty cheap.
Consider wax seals – okay these are kinda trendy right now but they do make invitations look more formal and special. You can get wax seal kits on Amazon for like $20.
Pay attention to color choices – metallics (gold, rose gold, copper) and jewel tones tend to look more expensive than bright primary colors. Navy, burgundy, emerald, dusty blue – these read as more sophisticated.
When Free Templates Actually Aren’t the Right Choice
I’m a big advocate for budget-friendly options but there are times when a free template might not work. If you’re having a super formal black-tie wedding at a historic venue, your guests might expect more traditional high-end invitations. If you’re having a very specific design vision that requires custom illustrations or a unique shape or fancy printing techniques like letterpress or foil stamping – templates won’t do that.
Also if you’re just not comfortable with design software or don’t have time to DIY, it might be worth paying a designer or using a service like Minted or Paperless Post where you customize templates but they handle all the printing and production. Your time has value too and if customizing templates is gonna stress you out or take 20 hours, maybe it’s not the right move or… I don’t know, everyone’s different with this stuff.
The whole point is that free templates have gotten good enough that they’re a totally legitimate option now and nobody at your wedding is gonna know you didn’t spend $600 on custom invitations unless you tell them. What matters more is that the information is clear, the design matches your wedding style, and everything is printed nicely. That’s it. The rest is just details that honestly most guests won’t even remember a week after your wedding.
