
Planning Guides, Style Guide
Wedding Planning Excel Sheet: Complete Spreadsheet
Jul
The Wedding Planning Excel Sheet You Actually Need
Okay so here’s the thing about wedding planning spreadsheets—most couples think they need one but then they open Excel and just stare at a blank grid for like twenty minutes before giving up. I get it. I literally watched a bride in spring 2023 try to build one during our first meeting and she got so frustrated she almost cried, which honestly made me realize I needed to just share the exact setup I use because this shouldn’t be that hard.
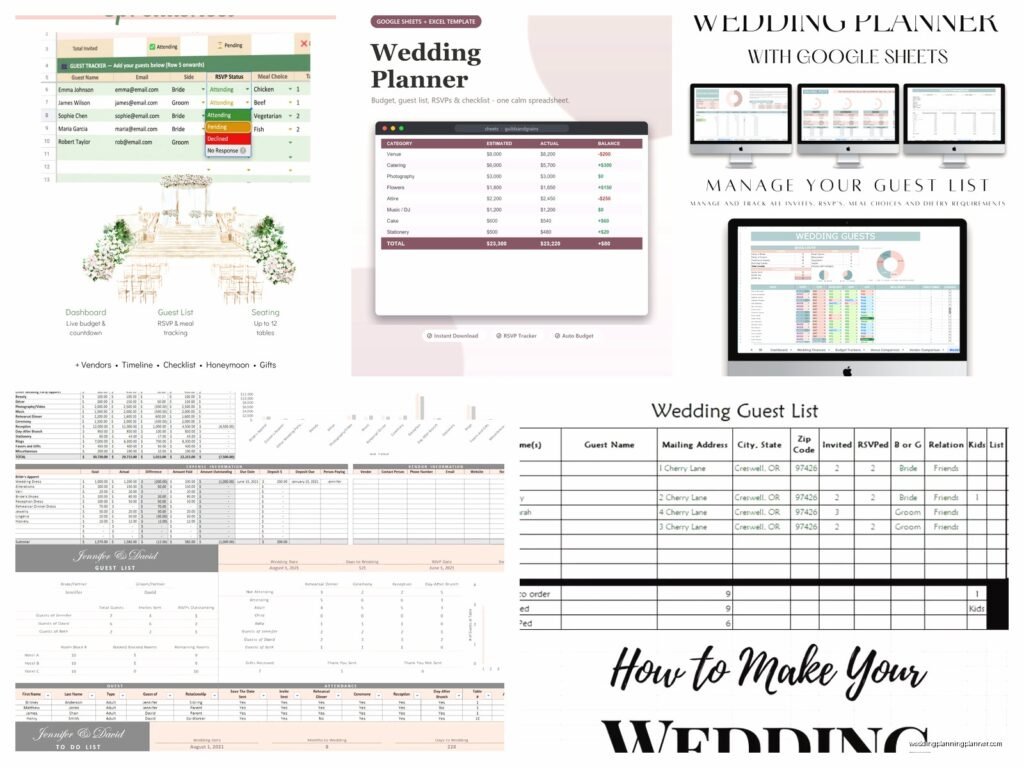
Start with your main tabs at the bottom. You’re gonna need at least five separate sheets: Budget, Guest List, Vendor Contacts, Timeline, and Seating Chart. Some people add a Gift Tracker too but that’s optional. The Budget tab is where you’ll spend most of your time, unfortunately.
Setting Up Your Budget Sheet
Column A is your category. Write these down: Venue, Catering, Photography, Videography, Florals, Dress/Attire, Hair and Makeup, Music/DJ, Invitations, Favors, Transportation, Accommodations, Rings, Officiant, Decor, Rentals, Cake, Miscellaneous. Column B is your estimated cost—what you think it’ll cost when you’re all optimistic and naive. Column C is your actual quotes. Column D is your deposit paid. Column E is the remaining balance. Column F is the due date for that balance.
Then in Column G I always put notes because you need somewhere to write “Sarah recommended” or “saw on Instagram” or whatever reminded you why you picked this vendor. Trust me on this one—six months into planning everything blurs together.
At the top of the Budget sheet, do a total row. Use the SUM function to add up Column C (your actual costs). Then in another cell put your actual total budget, and in a third cell do a formula that shows the difference. This way you can see in real-time if you’re over or under. It’s gonna stress you out but at least you’ll know.
What really annoyed me for years was couples who didn’t track their deposits separately. They’d tell me “we paid the venue” but then couldn’t remember if that was the full amount or just the deposit and it became this whole thing where we had to dig through emails at midnight before the final payment was due.
Guest List Tab Setup
This is where it gets messy but also kinda fun? Column A is the guest name. Column B is their plus-one if they have one. Column C is their address (you need this for invites obviously). Column D is their email. Column E is their phone number—you won’t think you need this until you do.
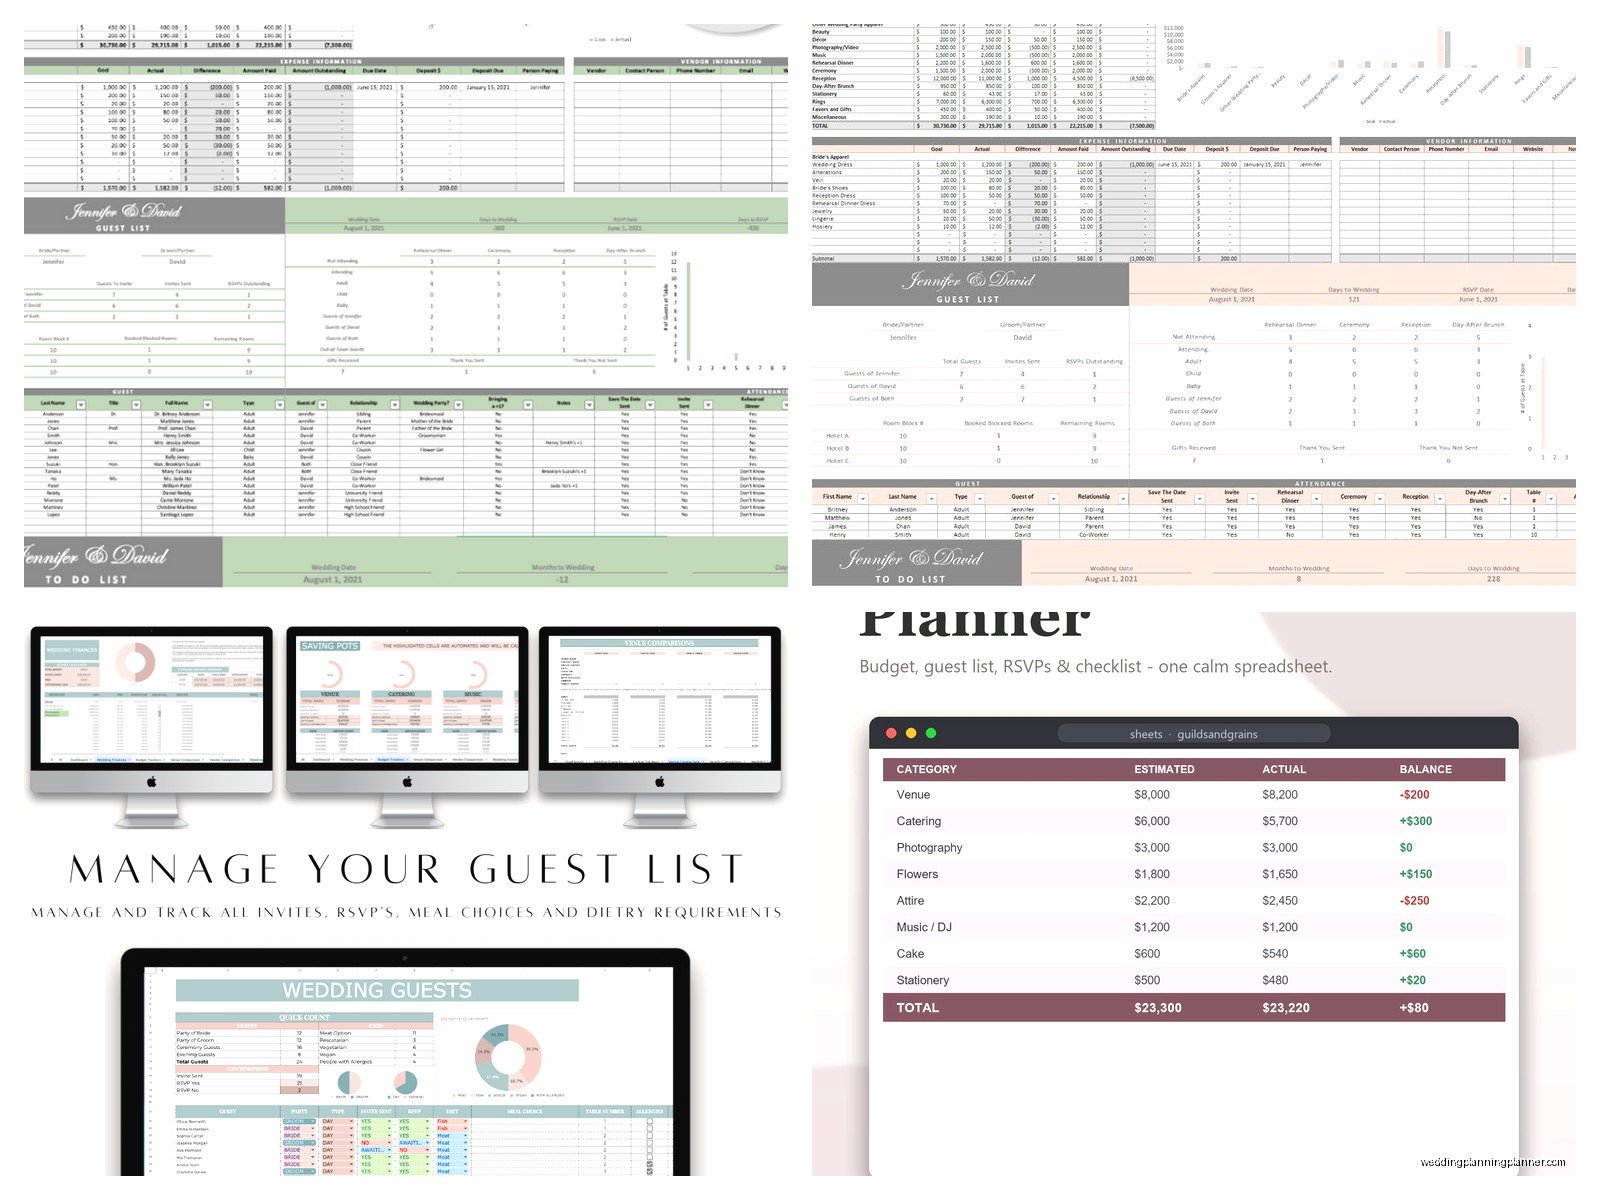
Column F is “Invited to?” and you’ll put either Ceremony and Reception, or just Reception. Some people do a separate cocktail hour or rehearsal dinner column too. Column G is RSVP status: Not Sent, Sent, Yes, No, Maybe. Column H is meal choice if you’re doing plated dinner (chicken, fish, vegetarian, whatever). Column I is dietary restrictions and this is SO important don’t skip this.
Column J can be your gift tracker if you want—what they gave you and if you sent a thank you note. Column K is table assignment but you might want to do this on the separate seating chart tab instead.
At the top, use COUNTIF formulas to show you totals. Like =COUNTIF(G:G,”Yes”) to count how many people said yes. Do this for each RSVP status. Then you can see at a glance that 47 people said yes, 12 said no, and 23 haven’t responded yet so you need to hunt them down.
My cat literally walked across my keyboard once while I was updating a guest list and somehow deleted an entire column of addresses, which is why I’m obsessive about saving and also about keeping a backup in Google Sheets too. Just saying.
Vendor Contact Sheet
This tab is straightforward but you gotta actually use it. Column A is vendor type (photographer, florist, etc.). Column B is the company name. Column C is the contact person’s actual name—not just the company, because you need to know if you’re emailing Jennifer or Mark. Column D is email. Column E is phone. Column F is their website or Instagram.
Column G is contract signed (yes/no). Column H is the date of your service or delivery. Column I is arrival time if relevant. Column J is any special instructions or notes like “needs vendor meal” or “setting up at 2pm.”
I also add Column K for “emergency backup contact” because sometimes your photographer gets sick and you need to know who the second shooter is or who to call at the company.
Timeline Tab
Okay this one is… it’s either super helpful or it becomes this thing you update once and never look at again. Trying to be honest here. But when it works, it really works.
You want two different timeline sections on this sheet. The first is your planning timeline—like what tasks you need to do by when. The second is your actual wedding day timeline.
For the planning timeline: Column A is the task (book venue, order invitations, do food tasting, get marriage license, etc.). Column B is the deadline. Column C is who’s responsible (you, your partner, your mom, whatever). Column D is the status (not started, in progress, done). Column E is notes.
List everything in chronological order by deadline. I usually start with “12 months before” tasks at the top and work down to “week of wedding” tasks. You can color-code by month if you’re feeling fancy but honestly that might be extra.
For the wedding day timeline, I do it differently. Column A is the time (like 9:00 AM, 9:30 AM, etc.). Column B is what’s happening. Column C is who’s involved. Column D is the location. So like “2:00 PM – Ceremony begins – Everyone – Garden area” or “5:30 PM – First dance – Bride and Groom – Reception tent.”
This is the timeline you’ll print out and give to your vendors, your wedding party, your parents… everyone needs this or the day becomes chaos.
Seating Chart Tab
I’m not gonna lie, this is the most annoying tab to set up but you need it if you’re doing assigned seating. Column A is table number. Column B through like Column K (depending on table size) are the guest names at that table.
Some people do it differently—they list guest names in Column A and table assignments in Column B. Either way works, do whatever makes sense in your brain.
The trick is to reference your guest list tab so you’re not retyping names. You can use data validation or just copy and paste but make sure the names match exactly or you’ll confuse yourself.
I also add a notes column for each table to write things like “college friends” or “groom’s family” so you remember why you grouped these people together. Because in summer 2021 I had a bride who created the perfect seating chart and then three weeks later couldn’t remember why she put certain people together and second-guessed everything and we had to start over.
Extra Tabs You Might Want
Some people add a Music tab with columns for ceremony songs, cocktail hour playlist, first dance song, parent dances, do-not-play list (crucial), and general reception vibe. Your DJ will appreciate having this in writing.
A Decor/Design tab can help if you’re DIY-ing stuff or just want to track your vision. List items you need to buy or rent, quantities, where you’re getting them from, costs, and whether you’ve actually ordered them yet.
Honestly I also recommend a Random Notes tab that’s just… a place to dump thoughts that don’t fit anywhere else. Like “ask about parking validation” or “mom wants pink flowers NOT coral” or whatever random thing you need to remember.
Formulas That’ll Save Your Life
Okay so you don’t need to be an Excel wizard but a few basic formulas make this whole thing actually useful instead of just pretty columns.
SUM adds up numbers. Like =SUM(B2:B50) adds everything in cells B2 through B50. Use this for your budget totals.
COUNTIF counts cells that meet criteria. Like =COUNTIF(D:D,”Yes”) counts how many cells in column D contain “Yes.” Use this for RSVP tracking.
Conditional formatting isn’t a formula but it’s super helpful—you can make cells turn red if you’re over budget or green if a task is done. It’s visual and your brain will process it faster than just reading numbers.
IF statements are more advanced but kinda useful. Like =IF(E2>0,”Payment Due”,”Paid in Full”) in your budget sheet. If the balance in cell E2 is greater than zero, it’ll say Payment Due, otherwise it says Paid in Full.
Actually Maintaining This Thing
Here’s where most couples fail—they set up this beautiful spreadsheet and then never update it. You gotta schedule time, maybe every Sunday morning or whatever, to go through and update numbers, mark off completed tasks, add new guests who just got invited, whatever.
I tell couples to share the spreadsheet with each other. If you’re using Excel, save it to OneDrive or Dropbox so you can both access it. Or just use Google Sheets from the start which is honestly easier for sharing even though I know some people are Excel purists or whatever.
Also print out certain tabs. Like print your vendor contact sheet and keep it in your wedding binder (you have a wedding binder right?). Print your wedding day timeline and give copies to your coordinator, your venue manager, your photographer… print that thing like crazy.
Common Mistakes I See
People make their spreadsheets too complicated. You don’t need 47 tabs and color-coding and fancy graphs unless that genuinely helps you. Simple and functional beats pretty and confusing.
Not backing up your file. Save it in multiple places. I’ve seen someone’s laptop die two weeks before their wedding and they lost everything because it was only saved locally. Don’t be that person.
Forgetting to track the little stuff. Like you remembered to budget for your dress but did you remember alterations? Undergarments? The special hanger for photos? Those $30 and $50 purchases add up to hundreds real fast.
Not using the notes columns. Future you will not remember why you made certain decisions, write it down now.
Sharing edit access with too many people. Maybe your mom means well but if she’s in there changing your budget numbers or deleting guests she thinks you shouldn’t invite, that’s gonna cause problems. View-only access exists for a reason.
Templates vs Starting From Scratch
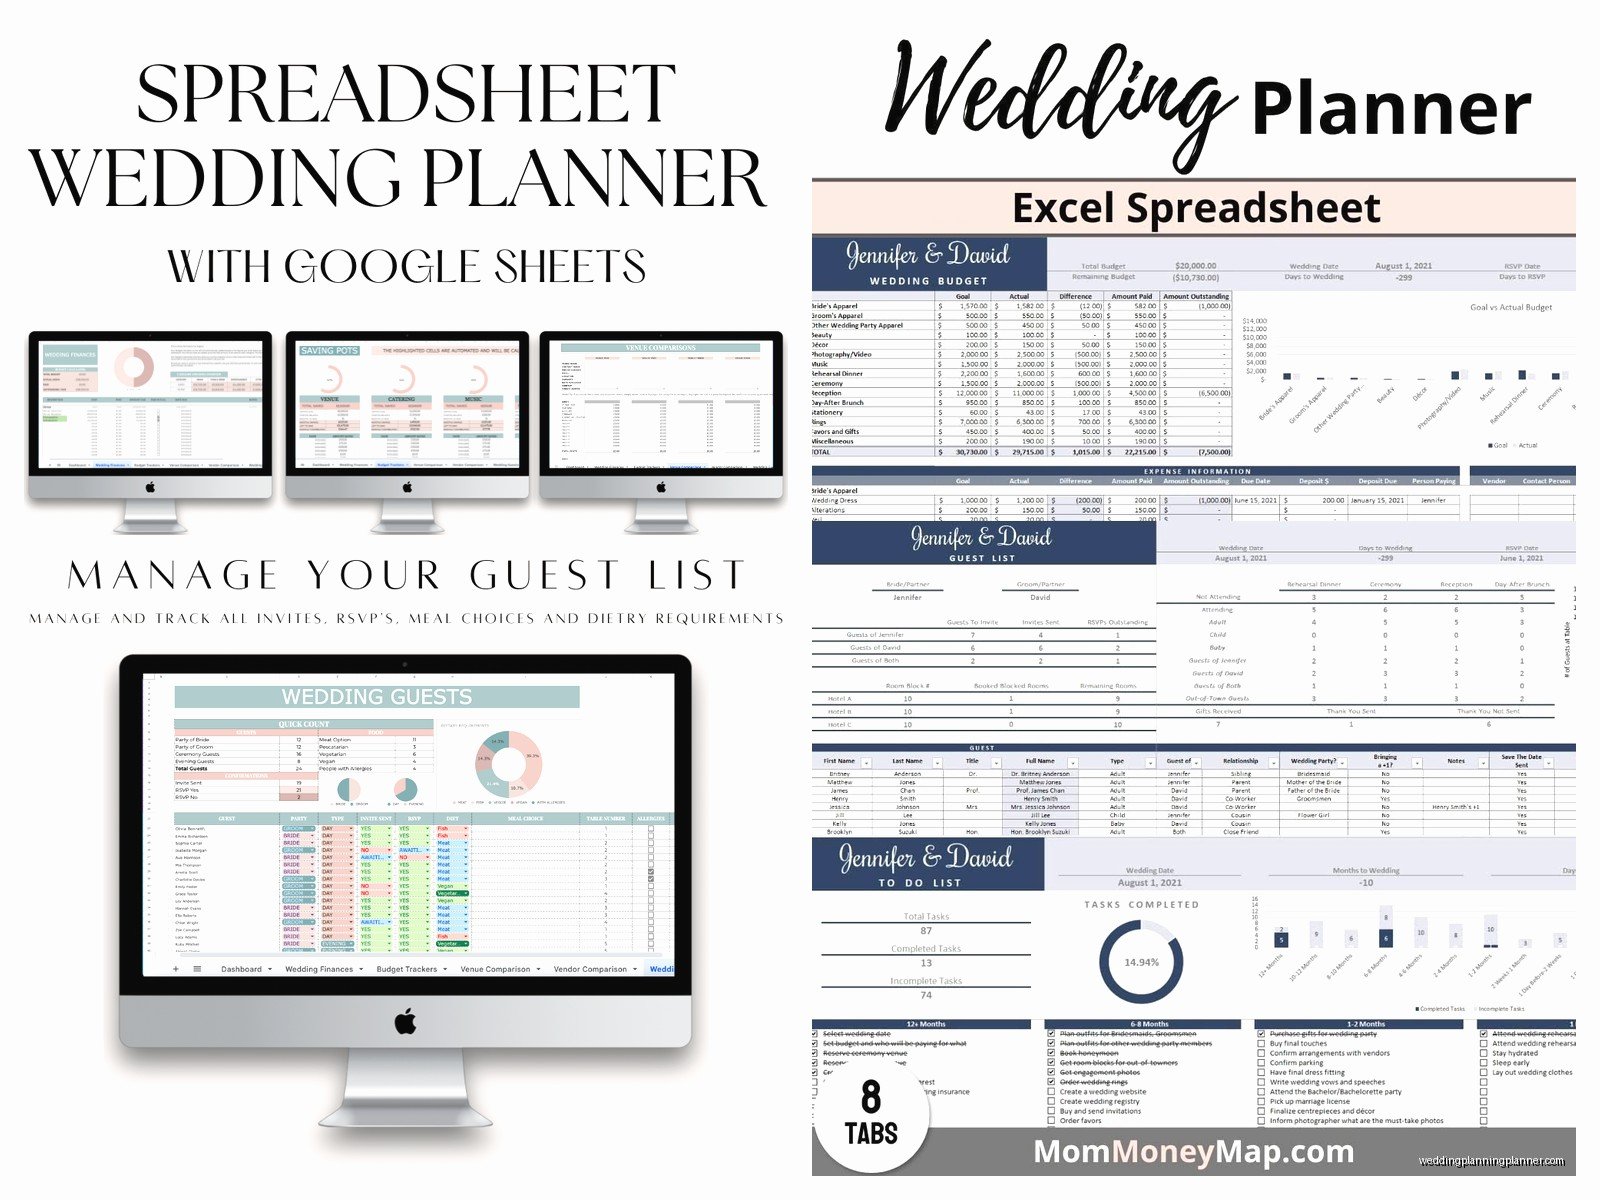
There are a million free wedding planning Excel templates online and some of them are actually pretty good. The Knot has one, WeddingWire has one, even Microsoft has templates in Excel itself. You can absolutely start with one of those and customize it.
But honestly? I think building your own from scratch, even if it’s not perfect, means you’ll actually understand how it works and use it more. When you download someone else’s template with all these formulas and tabs you didn’t create, it can feel overwhelming and you might just… not use it.
So maybe start simple. Make your budget tab this week. Next week add your guest list. Build it gradually and it won’t feel like this massive project.
The spreadsheet is just a tool, right? It’s not gonna plan your wedding for you—you still gotta make decisions and contact vendors and deal with family drama and all that fun stuff. But having everything in one place, organized and trackable, makes the whole process feel less chaotic. And on the days when you’re overwhelmed and can’t remember what you’ve already done or what’s left to do, you can open that spreadsheet and see it all laid out and that helps more than you’d think.
Also one more thing—password protect your file if you’re putting sensitive info in there like credit card numbers or social security numbers for background checks or whatever. Just go to File > Info > Protect Workbook > Encrypt with Password. Takes two seconds and keeps your info safer if someone gets access to your computer or cloud storage.
