Planning Guides, Style Guide
Print Wedding Invitations: At-Home Printing Guide
Mar
So You Want to Print Your Own Wedding Invitations
Okay so first thing – you’re gonna need a decent printer. Not like your basic whatever-came-with-your-laptop printer from 2015. I learned this the hard way in spring 2022 when a bride came to me absolutely in tears because she’d tried to print 150 invitations on her home inkjet and half of them smudged when she touched them. Like completely ruined. She’d already cut all the cardstock and everything.
Here’s what actually works: you need either a laser printer or a really good inkjet. Laser is honestly better for invitations because the toner doesn’t smear and it handles cardstock way better. I have an HP LaserJet Pro – it’s not cheap but it’s paid for itself probably twenty times over. Inkjet can work if you get one that’s specifically designed for cardstock and photo printing, but umm… you gotta be SO careful about the paper you use and letting things dry completely.
The Paper Situation Is Complicated
This is the part that annoyed me for YEARS and honestly still does – nobody tells you that not all cardstock is created equal. You can’t just walk into any craft store, grab whatever says “110lb cardstock” and expect it to work. Some of it jams immediately, some of it prints but looks terrible, some of it is the wrong finish.
What you need to know:
- 65lb to 80lb cover stock is your safest bet for most home printers
- 110lb cardstock works but only if your printer specifically says it can handle it (check the manual, seriously)
- Matte finish is easier to print on than glossy
- Textured paper looks gorgeous but can be a nightmare – the texture sometimes doesn’t let the ink sit right
- Always buy extra because you WILL mess up
I usually tell people to get at least 20% more than they need. So if you need 100 invitations, buy enough paper for 120. Trust me on this.
Testing Is Not Optional
Before you print anything on your fancy expensive paper, you need to test. Print on regular printer paper first to check your alignment and margins. Then print on ONE piece of your actual cardstock to see how it looks. Check the colors, check if anything smears, check if the printer can actually feed it through without jamming.
I had a client in summer 2024 who completely skipped this step because she was in a hurry – her wedding was like 6 weeks away and she’d procrastinated. She printed 80 invitations before realizing her margins were off and half the text was getting cut off on one side. Had to reorder all the paper and start over. Set her back almost two weeks and probably $200.
Design Software Stuff
You’ll need something to actually design your invitations. There’s a bunch of options and honestly it depends on what you’re comfortable with:
Canva – Super easy, lots of templates, works in your browser. The free version is fine but the paid version gives you more fonts and elements. This is what I recommend for most people who aren’t designers.
Microsoft Word – Yeah I know it seems basic but you can actually make really nice invitations in Word if you know what you’re doing. The trick is using text boxes instead of just typing normally so you can position everything exactly where you want it.
Adobe InDesign or Illustrator – These are professional tools and they’re expensive. If you already know how to use them, great. If you don’t, this is NOT the time to learn. The learning curve is… it’s a lot.
PicMonkey or similar – Works fine, kinda like Canva but I think Canva is better honestly.
Whatever you use, make sure you set up your document size EXACTLY to match your paper size. If you’re printing 5×7 invitations, your document needs to be 5×7. This seems obvious but people mess it up constantly.
The Actual Printing Process
Alright so you’ve got your printer, your paper, your design is ready. Here’s how to actually do this without losing your mind:
Step One: Printer Settings
Open your printer settings and change them from the default. Default settings are for regular paper and they will not work.
- Paper type: Set it to “cardstock” or “heavy paper” or whatever your printer calls thick paper
- Quality: Set it to highest quality or “best” – this is not the time to save ink
- Color management: If you’re printing in color, make sure color correction is ON
- Paper source: Some printers have a special tray for thick paper – use it if yours has one
My cat just knocked over my coffee while I’m writing this and it almost got on my paper samples – anyway where was I…
Step Two: Feed The Paper Correctly
This matters more than you think. Most printers can only handle cardstock if you feed it through the manual feed tray or the back loading tray. The regular paper tray usually can’t handle the thickness and will jam.
Put the paper in the right direction – this sounds stupid but textured or cotton papers have a grain direction and they feed better one way than the other. If you’re getting jams, try rotating the paper 180 degrees.
Only load a few sheets at a time. Like maybe 5-10 sheets max. If you load too many, they stick together and jam or you get double feeds.
Step Three: Print Slowly
Don’t try to rush this. Print a few, check them, print a few more. I usually do batches of 10-15 and then take a break. This gives the printer time to cool down (they can overheat with thick paper) and gives you time to check for any issues.
Watch for:
- Smudging or streaking
- Fading on one side (means you’re running low on toner/ink)
- Paper jams
- Colors looking different from what you expected
- Text that’s not crisp
If anything looks wrong, stop immediately and figure out what’s causing it. Don’t just keep printing and hope it fixes itself because it won’t.

Color Matching Is A Pain
Okay so this is something that drives everyone crazy – what you see on your screen will NOT be exactly what prints. Your monitor shows colors using light (RGB – red, green, blue) but your printer uses ink or toner (CMYK – cyan, magenta, yellow, black). These are fundamentally different and some colors just cannot be exactly replicated.
That gorgeous bright coral you picked? It’s probably gonna print more orangey or pinker than you expect. Navy blue might come out more purple-ish. Grays can have weird color casts.
What helps:
- Calibrate your monitor if you can (there’s software for this)
- Work in CMYK color mode if your software allows it
- Print test sheets and adjust your colors based on what actually prints
- Accept that it won’t be 100% perfect – good enough is really good enough
- Stick to colors that are easier to print – soft neutrals, classic navy, burgundy, forest green all print pretty reliably
Avoid: bright neons, super light pastels (they can look washed out), and bright reds (they almost never look right on the first try).
Fonts Matter More Than You Think
Some fonts print beautifully and some look terrible when printed at home. Script fonts with super thin lines often don’t print well on cardstock – the thin parts can disappear or look broken. Really ornate fonts can look blurry.
Safe choices are classic fonts like Garamond, Palatino, Caslon, or modern sans-serifs. If you want script, go for something with medium weight lines, not super delicate calligraphy.
And please don’t make your text smaller than 10pt – 11pt is better. I know you want to fit everything on there but if your guests need reading glasses to see it, that’s not great.
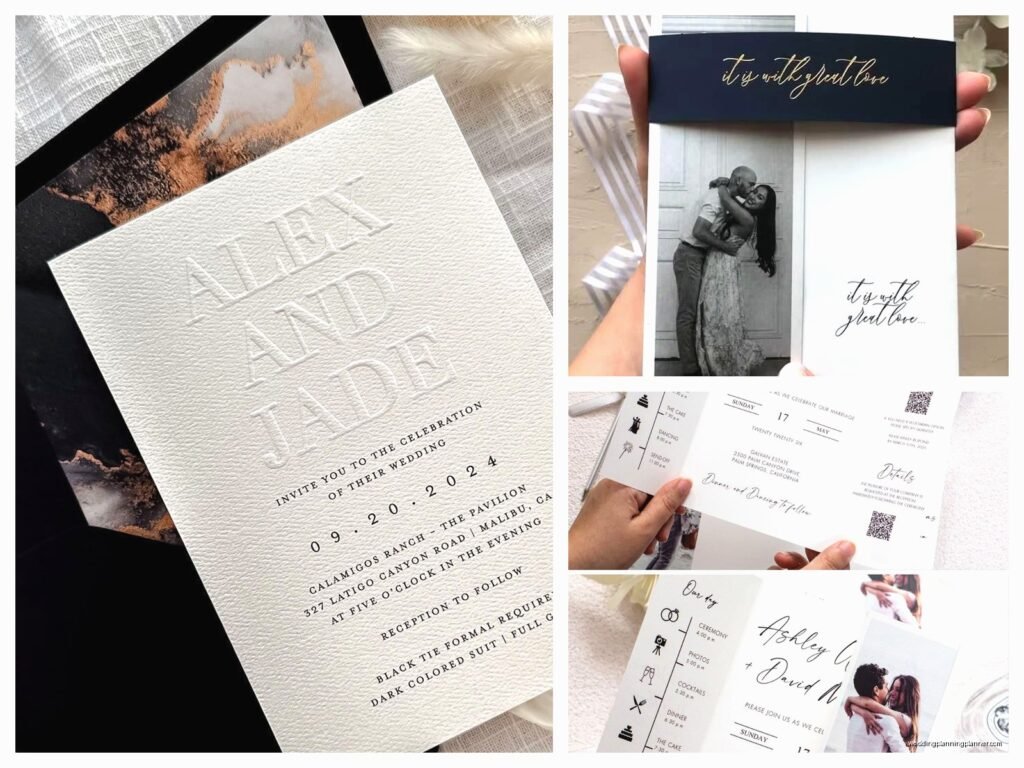
Different Types Of Invitations To Print
Flat Cards
These are the easiest – just a single flat piece of cardstock. You design it, you print it, you’re done. This is what I recommend if you’re new to printing at home.
Standard sizes that work well: 5×7, 4×6, A7 (5.25×7.25). These sizes are easy because you can find envelopes for them anywhere.
Folded Cards
A little trickier because you need to set up your design so it prints on the right panels. Think of it like a greeting card – the front is on the right side of your paper, the inside is when you open it, the back is on the left side.
You’ll probably need to feed these through twice if you want printing on the inside AND outside, which means… alignment becomes critical. Everything needs to line up perfectly or it looks sloppy.
Honestly? Unless you really know what you’re doing or you only need the front printed, I’d stick with flat cards for DIY.
Invitation Suites With Multiple Pieces
So like, the main invitation plus RSVP card plus details card plus whatever else. Each piece gets printed separately which means more chances for things to go wrong but also more flexibility.
The trick here is keeping everything consistent – same paper, same print settings for everything so the colors match. Print all your invitation cards first, then all your RSVP cards, then all your details cards. Don’t try to do one complete set at a time because your color settings might drift slightly and then they won’t match.
Envelopes Are Their Own Special Hell
Printing envelopes at home is technically possible but it’s way more annoying than printing cards. Envelopes jam constantly, they print crooked half the time, and if your envelope is textured or has a colored liner forget about it.
Options that actually work:
Hand address them – I know, I know, it’s time-consuming but it looks the nicest and you don’t have to fight with your printer.
Print on labels – Get clear labels or white labels and print addresses on those, then stick them on your envelopes. Not as elegant but it works and it’s way less frustrating than printing directly on envelopes.
Use a mail merge – If you’re doing labels, Word’s mail merge feature can help you print a whole bunch at once from a spreadsheet. There’s tutorials for this online and once you figure it out it saves so much time.
Print return addresses only – Some people print their return address on the envelope flap and then hand-write or use labels for the guest addresses. This is less fussy because the back flap is flatter and feeds through better.
If you absolutely must print directly on envelopes, get a straight-feed printer if possible. The ones where the paper path is straight through work better than the ones where the paper has to curve around rollers. And only feed one envelope at a time.
Envelope Liners
You can print these at home too but they’re fiddly. You need a template for your specific envelope size, then you print on paper (usually regular weight paper or vellum), cut them out, and glue them in.
Is it worth it? Depends on how much time you have and how crafty you are. They look really pretty but they add significant time to the project. For 100 invitations you’re probably looking at several hours of cutting and gluing.
Cutting Your Printed Pieces
If you’re printing full-sheet and need to cut things down to size (like printing multiple cards per sheet), you need a good cutting tool. Scissors are not gonna cut it – literally, I mean they’ll work but your edges won’t be straight and it’ll take forever.
Get a paper trimmer. The kind with the sliding blade. They’re like $25-40 for a decent one and they make clean straight cuts. Just measure carefully and cut slowly.
Or there’s these circle cutters if you want rounded corners but those are harder to use consistently… I’ve seen mixed results with those from DIY brides.
Common Problems And How To Fix Them
Paper Jams
This is the most common issue. Usually it means:
- Your paper is too thick for your printer – try thinner cardstock
- You loaded too many sheets – load fewer at once
- The paper is humid or staticky – store it in a dry place and fan the sheets before loading
- Your printer rollers are dirty – clean them according to your manual
Smudging
Inkjet prints smudge if:
- The paper isn’t designed for inkjet – you need inkjet-compatible cardstock
- You touched it before it dried – wait at least a few minutes, longer if it’s humid
- You have the wrong paper setting – make sure “cardstock” is selected
Laser prints shouldn’t smudge unless something is wrong with your printer.