Planning Guides, Style Guide
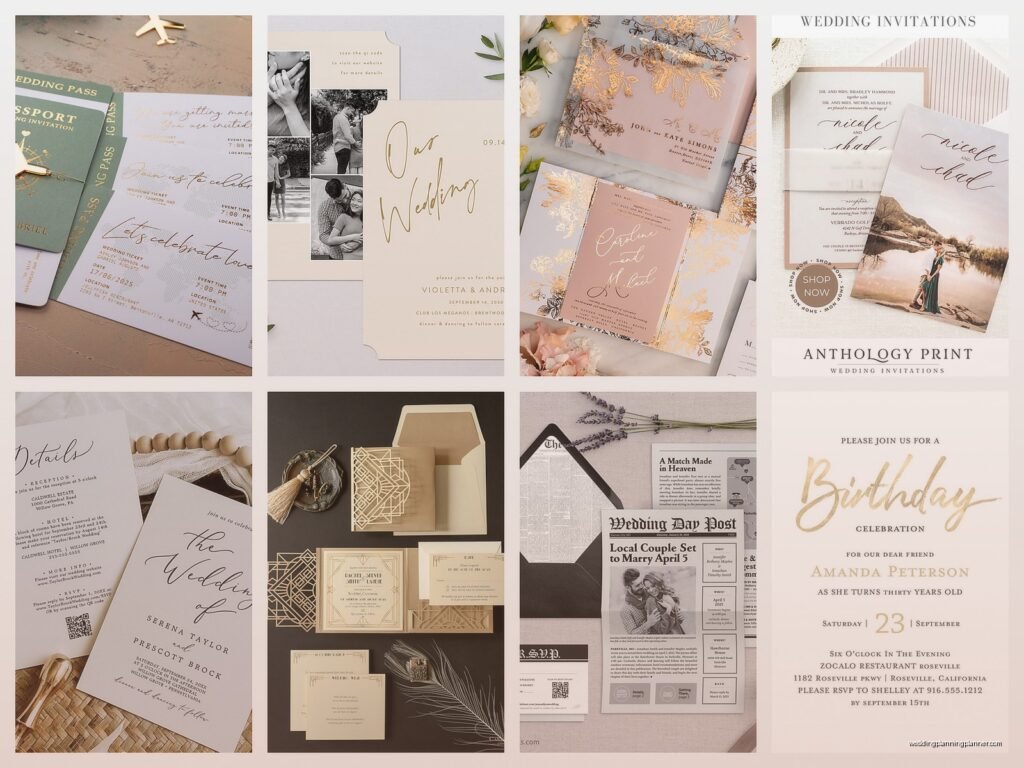
All in One Invitations: Complete Suite Single Mailing
May
So You Want Everything in One Envelope
Okay so all-in-one invitation suites are kinda having this huge moment right now and honestly I get why. You’re basically cramming your invitation, RSVP card, details card, maybe even a map or accommodation info all into one mailing. One envelope. One stamp (well, usually). One trip to the post office where you’re not making like seventeen trips because you forgot something.
The whole point is efficiency but also it looks really polished when someone opens that envelope and everything they need is just there. No waiting for a second mailing with directions. No “oh crap did we send the hotel block info” panic at 2am which I definitely had with a client back in spring 2023 and it was NOT fun.
What Actually Goes Inside
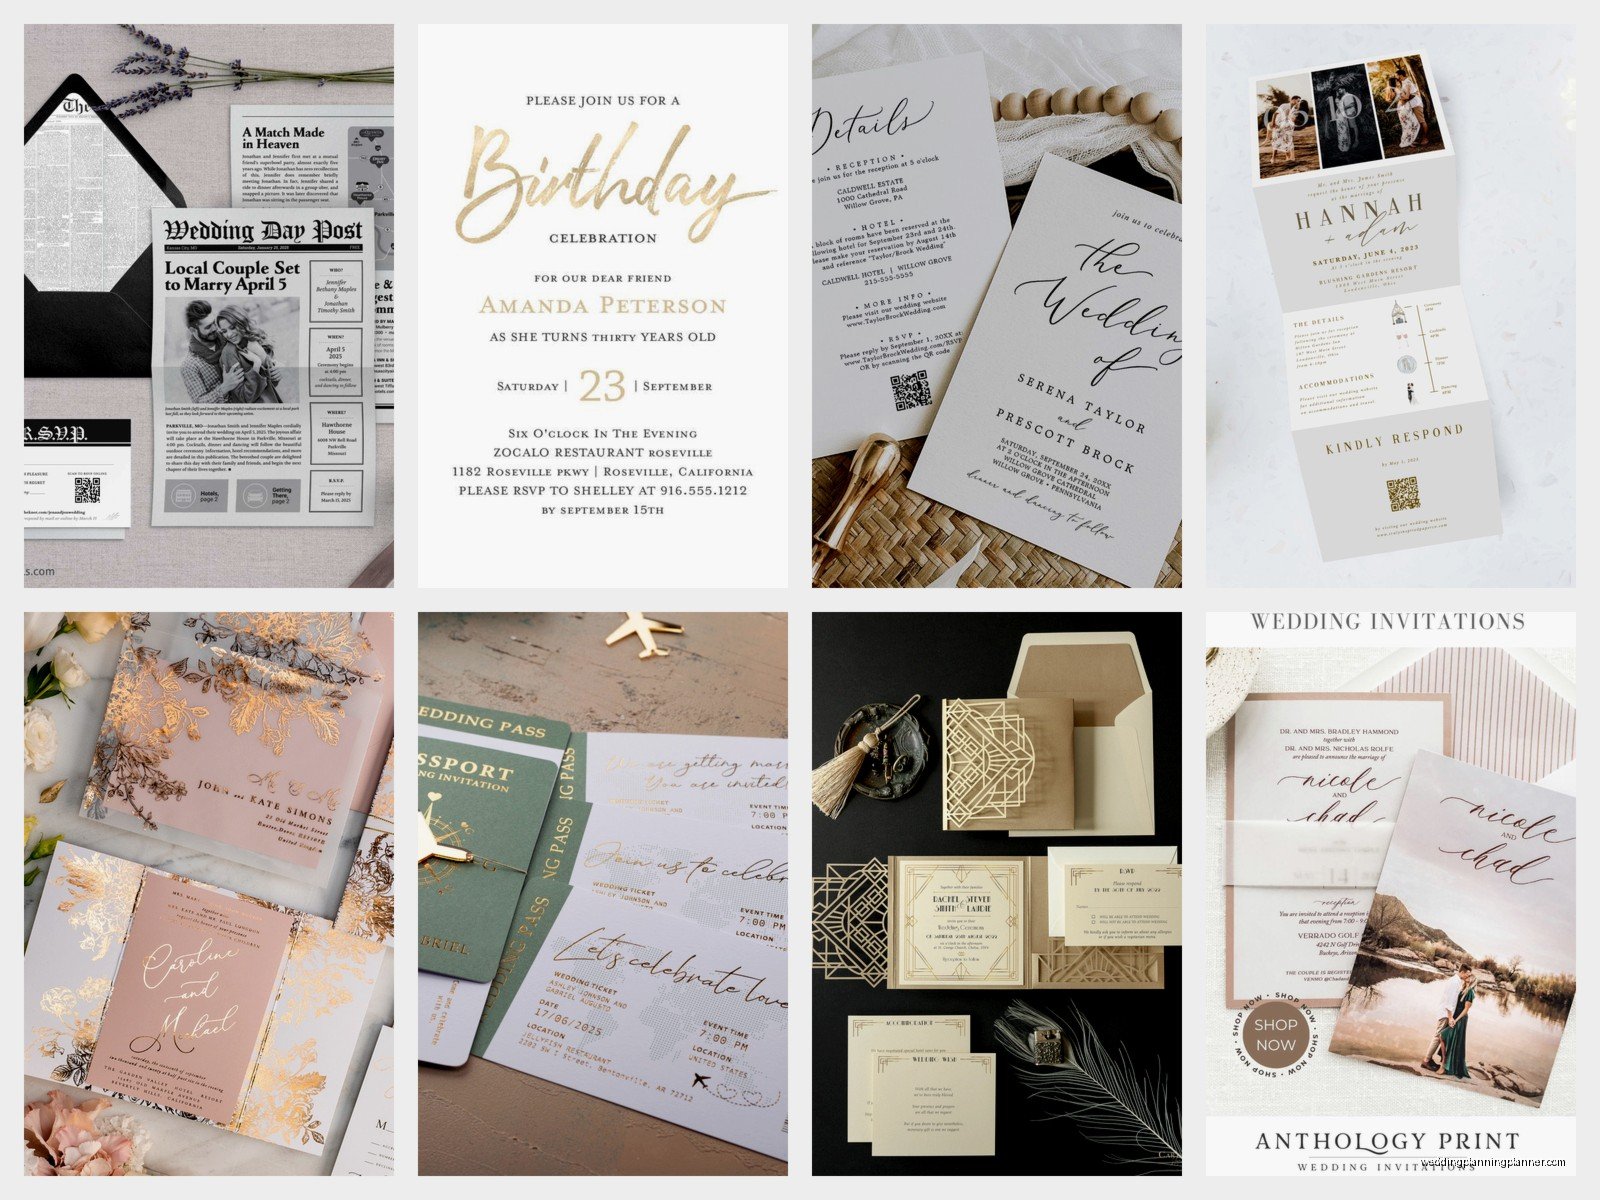
Let me break down what you’re typically including because this varies but here’s the standard setup:
- The main invitation card (obviously)
- RSVP card with a pre-addressed and stamped return envelope
- Details card with your wedding website, dress code, timeline
- Accommodation card if you have hotel blocks
- Direction or map card if your venue is tricky to find
- Reception card if ceremony and reception are different locations
Some people also throw in weekend itinerary cards if you’re doing a whole wedding weekend thing. I’ve seen people include literally eight different cards and I’m like… that’s a lot but okay, your postage budget.
Assembly Is Where People Lose Their Minds
Here’s the thing nobody tells you until you’re sitting at your dining table at 11pm with 150 invitations spread everywhere and your cat knocking card stock onto the floor (my cat Mochi did this during a client assembly party and I wanted to scream). The order matters. Not like, legally matters, but aesthetically it does.
Standard stacking order from back to front goes like this:
- Main invitation card (this is your base, everything stacks on top)
- Tissue paper if you’re using it (kinda old school but some people love it)
- Reception card if you have one
- Details/accommodation cards
- RSVP envelope with the RSVP card tucked under the flap, not inside
The RSVP card goes under the envelope flap so people can see it immediately. If you stick it inside the envelope people sometimes miss it and then you get texts like “where do I RSVP” and you’re like IT WAS IN THERE.
Belly Bands vs Ribbon vs Nothing
You gotta decide how you’re keeping this stack together. There’s a few options and they all have pros and cons that’ll make you question your choices.
Belly bands are those paper strips that wrap around the whole suite. They’re clean, modern, you can print on them or leave them blank. I use them probably 60% of the time. They’re easy to DIY if you have a paper cutter and some patience.
Ribbon looks gorgeous but holy hell is it time consuming. You’re tying like 100+ tiny bows and your fingers will hurt. Also ribbon adds bulk which means… you might need a bigger envelope or extra postage. I learned this the hard way in summer 2021 when a bride insisted on this thick velvet ribbon and we had to use 2oz postage for everything. Her stamps budget basically doubled.
Vellum wraps are having a moment. It’s like a translucent jacket that goes around everything. Very elegant, very expensive if you’re buying pre-cut, very annoying if you’re cutting them yourself because vellum is slippery.
Nothing is also totally fine? Like just stack everything neatly and put it in the envelope. The envelope literally holds it together. This is the move if you’re on a budget or just don’t want to fuss.
Envelope Sizing Will Stress You Out
Okay so this is the part that annoyed me SO MUCH when I first started doing this. Envelope sizes are not intuitive. You’d think “oh I have a 5×7 invitation so I need a 5×7 envelope” but nah. You need bigger because you’re fitting multiple cards plus you need wiggle room.
Standard sizes that actually work:
- A7 envelopes (5.25 x 7.25) fit most 5×7 invitations with a few insert cards
- A6 envelopes (4.75 x 6.5) for smaller 4.5×6 invitations
- 6×9 envelopes if you’ve got a thick suite or lots of cards
But here’s where it gets tricky – thickness matters for postage. If your suite is thicker than 0.25 inches you’re gonna pay extra. The postal service has this template thing they use to check and if your envelope doesn’t fit through it, boom, extra money. I always tell clients to assemble one complete invitation and take it to the post office to get it weighed and measured before you do all of them. Trust me on this.
Inner Envelopes Are Optional But Classy
Some people do double envelopes – an outer one that gets addressed and handled by the post office, and an inner one that stays pristine and has the guests’ names written more formally. This is very traditional, very fancy, and honestly kinda unnecessary unless you’re doing a black tie wedding or you just really love the look.
Inner envelopes add cost though. You’re buying twice as many envelopes plus the outer ones need to be bigger to fit the inner ones. And assembly takes longer because… more pieces.
I usually only recommend them if you’re worried about envelopes getting damaged in the mail or if you want that extra “wow” moment when someone opens it. Otherwise skip them and put that money toward better quality paper stock or something.
Postage Is Gonna Be More Than You Think
This is where people’s budgets go to die. A regular letter stamp is currently 68 cents but your invitation suite is probably not a regular letter. It’s probably:
- Square shaped (extra 30 cents surcharge because it can’t go through machines)
- Over 1oz in weight (extra postage per ounce)
- Thick or rigid (extra surcharge)
- Has wax seals or ribbons sticking out (hand cancel required)
I’ve had suites that needed $1.50+ in postage PER INVITATION. Multiply that by 150 guests and you’re spending $225 just on stamps. For the outer envelopes. Don’t forget you also need to put stamps on those RSVP return envelopes.
Pro tip: buy vintage stamps from USPS or websites that sell them. You can mix denominations to get the right postage amount and it looks way cooler than just slapping two Forever stamps on there. I’m obsessed with this honestly, it’s like a tiny art project.
Hand Canceling Is Your Friend
If you’ve spent all this time and money on beautiful invitations, you do NOT want the post office running them through the sorting machines which will mark them up with those black wavy lines and possibly bend them. Hand canceling means a postal worker manually stamps each envelope with a round postmark.
Not every post office location does this and some will charge you extra. You gotta call ahead and ask. Bring your invitations in a box, be really nice to the postal workers, and maybe go during a non-busy time. I usually go Tuesday morning around 10am because that’s when my local post office is dead.
Some locations will let you stand there and watch them do it. Others will take them in back. I’ve had… mixed experiences with this. Once they lost like 30 invitations and we never found them, so now I’m paranoid and I always get a receipt for the quantity I’m dropping off.
Timing For Assembly Parties
If you’re gonna DIY this, you need help. I don’t care how organized you are, doing 100+ invitation suites alone will break your spirit. Assembly parties are the move but you gotta set them up right or it becomes chaos.
What you need: a big table or clear floor space, assembly line style stations for each component, wine or beer or snacks, and people who will actually help not just sit there and chat. I learned this when my friend invited me to her assembly party and three people just drank wine while four of us did all the work and I was like… this is not the vibe.
Set up stations like: envelope stuffing station, belly band station, addressing station if you’re hand writing, stamp station. People move down the line. It goes way faster this way.
Plan for like 2-3 hours depending on how many you have and how complicated they are. If you’re doing ribbons add another hour because someone will tie them wrong and you’ll have to redo them.
Addressing Options That Won’t Kill You
You’ve got options here and they range from cheap but time consuming to expensive but pretty:
Hand writing everything – looks personal but your hand will cramp. Only do this if you have nice handwriting or if you’re only sending like 30 invitations. For 150+ this is actually torture.
Print directly on envelopes – most printers can do this if you figure out the feed settings. It’s clean and professional looking. Not super romantic or personal but very efficient. I do this for like half my clients.
Printed labels – easy but kinda looks cheap unless you get clear labels and a good font. I’m not gonna lie, people can tell when you used labels.
Hire a calligrapher – gorgeous, expensive, worth it if it’s in your budget. Expect to pay like $3-5 per envelope depending on the calligrapher. Book them early though because good ones fill up fast, especially for spring and fall weddings.
Digital calligraphy/printing that looks like calligraphy – this is the middle ground. Some printers can do envelope printing that mimics hand calligraphy and it looks really good from like two feet away. Up close you can tell but honestly most people aren’t examining your envelopes that carefully.
What About Wedding Websites
Okay so here’s where all-in-one suites kinda clash with modern wedding planning… you probably have a wedding website with all your details on it. So do you really need to print all these insert cards?
Honestly it depends on your crowd. If you’re inviting a lot of older guests who aren’t super tech savvy, print the important stuff. If everyone’s under 40 and lives on their phones, you can probably just include a details card with your website URL and call it a day.
I usually recommend printing at minimum: the invitation itself, an RSVP card (even if you’re doing online RSVPs, some people prefer paper), and one details card with your website. Everything else can live online. This keeps your suite slim, keeps postage down, and honestly most people are gonna look at your website anyway because they want to see photos and registry info.
Common Mistakes I See All The Time
Let me save you from some disasters I’ve witnessed:
Not ordering enough extras. You will mess some up during assembly. You will have last minute additions to the guest list. Order at least 15-20 extra invitations beyond what you think you need.
Forgetting to proofread after the final proof. I had a client in 2022 who approved everything and then we printed 200 invitations with the wrong ceremony time because she changed it last minute and forgot to tell me and I didn’t… anyway it was a whole thing. We had to reprint everything. Check the dates, times, addresses, EVERYTHING.
Using envelope seals or wax seals that are too thick. They’ll either fall off in the mail or cause the envelope to tear. If you’re using wax seals put them on the inner envelope or on the invitation itself, not the outer mailing envelope.
Not testing your assembly. Do one complete invitation start to finish before you commit to doing all of them. Make sure everything fits in the envelope without forcing it. Make sure the weight is what you expected for postage. Make sure it looks how you imagined.
Mailing too early or too late. Send invitations 6-8 weeks before your wedding. Earlier if it’s a destination wedding or holiday weekend. Later and people won’t have time to plan. Earlier and people will forget or lose them.
Budget Breakdown So You Don’t Panic
Here’s roughly what you’re looking at cost-wise for 100 all-in-one invitation suites:
- Invitation printing: $200-600 depending on printing method and paper quality
- Envelopes: $50-150 for outer envelopes, add another $50-100 if doing inner
- RSVP cards and envelopes: $75-150
- Insert cards: $50-100
- Belly bands or ribbon: $20-80
- Postage for outer envelopes: $100-200
- Postage for RSVP return envelopes: $70-100
- Addressing: $0 if DIY, $300-500 if hiring calligrapher
Total: anywhere from $565 to $1,880 for 100 suites depending on how fancy you go. That’s like $5.65 to $18.80 per invitation which sounds wild when I say it out loud but… that’s kinda where quality wedding stationery lands.
You can definitely do it cheaper if you DIY everything and use templates from Etsy or Canva. I’ve seen people pull together nice suites for like $300 total. It just takes more time and you gotta be comfortable with design software and printers and paper cutting and all that.
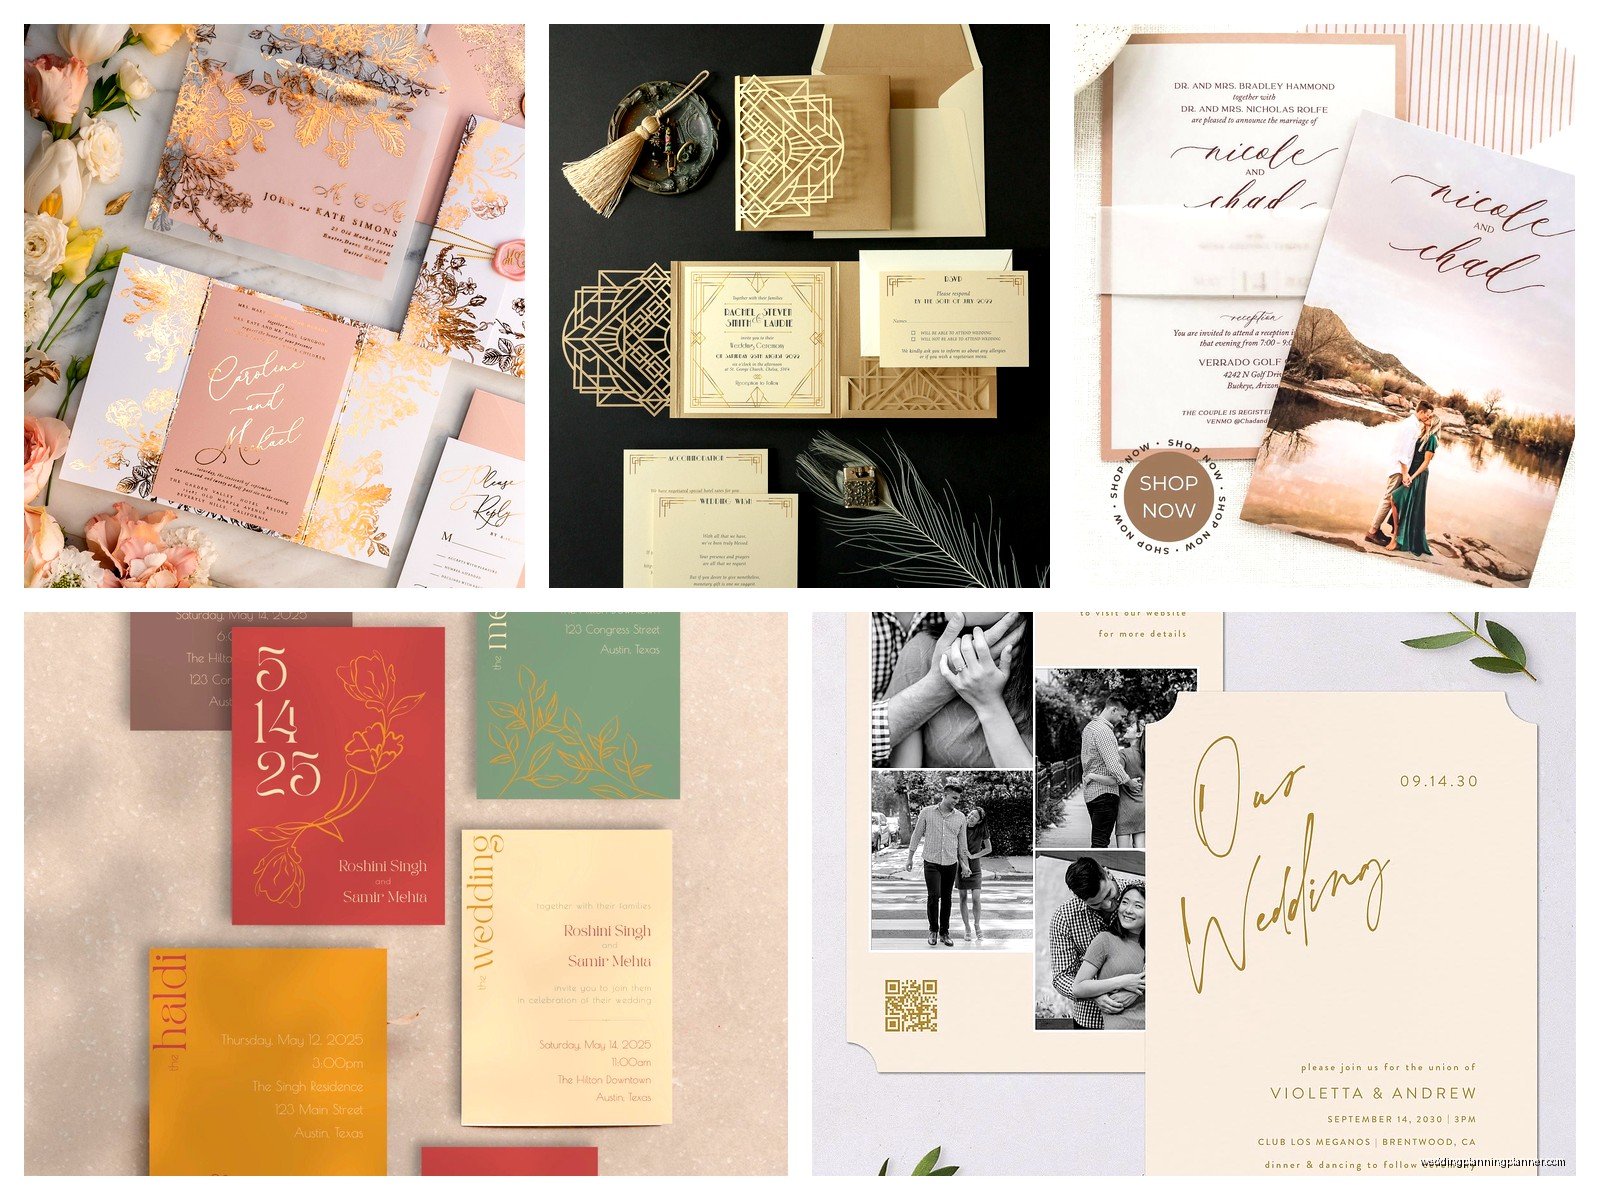
Digital Printing vs Letterpress vs Foil
Quick rundown on printing methods because this affects your cost and timeline:
Digital printing is the most affordable and what most online printers use. It looks good, colors are accurate, turnaround is fast. This is what I recommend for most couples unless they’re really into fancy printing methods or have a big budget.
Letterpress is that beautiful pressed-into-the-paper look. It’s expensive, takes longer, and you need thick paper stock. Gorgeous for formal weddings. Expect to pay 3-4x what digital costs.
Foil stamping adds metallic foil elements. Very pretty, very trendy right now, moderately expensive. Falls between digital and letterpress price-wise.
You can also mix methods like digital printing with foil accents which gives you that fancy look without full letterpress pricing.
Timeline For Getting This Done
Working backwards from when you need to mail them (6-8 weeks before wedding):
- 12 weeks before wedding: finalize your design and wording, place your order
- 10 weeks before: invitations arrive, start addressing envelopes
- 8 weeks before: assemble everything, get a sample weighed at post office
- 7 weeks before: buy all your postage
- 6-8 weeks before: mail everything
This assumes nothing goes wrong which… something always goes wrong. Build in buffer time. If you’re doing custom design or letterpress add another 2-4 weeks to the timeline.
I always tell couples to have their guest list completely finalized before ordering. You can’t really add people easily once you’ve ordered a specific quantity because you’ll have to do a whole separate order and the colors might not match exactly and it becomes this whole thing that’s not worth the headache