Planning Guides, Style Guide
Invitation Belly Band: Decorative Wrap Assembly Guide
May
Getting Your Belly Bands Together Without Losing Your Mind
Okay so belly bands are basically just decorative paper strips that wrap around your invitation suite to hold everything together and look fancy. They’re super popular right now and honestly they DO make invitations look more expensive and put-together, but assembly can be… a lot. Especially when you’re doing like 150 of them at 11pm because your wedding is in three weeks.
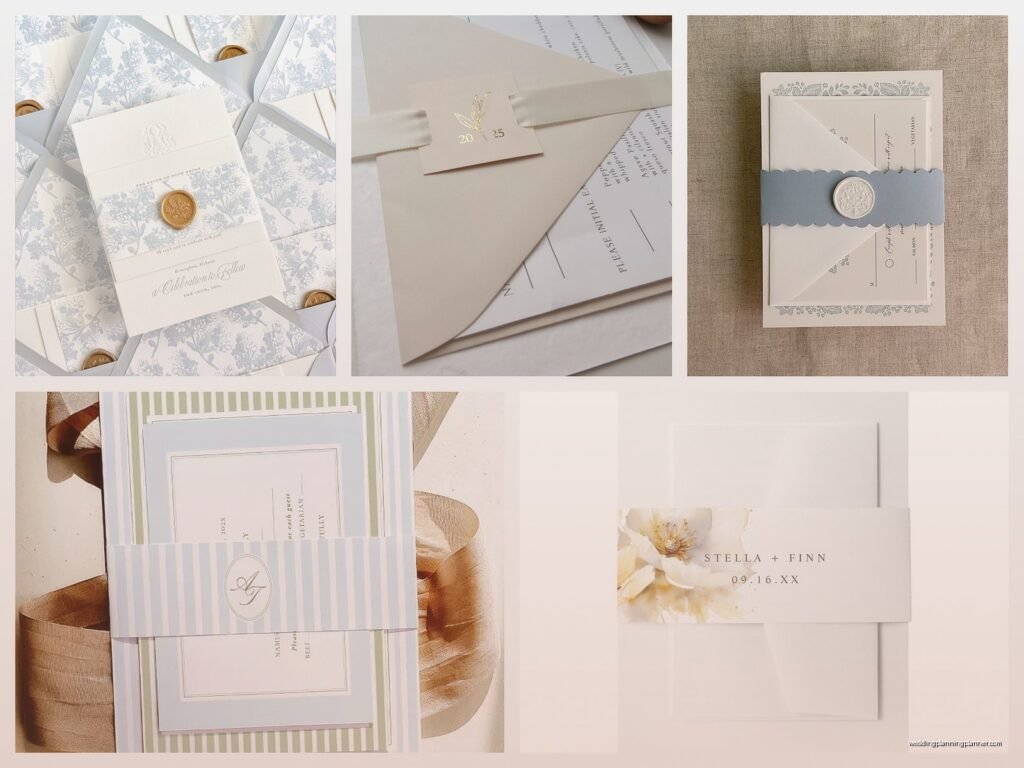
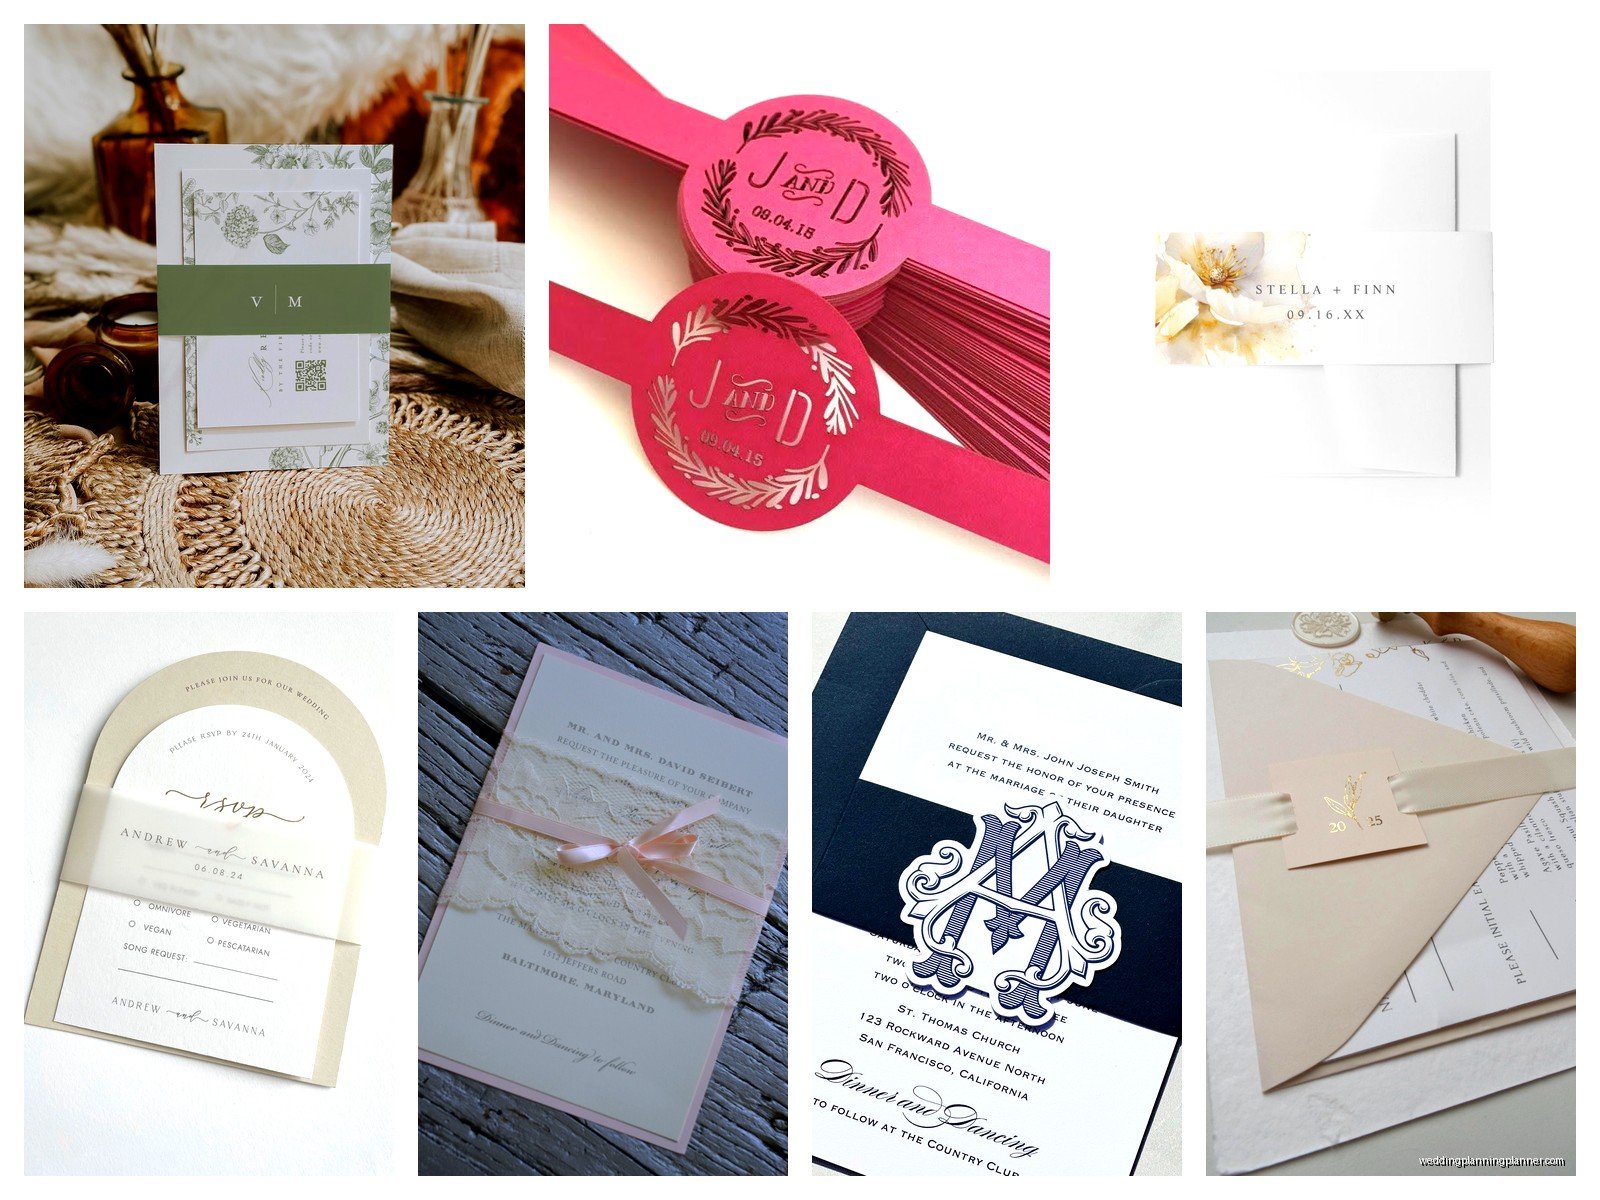
The basic idea is you’ve got your invitation card, maybe some inserts like a details card or RSVP card, and you’re wrapping this band around the whole stack to keep it bundled. The band can be plain paper, vellum, fabric ribbon, or even have printed designs on it. Some have custom monograms or wedding dates printed right on them which looks really nice.
What You Actually Need
Before you start assembling anything you gotta have your materials ready because nothing’s worse than getting halfway through and realizing you’re missing something. Trust me on this one.
- Your invitation cards (obviously)
- All your insert cards – details card, RSVP card, reception card, whatever you’re including
- The belly bands themselves – usually 2 inches wide and long enough to wrap around with about 1-2 inches of overlap
- Adhesive – either double-sided tape, glue dots, or those clear sticker seals
- Scissors or a paper trimmer if your bands aren’t pre-cut
- A ruler for measuring if you’re DIYing the bands
- Clean workspace that’s bigger than you think you need
I learned the hard way in spring 2023 with a client who wanted to save money by cutting her own belly bands from cardstock she bought at a craft store. We spent an entire Saturday afternoon at her dining room table and my back was killing me by the end. Make sure you have a comfortable chair situation if you’re doing a large quantity.
Figuring Out the Right Size
This is where people mess up the most and it drives me kinda crazy when couples order belly bands before actually measuring their invitation suite. You need to stack everything exactly how it’ll be assembled, then measure around the entire stack with a measuring tape. Add about 1.5 to 2 inches for overlap and that’s your belly band length.
Width is usually between 1.5 and 2.5 inches depending on your aesthetic. Narrower bands look more delicate and modern, wider ones are more traditional and can fit more text or design elements.
The thickness of your stack matters too. If you’re including like seven insert cards plus a pocket folder, your band needs to be longer than if you’re just wrapping a single invitation and RSVP card. I had a bride once who ordered bands based on just her invitation card measurement and then added four more inserts after ordering… we had to reorder everything and it delayed her mailing by two weeks.
Assembly Line Method for Large Quantities
If you’re doing more than like 20 invitations, you’re gonna want to set up an assembly line situation. This is the only way to stay sane.
First, organize all your materials into separate stacks. All invitation cards in one pile, all detail cards in another, all RSVP cards in their pile, and so on. Your belly bands should be in their own stack with the adhesive nearby.
Start by assembling all your invitation stacks first WITHOUT the belly bands. Stack them in the order you want – usually it’s invitation on bottom (face up), then any additional cards on top in order of importance. Some people like the RSVP card on top so it’s the first thing guests see, others prefer it at the bottom. There’s no wrong answer here, just whatever makes sense for your suite.
Once all your stacks are assembled, then you add the belly bands. This two-step process is way faster than trying to do everything at once for each invitation.
The Actual Wrapping Process
Alright so here’s how you actually wrap the thing. Take your assembled stack of cards and center it on your workspace. Take one belly band and wrap it around the middle of the stack – not too high, not too low, right in the center usually looks best.
The band should be snug but not so tight that it bends or warps your cards. If it’s too loose though, everything will slide around and look sloppy. You want that goldilocks situation where it’s just right.
Wrap the band all the way around so the ends overlap on the back of the invitation (not the front where it’ll be visible). The overlap should be about 1 to 1.5 inches. Before you secure it, make sure the band is straight and centered – this is your last chance to adjust.
Now for the adhesive part which honestly is the most annoying step because you have to be precise. I prefer clear glue dots because they’re forgiving and don’t show through paper, but double-sided tape works fine too. Place your adhesive on one end of the band where it overlaps the other end on the back of the invitation.
Press firmly for like 5-10 seconds to make sure it’s secure. Don’t just tap it and move on because I’ve seen bands pop open in the mail and that’s just sad after all that work.
Different Belly Band Styles
There’s more than one way to do this and depending on your invitation style you might want to try different approaches.
Basic Paper Band: This is what I’ve been describing – just a strip of cardstock or specialty paper wrapped around and adhered in the back. Simple, classic, works for any wedding style.
Vellum Overlay: Instead of opaque paper you use translucent vellum which creates this really elegant layered look. You can see hints of the invitation design through the vellum. The assembly is exactly the same but vellum is more delicate so you gotta be gentle.
Ribbon Belly Band: Okay so technically this isn’t paper but it works the same way. You wrap a ribbon (usually grosgrain or satin) around the suite and tie it in a bow or knot on the front or back. This adds texture and dimension. The annoying thing about ribbon is that you can’t really do the assembly line method as efficiently because each bow needs to be tied individually and they all need to look consistent.
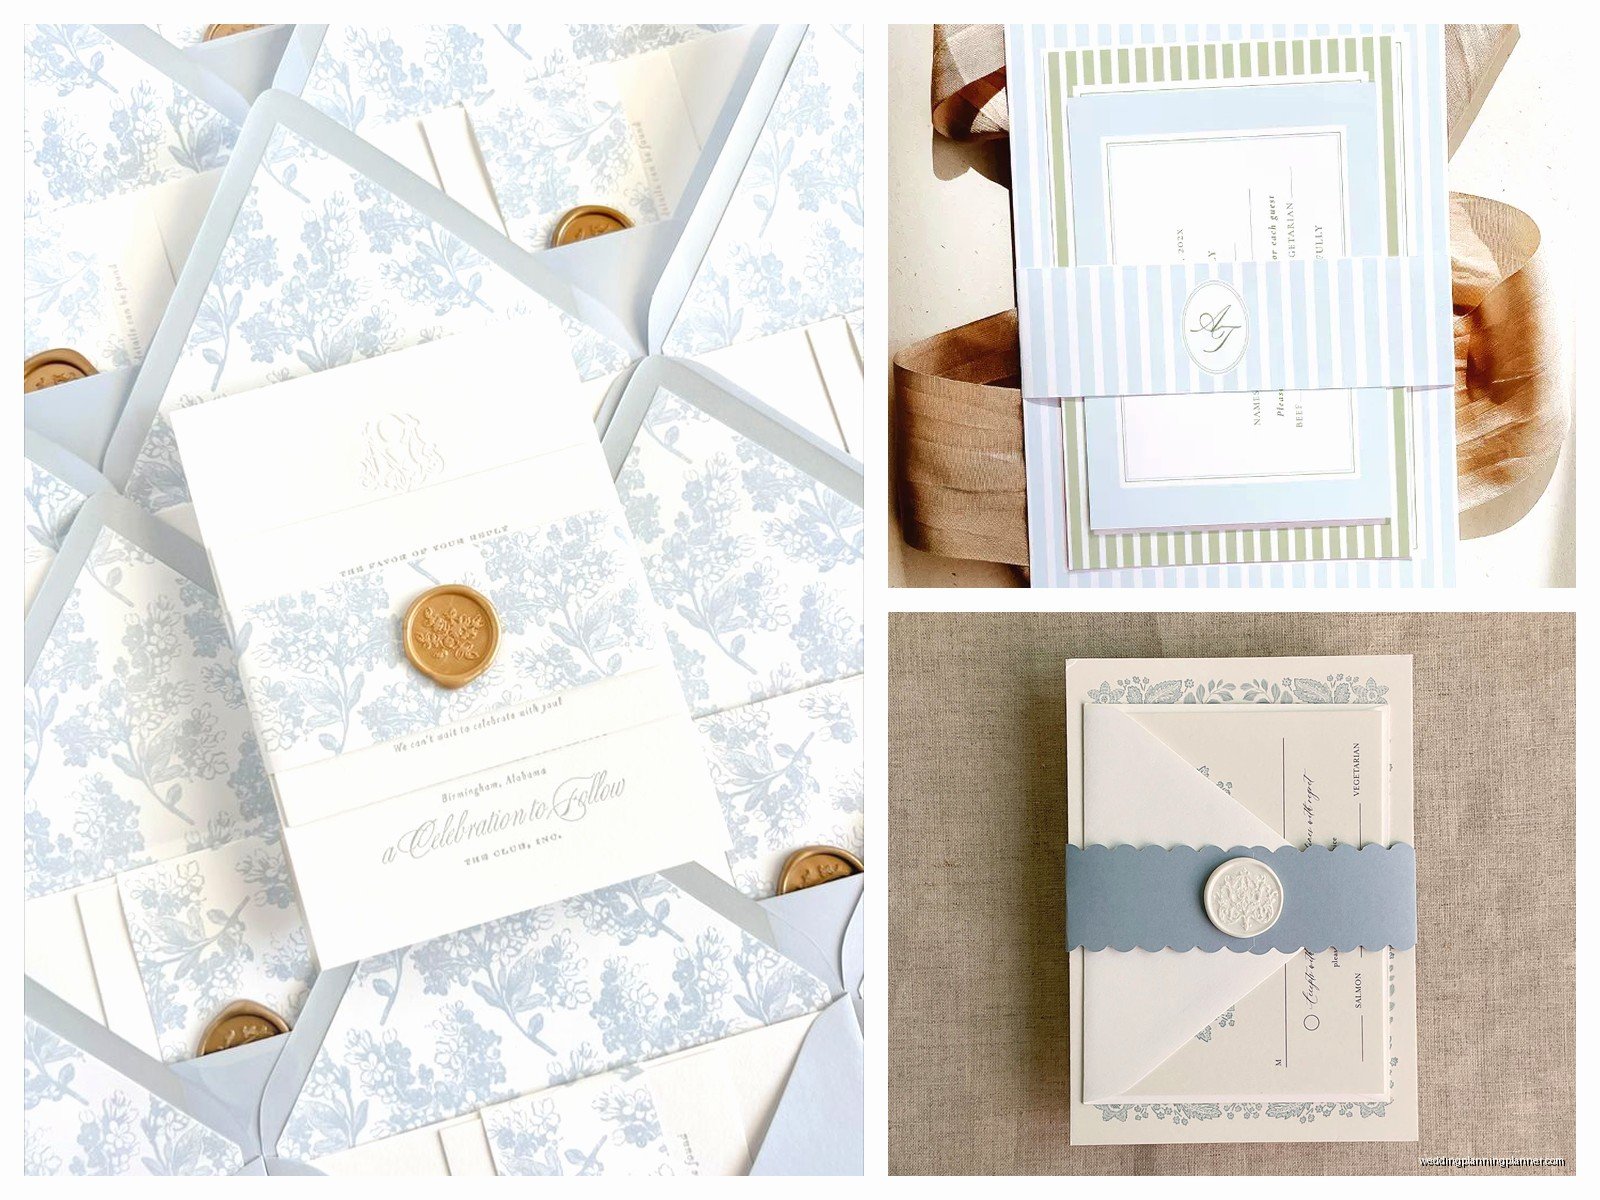
Band with Tag or Embellishment: This is where you add a decorative element to the basic band – maybe a wax seal on top, a small tag with your monogram, or a dried flower. These look gorgeous but add significant time to assembly. My cat knocked over a whole jar of wax beads once while I was doing wax seals for a client and I’m still finding little gold beads in my office carpet.
Timing and Workflow Tips
Don’t try to do all your invitations in one sitting unless you have like 30 or fewer. Your hands will cramp, you’ll get sloppy, and you’ll start to hate the whole process. Break it up into sessions of maybe 50 invitations at a time with breaks.
Music or podcasts help. I usually put on something I don’t have to pay close attention to – lately I’ve been rewatching old episodes of The Office while I work on invitation projects and it makes the time go faster.
Quality control is important so every like 10 or 15 invitations, stop and check your work. Make sure the bands are straight, the adhesive is holding, everything looks consistent. It’s easier to fix problems as you go than to finish all 150 and then realize half of them are crooked.
Common Problems and How to Fix Them
The bands keep sliding around before you secure them – use a small piece of removable tape to hold the band in position while you add your permanent adhesive, or recruit a helper to hold things steady while you work.
Your adhesive shows through the paper – this happens with liquid glue on thin paper. Switch to glue dots or double-sided tape, or use a heavier weight paper for your bands.
The bands are too tight and bending your cards – you measured wrong or your stack is thicker than you thought. You’ll need longer bands, sorry. This is why you should always order a few extra just in case.
Everything looks messy and inconsistent – this usually means you’re rushing or trying to do too many at once. Slow down, take a break, come back with fresh eyes. Sometimes you just need to… I don’t know, reset your brain or something.
Pre-Cut vs DIY Belly Bands
You can buy pre-cut belly bands from stationery suppliers or you can cut your own from cardstock. Pre-cut is obviously easier and more consistent, but it costs more. DIY is cheaper but time-consuming.
If you’re cutting your own, use a paper trimmer with a sharp blade, not scissors. Scissors will give you wavy edges no matter how careful you are. Measure and mark all your cuts before you start cutting – measure twice cut once and all that.
For vellum bands, be extra careful because vellum tears easily if your blade is dull. I always do a few test cuts first to make sure everything’s cutting cleanly.
Special Considerations for Mailing
Belly bands add thickness to your invitation which can bump you into a higher postage tier. Take a fully assembled invitation to the post office and have them weigh it before you buy stamps. Nothing worse than having invitations returned for insufficient postage.
Make sure your belly bands are secure enough to survive the mail sorting machines. Those machines are rough and if your adhesive isn’t strong enough, bands can pop off or get caught and tear. This is why I always press firmly when adhering and sometimes use two glue dots instead of one for extra security.
Some people worry about belly bands getting caught in mail sorting equipment but honestly in my 15+ years of doing this I’ve never had that problem if they’re properly secured. The postal service handles way weirder shapes and embellishments than a simple paper band.
Alternatives If You’re Over It
Look, sometimes you get halfway through assembling belly bands and you just… can’t anymore. I get it. Here are some easier alternatives that still look pulled together:
Use a clear vellum envelope or jacket instead – you can slide your whole stack inside and it holds everything together without any wrapping or adhesive. Plus you can still see your invitation design through the vellum.
Try a simple ribbon bow tied around the suite – less precise than a full belly band and kinda more forgiving if things aren’t perfectly aligned.
Get a pocket folder invitation where everything tucks into pockets – no belly band needed because the folder itself holds everything together.
Or just mail your invitations as separate cards in the envelope. There’s no rule that says everything has to be bundled together. Sometimes simple is better.
The Real Talk About Assembly Time
People always underestimate how long this takes. Plan for about 2-3 minutes per invitation if you’re doing belly bands with any kind of detail or embellishment. For 100 invitations that’s like 3-5 hours of work, not including setup and cleanup.
If you’re doing simple paper bands with just adhesive and no extras, you can maybe get it down to 1-2 minutes per invitation once you’re in a rhythm. But don’t plan on doing this the night before you need to mail them because something will go wrong and you’ll need time to fix it or redo some.
I had a client in summer 2021 who insisted she could assemble 200 invitations with belly bands, wax seals, AND ribbon in one weekend by herself. She called me crying on Sunday night with maybe 50 done and her wedding was two weeks away. We ended up recruiting her bridesmaids for an assembly party and got it done but it was stressful for everyone.