Planning Guides, Style Guide
Married Invite Card: Design & Ordering Guide
Jun
Getting Your Married Invite Cards Actually Done
So the biggest thing nobody tells you about married invite cards is that you’re gonna need way more time than you think. Like I had this couple in spring 2023 who wanted everything designed, printed, and mailed in three weeks and I literally laughed because that’s just… no. That’s not happening unless you want to pay rush fees that’ll make your eyes water.
First thing – figure out your actual guest count before you do literally anything else. I know you’re thinking “duh Olivia” but you’d be shocked how many people design these gorgeous invites and then realize they forgot about their dad’s entire side of the family. Add at least 10-15% extra to whatever number you think you need because someone’s gonna mess up addressing an envelope, or you’ll get new plus-ones, or your printer will jam and eat three invites.
The Design Part That Everyone Overthinks
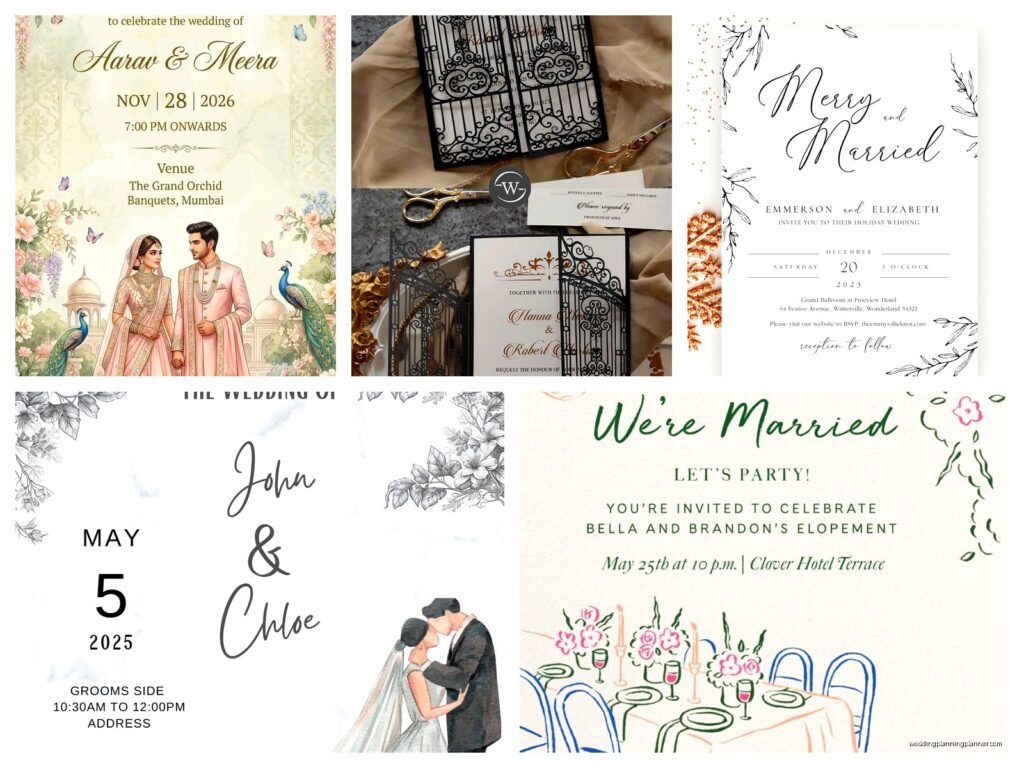
Okay so here’s where people get stuck in analysis paralysis. You can go custom, semi-custom, or template. Custom means hiring a designer or doing it yourself from scratch – this is expensive and time-consuming but you get exactly what you want. Semi-custom is using a company that has templates you can modify (colors, fonts, wording). Full template is just picking something and changing the names and date.
I’m not gonna lie to you, unless your wedding has a very specific theme or you’re design-obsessed, semi-custom is the sweet spot. Companies like Minted, Zola, Paperless Post (for digital), and Artifact Uprising have really good options now. The fully custom route… I designed my own stationery suite back in the day and it was beautiful but also I wanted to throw my laptop out the window multiple times.
What really annoys me is when people don’t consider readability. Like yes, that swirly script font is gorgeous, but if your 80-year-old grandmother can’t read the address, what’s the point? I always tell clients to pick ONE decorative font max, and pair it with something clean and simple. Your invite needs at minimum: your names, the date, the time, the location, and RSVP details. Everything else is optional.
Colors and Paper Stock
The paper weight thing confuses everyone. Here’s the breakdown: 80-100 lb cover stock is standard and perfectly fine. 110-130 lb is thick and luxe-feeling. Anything above that is like… are you mailing cardboard? It feels fancy but costs more to mail because it’s heavier.
Finishes matter too. Matte is classic and easy to write on. Glossy photographs well but shows fingerprints like crazy – I learned this the hard way with a summer 2021 wedding where we had to reprint everything because the bride touched every single invite while reviewing them and they looked smudgy. Linen or cotton finishes are really popular right now and they’re gorgeous but definitely pricier.
For colors, you don’t have to match your wedding colors exactly on the invite. Actually sometimes it looks better if you don’t? Like if your wedding is blush and gold, maybe your invites are cream and rose gold, or ivory and champagne. They should coordinate, not match exactly like you’re trying to create a paint swatch.
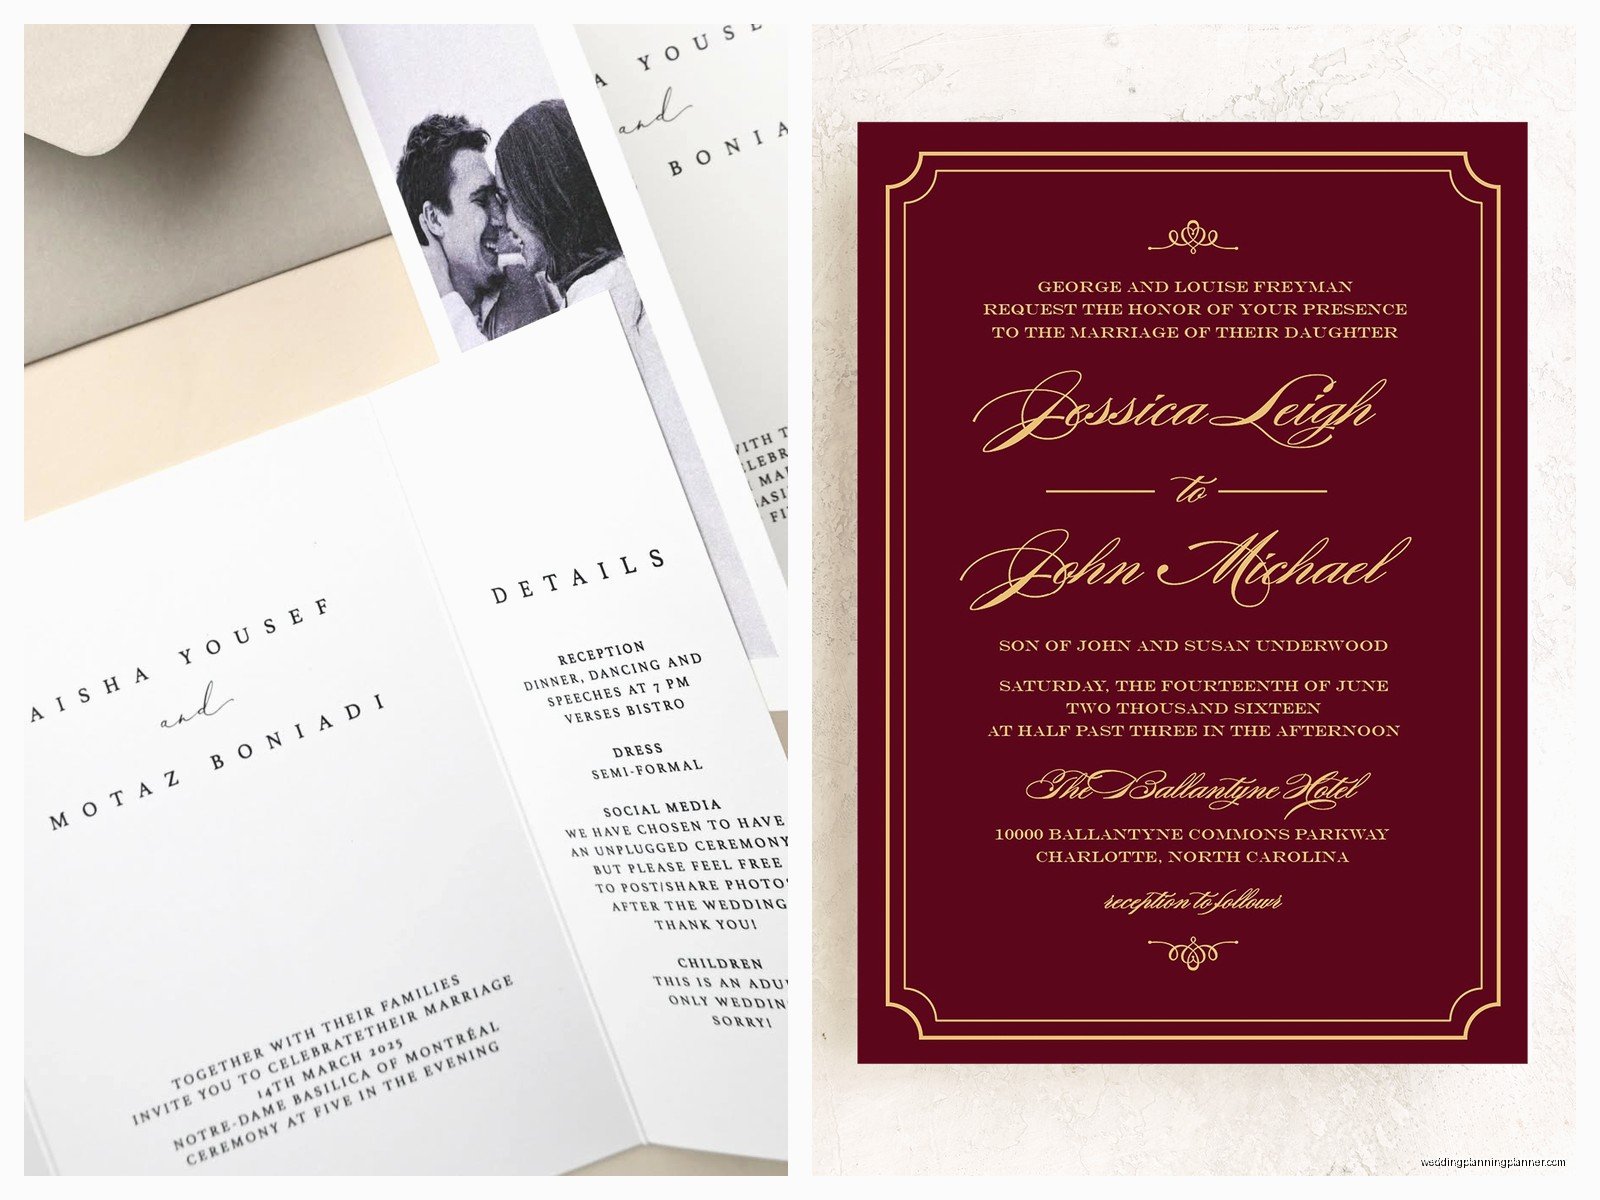
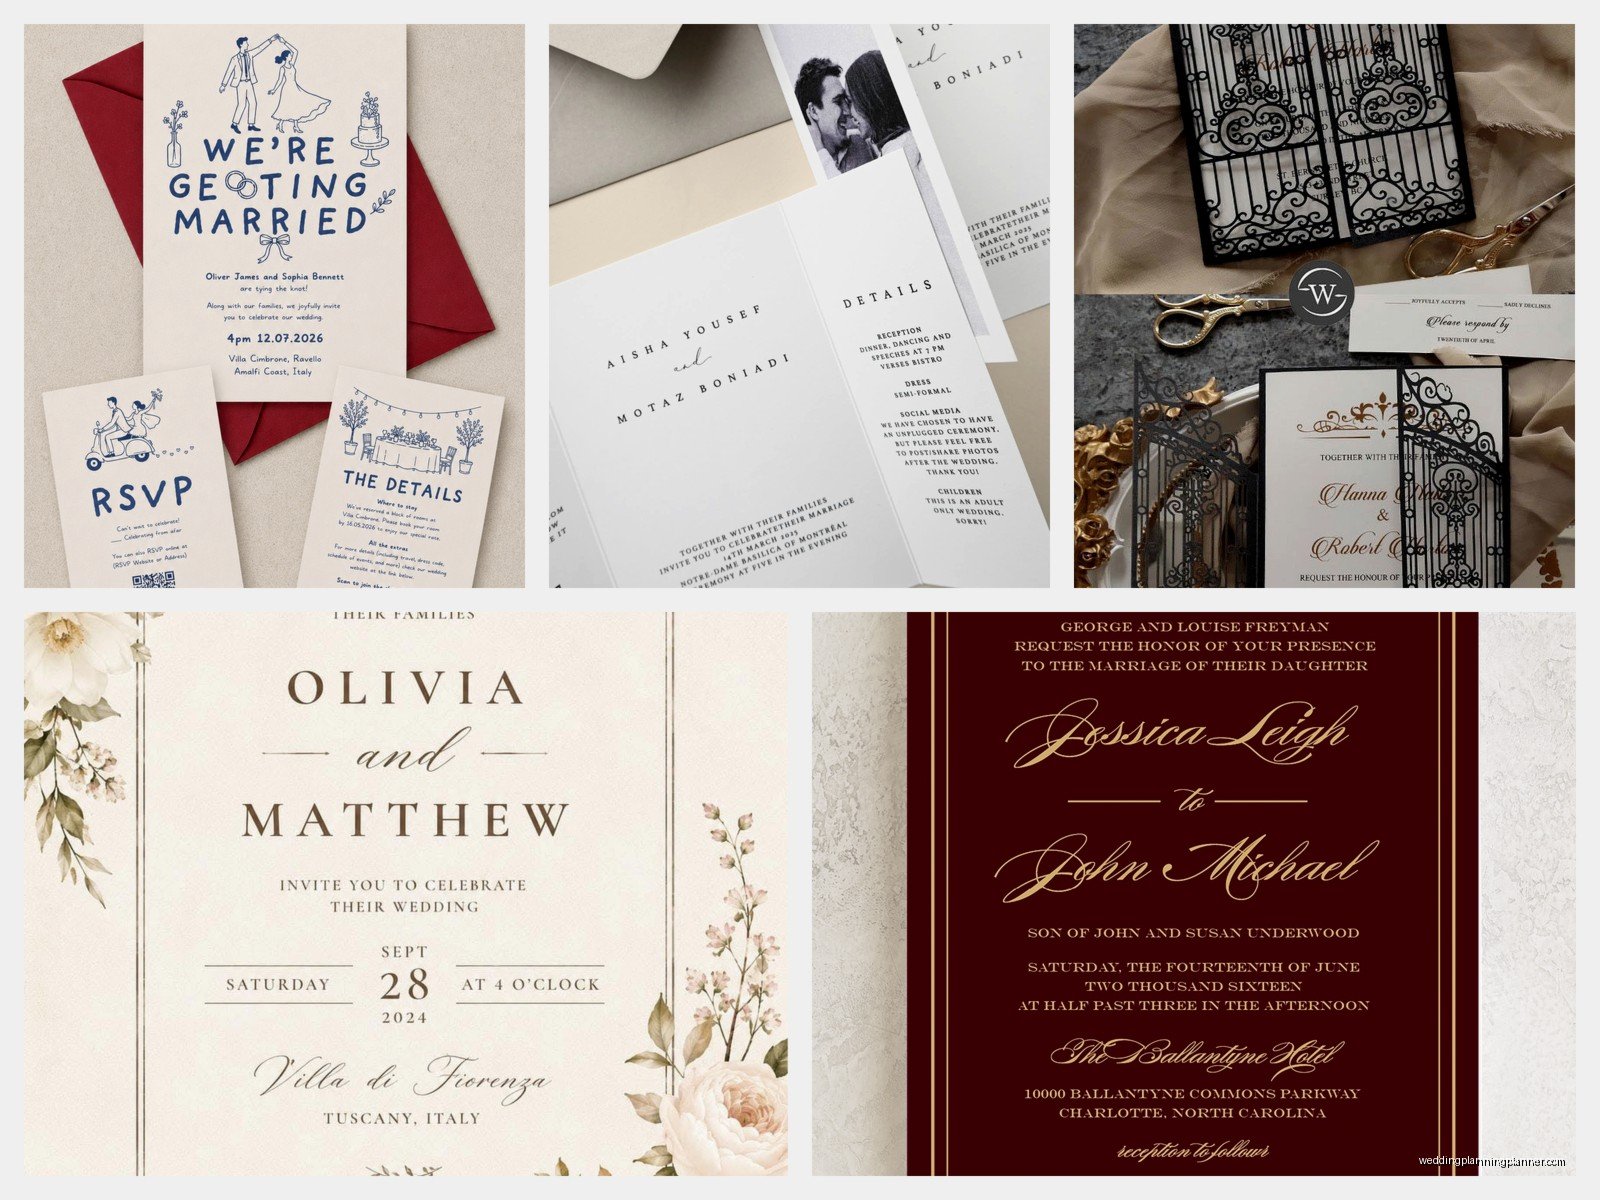
What Actually Needs To Be Included
Main invitation card is obvious. But then you’ve got inserts and people get confused about what’s necessary. Here’s my take:
- RSVP card with a pre-addressed, stamped envelope – yes you have to stamp them yourself, it’s annoying but people are way more likely to actually send them back
- Details card with your wedding website, hotel info, dress code
- Reception card if your ceremony and reception are in different locations or there’s a time gap
- Weekend events card if you’re doing a welcome party or brunch – but honestly you can put this info on your website instead
You don’t need: tissue paper (it’s a holdover from when ink would smudge), belly bands unless you really love the look, wax seals unless you’re committed to the aesthetic and the extra postage.
Ordering Timeline That Won’t Destroy You
Work backwards from your mail date. You want invites in guests’ hands 6-8 weeks before the wedding. For destination weddings, make it 10-12 weeks. So:
12-16 weeks before wedding: finalize your design and place the order. Most companies need 2-3 weeks for printing, sometimes longer during peak season (May through October). Custom letterpress can take 4-6 weeks.
10-12 weeks before: invites arrive, you start addressing them (or your calligrapher does – if you’re using a calligrapher, book them like 6 months out because good ones are slammed)
8-10 weeks before: finish addressing, assemble everything, weigh one complete invite at the post office to figure out exact postage, buy pretty stamps, mail them all at once
I know that seems like a lot of time but trust me, things take longer than expected. My cat knocked over my coffee onto a stack of addressed envelopes once and I had to redo like 30 of them, so… buffer time is your friend.
The Actual Ordering Process
Most online companies work the same way. You pick your design, customize it with your info, order a sample (DO THIS, don’t skip it), review the sample in person, then place your full order. The sample thing is crucial because colors look different on screen versus printed, and you might realize the size is weird or the font is too small.
When you’re entering your info, have someone else proofread it. Then proofread it again yourself. Then have a third person look at it. I’ve seen invites go out with the wrong year, wrong venue name, bride’s name spelled wrong… it happens more than you’d think and most companies won’t reprint for free if it’s your error.
Pricing Reality Check
Budget at least $4-8 per invite suite for semi-custom options. That’s just printing. Then add:
- Postage: probably $1-2 per invite depending on weight and size (square invites cost more to mail, which is super annoying)
- Return postage for RSVP: another 60-70 cents each
- Calligraphy if you’re hiring it out: $2-5 per envelope
- Extra envelopes because you’ll mess some up: add 10% to your order
So for 100 invites you’re realistically looking at $600-1200 depending on how fancy you go. Custom letterpress or foil stamping? Add another $500-1000 easily. I tell people to allocate about 5-8% of their total wedding budget to all paper goods (invites, programs, menus, place cards, signage).
Digital vs. Paper Because We Have To Talk About It
Look, digital invites have come a long way. Paperless Post has gorgeous designs, you can track RSVPs automatically, it’s better for the environment, and it’s way cheaper. For casual weddings or if your guest list is mostly young and tech-savvy, go for it.
But – and this is a big but – older guests sometimes struggle with digital RSVPs, some people think it feels less formal (whether that matters to you is personal), and you don’t get that physical keepsake. I usually suggest paper for the main wedding invite and digital for other events like the rehearsal dinner or welcome party.
Some couples do a hybrid where they send paper to older relatives and VIPs, digital to everyone else. Totally valid, just make sure your tracking system is organized so you know who got what.
Assembly Tips From Someone Who’s Done This Too Many Times
Set up an assembly line if you’re DIYing this. Seriously, put on a show you’ve seen before (I did this with The Office during one massive invitation weekend and it saved my sanity), get some wine or coffee, and make it a party. Order matters:
Main invite goes in first (facing the back of the envelope so when someone opens it, they see the front of the invite). Then stack your detail cards on top in size order, biggest to smallest. RSVP card and its envelope go on top of that, with the envelope flap showing so people know what to do with it. If you’re using a belly band or vellum wrap, do that before putting everything in the outer envelope.
Address the outer envelope formally (Mr. and Mrs. John Smith or whatever format you prefer – there are a million etiquette rules about this but honestly just be consistent and respectful). The RSVP envelope gets pre-addressed to whoever’s collecting responses (usually you or your parents) with a stamp already on it.
Postage and Mailing Mishaps To Avoid
Take a fully assembled invite to the post office and have them weigh it. Square envelopes, thick paper, anything over 1 oz, anything rigid – all this affects postage. You might need $1.50 in postage instead of the standard 60-something cents. And you can’t just slap random stamps on there and hope for the best because if it’s underposted, it gets returned to you or worse, delivered to your guest postage due, which is mortifying.
Buy pretty stamps that coordinate with your theme. The post office has way more options than you’d think, or you can order custom stamps through companies like Zazzle. Just make sure they’re actual USPS stamps, not just decorative stickers.
Hand-cancel your invites if they’re thick or have any embellishments. This means the post office processes them by hand instead of through the machine, so they don’t get torn up or… okay I’m gonna stop because I’m getting flashbacks to a situation where half our invites came back mangled.
Save The Dates Are A Different Thing
Quick side note – save the dates go out 6-9 months before your wedding (or even earlier for destination weddings). They’re way more casual than invites. Magnets, postcards, simple cards – whatever you want. You don’t need all the formal insert cards. Just your names, wedding date, location (city at least), and a note that a formal invite will follow. You can absolutely do these digitally and nobody will judge you.
Common Mistakes I See Constantly
Ordering too close to your wedding date. Forgetting to include your wedding website URL (that’s where people get all the actual useful info). Not ordering samples first. Using fonts that are too small or too ornate. Forgetting to include an end time on the invite – people wanna know if this is a 4-hour party or an all-nighter. Not stuffing the RSVP envelope into the outer envelope correctly so it falls out. Forgetting to account for postage costs in your budget.
Oh and the thing that drives me absolutely bonkers – people who don’t include their RSVP deadline or make it like a week before the wedding. Your caterer needs final counts at least a week out, probably two. Make your RSVP deadline 3-4 weeks before the wedding so you have time to hunt down the people who don’t respond (there will be many, I promise).
When Things Go Wrong
Sometimes you’ll get your invites and they’re not what you expected. Contact the company immediately with photos. Most reputable places will work with you on reprints if there’s a legitimate error on their end. If it’s just that you don’t like how the color turned out or whatever, you’re probably stuck unless you wanna pay for a reprint.
If you’re short on time and can’t wait for reprints, there are companies that do rush printing in 3-5 business days, but you’ll pay for it. Overnight printing exists but it’s gonna cost you like… a lot. Sometimes it’s worth it though if the alternative is not having invites.
Track your RSVPs obsessively. Use a spreadsheet or your wedding website’s system. Follow up with non-responders two weeks after your deadline. Some people are just the worst at this (said with love but also frustration).