
Planning Guides, Style Guide
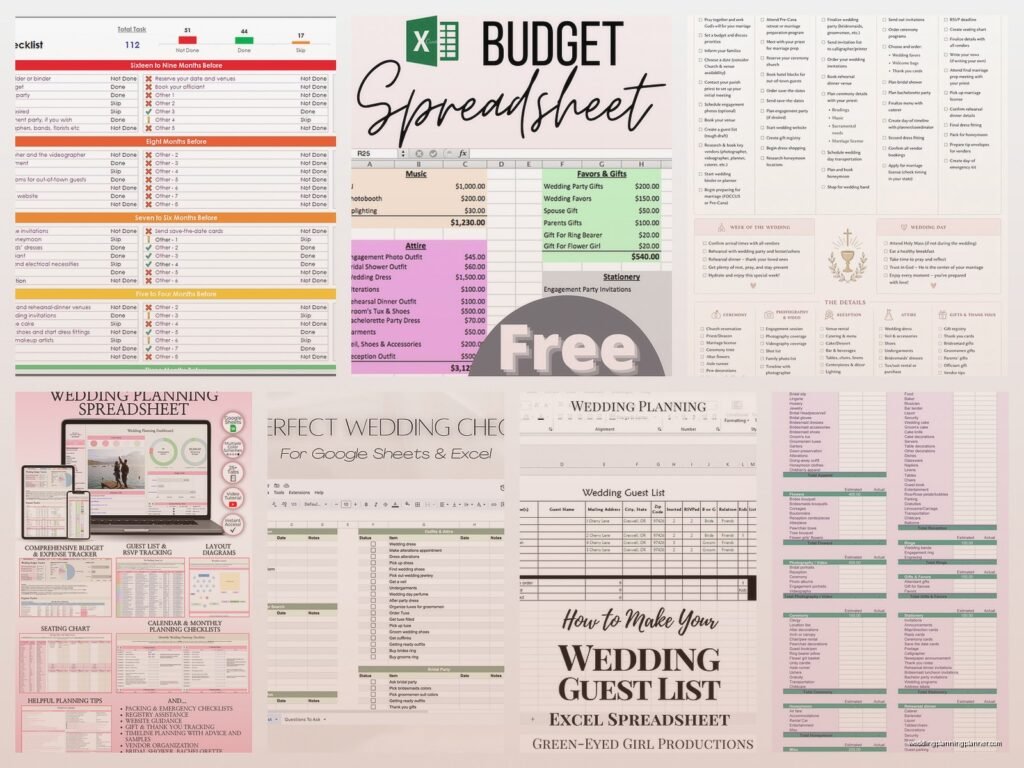
Wedding Planning Checklist Excel: Spreadsheet Task List
Jul
Setting Up Your Wedding Planning Excel Spreadsheet
Okay so first thing you’re gonna want to do is open Excel and create a new workbook because honestly this is where all the magic happens. I had this bride back in spring 2023 who insisted she could keep everything in her head and like three months before the wedding she had a complete meltdown in my office because she forgot she’d booked TWO different florists and… anyway, spreadsheets exist for a reason.
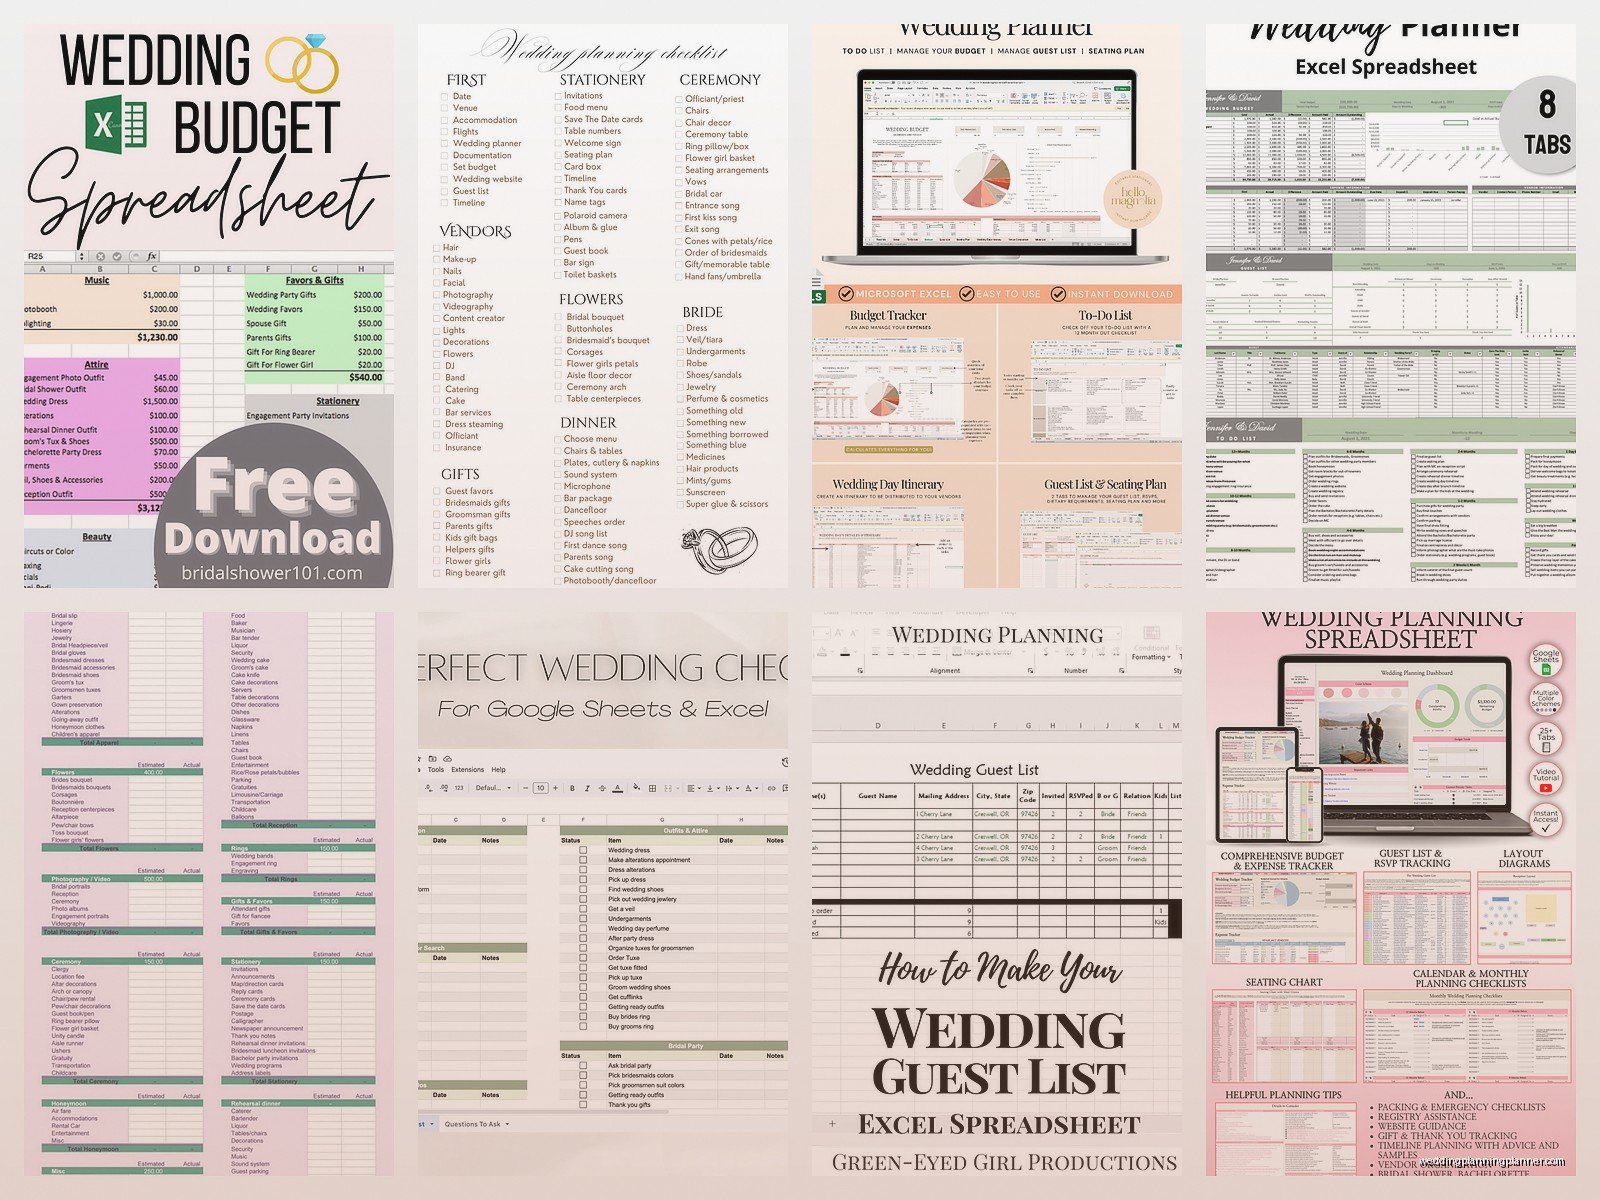
Start with your main tabs at the bottom. I usually create separate sheets for: Master Task List, Budget Tracker, Guest List, Vendor Contacts, and Timeline. You don’t have to do all of these right away but trust me the Master Task List is non-negotiable. Click that little plus sign at the bottom to add new sheets and rename them by right-clicking.
The Master Task List Sheet Structure
This is your brain, basically. Set up these columns across the top row:
- Task Description
- Category (venue, catering, flowers, etc.)
- Priority (high, medium, low)
- Assigned To (you, your partner, mom, planner)
- Deadline
- Status (not started, in progress, completed)
- Cost Estimate
- Actual Cost
- Notes
Make that top row bold and maybe give it a background color so it stands out. I like a soft gray or maybe a pale blush pink but you do you. Freeze that top row too – go to View, then Freeze Panes, so when you scroll down through your million tasks you can still see what each column means.
Populating Your Initial Tasks
Now here’s where it gets real. You need to dump everything into this spreadsheet. And I mean everything. Start with the obvious big stuff:
12+ Months Before:
- Set budget
- Create guest list draft
- Research and book venue
- Hire wedding planner (hi hello that’s me sometimes)
- Start looking at photographers
- Book photographer
- Reserve hotel room blocks
9-11 Months Before:
- Book caterer or decide on venue catering
- Hire band or DJ
- Order wedding dress
- Book florist
- Book videographer
- Research officiants
But also add the weird little tasks that people forget about like “order ring bearer pillow” or “figure out what to do with Aunt Susan who hates Uncle Bob” or “buy umbrellas in case it rains” because outdoor weddings are beautiful until they’re not.
Using Formulas to Make Your Life Easier
This is where Excel gets actually useful instead of just being a fancy list. In your Status column, use data validation to create a dropdown menu. Click on the cell, go to Data tab, then Data Validation, choose List, and type in: Not Started, In Progress, Completed. Now you can just click and select instead of typing it every time.
Do the same thing for Priority and Category columns. Makes everything faster and also you won’t end up with some tasks labeled “flowers” and others “florals” and then your filters get all messed up which is SO annoying.
For the deadline column, format those cells as dates (right-click, Format Cells, Date). Then you can sort by deadline to see what’s coming up next. I also like to add conditional formatting – select your deadline column, go to Home, Conditional Formatting, and set it up so dates within 30 days turn yellow and dates within 7 days turn red. Visual panic is very motivating.
The Budget Tracker Sheet
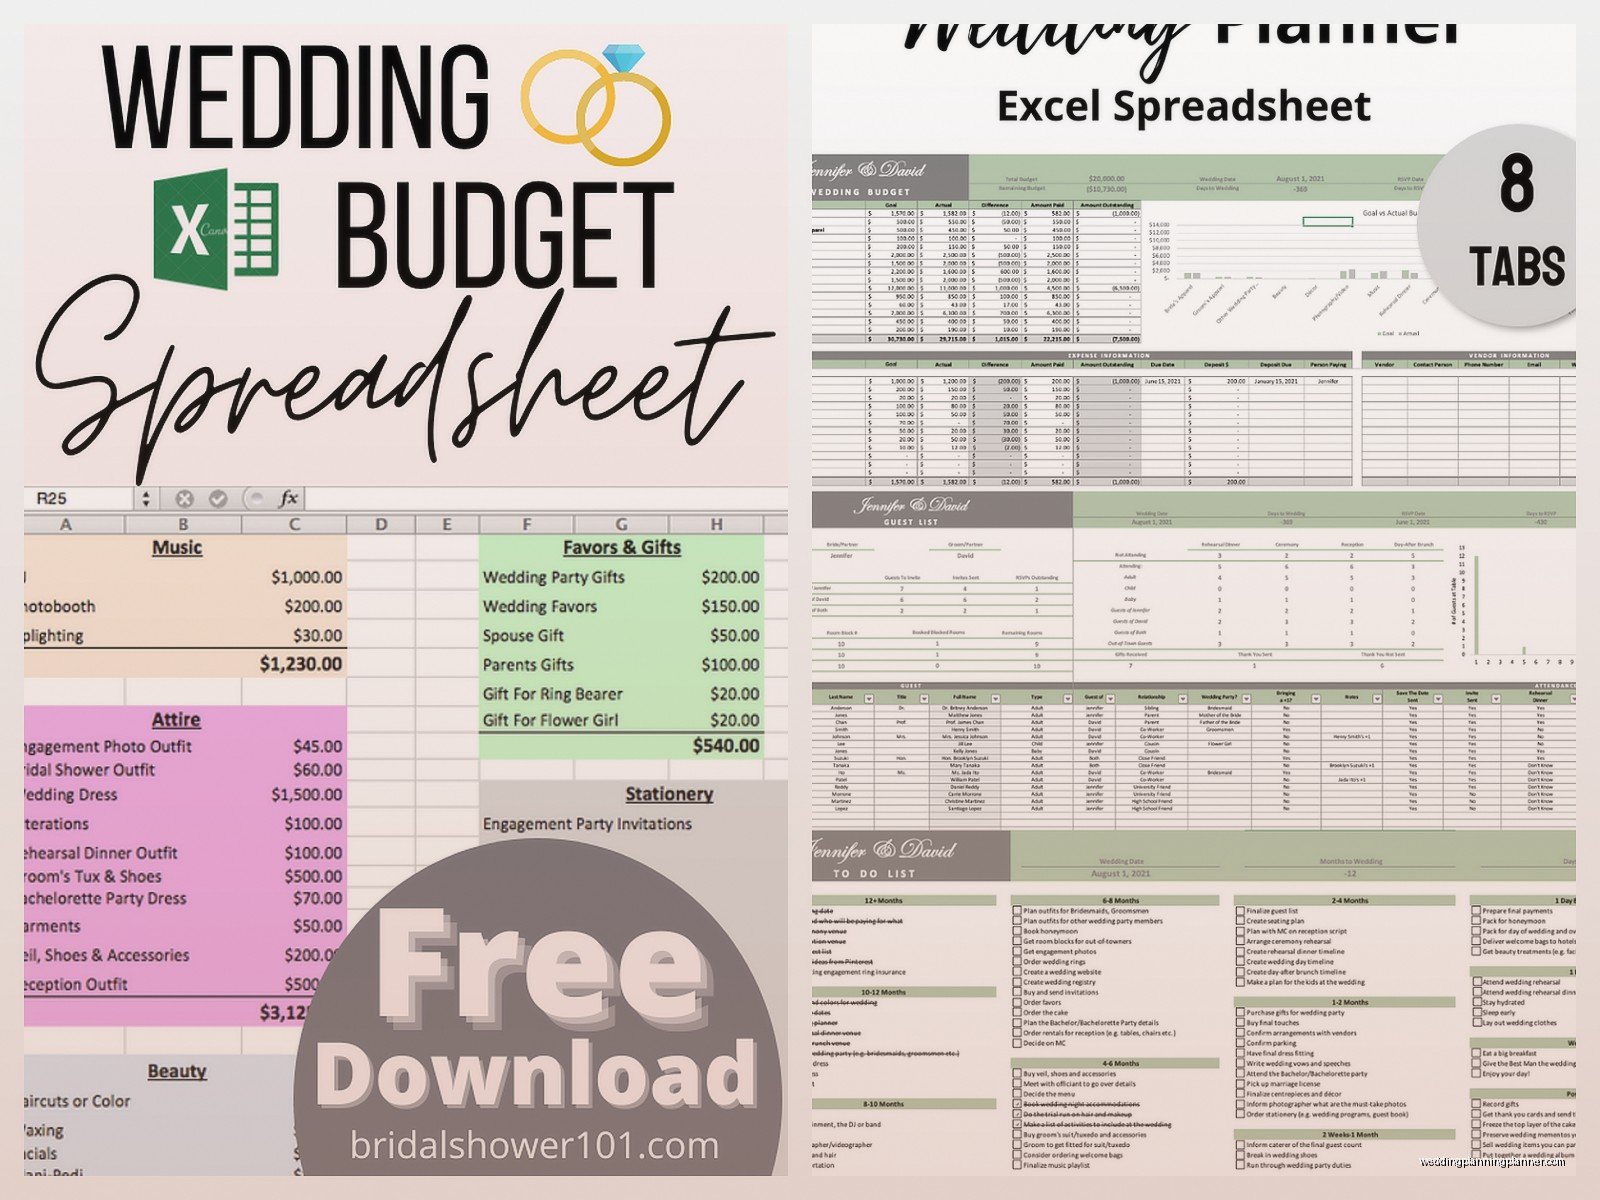
Alright switch over to your Budget tab. This needs to connect to your Master Task List kinda sorta but also stand alone. Set up columns for:
- Category
- Item/Vendor
- Estimated Cost
- Actual Cost
- Deposit Paid
- Balance Due
- Payment Due Date
- Payment Status
At the bottom of your Estimated Cost and Actual Cost columns, use the SUM formula. Just type =SUM( and then select all the cells above it and close the parenthesis. This gives you running totals and oh my god watching that actual cost number climb is terrifying but necessary.
I had this couple once who didn’t track their actual costs and just kept saying yes to upgrades and add-ons and they went like $15,000 over budget and the groom’s mom had to take out a loan and it was a whole thing that could’ve been avoided with literally one Excel formula.
Guest List Management
Third tab time. Guest lists are their own special nightmare so give them their own space. Columns you need:
- Guest Name
- Guest Category (bride’s family, groom’s family, bride’s friends, etc.)
- Address
- Phone
- Save the Date Sent (yes/no)
- Invitation Sent (yes/no)
- RSVP Status (pending, yes, no)
- Number of Guests
- Meal Choice
- Dietary Restrictions
- Thank You Note Sent
Use data validation dropdowns again for RSVP Status and the yes/no columns. At the bottom, create a cell that counts your total guests – use =COUNTIF and specify the range of your Number of Guests column. This updates automatically as people RSVP.
You can also get fancy and do a =COUNTIF formula to count how many people selected chicken vs beef vs vegetarian which your caterer will need like 2 weeks before the wedding and if you don’t have it organized you’ll be texting people at midnight asking what they want to eat (been there, it sucked).
Vendor Contact Sheet
Create a simple reference sheet with all your vendor info because I promise you’ll need to call someone in a panic at some point. Include:
- Vendor Type
- Company Name
- Contact Person
- Phone
- Website
- Contract Signed (yes/no)
- Insurance Certificate Received
- Total Cost
One thing that annoyed me SO MUCH is when clients would email me asking for their photographer’s phone number and I’d be like “it’s in the spreadsheet I made you” and they’d be like “oh I haven’t looked at that in weeks” like WHY DID I SPEND THREE HOURS SETTING IT UP THEN.
Timeline Sheet for the Actual Day
This is different from your task list – this is minute-by-minute for the wedding day itself. Start this maybe 2-3 months out when you have a better idea of your ceremony time and reception flow. Simple columns:
- Time
- Activity
- Location
- Who’s Involved
- Notes
Be specific like “2:00 PM – Bride arrives at venue, Bridal Suite” or “5:45 PM – Cocktail hour ends, guests directed to reception space, Band starts playing.” Your vendors need this, your wedding party needs this, your mom will want seventeen copies of this.
Adding Smart Features
Now that you’ve got the basics, let’s make it actually smart. Go back to your Master Task List and sort it by deadline. Click anywhere in your data, then go to Data tab and click Sort. Choose to sort by your Deadline column, oldest to newest. Now you can see what needs to happen next.
But also create a filter – click on your header row and then hit the Filter button in the Data tab. Little dropdown arrows appear on each column header. Now you can filter to show only High Priority tasks, or only tasks assigned to your fiancé (who probably isn’t doing them let’s be honest), or only Completed tasks when you need a little dopamine hit from seeing your progress.
Add a column called “Days Until Deadline” and use a formula like =A2-TODAY() where A2 is your deadline cell. This tells you exactly how many days you have left for each task. When that number gets small you know you gotta move.
Color Coding Because Why Not
I’m a big fan of color coding categories. Select your Category column and use conditional formatting to automatically color-code things – all “Flowers” tasks get green highlighting, all “Catering” tasks get orange, all “Music” tasks get purple. It makes scanning your list way easier and also it looks pretty which matters when you’re staring at this thing for 12+ months.
Or you can manually color-code rows based on priority – right-click on the row number, Format Cells, Fill tab, choose your color. Red for high priority, yellow for medium, green for low. Whatever system works for your brain.
Sharing and Collaboration
If you’re using Microsoft 365 or Excel online, you can share this with your partner or your mom or whoever else is helping. Click Share in the top right, enter their email, and decide if they can edit or just view. I usually recommend “can edit” for your partner (even though they probably won’t touch it) and “can view” for parents who just want to check in on progress.
Google Sheets is honestly easier for sharing if multiple people need to edit at once but some of the formula stuff is slightly different so… I dunno, pick your poison. My cat walked across my keyboard once while I had a client’s spreadsheet open and somehow created like 50 new rows filled with “jjjjjjjjjjjjj” which was fun to explain.
Weekly Review System
Set a recurring calendar reminder every Sunday afternoon (or whatever day works) to review your spreadsheet. Look at what’s due in the next two weeks, update statuses, add new tasks you thought of, move deadlines if needed. This becomes your wedding planning ritual and honestly it’s kinda therapeutic once you get into the habit?
Update your actual costs as you pay deposits and final payments. That running total at the bottom of your Budget sheet is gonna stress you out but better to know where you stand than be surprised later. I’ve seen people avoid looking at their budget tracker because they’re scared and then they end up in credit card debt which is like… the opposite of starting married life on the right foot.
Templates vs Starting From Scratch
You can definitely download wedding planning Excel templates online – there are tons of free ones and some paid ones that are super detailed. But honestly I think starting from scratch means you understand every cell and formula and it’s customized to YOUR wedding. A template might have stuff you don’t need (like a “horse and carriage” line item unless that’s your thing) and might be missing stuff you do need.
That said if you’re not comfortable with Excel, grab a template and modify it. Delete what you don’t need, add what you do. Just make sure you understand how the formulas work so you don’t accidentally break something and then your totals are wrong.
Backup Everything Please
Save this file in multiple places – on your computer, in cloud storage like OneDrive or Google Drive or Dropbox, maybe email yourself a copy every few weeks. I had a bride whose laptop died three months before her wedding and she hadn’t backed up ANYTHING including her guest list and vendor contacts and we had to reconstruct everything from memory and old emails and it took forever.
If you’re using Excel desktop version, turn on AutoSave if you have a Microsoft 365 subscription. Otherwise just obsessively hit Ctrl+S every time you make changes because losing work is the worst.
What to Actually Track Week by Week
Your spreadsheet should evolve as you get closer to the wedding. Like 6 months out you’re tracking big vendor bookings but 2 months out you’re tracking detail stuff like “pick up marriage license” and “break in wedding shoes” and “write vows” and “figure out what song plays when we cut the cake.”
Add tasks as you think of them. Keep a notes section at the bottom of your Master Task List for random thoughts or things you need to research later. I usually have a “Questions for Vendors” section too where I dump things I need to ask the photographer or florist at our next meeting.
One month out, add really specific tasks like “confirm final guest count with caterer” and “give timeline to DJ” and “pack emergency kit for wedding day” – speaking of which your emergency kit needs safety pins and bobby pins and bandaids and stain remover and tylenol and antacids and tissues and probably other stuff but that’s a different conversation.
The Things People Forget to Track
Here’s stuff that should be in your spreadsheet that people always forget about:
- Marriage license appointment and pickup
- Name change paperwork if applicable
- Vendor tip amounts and who’s distributing them
- Rehearsal dinner planning (yes this needs its own section)
- Welcome bags for out-of-town guests
- Transportation for elderly relatives or anyone who can’t drive
- Day-of coordinator even if you have a planner
- Someone to return rental items the day after
- Someone to take your dress to the cleaners after
- Preserving your bouquet if you want that
Also track your dress fitting appointments because you’ll have like three or four of them and you need to know when to go back and the seamstress will not remind you, you gotta keep track yourself.
Making It Work for Your Actual Life
Look the spreadsheet is only useful if you actually use it. Print out your upcoming tasks each week if you’re a paper person. Set phone reminders for major deadlines. Share the timeline with your bridal party so they know when to show up on the wedding day. Give your partner access even if they claim they’re “not a spreadsheet person” because tough luck buddy this is happening.
And like don’t stress if your spreadsheet isn’t perfect or if you fall behind on updating it. It’s a tool not a test. Some weeks you’ll be on top of everything and some weeks you’ll ignore it completely because work got crazy or you just needed a break from wedding planning or you got really into a new TV show and spent all weekend binging instead of dealing with your vendor contracts.
The point is having everything in one place so when you DO sit down to work on wedding stuff, you know exactly what needs attention and you’re not just spinning your wheels trying to remember if you booked the cake tasting or if you just thought about booking it really hard
