
Planning Guides, Style Guide
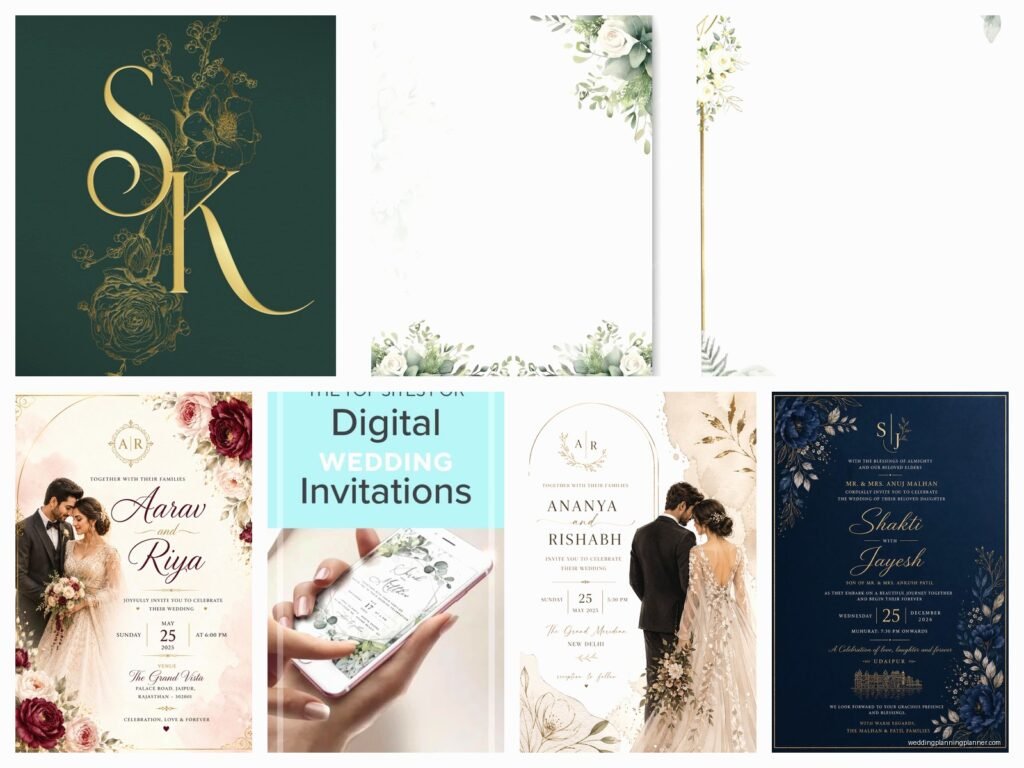
Digital Wedding Invitation Templates: E-Invite Downloads
Jul
So You Want Digital Wedding Invites
Okay so digital wedding invitation templates are basically the thing that saved my sanity back in spring 2023 when I had three couples decide last-minute they wanted to go paperless and I was already drowning in orders. E-invites are downloadable invitation files you can customize and send electronically instead of printing physical cards, and honestly they’ve become way more acceptable than they used to be.
The main formats you’re gonna see are PDF, JPEG, PNG, and sometimes those fancy animated formats like MP4 or GIF. PDF is best if you want something people can easily save and reference later. JPEG and PNG work great for sharing on social media or sending through messaging apps. The animated ones are fun but not everyone’s phone handles them well, which I learned the hard way when a bride’s grandmother couldn’t open the video invite and called me three times in one evening.
Where to Actually Find These Templates
Alright so there’s like a million places to download templates now. Etsy is probably my go-to because you get unique designs from actual designers, and you can message the seller if something’s weird with the file. Prices range from like $5 to $50 depending on how elaborate it is. Creative Market is another good one, tends to be slightly more expensive but the quality is usually really solid.
Then you’ve got the big template sites like Canva, which has both free and paid options. Canva’s honestly great for beginners because you can edit everything right in your browser without downloading special software. Templett is similar but specifically for events, and it’s really user-friendly. Greenvelope and Paperless Post offer templates but they’re more of a full-service platform where you send through their system, which means less control but also less work.
My cat just knocked over my coffee while I’m writing this, but anyway—you can also find free templates on sites like Greetings Island or Evite, though the designs are kinda basic. Nothing wrong with basic if that’s your vibe, but if you want something that looks custom and elevated, you’ll probably need to pay at least a little bit.
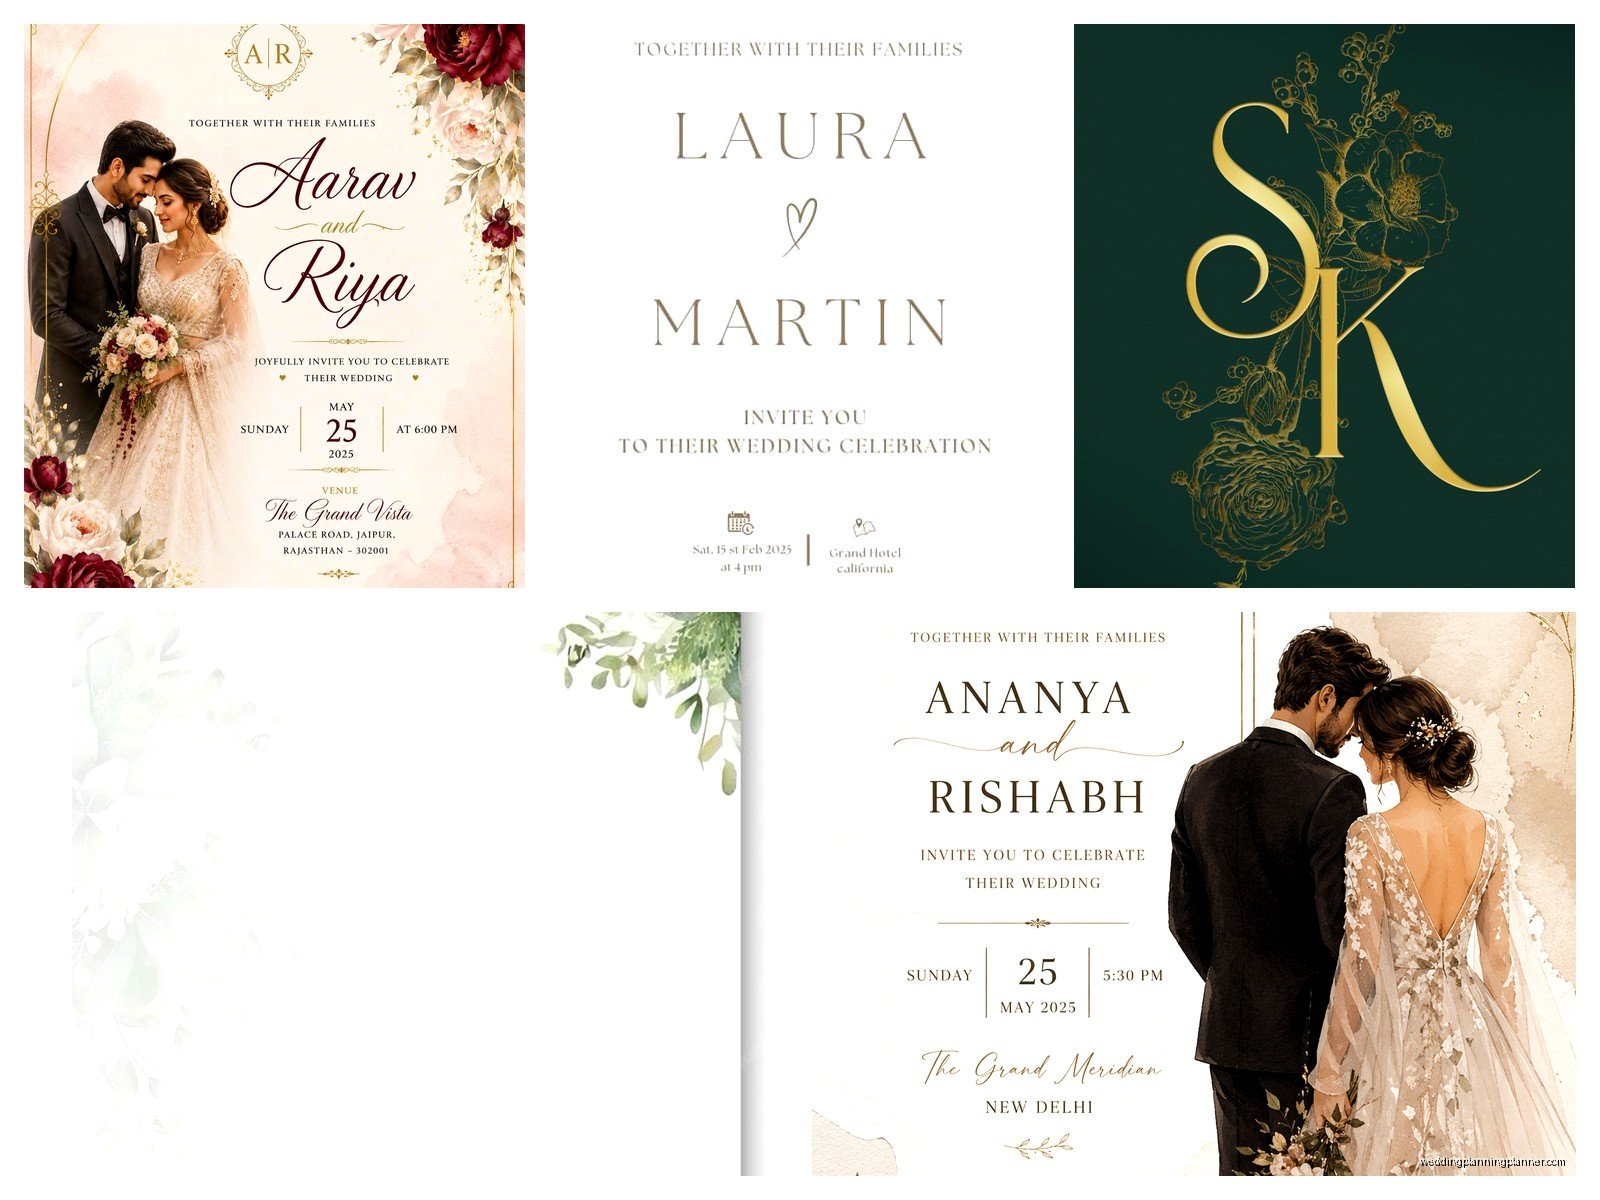
What to Look for When You’re Downloading
File format matters more than you think. If you’re not super tech-savvy, stick with templates that are editable in common programs. PDF templates that work in Adobe Reader are universal. Canva templates require a Canva account but are super easy to edit. PSD files need Photoshop which costs money and has a learning curve.
Check the dimensions before you buy. Most digital invites are designed at standard sizes like 5×7 or 4×6 inches at 300 DPI, which is perfect. Some designers create them at weird aspect ratios that look awkward on phones, and that’s honestly one thing that annoys me so much—like why would you design an invite that’s 3.2 x 8.7 inches? Nobody’s screen is that shape.
Make sure the template includes all the cards you need. A full suite usually has the main invitation, RSVP card, details card, and maybe an itinerary or accommodations card. Some sellers split these up and charge separately which feels kinda sneaky to me but whatever, just read the description carefully.
Look at what fonts are used. If the template uses custom fonts, the seller should either include the font files or tell you where to download them for free. I’ve had clients download gorgeous templates only to discover the font costs $200 to license and suddenly their budget wedding invite isn’t so budget anymore.
How to Actually Edit These Things
Okay so you downloaded your template, now what. If it’s a Canva template, you just click the link the seller provides and it opens right in Canva where you can click on any text and change it. Super straightforward. Same with Templett—you get a link, you edit in your browser, done.
For PDF templates that are editable, you’ll open them in Adobe Acrobat Reader which is free. There should be form fields where you can click and type. Some templates aren’t actually editable PDFs though, they’re just… PDFs of an image, which is useless unless you have design software. Always check reviews to see if other buyers had trouble editing.
If you’ve got a Photoshop or Illustrator file, you’ll need those programs obviously. They’re powerful but not intuitive if you’ve never used them before. You’re basically looking for text layers in the layers panel and double-clicking to edit. My advice? If you’re not already familiar with Adobe programs, don’t start learning for your wedding invites. The stress isn’t worth it.
PowerPoint templates exist too and they’re actually easier than people expect. You edit them like any PowerPoint presentation then export as a PDF or image. Not the most professional design tool but it works.
Customizing Without Making It Look Terrible
I gotta say, the biggest mistake I see is people changing too much. The designer created a balanced composition, and when you swap out the elegant serif font for Comic Sans or change the color scheme from dusty blue to neon green, it falls apart. Stick to changing only the text content and maybe adjusting colors slightly to match your wedding palette.
If you do change colors, change all instances of that color throughout the suite so everything matches. Don’t make your main invite blush pink and then forget to update the RSVP card which is still showing the original mauve.
Keep your text concise. Digital invites are usually viewed on phones which means people are squinting at small screens. Long paragraphs of text in tiny font sizes are gonna get ignored. Stick to the essential info: who, what, when, where, and how to RSVP.
Proofread everything multiple times. Then have someone else proofread it. Then proofread it again. I had a couple in summer 2021 who sent out 200 digital invites with the wrong year—they put 2020 instead of 2021 because we were all still mentally stuck in pandemic time or something. They had to send a correction email which was embarrassing.
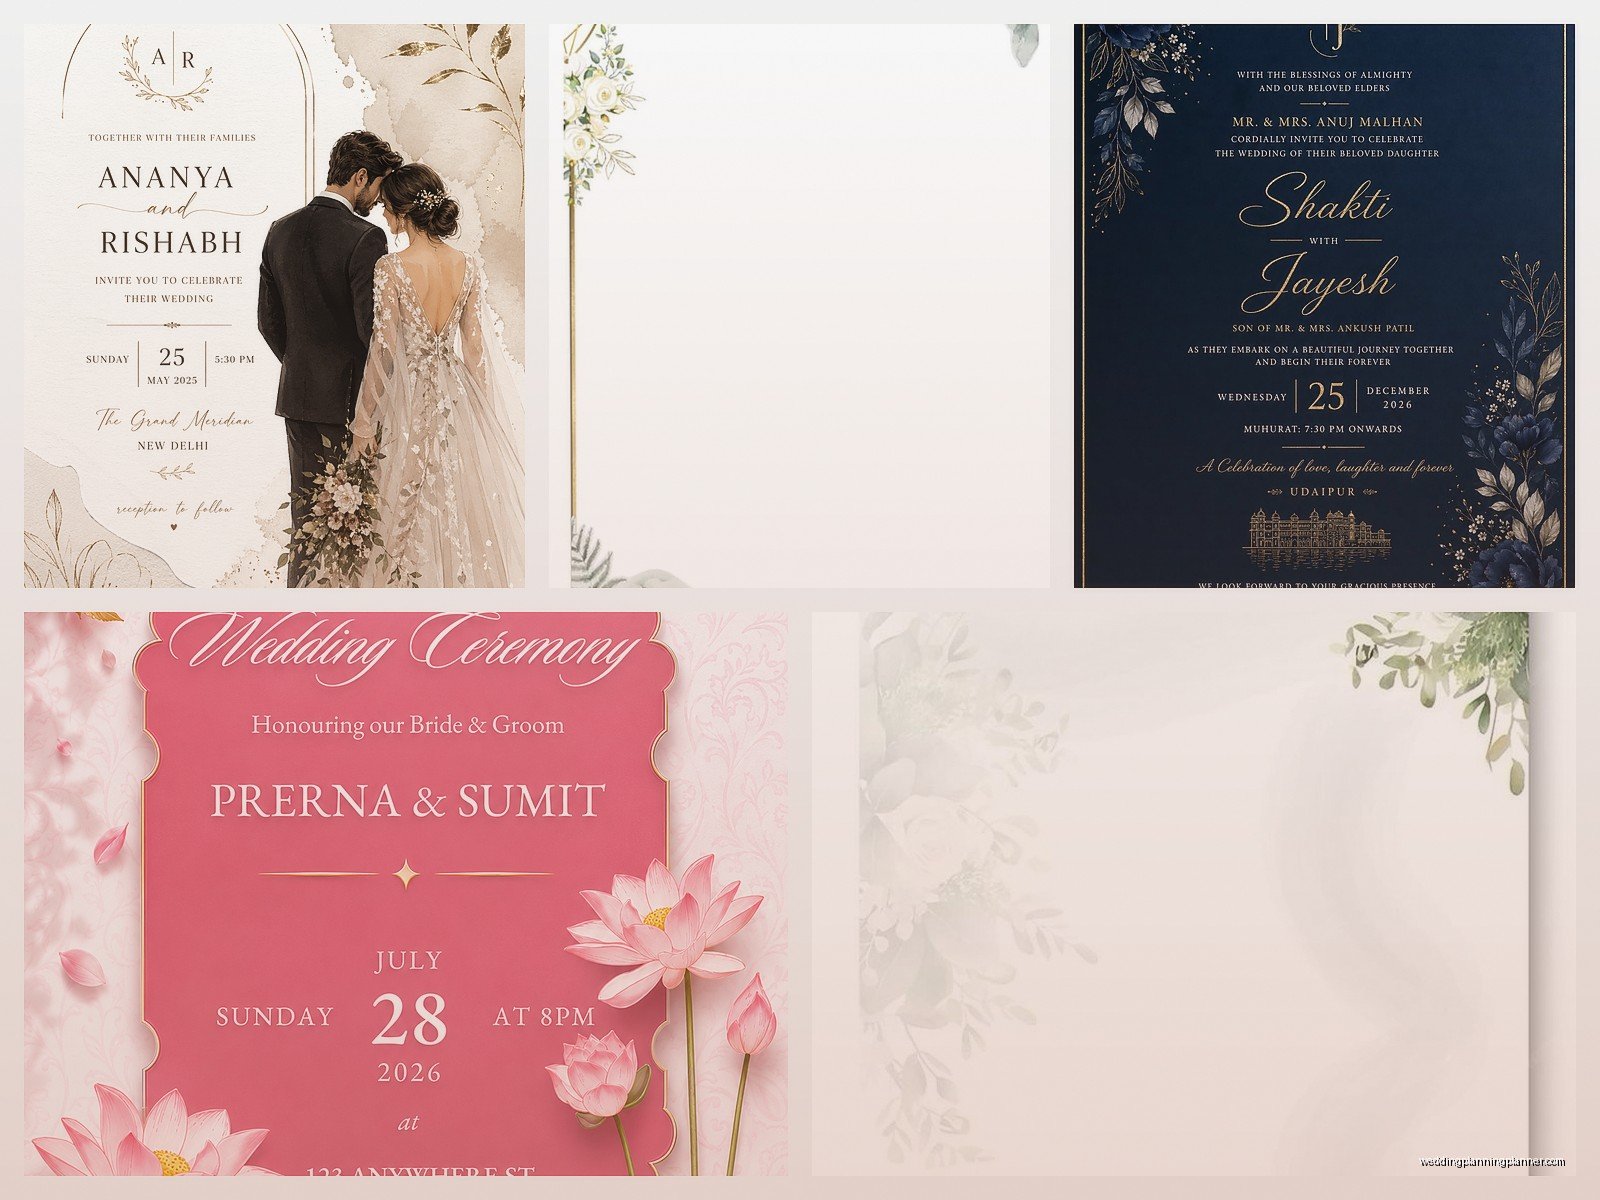
Actually Sending Your E-Invites
So you’ve edited your template and now you need to get it to people. Email is the most straightforward method. You can attach the image or PDF directly, but keep file sizes under 2MB so it doesn’t bounce or end up in spam folders. If your file is huge, compress it using a free tool like TinyPNG or reduce the quality slightly when you export.
You could also use email marketing services like Mailchimp or Constant Contact which let you design nice emails with your invite embedded as an image. These platforms also track who opened the email which is kinda helpful for following up with people who haven’t RSVP’d. Though honestly tracking open rates feels a bit… intense? But some couples love that data.
Text message is becoming more popular, especially for younger crowds. You can send through regular texts or use WhatsApp if your guests are international. Just save your invite as a JPEG or PNG, make sure it’s under 1MB, and send away. The advantage here is people actually read texts unlike emails.
Social media works for casual weddings or if you’re doing like a big public celebration. Create a private event on Facebook and upload your invite as the cover image. Instagram DMs work too though the image quality sometimes gets compressed weirdly.
Some couples create a wedding website and embed the invite there, then send people the website link. This works great if you’ve got lots of information to share beyond just the basic invite details—accommodations, registry, schedule, travel info, all that stuff.
The RSVP Situation
Digital invites need digital RSVPs really, otherwise what’s the point. You can include your email address and ask people to reply, but trust me, you’ll get responses in seventeen different formats and tracking them becomes a nightmare. I literally had a groom who kept RSVP info in a Notes app on his phone and nearly lost everything when his phone died.
Use a proper RSVP tool instead. Google Forms is free and works perfectly fine—you create a form with questions like names, number of guests, meal choices, dietary restrictions, and you get all responses in a organized spreadsheet. It’s not fancy but it’s functional.
RSVPify, Joy, and Withjoy are wedding-specific platforms that look nicer and integrate with your wedding website. They cost money but not much, usually like $20-50 depending on guest count. The interfaces are prettier than Google Forms which some couples care about.
If you went with Paperless Post or Greenvelope, RSVP tracking is built into their system which is convenient. People click a button right in the invite and you see responses in your dashboard.
Whatever method you choose, include the RSVP deadline clearly on your invite and make the process as simple as possible. The easier you make it, the more likely people actually do it on time instead of you having to chase them down three weeks before the wedding.
Timing and Etiquette Stuff
Send digital invites about 6-8 weeks before the wedding, same as paper invites. Save-the-dates can go out 4-6 months early. Some people think digital means you can send things last-minute but nah, people still need time to make plans, book travel, request time off work.
There’s this weird lingering stigma about e-invites being less formal or less special, but honestly that’s fading fast. Covid really normalized digital invites, and now they’re accepted for most wedding styles except maybe ultra-traditional formal weddings. If you’re worried about older relatives judging you, you can always send them paper invites and send digital to everyone else. Nobody says it has to be all or nothing.
One thing—if you’re having a really small intimate wedding, digital invites can actually feel more personal than printed ones because you can customize the message for each person or small group. Like you could send different photos or slightly different wording to your college friends versus your family.
Troubleshooting Common Issues
Colors looking different on every device is super common and kinda unavoidable. Screens display colors differently, so that dusty rose might look coral on your mom’s Android and mauve on your friend’s iPhone. Stick with colors that still look good even if they shift slightly, and avoid really subtle color differences that might disappear on some screens.
If people say they can’t open your file, it’s usually because the file size is too big or it’s in a format their phone doesn’t support. Save multiple versions—a PDF and a JPEG at minimum—so you have backups to send.
When fonts aren’t showing up correctly, it means the font isn’t installed on the viewer’s device. This is why you should always save your final invite as a flattened image (JPEG or PNG) or a PDF with embedded fonts, not as an editable document you expect others to open.
If your template looks pixelated or blurry when you send it, you probably exported at too low a resolution. For digital invites that will only be viewed on screens, 150 DPI is fine, but 300 DPI looks sharper on high-resolution phones. Just watch your file size doesn’t get massive.
Cost Breakdown Reality Check
Let’s talk actual numbers because this matters. A template from Etsy runs $10-30 on average. If you’re using Canva, the free version works fine but Canva Pro is $13/month and gives you way more design options—you can cancel after your wedding stuff is done. Paperless Post charges per invite sent, usually like $1-3 per invite depending on the design, which adds up fast for big weddings.
Compare that to printed invites which are minimum $200-300 for basic designs and easily hit $1000+ for letterpress or fancy paper with envelopes and postage. The savings with digital are significant, which is why budget-conscious couples love them. You can spend $20 total on your invitations and nobody thinks less of your wedding.
The time investment though… if you’re comfortable with technology, you can knock out digital invites in an afternoon. If you’re not, budget several evenings of frustrated googling and maybe one minor breakdown when the fonts won’t align properly. It’s still faster than addressing 150 envelopes by hand while watching reality TV though, which is how I spent many evenings in 2019.
Random Tips That Don’t Fit Anywhere Else
Test your invite by sending it to yourself and a few friends first. Check how it looks on different devices—iPhone, Android, computer, tablet if anyone still uses those. Make sure all links work if you included any.
Create a backup of everything. Save your edited template file, save multiple exported versions, keep copies in cloud storage. I’ve seen people lose their files and have to recreate everything from scratch which is just… no. Don’t do that to yourself.
Consider accessibility. Use readable font sizes, sufficient color contrast, and include all the info in the email text too, not just in the attached image. Some people use screen readers and can’t see your beautiful design anyway.
You can send gentle reminders closer to the wedding without it being weird since you’re not spending money on postage. Like “Hey, our RSVP deadline is this Friday!” is totally acceptable as a follow-up email or text.
Animation is cool but keep it under 10 seconds. Nobody wants to watch a 45-second movie just to see what time your ceremony starts. I learned this when a couple created this elaborate animated invite with swooping text and romantic music and half their guests just… screenshotted the important info and moved on.
If you’re crafty or design-inclined, you could create your own template from scratch, but honestly unless you enjoy that kind of thing, just buy a template. Your time is worth something, and spending 15 hours learning Photoshop to save $20 doesn’t make financial sense unless you’re gonna use that skill again later or something.
