
Planning Guides, Style Guide
Wedding Planning Excel: Complete Spreadsheet Template
Jul
Setting Up Your Main Wedding Planning Spreadsheet
So you’re gonna need tabs. Like, multiple tabs. I learned this the hard way in spring 2023 when I had a bride email me at 11pm asking where she put the florist’s deposit amount and I realized her single-sheet Excel doc was basically unusable chaos. Start with these core tabs: Budget, Guest List, Vendor Contacts, Timeline, Payments, and To-Do List.
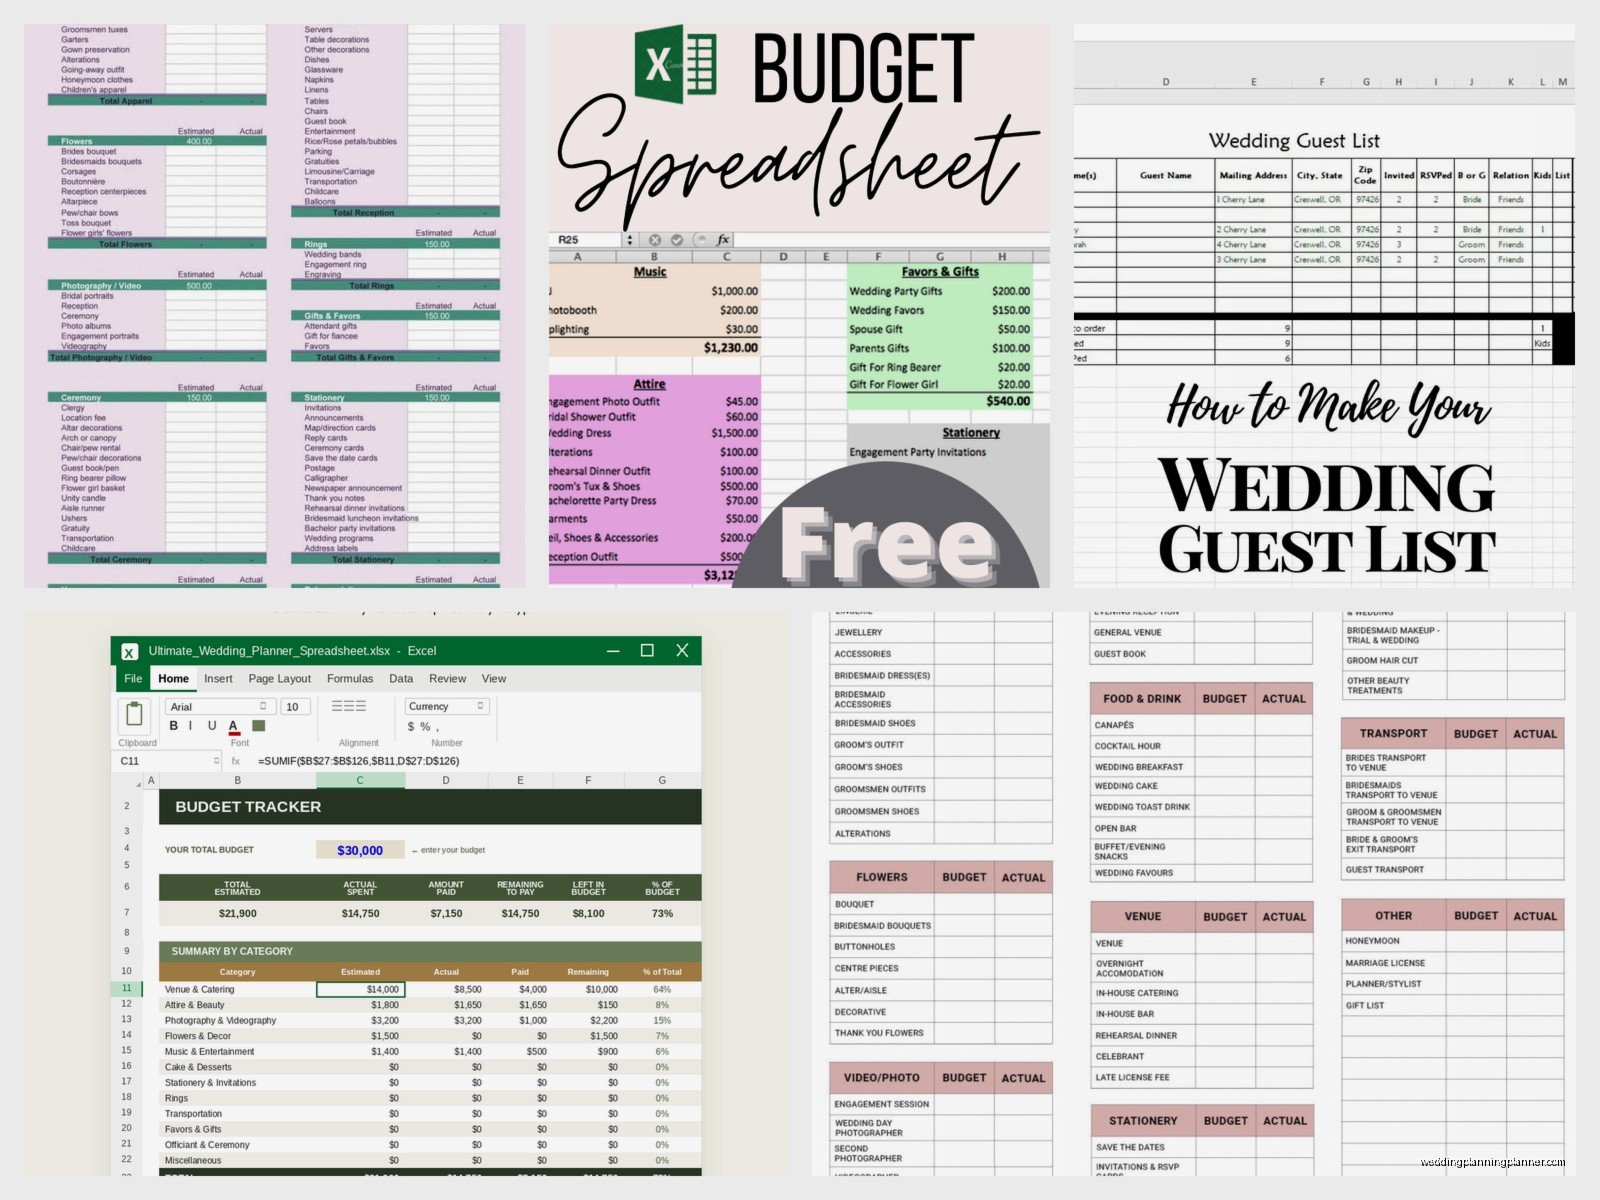
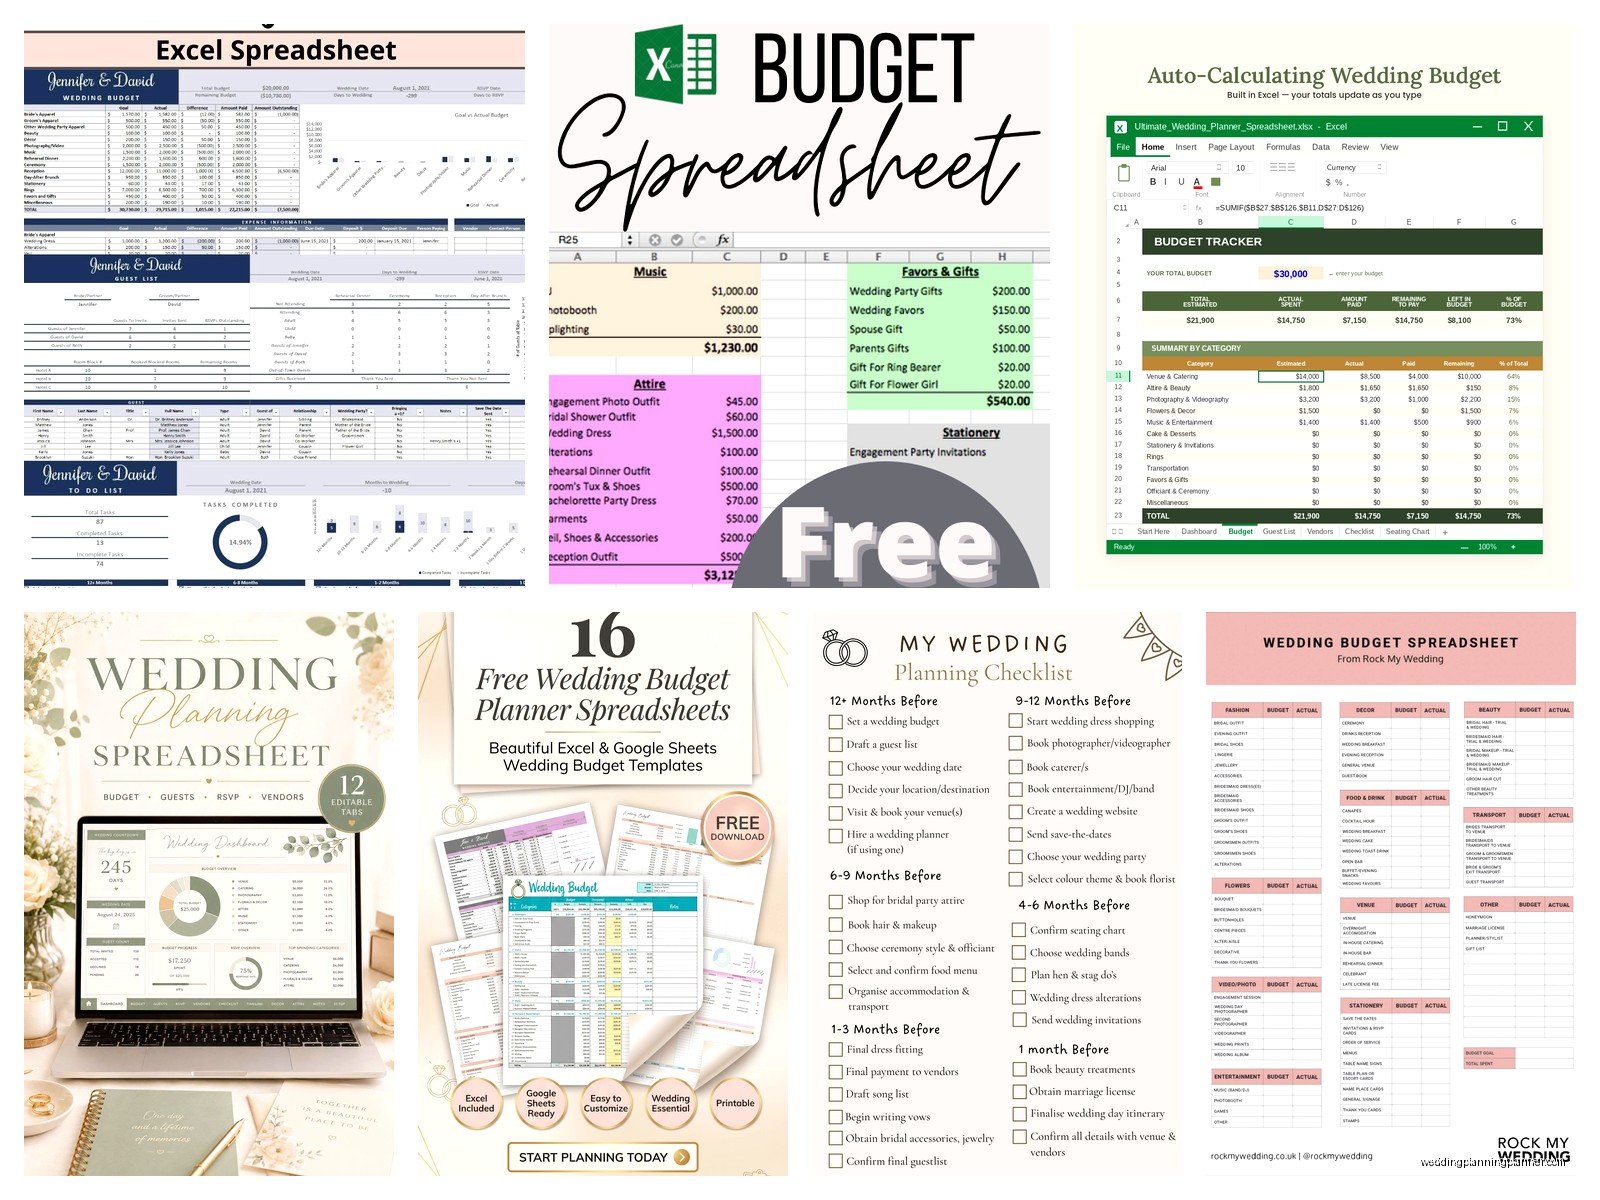
The Budget tab is your foundation. Column A should be category (venue, catering, flowers, photography, etc). Column B is your estimated cost—what you think it’ll be. Column C is actual cost once you get real quotes. Column D is deposit paid. Column E is balance remaining. Column F is payment due date. Then I always add Column G for notes because there’s always some weird detail like “includes setup fee” or “20% gratuity already added.”
Here’s what really annoyed me about most templates I’ve seen online: they don’t account for the weird in-between costs. Like, where do you put the $47 you spent on stamps for invitations? The $15 Uber to meet the cake person? I add a “Miscellaneous/Small Items” category and honestly it usually hits $400-600 by the end, which couples never expect.
Guest List Tab Setup
This tab gets messy fast so you gotta be organized from day one. Your columns should be: Guest Name, Plus One Name (leave blank if none), Address, Phone, Email, Invitation Sent (yes/no), RSVP Status (pending/yes/no), Number Attending, Meal Choice (if applicable), Dietary Restrictions, Gift Received, Thank You Sent.
I also add a column for “Side” – like bride’s side or groom’s side – because it helps with seating later and also when family drama happens you can quickly see the count breakdown. One time a mother of the groom insisted her side was being shortchanged on invites and I pulled up the spreadsheet and showed her the count in like 30 seconds, saved everyone a headache.
Pro tip: use data validation for the RSVP Status column. Click the column, go to Data > Data Validation, choose “List” and enter: Pending, Yes, No, Maybe. This keeps everything clean instead of having some cells say “yes” and others say “attending” or whatever. Consistency matters when you’re dealing with 150+ people.
Vendor Contact Management
Your Vendor Contacts tab needs more than just names and numbers. I set mine up with: Vendor Type, Company Name, Contact Person, Phone, Email, Website, Contract Signed (yes/no), Insurance/License Verified, Total Cost, Deposit Amount, Deposit Paid Date, Balance Due, Balance Due Date, and Notes.
The Insurance/License Verified column might seem extra but trust me… I had a couple hire a “photographer” in summer 2021 who turned out to be some guy with an iPhone and no business license, no backup plan, nothing. He got food poisoning the morning of the wedding. Having that verification column reminds you to actually check this stuff.
In the Notes column, put everything. Literally everything. “Aunt Susan recommended,” “saw their work at the Miller wedding,” “they’re flexible on timeline,” “kinda pushy about upselling.” You’ll forget these details otherwise and then six months later you’re like wait why did we choose this person again?
Building Your Timeline Tab
This is where I go a bit crazy with the columns but it works. Column A is the date, Column B is time, Column C is task/event, Column D is who’s responsible, Column E is status (not started, in progress, complete), Column F is priority (high, medium, low).
I split this into two sections within the same tab: “Planning Timeline” for all the prep stuff leading up to the wedding, and “Wedding Day Timeline” for the actual day-of schedule. Just put a few blank rows between them and maybe make a header row that says “WEDDING DAY SCHEDULE STARTS HERE” in bold or something.
For Planning Timeline, start from today and work forward to your wedding date. Include things like “Book venue (12 months before),” “Order invitations (4 months before),” “Final dress fitting (1 month before).” For Wedding Day Timeline, go hour by hour or even half-hour by half-hour. Like 2:00pm – Hair and makeup starts, 4:30pm – Photographer arrives, 5:00pm – Ceremony begins, etc.
Payment Tracking Because Money Gets Confusing
The Payments tab is separate from Budget because you need to track actual money movement. Columns: Date, Vendor/Payee, Amount, Payment Method (check, credit card, Venmo, whatever), Check Number (if applicable), Category (so you can match it back to your budget), Confirmation/Receipt Number.
I learned this one from my own wedding planning actually—I thought I paid the DJ’s deposit but couldn’t find record of it anywhere, spent three days convinced I’d been scammed, turned out I had paid it but wrote it in some random notebook. Now everything goes in the spreadsheet immediately. Like immediately. Even if I’m standing in the parking lot of the venue, I’m putting it in my phone’s Excel app right then.
Add a row at the top that uses SUM formulas to show total spent to date. Something like “=SUM(C:C)” in the amount column. It’s sobering to watch that number grow but also keeps you honest about where you’re at.
Master To-Do List Tab
This is different from your timeline because timelines are date-specific and to-do lists are just… stuff that needs doing eventually. Columns: Task, Category (venue, attire, flowers, etc), Priority, Status, Assigned To, Due Date, Notes.
I like to use Excel’s filter function heavily here. Click the header row and do Data > Filter, then you can filter by category or priority or status. So if you’re having a flowers-focused weekend, filter to just show flower tasks. If you wanna see everything that’s high priority, filter for that.
My cat literally walked across my keyboard while I was building a template last month and somehow created this weird conditional formatting rule that turned overdue tasks bright red automatically, and honestly it was better than what I had planned so I kept it. To do that yourself: select your Due Date column, go to Conditional Formatting > New Rule > Format cells that contain > Cell Value > less than > =TODAY(), then pick a red fill color.
Guest List Formulas That’ll Save Your Life
Okay so in your Guest List tab, you’ll want some automatic counting. At the bottom of your spreadsheet, add these rows with formulas:
Total Invited: =COUNTA(A:A)-1 (the minus 1 accounts for your header row)
Total Attending: =COUNTIF(H:H,”Yes”) assuming column H is your Number Attending column… wait no, that’s not quite right. If you have a column that just says yes/no for RSVP, use that. If you have a column with actual numbers like 1 or 2 for number of people, use =SUM(H:H) instead.
Total Declined: =COUNTIF(H:H,”No”)
Still Waiting: =COUNTIF(H:H,”Pending”)
This gives you live counts that update automatically as you enter RSVPs. Super helpful for giving your caterer accurate numbers and also for your own sanity because you can see progress happening.
Budget Tracking With Actual Math
In your Budget tab, you want running totals. At the bottom, create these formula rows:
Total Estimated Budget: =SUM(B:B)
Total Actual Cost: =SUM(C:C)
Total Paid So Far: =SUM(D:D)
Total Remaining Balance: =SUM(E:E)
Then here’s a useful one—add a cell that shows how much you’re over or under budget: =B2-C2 where B2 is total estimated and C2 is total actual. Format it with conditional formatting so it shows green if negative (under budget) and red if positive (over budget). Actually wait, that’s backwards… if you’re under budget the number would be positive because estimated is higher than actual, so—yeah, you’ll need to think through the logic on that one based on how you set up your columns.
Advanced Stuff That’s Actually Useful
Create a Dashboard tab. This is gonna be your overview sheet that pulls key numbers from all your other tabs. At the top, put your wedding date in big bold text. Then create a little summary section with formulas that reference other tabs:
Days Until Wedding: =WeddingDate-TODAY() where WeddingDate is a cell containing your actual date
Total Budget: =’Budget’!B50 or whatever cell has your total budget sum
Total Spent: =’Payments’!C50 or wherever your payment total is
Budget Remaining: just subtract the two above
Guests Confirmed: =’Guest List’!H200 or wherever you put that COUNTIF formula
Open To-Dos: =’To-Do List’!D200 or wherever you count incomplete tasks
This way you can open your spreadsheet and immediately see the vital stats without clicking through tabs. I started doing this after a bride told me she felt overwhelmed opening her planning sheet because there was so much information, and the dashboard approach made it feel less chaotic for her.
Seating Chart Planning
Add a Seating Chart tab if you’re doing assigned seating. This one’s kinda annoying to build but worth it. Make columns for: Table Number, Guest Name, Meal Choice, Special Notes (like “keep away from Uncle Bob” or “needs accessible seating”).
I usually create a visual-ish layout using merged cells to represent tables. Like, merge a 3×3 group of cells and label it “Table 1” then list the guests around it. It’s not perfect but it’s better than nothing and you can print it out to show your venue coordinator.
Or honestly, if you’re more visual, just do a simple list format and use actual seating chart software or even PowerPoint for the visual part. Excel’s not great for that anyway.
Keeping It Updated Without Going Crazy
Set a weekly planning date—like Sunday afternoons or whatever—and spend 30 minutes updating your spreadsheet. Go through emails, receipts, notes from the week and get everything entered. If you try to do it daily it becomes a chore, if you wait too long you forget details.
Share the spreadsheet with your partner and anyone else who needs access. If you’re using Excel desktop version, save it to OneDrive or Dropbox so multiple people can access the same file. Google Sheets is actually easier for collaboration honestly but some of the formulas work slightly differently so there’s a learning curve if you’re switching.
Color coding helps more than you’d think. I use light blue for anything that’s paid in full, yellow for deposits paid but balance remaining, red for overdue stuff, green for completed tasks. You can just select cells and use the fill color button—doesn’t need to be fancy conditional formatting or anything.
Back up your spreadsheet. Like, regularly. Email yourself a copy every few weeks or save versions with dates in the filename like “Wedding-Planning-Nov2024.xlsx” so if something gets corrupted or accidentally deleted you’re not starting from scratch. I’ve seen this happen exactly once and the couple almost broke up over it because they’d lost months of planning data
