
Planning Guides, Style Guide
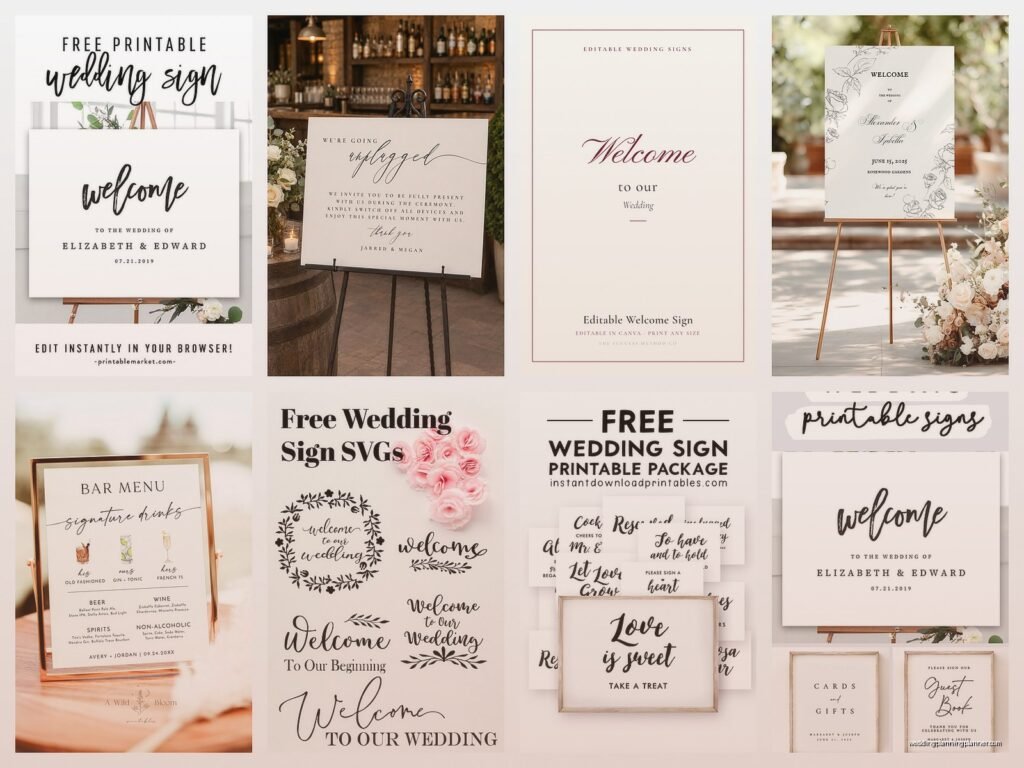
Wedding Sign Templates: Ceremony & Reception Downloads
Jul
Why Wedding Sign Templates Are Actually Worth It
Look, I used to hand-letter everything for my clients until about spring 2023 when I realized I was spending like 6 hours on a welcome sign that the venue staff propped against a tree where nobody could even see it. That’s when I fully converted to the template life and honestly, you should too.
Wedding sign templates are basically pre-designed graphics that you can download, customize with your own text, and print. They come in all formats—PDFs, Canva links, PowerPoint files (yeah really), and Adobe Illustrator files if you’re fancy. The ceremony ones cover stuff like your welcome sign, unplugged ceremony signs, reserved seating markers, and directional signs. Reception templates include everything from bar menus to hashtag signs to those “find your seat” displays.
Where to Actually Find Good Templates
Etsy is gonna be your main hunting ground. I’ve probably downloaded 200+ templates from there over the years. You’ll see shops that specialize in wedding stationery, and honestly the quality varies wildly. Some sellers give you a Canva link that’s super easy to edit, others send you a PDF that you can’t actually modify without jumping through hoops.
Creative Market is another solid option—tends to be slightly more expensive but the designs are usually more sophisticated. Templett is a platform that’s specifically built for templates, and it’s pretty user-friendly even if you’ve never edited anything before.
I had this one bride in summer 2021 who bought templates from like 5 different Etsy shops because she loved different elements from each, and then we had to frankenstein them together to match. It was… a process. My cat knocked over my coffee during one of our editing sessions and we had to redo an entire sign because I lost the file. Fun times.
What Format Should You Download
This is where people get tripped up. If you’re not design-savvy at all, get Canva templates. Canva is free (with paid options) and super intuitive—you just click on text boxes and type your own words. Done.
PDF templates are trickier because you usually need Adobe Acrobat Pro to edit them properly, which costs money. Some Etsy sellers say their PDFs are “editable” but they mean you need specific software. Read the description carefully or you’re gonna be frustrated.
PowerPoint and Google Slides templates exist and they’re actually not bad if you already know how to use those programs. You can change fonts, colors, move things around. I kinda prefer these for clients who are scared of new platforms.
Illustrator and Photoshop files are for people who actually know what they’re doing design-wise, or if you’re planning to send the files to a professional printer who requests those formats.
The Ceremony Signs You Actually Need
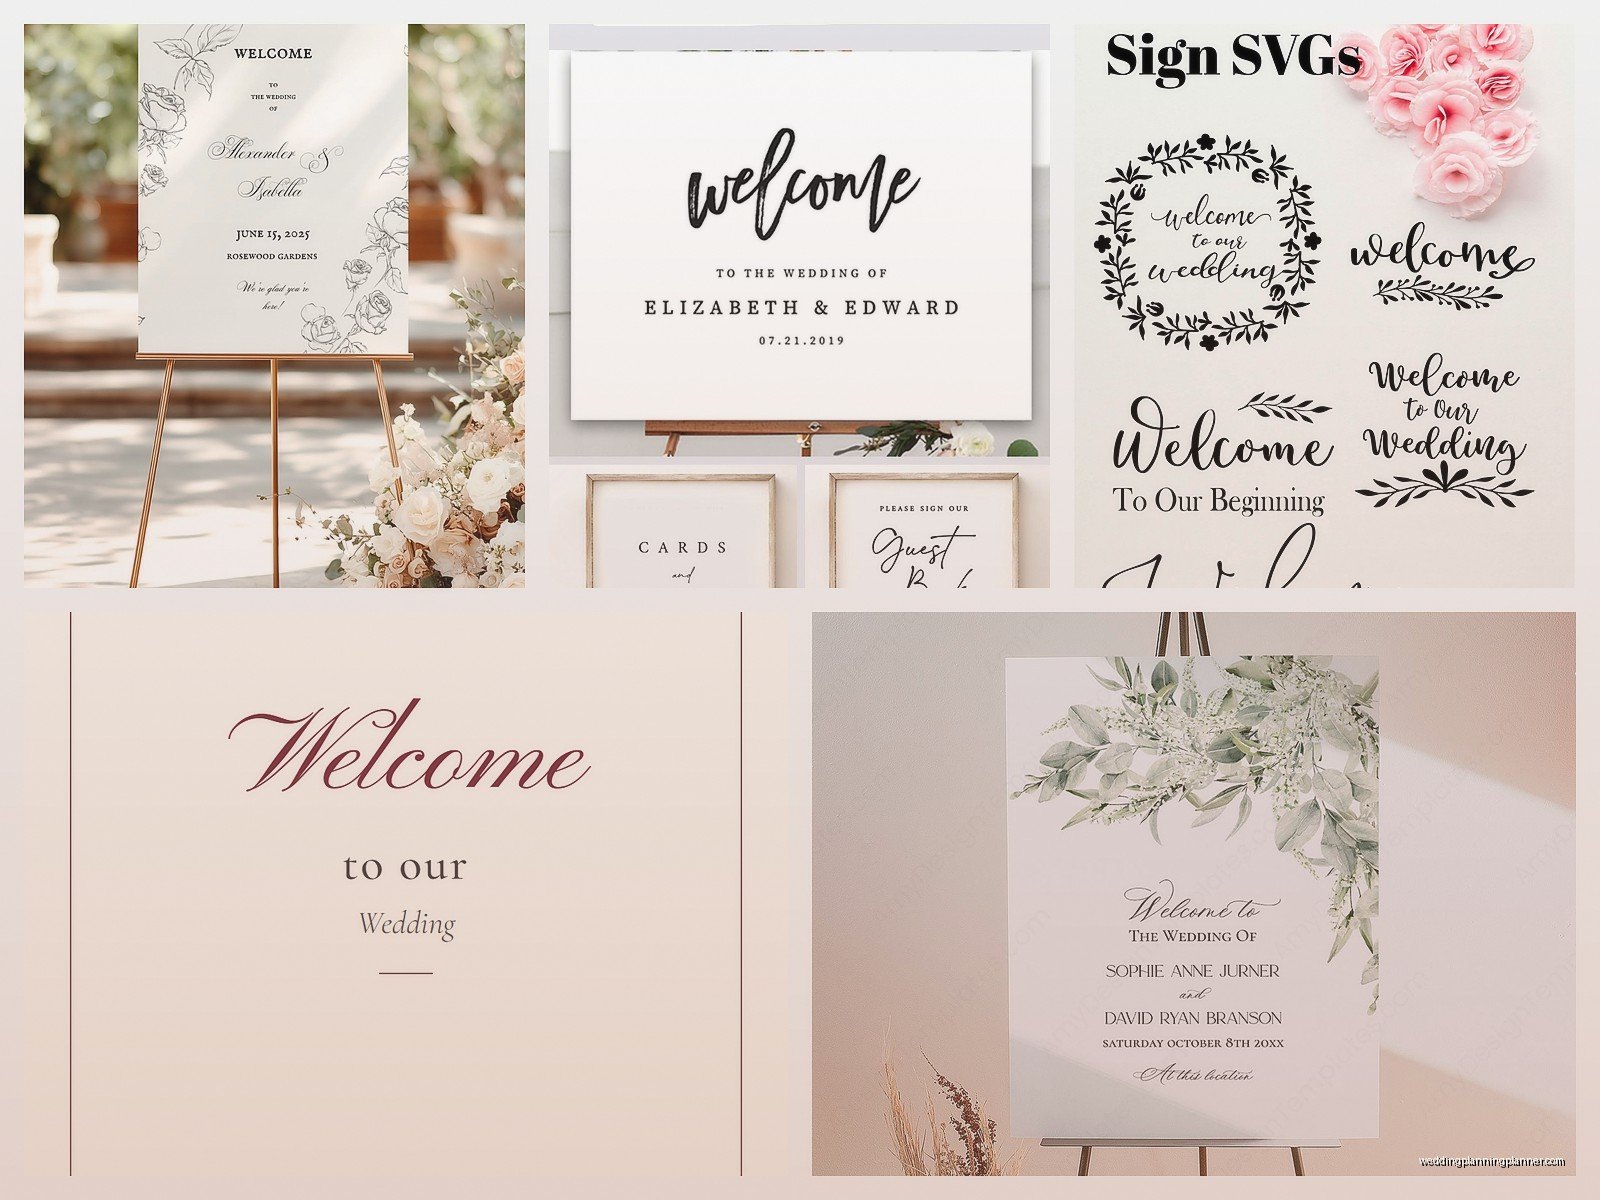
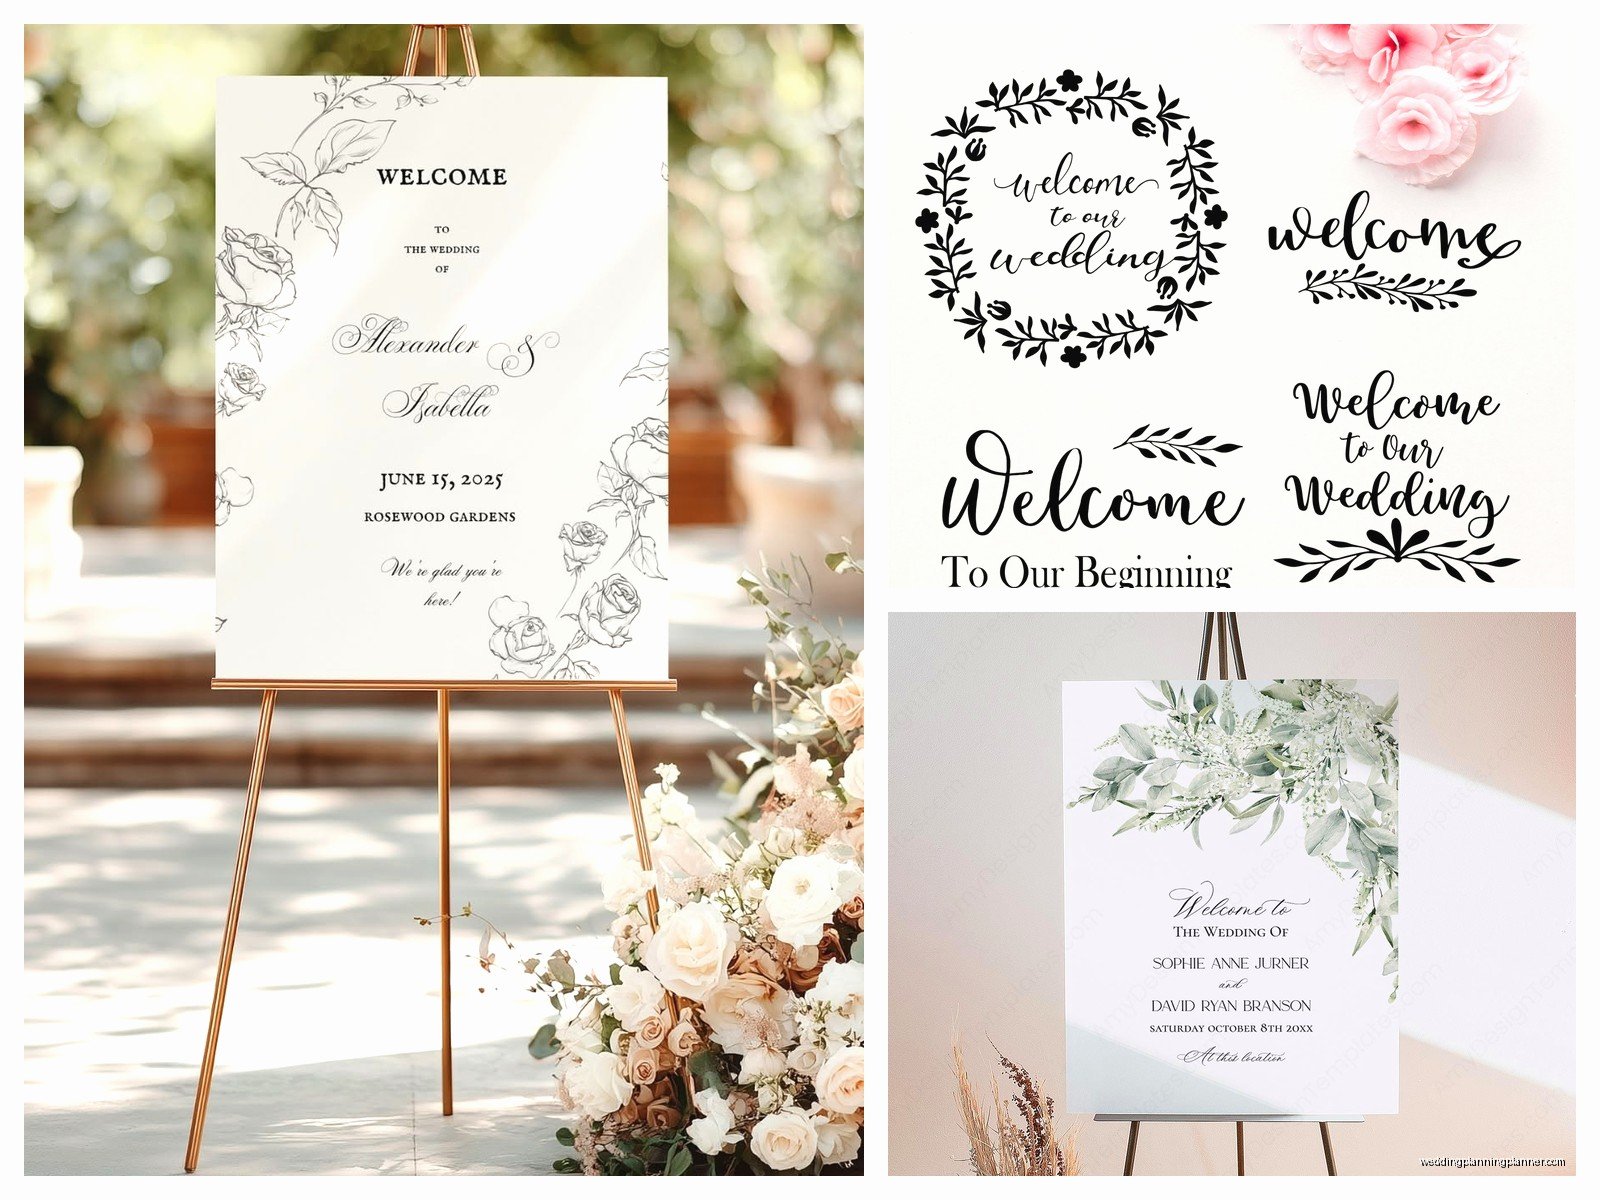
Welcome signs are the big one everyone wants. These usually go on an easel right when guests arrive, and they typically say something like “Welcome to the Wedding of Sarah & Michael” with your date. Size-wise, you’re usually looking at 18×24 inches or 24×36 inches depending on your venue size.
Unplugged ceremony signs are still relevant even though I’m kinda over them personally—but if you don’t want 47 iPads blocking your photographer’s shot during your first kiss, you need one. These usually say something like “Unplug and be present” or whatever variation doesn’t sound too preachy.
Reserved seating signs are necessary if you’re saving rows for family. Just get a template that says “Reserved” and print like 6-8 of them. They’re small, usually 5×7 inches.
Directional signs help if your venue is confusing—like “Ceremony this way” with an arrow. I worked with a venue once that had the ceremony and cocktail hour in completely different buildings and we needed like 12 directional signs or guests would’ve ended up in the maintenance shed or something.
Reception Sign Templates That Matter
The seating chart or escort card display sign is huge—literally and figuratively. This is where guests find their table assignments. You can do a big printed sign (like 24×36 or even bigger) or you can do individual escort cards. Templates exist for both. The big sign looks more impressive but escort cards are easier to read if you have 150+ guests.
Bar menu signs are having a moment. People want to display their signature cocktails, and a pretty printed sign (usually 11×14 or 16×20) does that job. You’ll need to list your drink names, ingredients maybe, and any cute backstory about why you named your cocktail “The First Date Disaster” or whatever.
Table numbers obviously—you need these unless you’re doing named tables (which, side note, makes seating charts way more confusing for guests, but some people love the aesthetic). Templates for table numbers come in every style imaginable. Standard size is 5×7.
Hashtag signs if you’re doing a wedding hashtag. These tell people what to use when posting photos. Usually 8×10 or 11×14. What annoys me is when couples spend $80 on a custom acrylic hashtag sign when they could print a template for $3, but that’s their choice I guess.
How to Actually Customize Your Templates
Once you download your template, you’ll need to open it in whatever program it’s designed for. If it’s a Canva template, the seller usually gives you a link that opens directly in Canva with the design already loaded. Then you just click on the text and change it to your information.
For fonts, stick with what’s already there unless you really know what you’re doing. The designer chose those fonts because they work together. I’ve seen people switch to like 8 different fonts across their signs and it looks chaotic.
Colors can usually be adjusted pretty easily—there’s typically a color palette in the template. If your wedding colors are navy and blush but the template is sage green, you can usually swap those out. But again, be careful because not all color combinations look good together even if they’re “your colors.”
For photos, some templates have spots where you can add your engagement photos or whatever. Just make sure your photo is high resolution (at least 300 DPI if you’re printing large) or it’ll look pixelated and terrible.
Printing Your Signs
This is where people either save a ton of money or waste a bunch depending on their choices. You’ve got several options and they all have pros and cons that I learned the hard way.
Printing at home works if you have a decent color printer and you’re only doing small signs. Like table numbers or 5×7 stuff. You’ll need good cardstock—at least 80lb weight, preferably 110lb. Regular printer paper looks cheap and flimsy. Office supply stores sell cardstock in packs.
Local print shops (like FedEx Office, Staples, local printers) are good for medium quantities and medium sizes. They can print on poster board, foam core, or nice cardstock. Prices vary wildly so call around. I’ve seen quotes range from $8 to $60 for the same 24×36 sign depending on the shop.
Online printing services like Vistaprint, Printful, Canva Print, or Printique are solid if you’re ordering in advance. They’re usually cheaper than local shops but you gotta wait for shipping. Canva Print is super convenient if you designed in Canva—you just click “print” and they handle it.
For large signs (anything bigger than 24×36), you might need to find a specialty printer that does engineering prints or go to a professional print shop. These can get expensive fast, like $100+ for a really large seating chart.
File Specs That’ll Save You From Disasters
Okay so this is technical but important. When you’re ready to print, your file needs to be the right specs or the print shop will either reject it or it’ll print wrong and you’ll be crying two days before the wedding (seen it happen).
Resolution needs to be 300 DPI minimum for anything you’re printing. If your template is lower resolution, it’ll look blurry when printed large. This is especially true for templates with photos or detailed graphics.
Bleed is this extra space around the edges of your design—usually 0.125 inches—that gets trimmed off. Professional printers need this. If your template doesn’t have bleed and you’re using a print shop, ask them if it matters. Sometimes it doesn’t for signs that won’t be trimmed.
Color mode should be CMYK for professional printing, but RGB works fine for home printing. Most templates come in the right color mode for their intended use, but if colors look different when printed than on screen, this might be why.
Mounting and Display Options
You can’t just like… hold up a piece of paper and call it a sign. Well you could but it would look ridiculous. You need to think about how you’re actually displaying these.
Easels are the classic choice for welcome signs and medium-sized signs. You can buy cheap wooden easels on Amazon for like $15-30. Make sure the easel is sturdy enough for your sign size—I’ve seen signs topple over during outdoor ceremonies when a breeze hits.
Foam core mounting makes signs sturdier. You can print your design and then mount it to foam core board (available at craft stores) using spray adhesive. Or many print shops offer foam core mounting as an add-on service for like $10-20.
Frames work great for table numbers, bar menus, and smaller signs. You can find cheap frames at Target, IKEA, or dollar stores. If you’re doing gold frames for everything, buy them all from the same place so they match.
Clipboards are trendy for seating charts—like those big clipboards from office supply stores. You clip your printed seating chart to it and prop it on an easel. Looks kinda industrial-chic.
For outdoor weddings, you need to think about weather. Laminating smaller signs helps, or you can print on water-resistant paper. For big signs, some couples get them printed on coroplast (that corrugated plastic material) which holds up better outside.
Common Template Mistakes
Not checking the actual dimensions before ordering prints is a big one. Your template might say “24×36” in the title but when you check the actual file, it’s designed at 20×30. Always verify the canvas size in your editing program.
Forgetting to change ALL the text—I cannot tell you how many times I’ve seen couples leave placeholder text on their signs. Like their welcome sign says “Welcome to Our Wedding” but then the date still says “Month Day Year” because they forgot to change it. Proofread everything three times.
Using too many different template sets that don’t match. Unless you’re deliberately going for an eclectic look, your signs should feel cohesive. Same color palette, similar fonts, consistent style. Don’t buy a rustic welcome sign template and then modern minimalist table numbers unless you want it to look disjointed.
Printing too small—if your venue is large or outdoors, bigger is better for welcome signs and directional signs. A 16×20 sign looks huge when you’re holding it at your desk but seems tiny when it’s sitting on an easel in a big open space.
Budget Breakdown
Templates themselves usually cost between $3-15 per design on Etsy. Some sellers offer bundles where you get like 10 different sign templates for $25-40, which is a way better deal if you need multiple signs.
Printing costs depend on your choices but here’s roughly what I see: Small signs (5×7, 8×10) cost about $1-5 each. Medium signs (11×14, 16×20) run $8-25. Large signs (24×36 and up) cost $20-60+ depending on material and whether you’re mounting them.
So for a typical wedding, you might spend $30 on templates and $100-200 on printing for all your signage. Compare that to custom-designed and printed signs from a stationer which would easily be $500-1000, and you’re saving significant money.
Timeline for Getting This Done
Don’t wait until the week before your wedding to think about signs. I had a client once who ordered templates 4 days before her wedding and then realized she needed to customize them, figure out printing, pick them up, and mount them all while also doing everything else. She was a mess.
About 2-3 months before your wedding, start browsing templates and choose your designs. Make sure they all work together style-wise. Purchase them and download all the files.
6-8 weeks out, customize your templates with your actual information. Get your seating chart finalized (which honestly might be the hardest part of wedding planning, not even joking). Have someone else proofread everything.
3-4 weeks before, place your printing orders if you’re using online services to allow for shipping time. If you’re using local printers, 1-2 weeks is probably fine but call ahead to check their turnaround time.
1 week before, pick up your prints and do any mounting or framing. Gather your easels and display materials. Do a test setup if possible to make sure everything fits and looks right.
Digital Display Alternative
Some venues now have TV screens or monitors where you can display signs digitally instead of printing. This works well for seating charts especially—you can create a slideshow that rotates through different views or even make it searchable. Templates work for this too, you just save them as JPEGs or PDFs instead of printing.
The downside is it requires tech setup and sometimes looks less elegant than printed signs, but it’s worth considering if you’re trying to save money on printing or if your guest count keeps changing up until the last minute (because you can edit a digital display right up until the event starts).
I’m watching this show right now where they plan a wedding in 3 weeks and honestly the signage is always an afterthought and it shows—like they’ll have this gorgeous venue and expensive flowers and then their signs look like they were made in Microsoft Word in 2003. Don’t be that couple.
What About Calligraphy and Hand-Lettering
Some templates are designed to look hand-lettered or calligraphed, which gives you that custom look without paying a calligrapher $200. The fonts mimic real calligraphy pretty convincingly. If you want actual hand-lettering, you can print your template as a guide and then hand-letter over it or next to it, which is what I used to do before I got smart about my time management.
Real calligraphy is beautiful but it’s pricey and takes time, and honestly for signs that guests glance at for 3 seconds, a good template usually does the job just fine. Save your calligraphy budget for your invitations or escort cards where people actually look closely.
