
Planning Guides, Style Guide
Wedding Invitation Templates with RSVP: Combined Downloads
Jul
Why Combined Templates Are Actually Worth It
So you’re looking at wedding invitation templates that come with RSVP cards in the same download and honestly? Smart move. I spent like three hours back in spring 2023 explaining to a bride why her invitations and RSVP cards looked like they came from different weddings because she downloaded them separately and didn’t check if the fonts matched. That was a fun conversation. Not.
Combined downloads mean everything‘s already coordinated—same fonts, same colors, same design elements. You’re not playing graphic designer detective trying to match two separate templates. The designer already did that work for you.
What You Actually Get in These Downloads
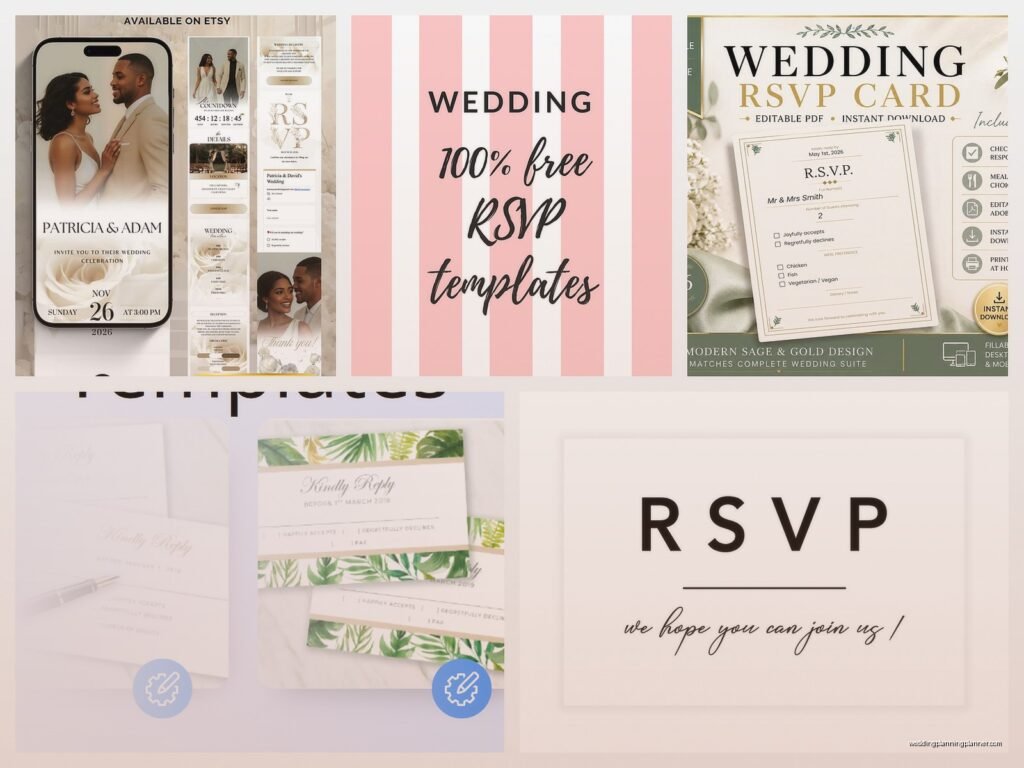
Most combined template packages include the main invitation card (obviously), an RSVP card, and then usually some bonus stuff like envelope liners, belly bands, or detail cards. Sometimes you’ll get thank you cards too which is kinda nice.
The file formats matter more than you think. You want editable files—usually PDF, Word, or Canva templates. Some designers give you Adobe Illustrator or Photoshop files which are great if you know how to use those programs but absolutely useless if you don’t. I’ve had clients buy expensive templates only to realize they needed a $50/month Adobe subscription to even open them.
File Types You’ll See
- PDF templates (often editable in Adobe Reader or Preview)
- Microsoft Word or PowerPoint files
- Canva links (super easy to edit, no special software needed)
- Adobe suite files (Illustrator, Photoshop, InDesign)
- Google Docs templates
Canva templates have basically taken over the DIY wedding world and for good reason. You just click the link, it opens in your browser, you type in your info, done. My cat walked across my keyboard while I was editing a Canva template once and somehow made the text pink and I didn’t even notice until I’d already sent the proof to the client but that’s… that’s a different story.
Finding Templates That Don’t Look Like Everyone Else’s
Etsy is gonna be your main hunting ground. There are literally thousands of sellers offering combined invitation and RSVP templates. The problem is that popular designs get used by multiple couples, so if you’re in a friend group where everyone’s getting married around the same time, you might see repeats.
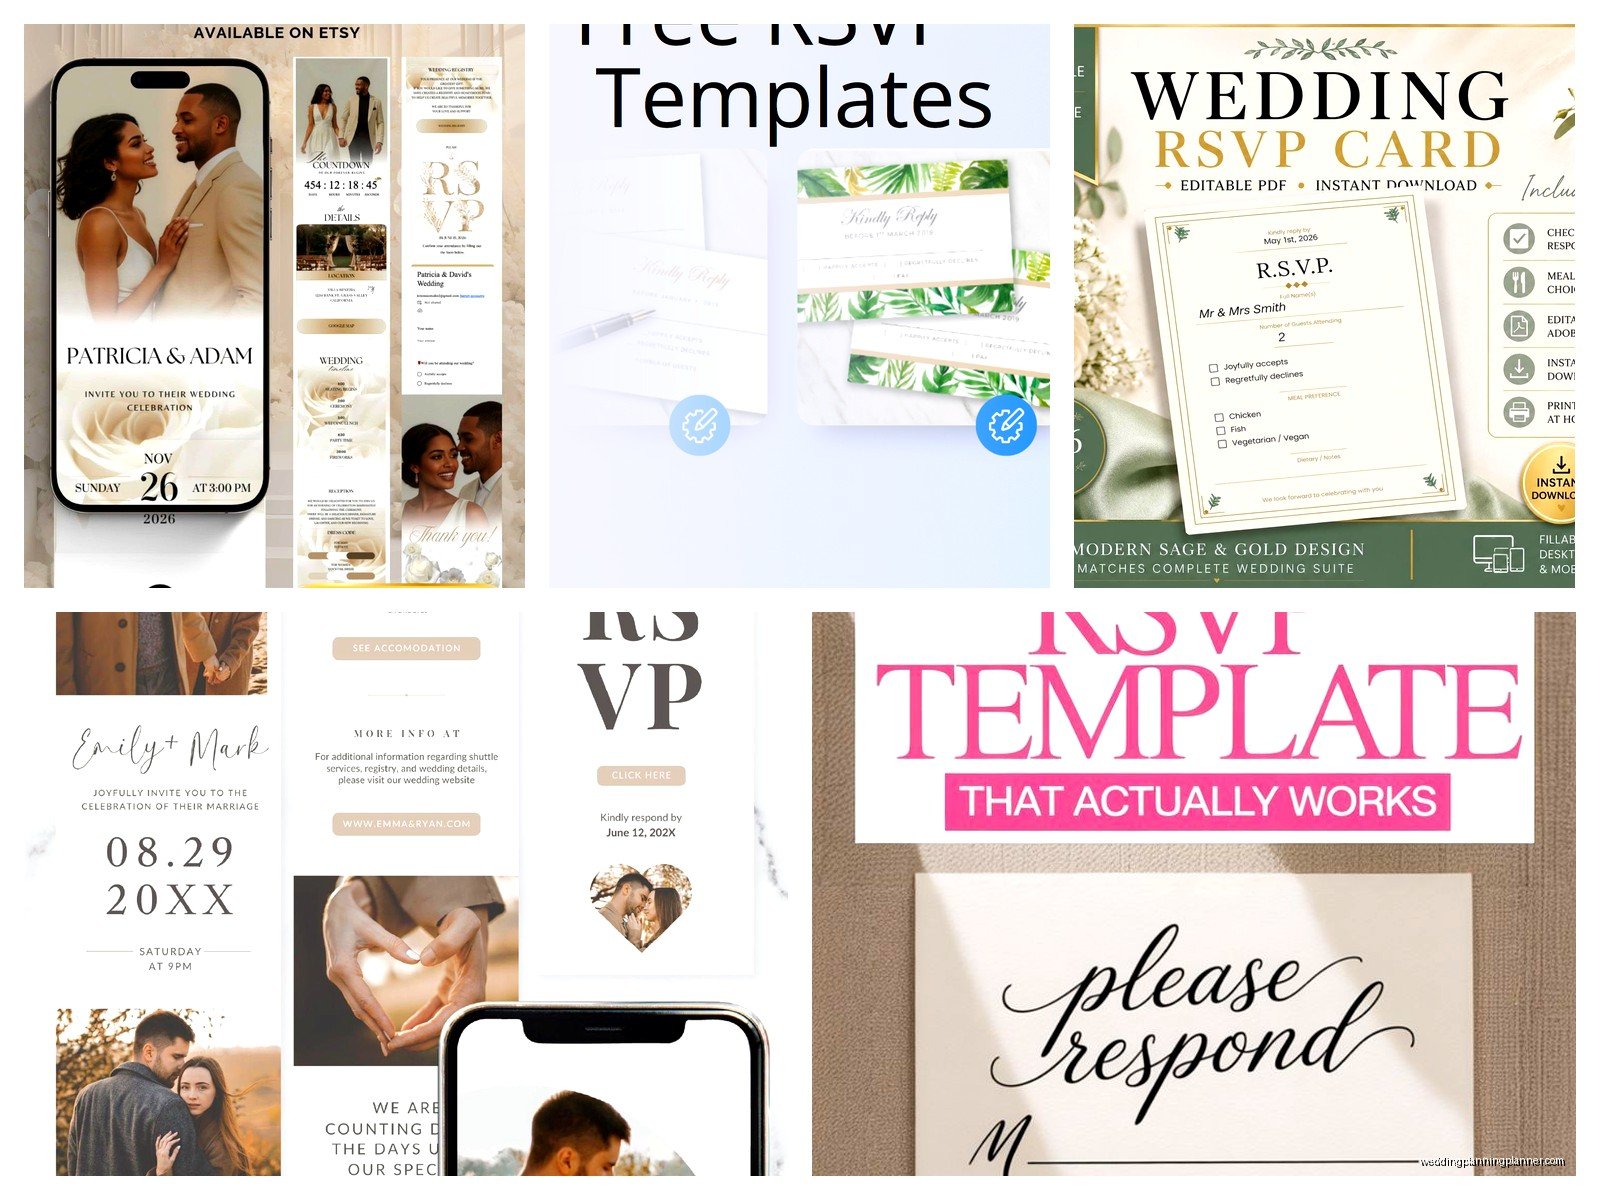
Creative Market and Design Bundles are also good options. They tend to have slightly more unique designs because they attract professional graphic designers who are selling their work. The prices are usually higher—like $25-50 instead of $8-15—but you’re less likely to see your exact invitation at your cousin’s wedding three months later.
Red Flags When Shopping
Low resolution previews are a bad sign. If the seller can’t be bothered to show you a crisp, clear image of what you’re buying, the actual file quality might be questionable too. I learned this the hard way in summer 2021 when a client bought a template that looked gorgeous in the listing photo but was actually only 72 DPI which is… not printable at professional quality.
Also watch out for templates that don’t clearly state what’s included. If the listing just says “wedding invitation template” but doesn’t specifically mention the RSVP card, it might not actually be there even though the preview image shows one. Read the description carefully or you’re gonna end up needing to buy a separate RSVP template anyway.
Editing Your Templates Without Losing Your Mind
Alright so you bought the template, you downloaded it, now what? First thing is to save a copy of the original file before you start editing. Just trust me on this. You will accidentally delete something important or mess up the spacing and you’ll want that clean original to go back to.
Most templates have text boxes or fields that are already set up. You’re basically just replacing the placeholder text with your actual information. The tricky part is keeping everything aligned and properly spaced, especially if your names are longer or shorter than the sample text.
Common Editing Mistakes
Changing the font is the thing that annoys me most about DIY templates. The designer chose those fonts for a reason—they work together, they’re readable, they fit the style. When you swap in some random font you like better, it usually throws off the whole design. If you absolutely must change fonts, at least keep the same general style (script stays script, serif stays serif).
Also people always want to cram too much information onto the invitation. The template has a certain amount of space designed into it. If you try to add three extra lines of text about your wedding hashtag and dress code and hotel block codes and whatever else, it’s gonna look cluttered and cramped.
RSVP Cards: The Part Everyone Messes Up
The RSVP card should include a response deadline, usually 3-4 weeks before your wedding date. You need space for guests to write their names, indicate if they’re coming or not, and note their meal choice if you’re doing plated dinner. Some templates include all this, some don’t.
Here’s what I tell every client: include a line for guests to write their names even though you’re mailing it to them with their names on the envelope. People forget to write their names on RSVPs constantly and then you’re stuck with a card that says “2 guests attending, beef” with no idea who it’s from. Super fun game of handwriting analysis trying to figure out if it’s from your college roommate or your second cousin.
Digital RSVP Options
Some combined template packages now include a matching digital RSVP option—like a wedding website design or a graphic for collecting RSVPs through Google Forms or your wedding website. This is actually really practical because you can put your wedding website URL on the paper RSVP card and give guests the option to respond online instead.
I had a couple last year who did this and got like 85% of their RSVPs through the website which made tracking responses so much easier. The other 15% were older relatives who mailed back the physical cards, which is exactly what you’d expect.
Printing Your Templates
You’ve got three main printing options: home printer, local print shop, or online printing service. Each has pros and cons and I have opinions about all of them.
Home printing is cheapest but most labor-intensive. You need good quality cardstock, a decent printer that can handle thick paper, and patience. Lots of patience. You’ll probably mess up a few prints getting the alignment right. Buy extra paper.
Local print shops like FedEx Office or local printers can usually handle template files pretty easily. You bring them your PDF or file, they print it on good quality paper, you pick it up. The cost is moderate—usually $1-3 per invitation depending on paper quality and any special finishes. Make sure to do a test print first before ordering your full quantity because sometimes colors look different when professionally printed.
Online services like Catprint, PrintRunner, or even Vistaprint can work with template files. They’re often cheaper than local shops for larger quantities and the quality is usually good. The downside is you can’t see a physical sample before ordering 150 invitations, so there’s some risk involved. Always order a proof if that option is available.
Paper and Printing Specs That Matter
Cardstock weight is measured in pounds (lb) or grams per square meter (gsm). For invitations, you want at least 80 lb cover weight (216 gsm) or it’ll feel flimsy. RSVP cards can be slightly lighter since they’re smaller, but I usually recommend keeping everything the same weight for consistency.
Finish options include matte, glossy, or textured. Matte is my personal preference for invitations because it looks elegant and you can write on it easily. Glossy can look cheap if it’s not done well, but high-quality glossy printing can be really striking. Textured papers like linen or felt are gorgeous but more expensive and not all printers can handle them.
Bleed and Margins
This is technical stuff that trips people up. Bleed is the extra space around the edge of your design that extends past where the paper will be cut. If your template has a colored background or design elements that go to the edge, you need bleed—usually 0.125 inches on all sides.
Margins are the space you need to keep text and important design elements away from the edge so nothing gets cut off. Usually you want at least 0.25 inches of margin, sometimes more depending on your printer’s requirements.
Good templates have these built in already. Bad templates don’t and then you end up with text that gets trimmed off or weird white borders around colored backgrounds. Check before you buy if you can.
Assembly After Printing
Once everything’s printed you’ve gotta put it all together. Most formal invitations have multiple pieces—the invitation itself, RSVP card, RSVP envelope, maybe detail cards or maps or whatever else you’re including.
The traditional assembly order from bottom to top is: invitation card (face up), tissue paper if you’re using it (optional and kinda old-fashioned honestly), reception card, other enclosure cards, RSVP card tucked under the flap of the RSVP envelope with the printed side visible. Then everything goes into the main envelope with the text facing up so guests see it when they open the envelope.
Or you can be like my friend Sarah who just… shoved everything in the envelope in whatever order because she was addressing 200 invitations at midnight the night before they needed to be mailed. That also works. Your guests will figure it out.
Addressing and Mailing
You need two envelopes technically—the inner envelope that holds everything and the outer mailing envelope with the address and stamp. A lot of couples skip the inner envelope now to save money and effort, which is totally fine for casual or modern weddings.
Address your envelopes before you stuff them. Way easier. You can hand-write them, print labels, print directly on the envelopes, or hire a calligrapher. The template sellers sometimes offer matching address label templates too which is convenient for keeping everything coordinated.
Take a fully assembled invitation to the post office and have them weigh it before you buy stamps. Invitations with multiple cards or thick paper often need extra postage. Nothing’s sadder than having your invitations returned for insufficient postage.
Timeline for Template Projects
Give yourself more time than you think you need. Seriously. Even with templates where the design work is done, you still need time for editing, proofing, printing, assembly, and mailing.
I usually recommend this timeline: download and edit templates 4-5 months before the wedding, finalize and proof everything 3-4 months out, print 2.5-3 months out, assemble and address 2-2.5 months out, mail 2 months before the wedding. That gives guests 6-8 weeks to RSVP, which is standard.
Can you do it faster? Yeah, definitely. I’ve had clients pull together template invitations in three weeks when they were behind schedule or… okay there was this one couple who forgot about invitations entirely until two months before their wedding and we made it work but I developed a stress headache that lasted four days so maybe don’t do that.
Troubleshooting Common Issues
Text looks pixelated or blurry when you zoom in on the PDF? The template might be low resolution. Contact the seller or pick a different template. You can’t really fix this yourself.
Colors look different on screen versus printed? This is normal. Screens use RGB color mode and printers use CMYK. Colors will always shift slightly. If color accuracy is critical, get a test print before doing your full order.
Template won’t open or shows error messages? Make sure you have the right software. Check the file format against what programs you have available. Sometimes you need to update your software or try opening it on a different computer.
Can’t figure out how to edit a specific element? Most sellers offer customer support. Send them a message with a screenshot of what you’re trying to do. They usually respond within a day or two and can walk you through it or even make small edits for you.
Cost Breakdown
Just so you know what you’re looking at financially, here’s a rough estimate for 100 invitations using combined templates:
- Template purchase: $10-50
- Printing (online service): $100-250
- Envelopes: $20-60
- Postage: $70-140 depending on weight
- RSVP postage (stamps for return envelopes): $70
Total: roughly $270-570 for 100 complete invitation suites. Compare that to $500-1500+ for professionally designed and printed invitations and you can see why templates are popular. The trade-off is your time and effort doing the DIY work.
When Templates Aren’t the Right Choice
If you’re having a black-tie formal wedding at a historic venue or country club, templates might not give you the level of sophistication you want. Same if you’re doing something really unique thematically—like if your wedding has a specific cultural tradition or very particular design requirements that off-the-shelf templates won’t match.
Also if you’re not comfortable with computers or design software at all, the money you save on templates might not be worth the stress and frustration of trying to edit them yourself. In that case, hiring a stationer or using a full-service online invitation company makes more sense even though it costs more.
