
Planning Guides, Style Guide
Wedding Budget Excel: Cost Tracking Spreadsheet
Jul
Setting Up Your Wedding Budget Spreadsheet
Okay so the first thing you need to do is actually open Excel or Google Sheets because honestly Google Sheets is gonna be easier if you’re sharing this with your partner or your mom or whoever is helping pay for things. I had this bride back in spring 2023 who insisted on keeping everything in a notebook and like, I respect the aesthetic but when her dad asked how much they’d spent on florals she had to flip through seventeen pages of scribbled notes and crossed-out numbers.
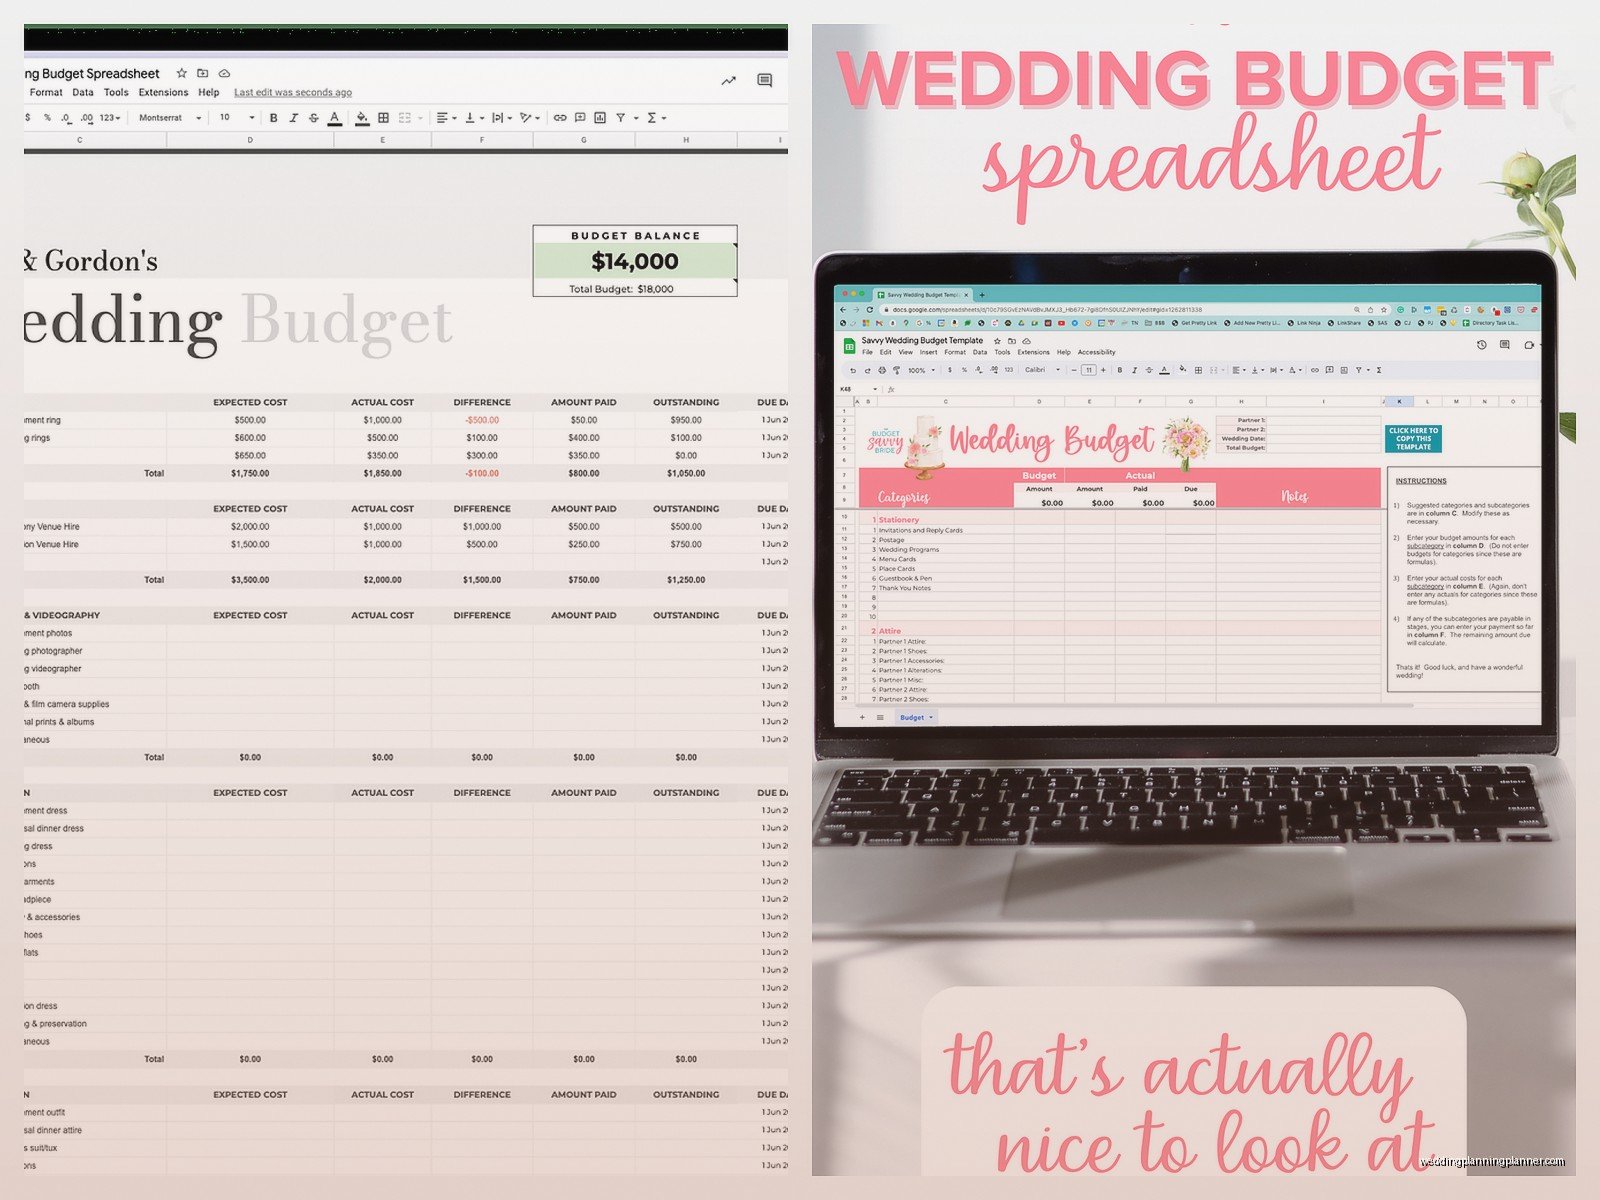
Start with these columns: Category, Item Description, Estimated Cost, Actual Cost, Deposit Paid, Balance Due, Due Date, Paid (yes/no checkbox), and Notes. You can add more later but this is your foundation. The Category column is where you’ll put stuff like “Venue” or “Catering” or “Photography” – all the big buckets.
Here’s what really annoys me though – people who don’t break down their categories enough. Like they’ll just write “Decorations: $3000” and then wonder where all their money went. Nah, you gotta split it up: ceremony flowers, reception centerpieces, ceremony arch rental, table linens, candles, whatever. The more specific you are the better you’ll understand your spending.
The Category Breakdown
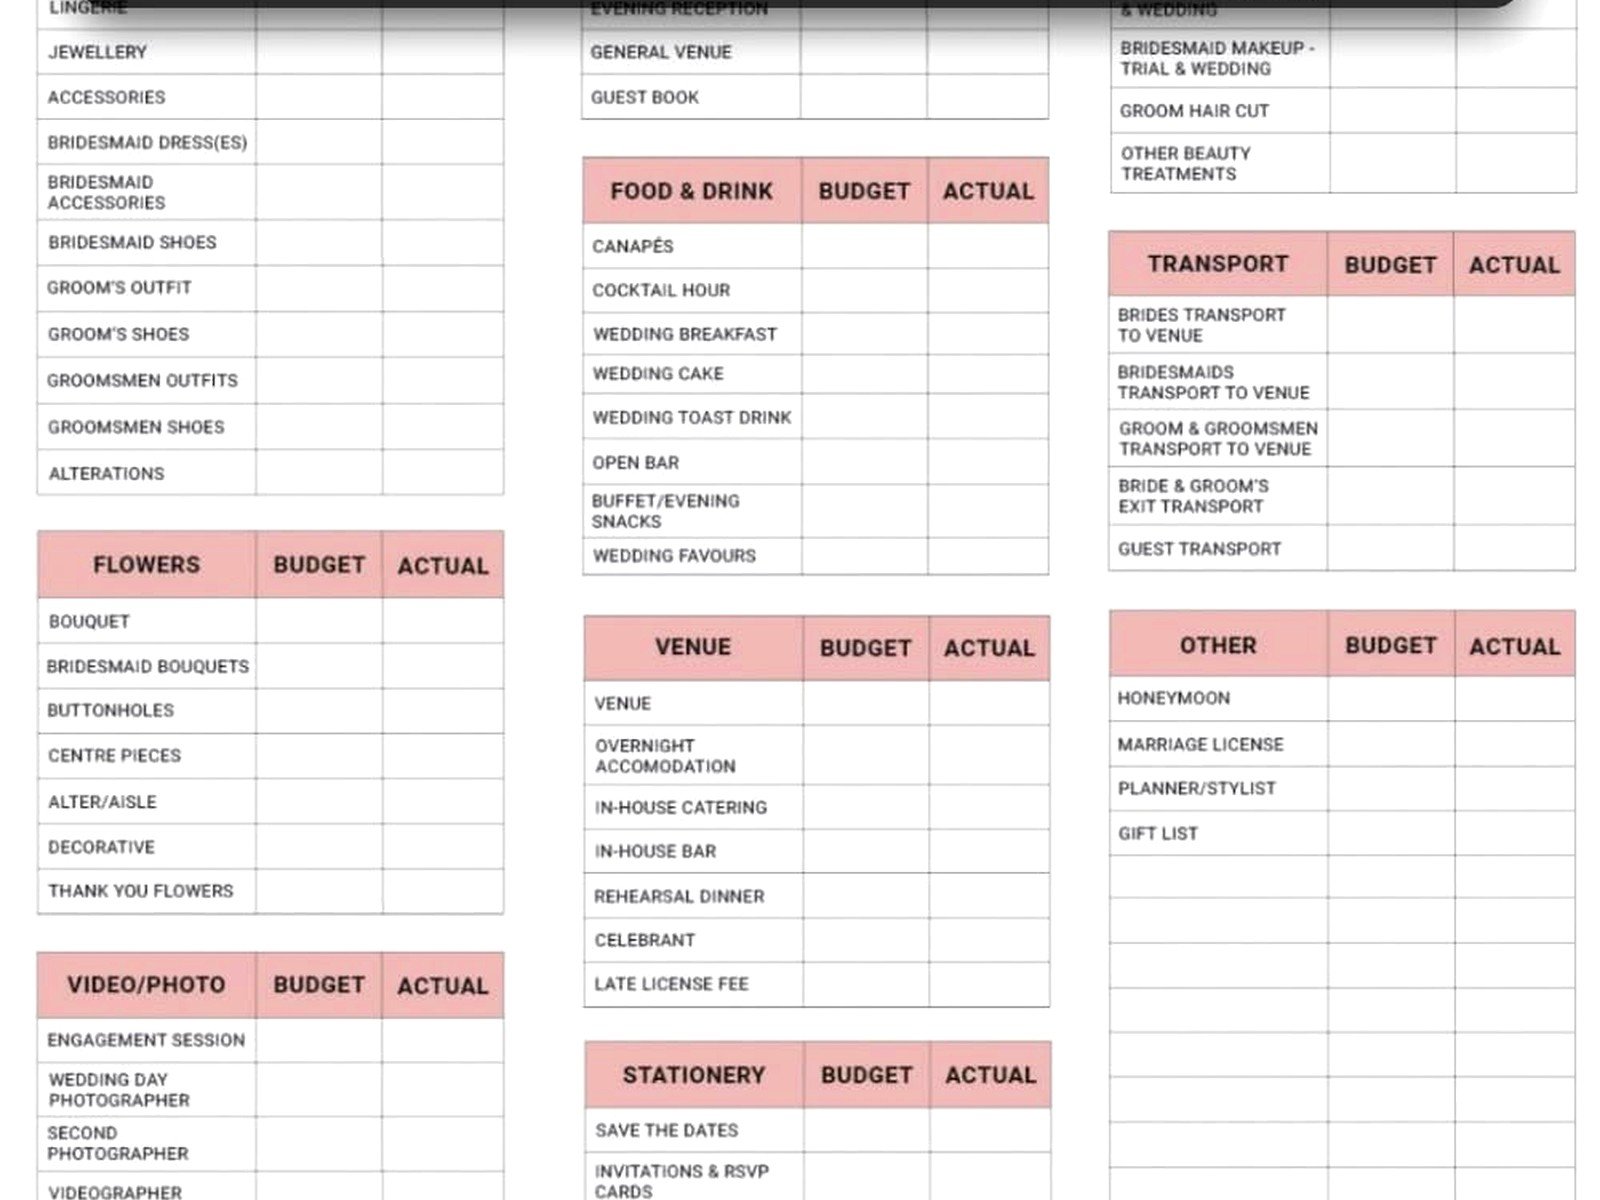
I usually set up these main categories and you can tweak them based on what matters to you:
- Venue (ceremony and reception separately if they’re different places)
- Catering (food, beverages, cake, late-night snacks)
- Photography and Videography
- Attire (dress, suit, alterations, accessories, undergarments)
- Beauty (hair, makeup, nails, trials)
- Flowers and Decorations
- Entertainment (DJ, band, ceremony musicians)
- Stationery (save the dates, invitations, programs, menus, thank you cards)
- Transportation
- Rentals (chairs, tables, dishware if not included in catering)
- Wedding Party Gifts
- Favors
- Officiant
- Wedding Planner or Coordinator
- Miscellaneous (this will get used trust me)
Under each category you’re gonna list out every single expense. So under Photography you’d have: photographer fee, engagement session, extra hours, second shooter, photo booth, prints, album. All separate lines.
The Formulas You Actually Need
Alright so you don’t need to be an Excel wizard but these basic formulas will save your sanity. At the bottom of your Estimated Cost column put =SUM(C2:C50) or whatever your range is. Same for Actual Cost column. This gives you your running totals.
Then create a cell somewhere at the top that says “Total Budget” and put your overall number there. Below that put “Estimated Total” with your sum formula, then “Remaining Budget” which is just =TotalBudget-EstimatedTotal. You want to see that number get smaller as you book things because it tells you how much you have left to allocate.
For the Balance Due column I use =ActualCost-DepositPaid. This tells you what you still owe on each item. Super helpful when you’re looking at your bank account wondering if you can afford to pay the florist this month or… you know what I mean.
Conditional Formatting Is Your Friend
This sounds fancy but it’s not. You can set up your spreadsheet to change colors based on what’s happening. Like I make the Due Date column turn red when a payment is due within two weeks. You can make the Paid column turn green when you check yes. Makes it way easier to scan and see what needs attention.
To do this in Excel you go to Home > Conditional Formatting > New Rule and set up your conditions. In Google Sheets it’s Format > Conditional formatting. I’m not gonna walk through every step because there are tutorials everywhere but seriously spend ten minutes learning this because it’s worth it.
Tracking Deposits and Payment Schedules
Most vendors want a deposit upfront then the balance later. Some want it in installments. This is where people get confused and honestly where I’ve seen couples get into trouble. You gotta track when money is actually leaving your account.
So in your spreadsheet you’ll have that Deposit Paid column – put the actual amount you handed over. Then the Due Date column is for when the next payment is due. Some vendors want everything 30 days before the wedding, some want it a week before, photographers often want it day-of. You need to know this information.
I create a separate tab called “Payment Calendar” where I list out every single payment by date. So like:
- March 15: Venue final payment ($4,500)
- March 20: Florist balance ($1,800)
- April 1: DJ final payment ($800)
- April 10: Caterer final headcount and payment ($6,200)
This way you can see what months are gonna hurt financially and plan accordingly. Maybe you can’t book that honeymoon right now because you’ve got $8,000 in wedding payments due in April.
The Actual vs Estimated Thing
When you’re first planning you’re working with estimates – quotes from vendors, rough ideas of what things cost. As you book vendors and sign contracts you’ll get actual numbers. That’s when you fill in the Actual Cost column.
Here’s the thing that kinda messed me up when I first started planning weddings – the actual cost is almost always higher than the estimate. Not because vendors are lying but because couples add things. You get the basic photography package then decide you want an engagement session. You book the standard bar package then upgrade to premium liquor. You order 100 invitations then realize you need 120.
So build in a buffer. If your total budget is $30,000 I’d plan like it’s $27,000 and keep that $3,000 as cushion. You’ll probably use it.
The Notes Column Is More Important Than You Think
I use the Notes column for everything – contract details, vendor contact info, what’s included vs what costs extra, special instructions. Like under Catering I’ll note “includes tables and chairs, bartender for 5 hours, doesn’t include cake cutting fee.” Under Photography maybe “includes 8 hours coverage, two photographers, engagement session, online gallery for 1 year, 20 prints.”
This saves you from having to dig through emails and contracts every time you have a question. Summer 2021 I had a bride who couldn’t remember if her venue included setup and teardown of chairs – she’d booked it a year earlier and lost the contract in her email somewhere – and we almost paid for chair setup twice because she didn’t have good notes. Luckily I had everything documented but still.
Sharing and Collaboration
If you’re using Google Sheets you can share it with your partner or parents or whoever needs access. Click the Share button, add their email, and set permissions. I usually tell couples to give their partner edit access but maybe give parents view-only access unless they’re actively managing payments.
The thing about sharing though is you gotta stay on the same page about who’s updating what. I’ve seen couples where both people are editing randomly and nobody knows which numbers are current. Maybe decide one person is in charge of entering vendor quotes and the other tracks payments, or whatever system works for you.
Add a Summary Dashboard
On a separate tab create a summary that pulls the totals from your detailed budget. I set this up with the category names and then formulas that sum up all the line items in each category. So like “Venue: $8,500” which is pulling from all your venue-related expenses on the main tab.
Then you can make a pie chart showing where your money is going. This is helpful because sometimes you don’t realize you’re spending 40% of your budget on food and drinks until you see it visualized. Maybe that’s fine, maybe you want to adjust. But you need to see it.
My cat just knocked over my coffee which… anyway.
Tracking Who Paid for What
If multiple people are contributing to your wedding – like your parents are paying for the venue and his parents are covering the bar and you’re handling everything else – add a column for “Paid By.” This prevents confusion later and helps with thank you notes honestly. You’ll remember that your dad covered the photographer and his mom paid for the rehearsal dinner.
Also useful for taxes if any of this is somehow deductible (it’s usually not but check with your accountant not me).
The Miscellaneous Category Will Explode
I’m telling you right now your miscellaneous category is gonna be way bigger than you expect. This is where you’ll put:
- Marriage license
- Shipping costs for invitations
- Extra postage for heavy invites
- Ring bearer pillow you bought on Etsy at midnight
- Emergency sewing kit
- Steamer rental
- Hotel room for getting ready
- Snacks and drinks for the bridal suite
- Tips for vendors
- Umbrellas because the forecast changed
- That sign you saw at Target
People always forget tips by the way. You should be tipping your hair stylist, makeup artist, delivery drivers, bathroom attendants if you have them, musicians… it adds up to hundreds of dollars so budget for it.
Update It Weekly (At Least)
The spreadsheet only works if you actually use it. Set a reminder on your phone for Sunday afternoons or whenever and spend fifteen minutes updating numbers, checking due dates, adding new quotes. If you wait until a month before the wedding to update everything you’re gonna have a panic attack looking at how much money you’ve spent without tracking it properly.
I try to update mine after every vendor meeting or contract signing. It takes two minutes and then it’s done. If you let it pile up it becomes this overwhelming thing you avoid and then… well, that’s how people end up $10,000 over budget without realizing it.
Version Control
Save versions of your spreadsheet at different stages. Like “Budget v1 – Initial Planning,” “Budget v2 – After Vendor Meetings,” “Budget v3 – Final Numbers.” This way if you need to look back at what you originally thought something would cost versus what it actually cost, you have that record.
Google Sheets automatically saves version history which is nice. Excel you gotta manually save copies with different names.
What to Do When You’re Over Budget
Okay so you’re gonna go over budget in some categories. Everyone does. The key is making sure your total stays on track even if individual categories are off. If you spent $1,000 more on photography than planned, you need to cut $1,000 from somewhere else.
Look at your spreadsheet and find categories where you have wiggle room. Maybe you were planning elaborate favors but honestly guests don’t care that much about favors – cut that budget in half. Maybe you were gonna do a full bar but a beer and wine bar is fine. Maybe the expensive linen rental isn’t necessary if the venue has basic linens included.
Sort your spreadsheet by the Actual Cost column (highest to lowest) and see where the big money is going. Usually it’s venue, catering, and photography eating up like 60-70% of your budget. Those are harder to cut but the smaller stuff adds up too.
Templates vs Starting from Scratch
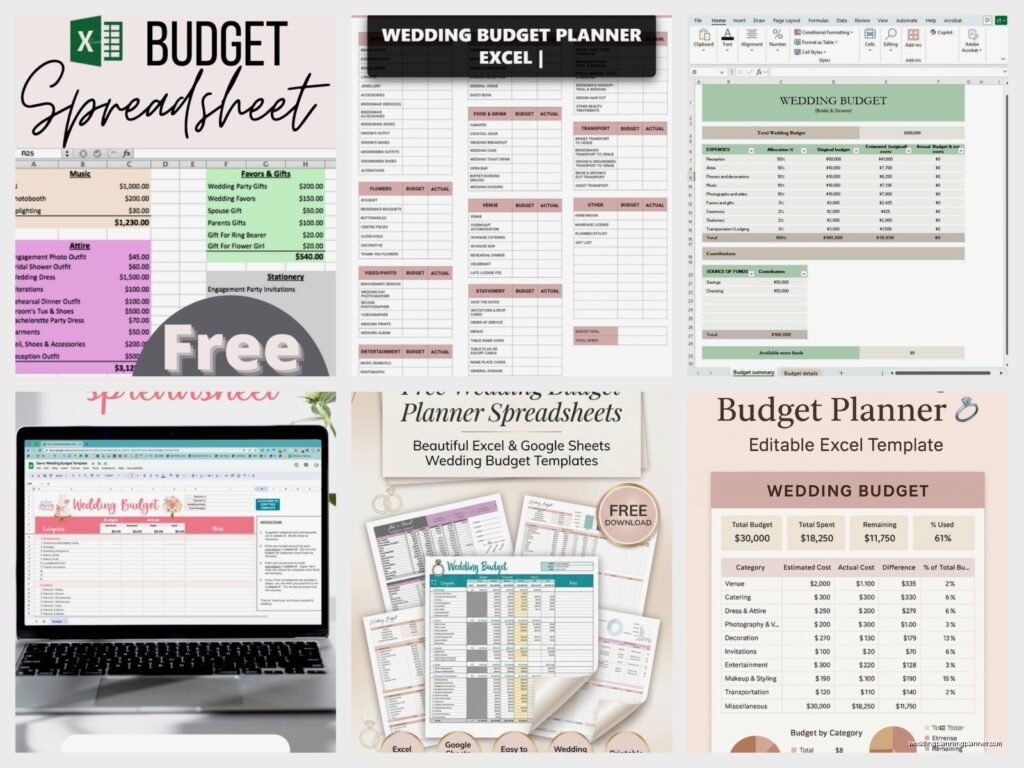
There are tons of wedding budget templates online – The Knot has one, WeddingWire has one, there are fancy paid ones. You can definitely start with a template but you’ll probably need to customize it because every wedding is different. Like if you’re not having a videographer you don’t need that category. If you’re having a destination wedding you need way more transportation and accommodation tracking.
I actually prefer starting from scratch because then you understand every cell and formula. But if spreadsheets make your brain hurt, grab a template and modify it. Just make sure you understand how it works before you start entering real numbers or you might mess up the formulas.
The important thing is having something that works for you and that you’ll actually maintain for the next however many months until your wedding. It doesn’t need to be pretty, it just needs to be functional and accurate. My most organized bride had the ugliest spreadsheet I’ve ever seen – no colors, basic formatting, just numbers and text – but she knew exactly where every dollar was going and came in under budget. Meanwhile I’ve seen beautiful Pinterest-worthy budget spreadsheets that never got updated past the first month.
