
Planning Guides, Style Guide
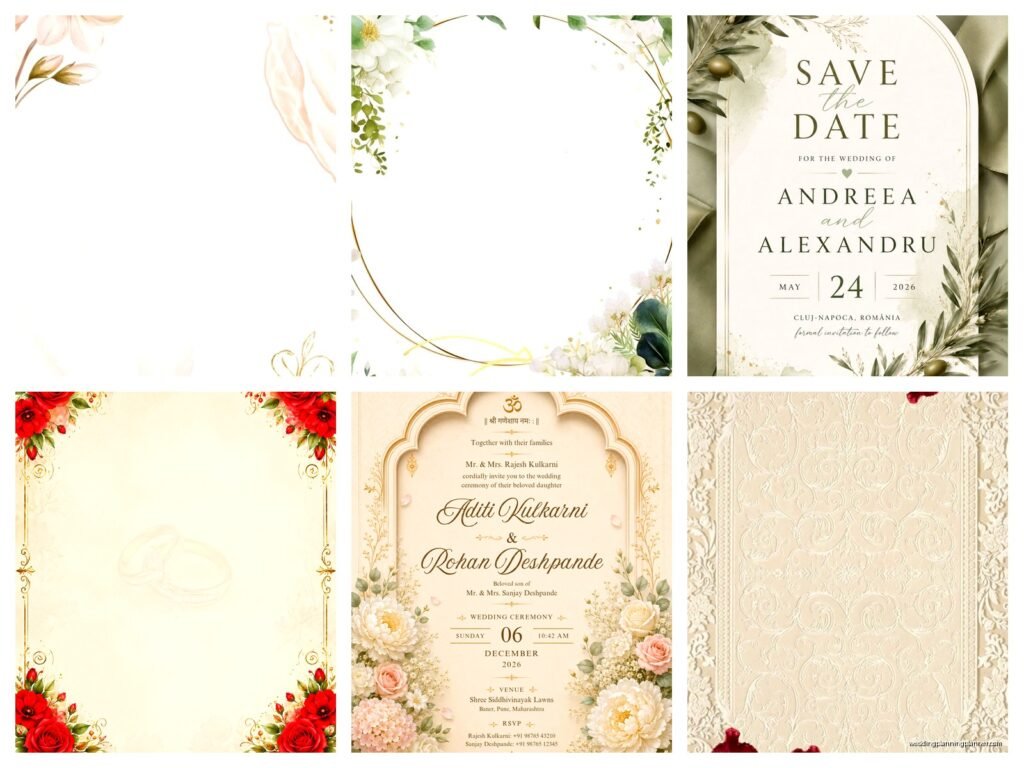
Wedding Design Template: Creative Layout Downloads
Jul
Wedding Design Templates Are Basically Digital Sanity Savers
Okay so wedding design templates are gonna save you SO much time it’s ridiculous. I’m talking about those downloadable layout files that give you a starting point for everything from seating charts to ceremony programs to timeline cards. Back in like spring 2019 I was manually creating every single design element from scratch for each wedding and honestly I wanted to throw my laptop out the window half the time.
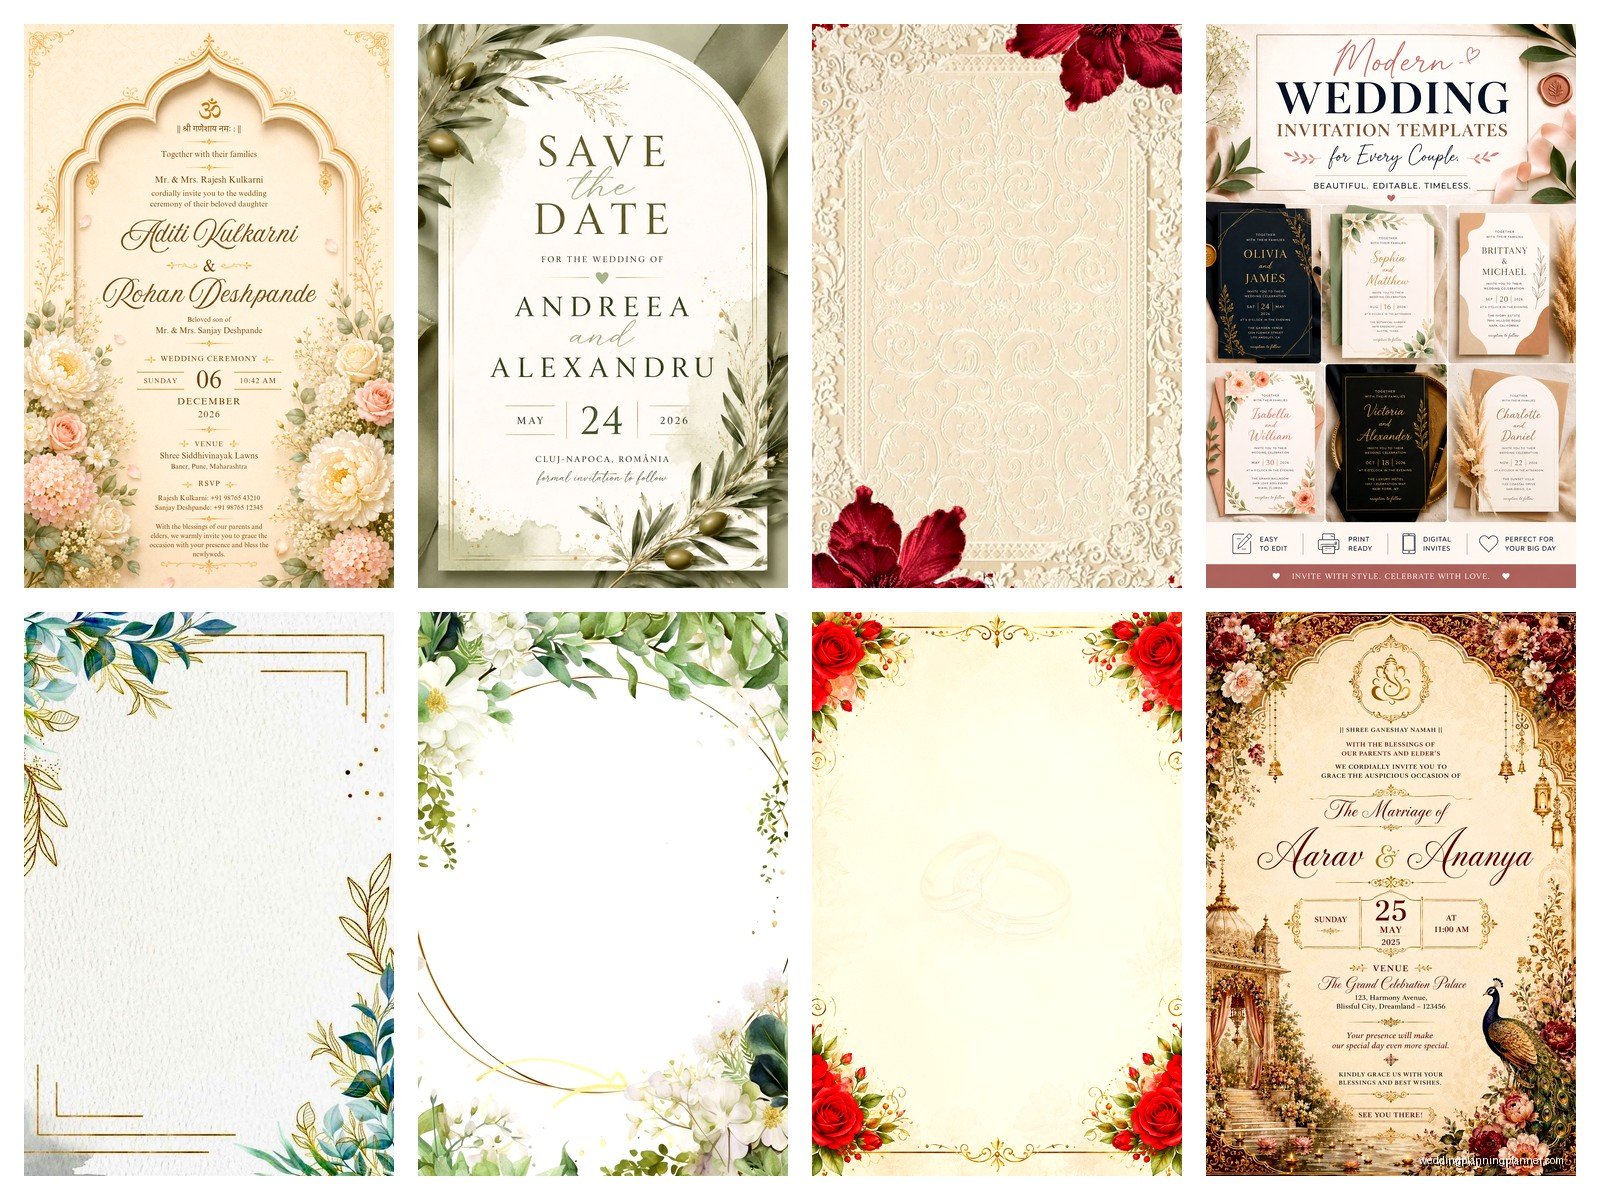
The thing about creative layout downloads is they’re not just pretty pictures—they’re actual working files you can customize. Usually you’ll find them in formats like Canva templates, Adobe InDesign files, PowerPoint (yeah I know but some are actually decent), or even Photoshop PSDs. Each format has its own vibe and learning curve which is… well I’ll get to that.
Where To Actually Find Good Templates
Creative Market is my go-to honestly. They’ve got thousands of wedding design bundles and you can filter by style which is clutch when you’re working with a boho bride versus someone who wants classic elegance. Etsy is another goldmine but you gotta be careful because quality varies like crazy. I’ve downloaded some Etsy templates that were basically just JPEGs with no editable layers and I’m still annoyed about that honestly.
Canva has their own template library built right in and if you’re not a design person this is probably where you should start. The pro version gives you access to way more options and you can resize stuff for different print sizes which saves time. Envato Elements does a subscription model where you get unlimited downloads—I signed up for this in summer 2021 when I had like six weddings back-to-back and needed ALL the resources.
There’s also Creative Fabrica, Design Bundles, and honestly sometimes individual designers sell directly through their Instagram shops which can be cool because you’re supporting small businesses and the designs tend to be more unique.
What File Format You Actually Need
This is where it gets kinda technical but stay with me. If you’re using Canva templates you don’t really need to worry about file formats because everything lives in your browser. Super easy, very beginner-friendly, my mom could probably figure it out.
InDesign files (.indd or .idml) are for Adobe InDesign which is industry standard for print design. These give you the most control and flexibility but you need a Creative Cloud subscription. I use InDesign for any print materials that are going to a professional printer because the color management is just better. You can set up bleeds, crop marks, all that technical stuff that makes printers happy.
Photoshop templates (.psd) are good for stuff with photos or complex graphics. I usually see these for save-the-dates or invitations with photo backgrounds. You’ll need Photoshop to edit them which again means Adobe subscription.
PowerPoint and Keynote templates are actually more useful than you’d think? Especially for presentations to clients or creating digital signage for the wedding day. They’re easy to edit and most people already have the software. Not gonna lie though the design options are more limited.
How To Actually Use These Things Without Losing Your Mind
First thing—download the template and SAVE A COPY before you start editing. I cannot stress this enough. You’re gonna want that original file when you inevitably mess something up or a client changes their mind for the seventh time about the font choice.
Open your copy and start by swapping in your couple’s information. Names, dates, venues, all the basic stuff. Then tackle the color scheme. Most good templates have color swatches or a style guide that shows you which colors are being used where. Change those to match your wedding palette.
Fonts are usually the next thing. Some templates come with font recommendations but don’t include the actual font files because of licensing stuff. You’ll need to either purchase those fonts separately or find similar free alternatives. Google Fonts is your friend here. Just make sure whatever you choose is readable—I’ve seen too many wedding programs with gorgeous script fonts that literally no one can actually read.
The Customization Part That Actually Matters
Here’s where you make it actually look like it belongs to your specific couple and not just a generic template. Add their photos if the design calls for it. Adjust spacing and text blocks to fit your content—not every ceremony is the same length so you might need more or fewer pages.
Change out graphic elements if they don’t match the vibe. Most templates include things like floral illustrations or geometric shapes that you can delete or replace. I had this one bride in fall 2022 who hated the eucalyptus leaves in the template we bought but loved everything else, so we just deleted those elements and added her favorite flowers instead.
Pay attention to alignment and spacing. This is what separates amateur-looking stuff from professional designs. Everything should line up properly and have consistent margins. Most design programs have alignment tools and guides—use them.
Print Specifications You Gotta Know
If you’re printing these designs (which you probably are for most wedding stuff), you need to understand some basics. Resolution should be 300 DPI minimum for print. Anything less will look fuzzy or pixelated. Color mode should be CMYK not RGB for professional printing, though some printers can convert RGB files.
Bleed is extra space around the edges that gets trimmed off after printing. Usually you want 0.125 inches of bleed on all sides. This prevents white edges if the cut isn’t perfectly precise. Safe zone is the area where you definitely don’t want important text or images because they might get trimmed.
File format for sending to printers is usually PDF. High-quality PDF, not the compressed web version. Some printers want specific PDF settings so always check their requirements before you export. I learned this the hard way when I sent files to a printer who needed PDF/X-1a format and I’d just exported a standard PDF and they couldn’t use it.
Templates For Different Wedding Items
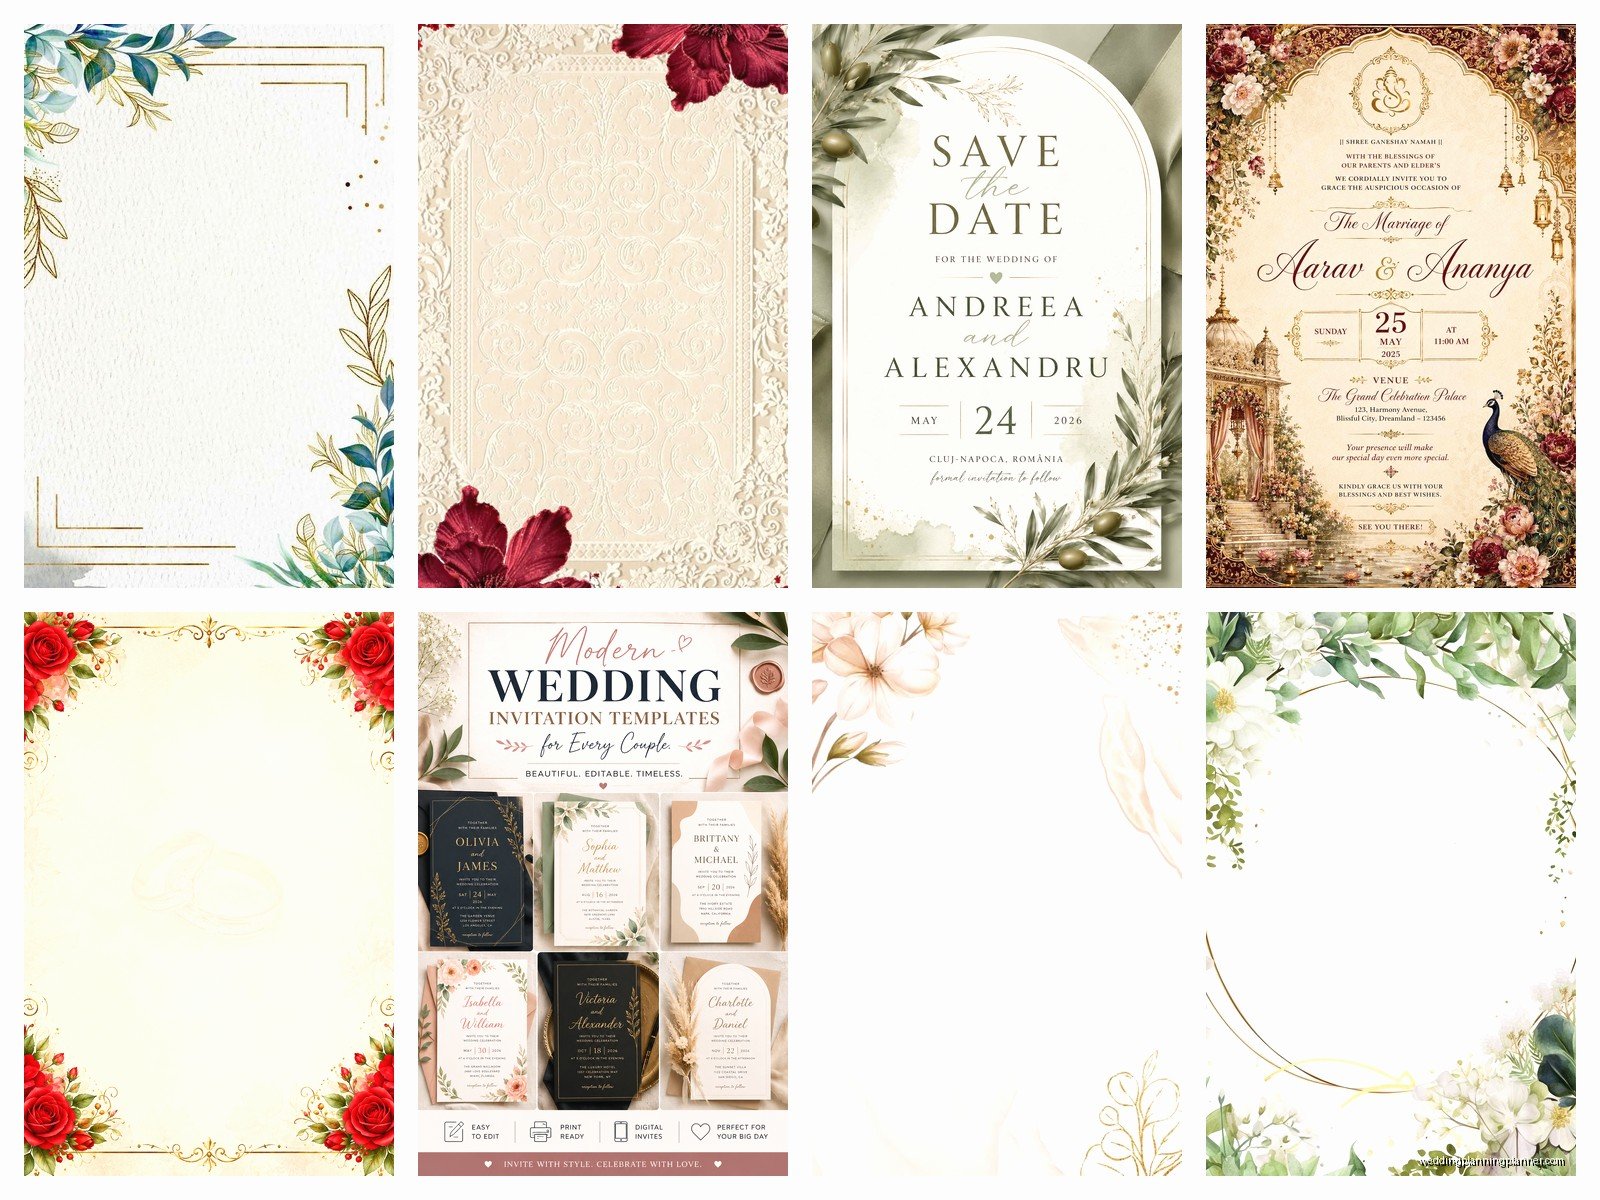
Invitation suites are probably the most common template type. These usually include the main invitation, RSVP card, details card, and envelope designs. Some fancy bundles include belly bands, envelope liners, wax seal designs… honestly it can get overwhelming. Start with the basics.
Seating charts are where templates really shine because doing these from scratch is actual torture. Look for templates that are easy to update because you WILL be updating them. Guest lists change constantly right up until the wedding day. I prefer templates that use tables or text boxes I can easily edit rather than ones where everything is embedded in the design.
Programs and menus are pretty straightforward. Just make sure the template has enough space for your content. I’ve had to squeeze eight bridesmaids’ names into a template designed for four and it looked… not great.
Signage templates are super helpful for welcome signs, bar menus, timeline displays, bathroom baskets, all that stuff. These are usually designed for specific print sizes like 18×24 or 24×36 so pay attention to dimensions when you’re downloading.
Table numbers seem simple but there are SO many styles. Printed, acrylic, wood, framed… make sure your template matches your actual display method. A design that looks good printed on cardstock might not work if you’re printing on clear acrylic.
The Bundle Versus Individual Debate
Bundles are usually more cost-effective if you need multiple items in the same style. Like you’ll get invitation suite plus all the signage plus place cards all designed to coordinate. This is ideal for maintaining a cohesive look throughout the wedding.
But sometimes you only need one specific thing and buying a whole bundle is wasteful. I’ve definitely bought bundles just for one or two items and never used the rest which is kinda dumb financially but whatever.
Also bundles from one designer mean everything already matches which saves you the headache of trying to coordinate different templates from different sources. Trust me trying to make a seating chart from one designer work with invitations from another designer is more annoying than it should be.
Common Problems And How To Fix Them
Missing fonts is the number one issue. You download a template and it looks wrong because you don’t have the fonts installed. The template description should list required fonts. Download and install them before opening the template file. On Mac you just double-click the font file, on Windows you right-click and install.
Images not linking properly happens with InDesign and Photoshop files sometimes. The template uses placeholder images and when you open it the images are missing or low-res. Usually there’s a folder with the actual images that needs to be in the same location as the template file. Keep everything together.
Size issues are frustrating—you think you’re getting a 5×7 invitation template but it’s actually A5 which is slightly different. Always check the actual dimensions before you purchase. And make sure they match your printer’s capabilities or your preferred print size.
Color looking different on screen versus print is just… gonna happen sometimes. Screens show RGB colors and printers use CMYK and they don’t match perfectly. This is why professional designers do test prints. For important stuff like invitations definitely do a test print before ordering 150 copies.
Licensing Stuff You Should Probably Know
Most templates come with personal use or limited commercial use licenses. Read the fine print. Some let you use them for unlimited client projects, others limit you to one wedding or a certain number of uses. If you’re a planner using templates for multiple clients you probably need an extended license which costs more.
You usually can’t resell the template itself or share the files with other people. You can sell the finished product (like printed invitations) but not the editable template. Makes sense but I’ve seen people get confused about this.
Font licensing is separate. Just because a template uses a certain font doesn’t mean you have the license to use that font. Some fonts are free for personal use but require a license for commercial work. Always check.
My Actual Workflow With Templates
I keep a folder system on my computer organized by wedding date and couple name. Inside each couple’s folder I have subfolders for templates, final files, print-ready PDFs, and inspiration images. Sounds organized but honestly sometimes I still can’t find stuff and my cat walking across my keyboard doesn’t help.
When I start a new project I browse templates based on the couple’s style preferences. I’ll usually download 2-3 options to show them before we commit to one. Once they choose, I make my backup copy and start customizing.
I work in stages—basic info first, then colors, then fonts, then fine-tuning. I send proofs to the couple after each major stage because making all the changes at once and then finding out they hate the color scheme is the worst. I learned that lesson in spring 2023 with a bride who approved everything over email without really looking and then saw the printed invitations and hated them. We had to reprint everything. Not fun.
For print items I always do a test print on my home printer first even though the colors won’t be perfect. It helps catch typos and spacing issues. Then I send files to the professional printer with their required specs.
Digital Versus Print Templates
Digital templates are for things like wedding websites, email invitations, or social media graphics. These stay in RGB color mode and don’t need bleed or print specifications. Usually they’re designed for specific pixel dimensions like 1080×1080 for Instagram or 1920×1080 for digital displays.
These are becoming more popular especially for modern weddings or destination weddings where physical mail is complicated. The nice thing is you can make changes right up until the wedding day if needed. No reprinting costs.
Some template bundles include both print and digital versions which is super convenient. Same design aesthetic across everything whether it’s physical or digital.
You can also use digital templates for things like Zoom backgrounds if you’re doing a virtual component to the wedding or for slideshow presentations at the reception. There’s actually way more uses than you’d think if you get creative.
Actually Helpful Tips From Someone Who’s Done This Too Many Times
Start with Canva if you’re new to this. Seriously. It’s the easiest learning curve and you can create professional-looking stuff without design experience. Once you’re comfortable you can move to more complex programs if you want more control.
Build a template library over time. When you find designers you like or styles that work well, save them. I have probably 200+ templates saved across different categories and it makes starting new projects so much faster.
Don’t be afraid to mix and match elements from different templates as long as you’re not violating licensing terms. Take the border from one, the layout from another, create something unique. That’s how you avoid the cookie-cutter look.
Invest in a few good fonts. Yeah there are tons of free options but professional fonts often have better character sets and look more polished. I probably use the same 10-15 fonts for 90% of my work because I know they’re reliable and versatile.
Save your work constantly. Auto-save is great but manual saves are better. I’ve lost work to software crashes and it’s absolutely maddening. Also save different versions as you go so you can go back if needed.
Create a style guide document for each wedding with the exact color codes, font names, and any specific design preferences. This keeps everything consistent across all the different items you’re creating and makes updates easier. Plus if you need to hand off files to someone else or come back to the project after a break, you have everything documented.
Test your files before sending to the printer. Print at home or use a local print shop for one copy. Check for typos, color issues, alignment problems. Way cheaper to catch mistakes before ordering 200 programs.
Keep the design simpler than you think you need to. Beginner mistake is trying to use every element and font and color. Professional designs usually have lots of white space and limited elements. Less is actually more even though that sounds cliche.
