
Planning Guides, Style Guide
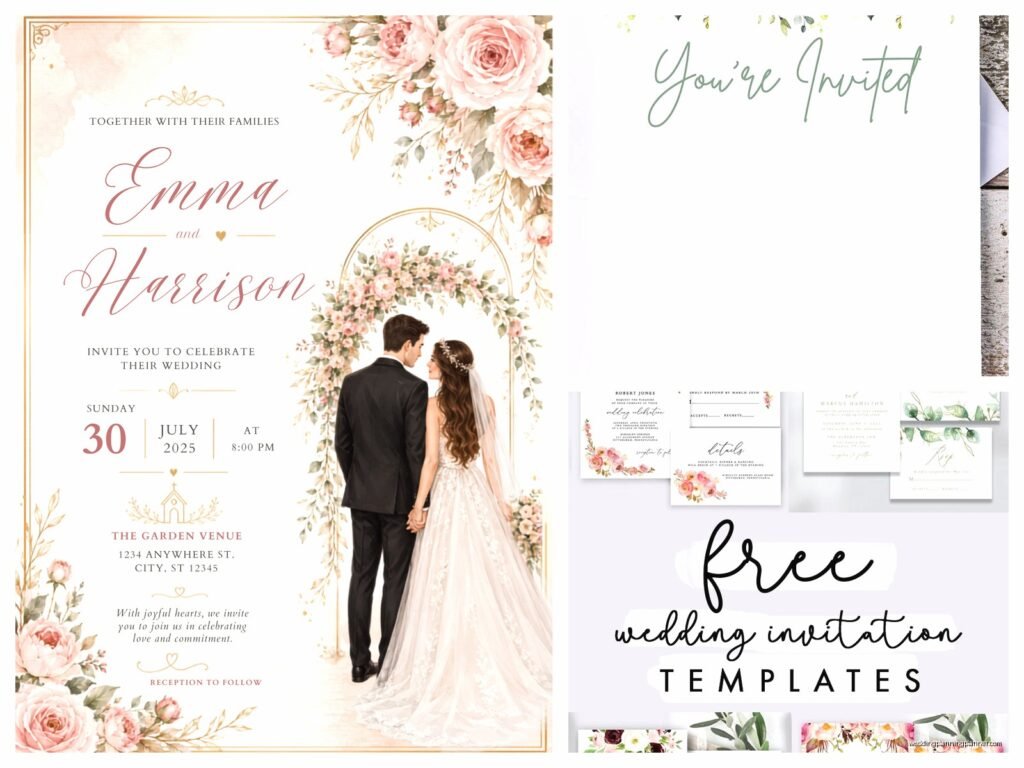
Free Wedding Invitation Templates To Print: Free Download Files
Sep
So You Want Free Wedding Invitation Templates That Actually Print Properly
Okay so free printable wedding invitations are kinda tricky because half the templates online look gorgeous on your screen and then you print them and they’re… not great. I learned this the hard way back in spring 2023 when a bride emailed me at like 11pm saying her invitations printed with weird margins and half the text was cut off. She’d downloaded some “free” template that was actually sized wrong for standard printers and now she was three days from her deadline.
The thing nobody tells you upfront is that free doesn’t always mean ready-to-use. You’re gonna need to check file formats, sizes, and whether you actually have the software to edit them. But let me walk you through what actually works.
Where To Actually Find Decent Free Templates
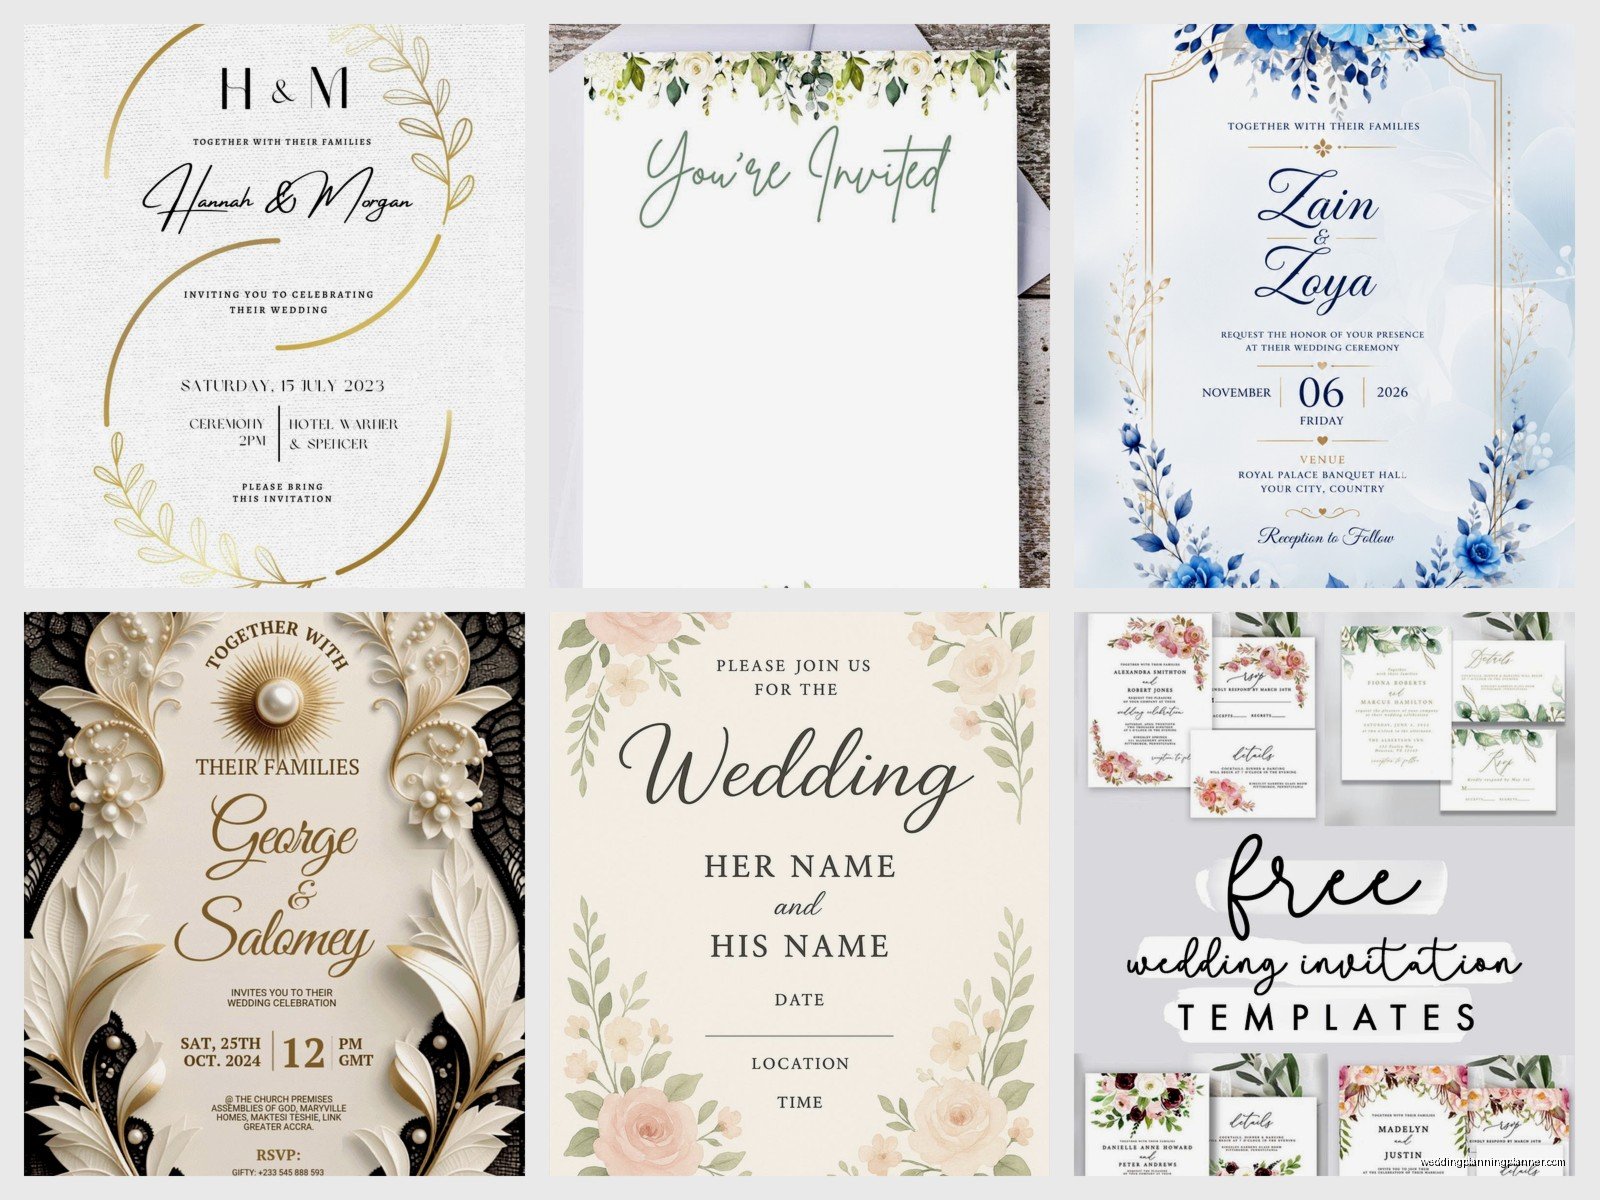
Canva is honestly your best friend here even though everyone and their mom uses it now. They have a free tier that gives you access to tons of wedding invitation templates. The reason I recommend them first is because they’re already set up for standard printing sizes and you can edit everything right in your browser. No special software needed.
Microsoft Word templates are surprisingly solid if you’re going for something simple. Like, I know Word sounds boring but they have this template gallery that’s actually pretty nice? You can download wedding invitation templates that are already formatted for 5×7 cardstock which is the standard size most people use.
Adobe Express (used to be called Adobe Spark) has free templates too. You don’t need a Creative Cloud subscription for the basic stuff. They’ve got modern designs that don’t look too “free template” if you know what I mean.
Greetings Island has actually printable files and they’re truly free. No weird subscription traps. You customize online and download a PDF that’s print-ready.
The Annoying Part About “Free” Templates
What really bugs me is when sites advertise FREE templates but then you get in there and realize you need their premium version to remove watermarks or access the actual download. Like, that’s not free, Susan. That’s a bait and switch. Always check if there’s a watermark before you spend an hour customizing something.
File Formats You’ll Actually Need
PDF is king for printing. If you can download your template as a PDF, do that. PDFs maintain formatting across different computers and printers. They’re what print shops want if you’re taking your invitations somewhere to get printed professionally.
JPEG or PNG files work fine if you’re printing at home on your own printer. Just make sure the resolution is at least 300 DPI (dots per inch). Anything lower looks pixelated when printed. I’ve seen so many people download a 72 DPI image meant for web use and wonder why it looks blurry on paper.
DOC or DOCX files (Microsoft Word) are easy to edit but be careful because they can shift around when you open them on different computers. If you’re using a Word template, save it as a PDF before printing.
PSD files are Photoshop files and unless you have Photoshop or know how to use it, skip these. They’re not beginner-friendly at all.
Standard Sizes You Should Know
5×7 inches is the most common wedding invitation size. It fits in an A7 envelope and doesn’t require extra postage (usually). Most free templates come in this size.
4×6 inches works too and it’s actually cheaper to print because it’s postcard size. You can print these at like Costco or Walgreens photo centers for pretty cheap.
Square invitations look really elegant but heads up – they cost more to mail. The post office charges extra for non-standard sizes and it drove me crazy when… wait, I’m getting sidetracked. Anyway, if you go square, budget for extra postage.
How To Actually Customize These Things
You’re gonna need to change the text obviously. Names, dates, venue address, all that. Most templates have placeholder text that you just click and replace. Pretty straightforward.
Font choices matter more than you think. If the template comes with fancy script fonts, make sure you have those fonts installed on your computer or the text will default to something else (usually Arial or Times New Roman which looks terrible on wedding invitations). Canva gets around this by keeping everything in their system so fonts stay consistent.
Colors can usually be changed but be careful with printing colors at home. What looks like a soft blush pink on your screen might print as salmon or straight-up orange depending on your printer. Always do a test print first. Always.
The Personal Info Part
Double-check your spelling. Triple-check it. I once had a couple print 150 invitations before noticing they’d spelled the groom’s last name wrong (they’d been together 6 years, HOW did that happen). Spell check won’t catch everything because names and venue addresses aren’t in the dictionary.
Printing Options That Don’t Suck
Your home printer can work if you have a decent inkjet or laser printer. Get good cardstock though – at least 80lb weight, preferably 110lb. Regular printer paper looks cheap and flimsy for wedding invitations. Michaels and Hobby Lobby sell cardstock in wedding-appropriate colors.
Office supply stores like Staples or Office Depot can print them for you pretty cheaply. You upload your PDF file on their website or bring it on a USB drive. They have better printers than you do and the quality shows.
Costco photo center is my secret weapon honestly. Their cardstock printing is really affordable and the quality is solid. You need a membership but if you’re already a member it’s worth checking out.
FedEx Office (formerly Kinko’s) is more expensive but they can do rush orders and they have people who can help if your file has issues.
Local print shops are sometimes cheaper than the big chains and they usually have more paper options. I always recommend supporting local businesses when… okay but also they can give you advice in person which is helpful if you’re confused about paper weights and finishes.
What Paper To Use
Matte cardstock is the easiest to print on and it doesn’t show fingerprints. It’s my go-to recommendation for DIY printing.
Glossy cardstock looks fancy but it can smudge if you touch it before the ink dries completely. Also some printers don’t handle glossy paper well.
Textured or linen cardstock adds a nice touch and hides any slight printing imperfections. The texture kinda disguises things if your printer isn’t perfectly calibrated.
Shimmer or metallic paper looks gorgeous but it’s harder to print on at home. The coating can make ink not adhere properly. If you want shimmer, I’d take it to a print shop.
Test Printing Is Non-Negotiable
Print ONE invitation first on regular paper. Check that all the text fits, nothing is cut off, margins look right. Then print one on your actual cardstock. The cardstock test is important because paper feeds differently and you might need to adjust your printer settings.
Check your printer settings before the big print job. Make sure it’s set to “best quality” or “high quality” not “draft.” Make sure it’s not set to “fit to page” which can resize everything weirdly. You want actual size or 100% scale.
My cat literally walked across my keyboard once while I was setting up a print job and changed the paper size to legal instead of letter and I didn’t notice until I’d printed like 20 invitations that were all stretched out weird. So… maybe lock your pets out of the room when you’re doing this.
Specific Sites With Actually Free Downloads
Template.net has a bunch of free wedding invitation templates. Some require signing up with an email but you get actual downloadable files in Word, PDF, or Illustrator formats.
Hloom has simple, clean templates that are completely free. No catch. They’re more basic looking but sometimes simple is better than trying too hard.
Vertex42 is primarily known for Excel templates but they have some nice wedding stuff too including invitations. Again, actually free.
Etsy has some free templates believe it or not. You gotta search for “free wedding invitation template” and filter by price (free). Some designers offer one or two freebies to showcase their style.
Envelope Addressing Situation
You can’t really print directly on envelopes at home easily unless you have a specific envelope-feeding printer. Most people hand-address envelopes or print labels.
Avery labels and their template software make this easier. You can create mailing labels that match your invitation style. It’s not as elegant as calligraphy but it’s legible and saves time.
If you want a calligraphy look without hiring a calligrapher, there are envelope template generators online where you can use a pretty font and print on clear labels that go on the envelope. It looks decent from a distance.
Things That Can Go Wrong
Printer jams with cardstock happen. Cardstock is thicker than regular paper so your printer might struggle. Feed it slowly, don’t overload the paper tray, and have patience. If your printer keeps jamming, it might not be able to handle the paper weight you’re using.
Color matching between screen and printer is never perfect. Screens use light (RGB) and printers use ink (CMYK) so colors shift. Bright colors especially tend to print darker or duller than they appear on screen.
Cutting is tedious if your template is designed for multiple invitations per sheet. You’ll need a paper cutter (not scissors unless you have incredibly steady hands). Michaels sells paper cutters for like $20-30.
How Many Extra Should You Print
Always print extras. Always. I tell people to print 10-15% more than you need. Someone will mess up addressing an envelope, you’ll want to keep some as keepsakes, last-minute guests will get added to the list. It’s way easier to print everything at once than to try to reprint matching invitations later.
DIY Assembly Tips
If your invitation has multiple pieces (main invite, RSVP card, details card), assemble them in an organized way. Set up a little assembly line on your dining table. Put all the pieces for one invitation together, then stuff the envelope, then seal it. Do it production-style instead of doing each step for all invitations separately.
Envelope sealers (those little sponge things) save your tongue if you have a lot of invitations. Or get self-adhesive envelopes. Nobody wants to lick 100 envelopes, trust me.
Weigh one complete invitation before you buy stamps. Take it to the post office and have them weigh it. If it’s over 1 ounce you need extra postage. If it’s thick or has a wax seal or ribbon, it might be considered non-machinable which also costs more.
The Reality Check
Free templates won’t look like those $15-per-invitation custom letterpress ones. They just won’t. But honestly most guests don’t care that much about your invitations – they care about the information and celebrating with you. If you’re on a tight budget, free templates are totally acceptable and nobody’s gonna judge you for it.
The time investment is real though. DIY printing and assembly takes hours. Like, plan for a full day or weekend to print, cut (if needed), assemble, and address everything. It’s not a quick project. Make sure you have enough time before your mail-by date.
Sometimes paying for printing is worth it even with a free template. You can still save money by using a free design and just paying someone else to print it on nice paper. That’s actually a smart middle-ground approach that I recommend all the time when people ask.
