
Planning Guides, Style Guide
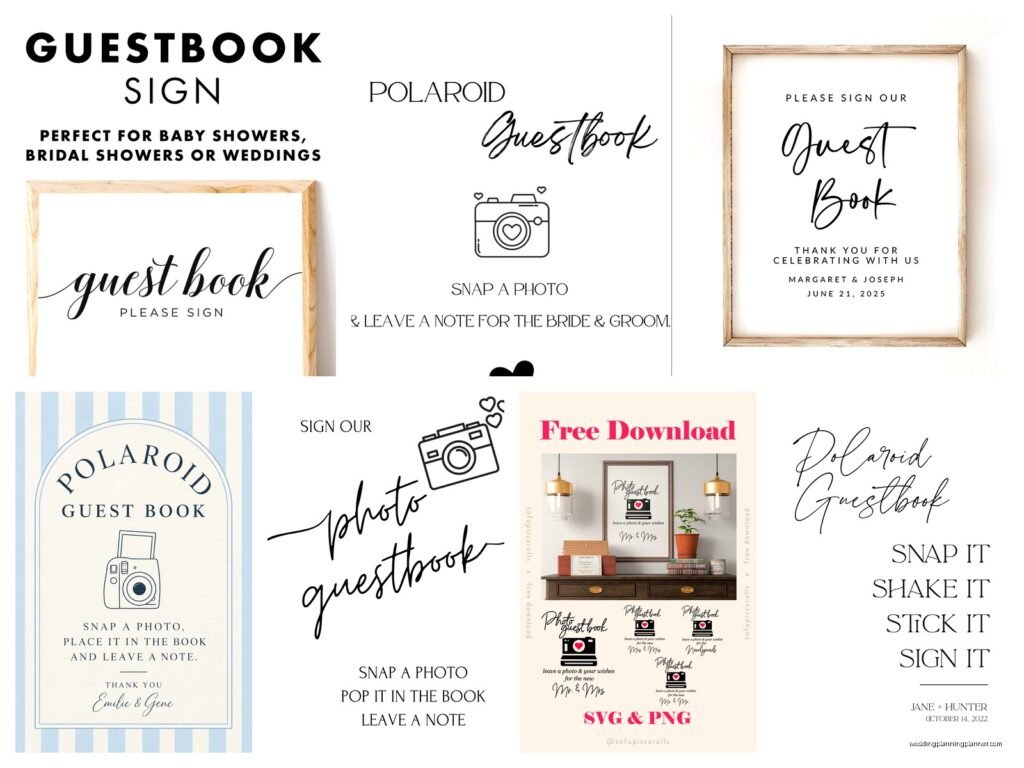
Polaroid Guest Book Sign Printable Free: Complete Guide
Sep
Why Polaroid Guest Books Are Actually Worth the Hype
Okay so Polaroid guest books became this massive thing around 2019 and honestly I was skeptical at first because it felt like another trendy wedding thing that couples would stress about. But then I had this bride in spring 2023 who insisted on doing one and I watched guests actually line up—like genuinely excited—to take their photos and write messages, and I was like alright, I get it now.
The basic concept is super simple. Instead of a traditional guest book where people just sign their names (boring), you set up a station where guests take Polaroid photos of themselves, stick them in a scrapbook or album, and write a little message next to their picture. You end up with this amazing keepsake that’s way more personal than signatures.
And the sign is kinda crucial because without clear instructions, guests will just… stand there looking confused. Trust me on this.
What You Actually Need for the Printable Sign
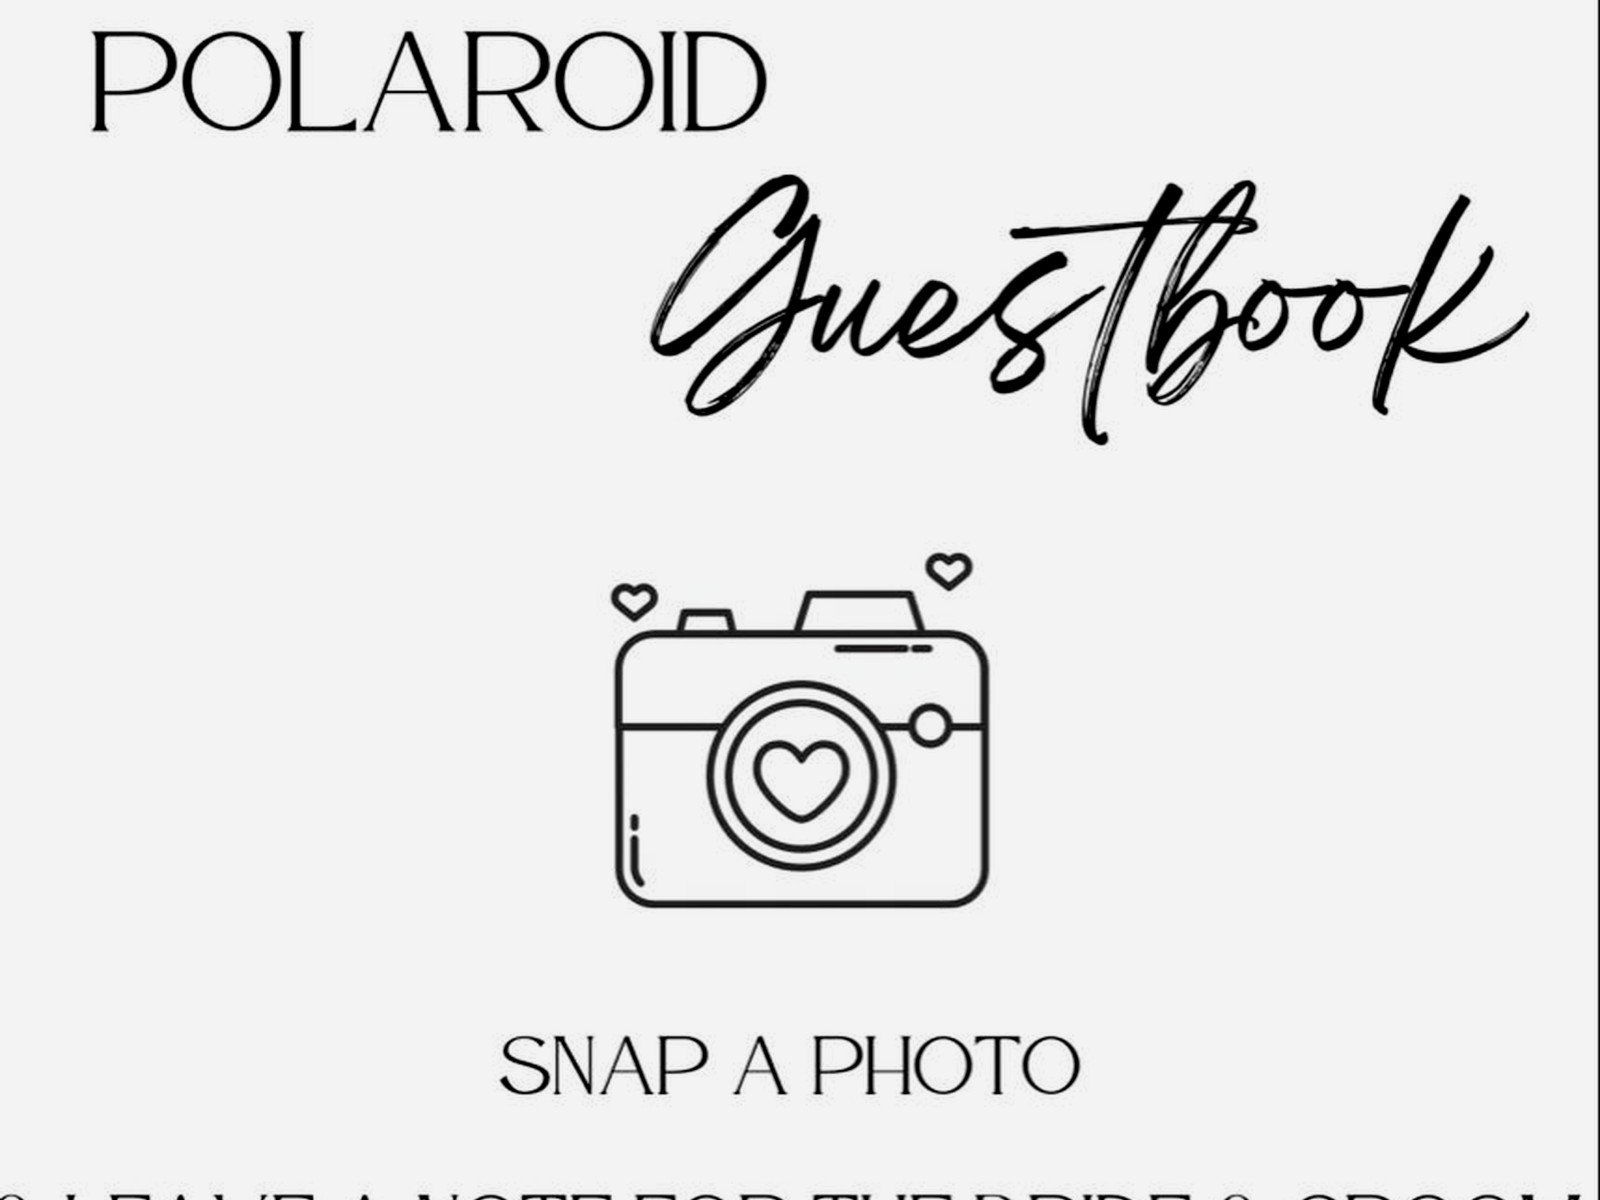
The sign itself needs to tell people what to do without being super wordy because nobody reads long instructions at weddings. You want something like:
- Take a Polaroid photo
- Write a message
- Stick it in the book
That’s it. I’ve seen couples overcomplicate this with like seven steps and decorative borders that make the text hard to read, and then I’m spending half the cocktail hour explaining to guests how it works.
For the actual printable file, you’re gonna want to work with either a PDF or a high-resolution JPG. PDF is better because it won’t lose quality when you print it. Aim for 300 DPI minimum if you’re printing anything larger than 5×7 inches.
Free Design Tools That Don’t Suck
Canva is obviously the go-to here. They have a free version that’s totally sufficient for making a guest book sign. I use Canva probably three times a week for client stuff and my own blog graphics. The premium version has more fonts and elements, but honestly the free version works fine.
You can also use:
- PicMonkey (has a free trial)
- Adobe Express (formerly Adobe Spark, free version available)
- Even Microsoft Word or PowerPoint if you’re comfortable with those
What annoyed me recently was finding out that some “free” template sites require you to sign up for a subscription before you can download anything. Like they advertise free templates but then hit you with a paywall. Super frustrating when you’re just trying to help a bride on a budget.
Actually Making Your Sign in Canva
Open Canva and search for “wedding sign” or just create a custom size. Most people do 8×10 inches because it fits standard frames from Target or Amazon. Some go bigger—11×14 or 16×20—if they want it to be a focal point.
Here’s my process and you can totally adapt it:
Start with the background. You can keep it simple with white or cream, or match your wedding colors. I usually tell couples to keep it light-colored so the text is readable from a few feet away. Dark backgrounds look dramatic but they’re harder to read in dim lighting and most reception venues have terrible lighting honestly.
Add your text. The main heading should be big—like 72pt or larger. Something like “Polaroid Guest Book” or “Snap, Sign, Stick” or whatever fits your vibe. Then add the instructions in a smaller font, maybe 24-36pt depending on your sign size.
Pick fonts that match your wedding theme but are still readable. Script fonts are pretty but if they’re too fancy, older guests can’t read them. I learned this the hard way at a wedding in summer 2021 where the grandmother of the bride asked me what the sign said because the font was this super elaborate calligraphy situation.
Design Elements to Include (or Not)
You can add little graphics like:
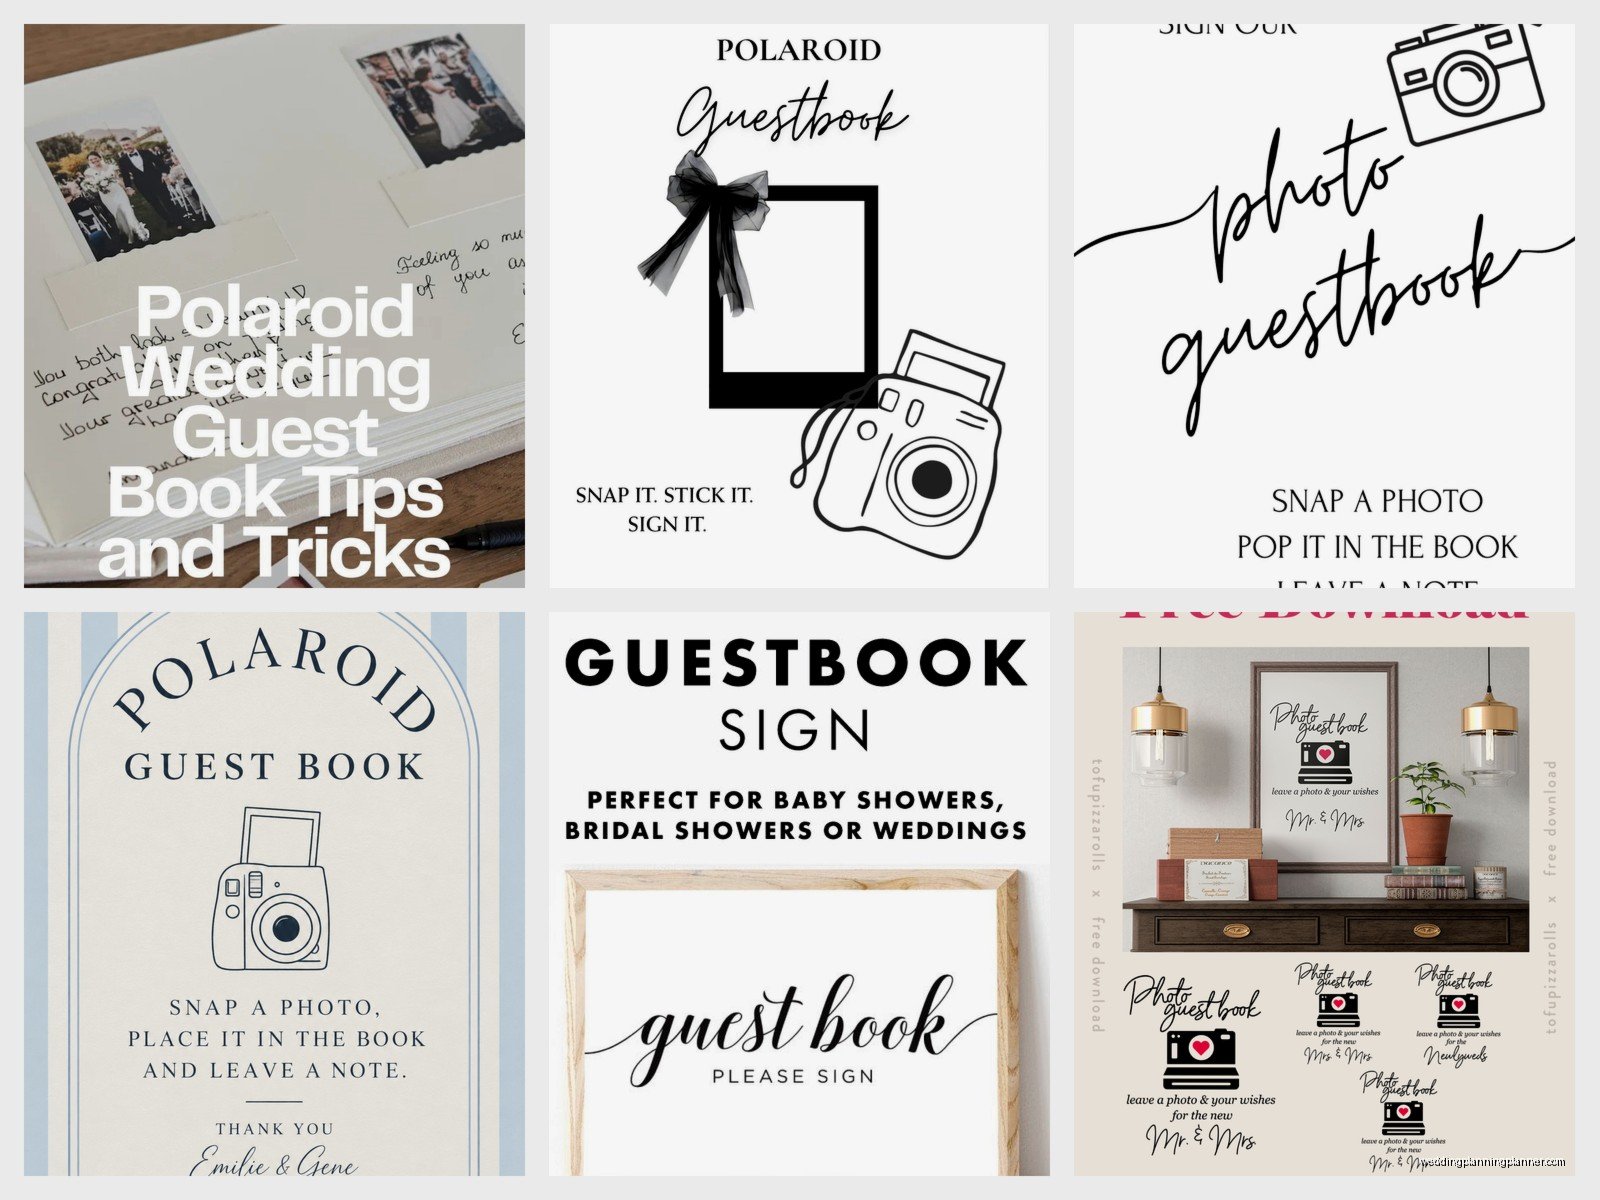
- Polaroid frame illustrations
- Floral elements
- Hearts or arrows
- Geometric shapes
But don’t go overboard. The sign needs to be functional first, cute second. I’ve seen signs that were so covered in flowers and decorations that you could barely find the actual instructions.
If you want to get fancy, add a border. Canva has tons of border elements you can search for. Just make sure it doesn’t crowd the text.
Oh and if you’re personalizing it with names or a wedding date, double-check the spelling. I caught a typo on a sign once where the groom’s name was spelled wrong and we had to reprint it the morning of the wedding. Not fun.
Free Template Sources That Actually Work
Canva has built-in templates if you search “guest book sign” or “Polaroid sign.” Some are marked as free, others need Canva Pro. The free ones are usually totally fine—you just swap out the text and colors to match your wedding.
Etsy has some free printables too, but you gotta search specifically for “free” in your search terms. Most Etsy templates cost between $5-15, which honestly isn’t terrible if you find one you love, but free is free.
Pinterest links to a bunch of free printables but half the links are dead or redirect you to spam sites, which is super annoying. If you go this route, make sure you’re clicking through to legitimate sites like actual wedding blogs or design sites.
I keep a folder on my computer with templates I’ve made or found that worked well, and I’ll sometimes share them with brides who are DIYing their signage. It’s just easier than having them spend hours searching.
Printing Your Sign Without Spending a Fortune
You’ve got a few options here and the cost varies wildly.
Your home printer works if you’re doing 8×10 or smaller and you have decent cardstock. Regular printer paper looks cheap and flimsy—get some 80lb cardstock from Staples or Amazon. It’s like $15 for a pack and you’ll have leftovers for other signs or projects.
Print shops like FedEx Office or Staples can print larger sizes on better paper. An 8×10 print usually costs around $3-5, bigger sizes are more. They can also mount it on foam board which looks more professional and stands up better on an easel.
Online printing services like Printful, Vistaprint, or Printique are good if you’re ordering multiple signs or want really high quality. The downside is shipping time—you gotta plan ahead, not wait until three days before the wedding.
I usually tell couples to print a test copy first on regular paper just to check sizing and make sure everything looks right. Sometimes what looks good on screen doesn’t translate well to print, especially with colors.
Color Calibration Issues Nobody Warns You About
This is gonna sound technical but it’s important—what you see on your screen isn’t exactly what will print. Screens use RGB color and printers use CMYK. So that perfect blush pink might print more peachy or orange-toned.
If color matching is critical, either print a test or choose colors that have some flexibility. Neutral tones like ivory, gray, navy, and sage green usually print pretty accurately.
Setting Up the Actual Guest Book Station
The sign is just one part of this whole thing. You also need the camera, film, album, pens, and maybe some decorative stuff.
For the Polaroid camera, the Instax Mini series is most popular because the film is cheaper than actual Polaroid film. You’re looking at about $0.75 per photo for Instax versus $2+ for Polaroid Originals. When you’ve got 100+ guests, that adds up fast.
Buy more film than you think you need. Seriously. People mess up, take multiple photos, kids waste film—I always tell couples to budget for at least 1.5 photos per guest, sometimes 2x if it’s a party crowd.
The album can be a traditional scrapbook with blank pages, or those photo albums with the sticky pages, or even a nice binder with cardstock pages. Michael’s and Hobby Lobby have tons of options. I’ve also seen people use a large picture frame with a mat board that guests can stick photos directly onto.
Pens matter more than you’d think. Get ones that write smoothly and don’t smudge. I like the Sharpie fine point or those gel pens from Muji. Put out at least 3-4 pens because someone will definitely walk off with one in their pocket.
Display and Logistics
You need a table or easel to display the sign. If you’re using an easel, make sure it’s sturdy enough for your sign size. Those cheap wooden easels from the craft store tip over if you sneeze near them.
Place the station somewhere with decent lighting and enough space for a small line to form. Not tucked in a dark corner, not right next to the bar where drunk guests will knock things over. Ask me how I know this.
Put the sign at eye level or slightly above. If it’s too low, people miss it.
Some couples assign someone—usually a bridesmaid or coordinator—to manage the station for the first hour or so, just to help guests who look confused and make sure the camera has film and battery. My cat actually knocked over a Polaroid camera setup on my dining table last week when I was staging photos for the blog, so now I’m extra cautious about stability at events.
Wording Ideas That Actually Sound Natural
Instead of boring instructions, you can make the sign more fun:
- “Snap a pic, leave some love”
- “Take a Polaroid, make us smile”
- “Don’t be shy, strike a pose”
- “Capture the moment, share a memory”
Or keep it straightforward if that’s more your style. Not everything needs to be cutesy.
I’ve seen couples add little details like “Please wait 90 seconds for your photo to develop” which is actually helpful because people get impatient and shake the photo or peel it apart thinking something’s wrong.
Common Mistakes I See All the Time
Not testing the camera before the event. Batteries die, film gets jammed, settings get messed up. Test it.
Forgetting to put out something to stick the photos in the album—like glue dots or photo corners or double-sided tape. Guests will just… leave the photos loose otherwise and they end up scattered everywhere.
Making the sign too wordy. Three steps max. People are at a wedding, probably drinking, definitely not reading paragraphs of instructions.
Using fonts that are too small or too fancy. Your 85-year-old grandmother should be able to read it without her glasses if possible.
Not having a backup plan for the camera. If it dies mid-reception, have backup batteries or a second camera or be prepared to pivot to something else.
Digital Alternatives If You Wanna Skip Printing
Some couples use an iPad or tablet to display the sign digitally. You can create the design same way but just pull it up on the screen instead of printing. This works but you need to make sure the screen doesn’t go to sleep mode, and it’s one more electronic thing to keep charged and manage.
There are also apps now that do digital guest books where people take photos on their phones and upload them, but that’s kinda a different vibe than the Polaroid thing. The physical instant photos have this nostalgic quality that digital just doesn’t match.
Budget Breakdown for the Whole Setup
If you’re being frugal, here’s roughly what you’ll spend:
- Sign printing: $0-10 (free at home or cheap at print shop)
- Frame or easel: $10-25
- Instax Mini camera: $60-80 (sometimes cheaper on sale)
- Film: $40-100 depending on guest count
- Album: $15-40
- Pens and adhesive: $10-15
Total: roughly $135-270 for everything. Not cheap but not outrageous compared to other wedding stuff. And you can definitely find deals—I’ve seen cameras on Facebook Marketplace or borrow from friends who’ve already had their weddings.
The sign itself being free or cheap helps balance out the cost of the film which is honestly the most expensive part of this whole thing.
Customization Ideas Beyond Basic Signs
Some couples add props near the station—silly hats, signs with phrases, oversized glasses. This encourages guests to be more playful with their photos. Just don’t go too overboard or it looks cluttered.
You can match the sign design to your other wedding stationery if you’re going for a cohesive look. Same fonts, same colors, same decorative elements.
Add a QR code on the sign that links to a shared album where guests can also upload digital photos from their phones throughout the night. This is sorta bridging the old-school Polaroid vibe with modern convenience.
I’ve seen couples do themes like “vintage travel” with a map background on the sign, or “garden party” with watercolor florals, or minimalist modern with just black text on white. Whatever matches your overall wedding aesthetic works.
One couple I worked with last fall had a sign that said “Leave us a Polaroid love note” and they specifically asked for marriage advice which was sweet—they got some really thoughtful messages mixed in with the funny drunk ones.
You can also make it bilingual if you’ve got guests who speak different languages. Just add the instructions in both languages on the sign, though that does require more space so you might need to go bigger than 8×10.
File Formats and Technical Stuff
When you download your design from Canva or wherever, choose PDF for print quality. If you’re only offered JPG, make sure it’s the highest resolution available.
Don’t stretch or resize the image after downloading because that degrades quality. If you need a different size, go back to your design program and create it at the correct dimensions from the start.
For printing at home, check your printer settings—choose “best quality” or “high quality” not “draft mode.” Use the right paper type setting too—if you’re printing on cardstock, tell the printer that so it adjusts ink distribution.
Save your file with a clear name like “Polaroid-Guest-Book-Sign-FINAL” so you don’t accidentally print an old version. I’ve done this before with client materials and it’s embarrassing.
Keep a backup copy in cloud storage or email it to yourself just in case your computer crashes or you need to reprint last-minute from somewhere else.
