Planning Guides, Style Guide
Create Your Own Wedding Invitations: DIY Design Tutorial
Mar
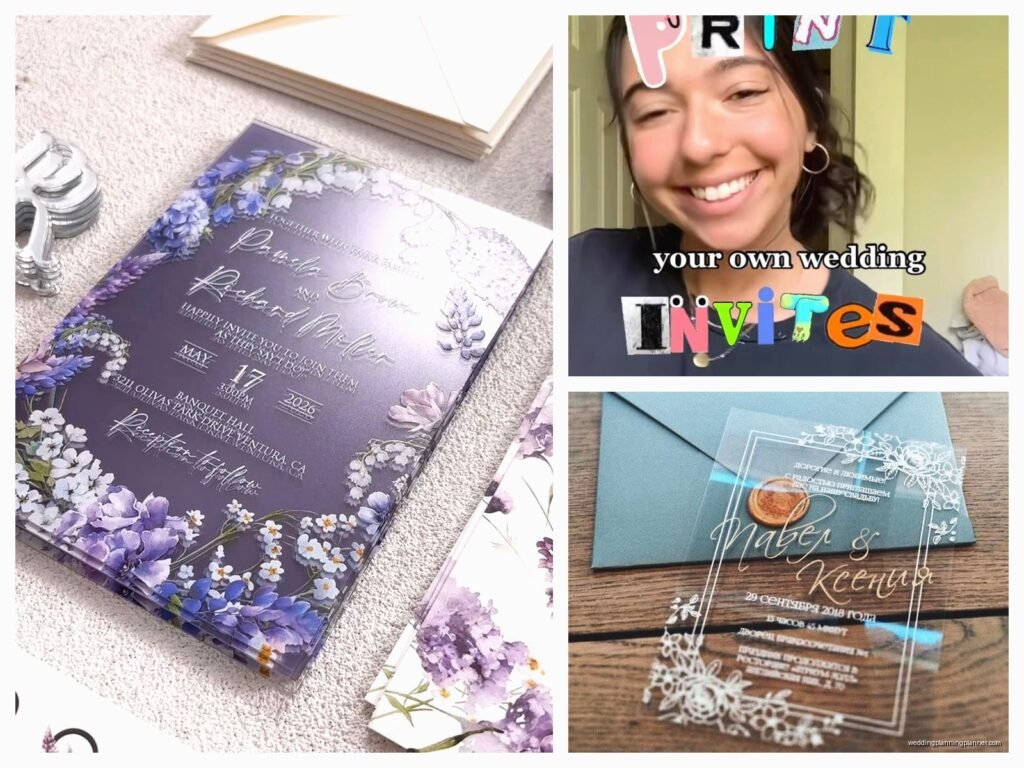
Okay So You Wanna Make Your Own Invitations
First thing you need to figure out is what software you’re gonna use because this literally determines everything else. I had this bride back in spring 2023 who started designing in Microsoft Word and then tried to switch to Canva halfway through and it was a complete disaster because nothing transferred properly and she had to start over.
For beginners, honestly just use Canva. It’s free for basic stuff and the templates are actually decent. If you’re more design-savvy, Adobe InDesign is what professionals use but there’s a learning curve. I use InDesign for my client work but when my sister got married I told her to stick with Canva because she kept calling me at like 10pm asking how to do basic things and I was trying to watch Succession.
Choosing Your Invitation Size
Standard sizes are gonna save you SO much money on printing and envelopes. The most common is 5×7 inches. You can also do 4×6 or the fancy 5.5×8.5 size. Here’s what really annoyed me though – people don’t think about envelope availability before they design some weird custom size like 6.3×9.2 inches and then they’re shocked when envelopes cost $4 each instead of 50 cents.
I always tell people to buy your envelopes FIRST, measure them, then design your invitation to fit. Sounds backwards but trust me on this.
The Design Process Actually Starts With Words
Before you even open your design software, type out all your invitation wording in a Google Doc or whatever. You need:
- Host line (who’s hosting, usually parents or “Together with their families”)
- Request line (“request the honor of your presence” for religious, “request the pleasure of your company” for non-religious)
- Couple’s names
- Date and time spelled out (no numerals for formal invites)
- Venue name and city/state
- Reception info if it’s at the same location
- RSVP details
Get this approved by everyone who needs to approve it – parents, partner, whoever – because changing text after you’ve designed everything is annoying. Like really annoying.
Picking Fonts That Don’t Look Terrible
You want two fonts maximum, maybe three if one is just for small details. One script font for names or headers, one clean serif or sans-serif for body text. Do NOT use Papyrus or Comic Sans or I will personally come to your wedding and judge you.
Some combos that actually work:
- Cormorant Garamond (serif) + Montserrat (sans-serif)
- Playfair Display + Lato
- Any elegant script like Allura + a simple sans-serif
The script should be readable. If your grandma can’t read it without her glasses, pick something else. I’ve seen too many invitations where the venue name is in some swirly font and guests literally show up to the wrong place because they couldn’t read it.
Layout and Hierarchy
Center alignment is classic and easiest for beginners. Left-aligned can look modern but it’s trickier to balance. Your names should be the biggest text on the page – that’s the whole point right? Then the date, then everything else in order of importance.
Leave margins. Like actual margins. At least half an inch on all sides, but I usually do 0.75 inches. Text that goes too close to the edge looks cheap and also might get cut off when printing.
White space is your friend. New designers always want to fill every inch of the page but emptiness makes things look expensive. Kinda like how minimalist restaurants charge more… or wait that’s a weird comparison but you get what I mean.
Color Choices
If you’re printing at home, remember that what you see on screen won’t match your printer exactly. Colors always print darker and less vibrant. Do test prints. Multiple test prints. On the actual paper you’re using.
For professional printing, you want CMYK color mode, not RGB. RGB is for screens, CMYK is for print. This is one of those things that seems technical but it matters – your colors will look totally different if you send RGB files to a printer.
Neutrals are safer – navy, sage green, terracotta, dusty rose. These print consistently. Bright yellows and purples are nightmare colors that never look right. I learned this the hard way with a client who wanted neon coral in summer 2021 and we did like seven rounds of printing adjustments.
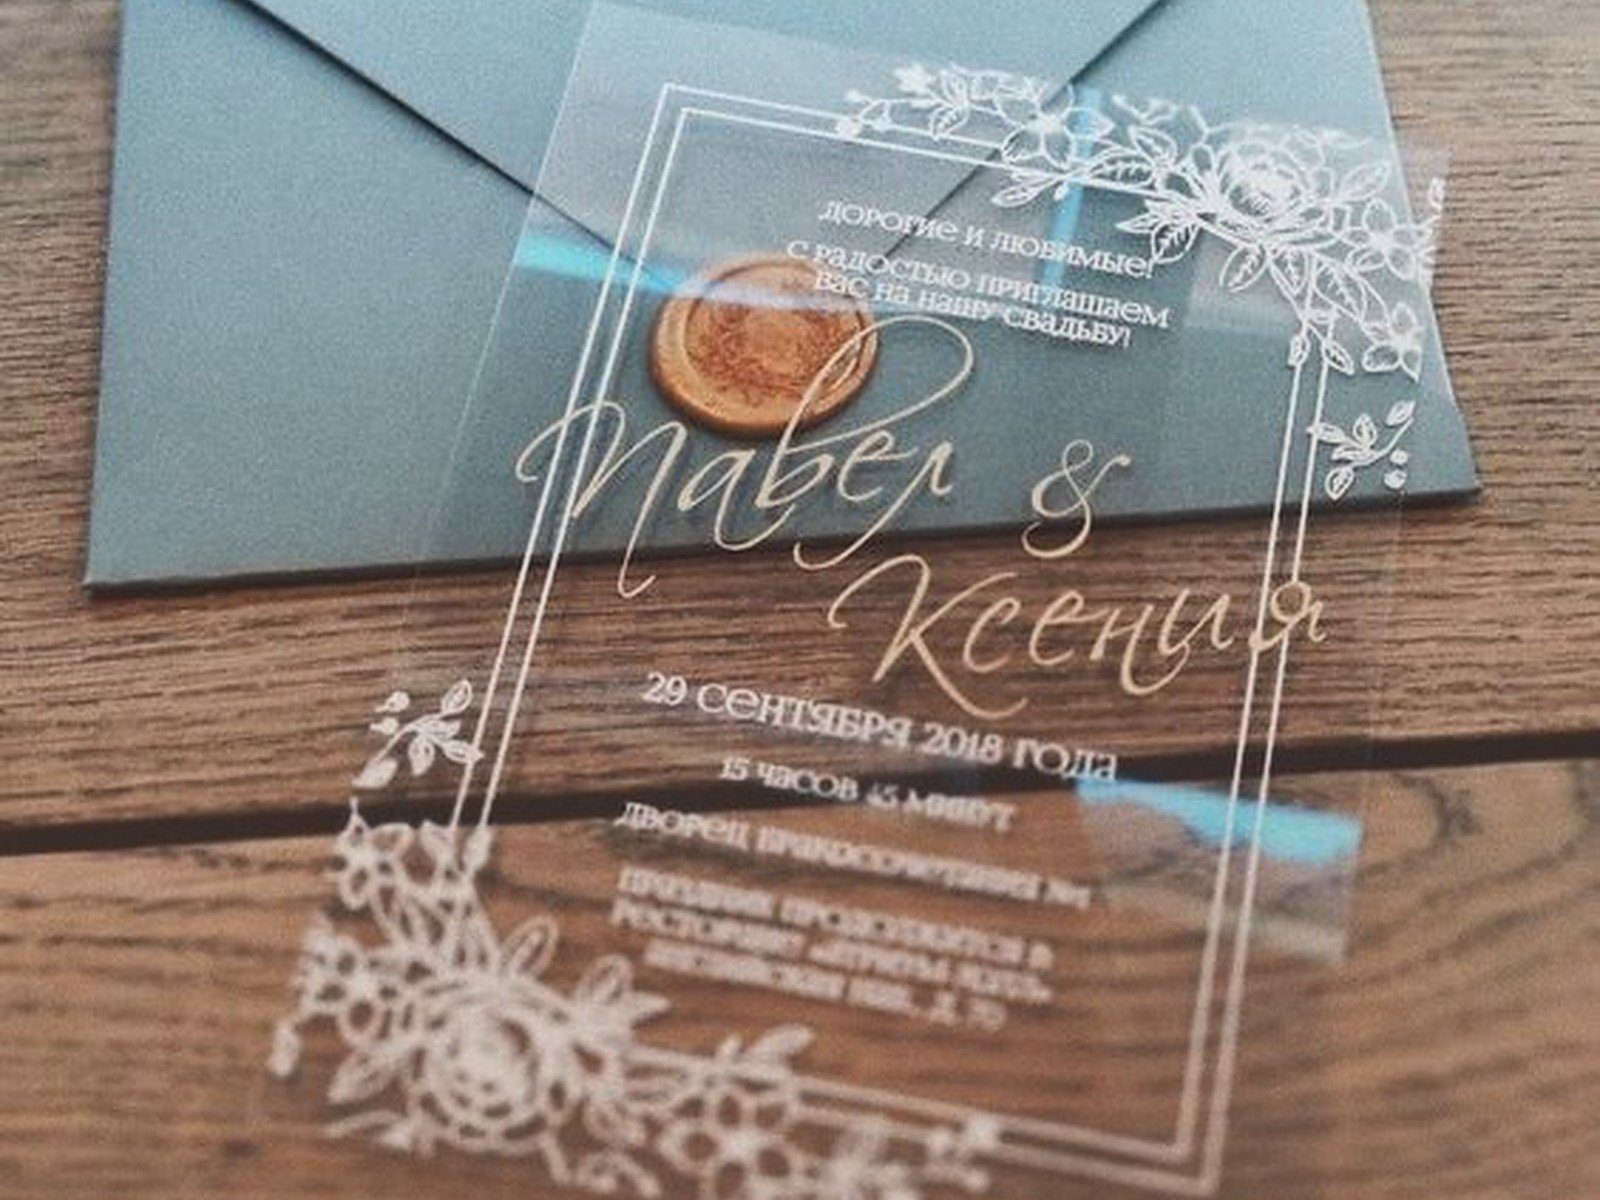
Adding Graphics and Borders
You can find free graphics on sites like Freepik or Creative Market (they have free sections). Make sure you’re allowed to use them commercially – even though you’re making your own invitations, some licenses are strict about this.
Floral borders are pretty standard. Geometric shapes look modern. Watercolor backgrounds can be gorgeous but make sure your text is still readable on top of them.
Whatever graphics you use, save them as high resolution – at least 300 DPI. Low resolution images look pixelated when printed and there’s no fixing that after the fact. You’ll just have wasted money and paper.
The Technical Stuff You Gotta Know
Export your final design as a PDF, not a JPEG. PDFs maintain quality and are what printers want. In Canva you can download as PDF Print, which is the high-quality version. In InDesign or other Adobe programs, export as PDF with the “High Quality Print” preset.
Bleed is when your design extends past the cut line so you don’t get white edges. If you’re having invitations professionally cut, you need a 0.125 inch bleed on all sides. This means your background or border needs to extend past where the paper gets trimmed.
I know this sounds confusing – it IS confusing at first. Most print shops have templates or instructions on their websites that explain exactly what they need.
Paper Selection Changes Everything
Regular printer paper looks cheap because it is cheap. You want cardstock at minimum. 80lb or 100lb cover weight is standard for invitations. Heavier looks fancier but costs more and needs more postage.
Finishes matter too:
- Matte: classic, easy to write on, shows fingerprints less
- Glossy: colors pop more, photographs look great, but can feel less formal
- Textured (linen, felt): expensive-looking, hides printing imperfections
- Shimmer/metallic: gorgeous for fancy weddings, a pain to print on at home
You can order paper from online retailers like Cards & Pockets or Paper Source. Buy extra – like 25% more than you need – because you WILL mess some up. I promise you will.
Printing Options Ranked By Difficulty
Home Printing: Cheapest but most time-consuming. You need a good printer – inkjet for photos/colors, laser for crisp text. Feed cardstock slowly, one sheet at a time usually. Expect jams. Expect to want to throw your printer out the window. My cat knocked over a stack of 30 invitations I’d just printed and I almost cried.
Local Print Shop: Medium price, medium quality. Places like FedEx Office or local printers can print on your paper or theirs. Bring your PDF on a USB drive and do a test print first before committing to all of them. Quality varies wildly depending on who’s working that day honestly.
Online Print Services: Most professional results. Websites like Catprint, Minted, or Vistaprint. You upload your file, they print and ship. More expensive but the quality is consistent and you don’t have to do anything except design. Some have design tools built in too.
Assembly If You’re Doing Layers or Belly Bands
A basic invitation is just one card in an envelope, done. But if you wanna get fancy with layers or ribbon or whatever, you need supplies: double-sided tape (the strong kind, not the cheap stuff), a paper trimmer for straight cuts, a bone folder for crisp creases, and patience.
Belly bands are those paper strips that wrap around your invitation suite. You can make them from cardstock cut to about 2 inches wide and long enough to wrap around with a 1-inch overlap. Secure with glue dots or double-sided tape.
Vellum overlays look expensive but are actually easy – print your design, then add a semi-transparent vellum sheet on top secured with a wax seal or tied with ribbon. Creates a fancy layered effect.
Honestly though, if you’re making like 150 invitations, keep the assembly simple or you’ll be sitting there for hours and questioning all your life choices. I’ve been there. It’s not fun.
Addressing Envelopes Without Losing Your Mind
Hand calligraphy looks beautiful but takes forever and requires skill. Alternatives that still look good:
- Print directly on envelopes if your printer can handle it (test first!)
- Print on clear labels and stick them on
- Use a calligraphy pen but print guidelines underneath
- Hire a calligrapher just for envelopes (costs like $2-5 per envelope usually)
For printing on envelopes, you need to figure out your printer’s feed orientation – does it pull from the left, right, face up, face down? Create a test template and print on scratch envelopes until you get it right. Then don’t change ANY settings.
Return address goes on the back flap or upper left corner of the front. Guest address goes in the center. Use titles and full names – this isn’t the time for nicknames.
Postage Is More Complicated Than You Think
Square envelopes cost extra postage because they’re “non-machinable” – the post office has to hand-cancel them. Anything over 1 ounce costs more. Anything lumpy or rigid costs more.
Take a finished invitation – fully assembled, in its envelope, sealed – to the post office and have them weigh it and tell you exactly how much postage you need. Do this BEFORE you buy stamps for all your invitations. I’ve seen people buy 150 regular Forever stamps only to find out they need $1.20 per invitation.
Vintage stamps look pretty but you might need multiple stamps to reach the right postage amount, which can look cluttered. Or it can look intentionally eclectic, depends on your vibe.
Timeline For Actually Getting This Done
If you’re designing from scratch, give yourself at least 6-8 weeks before you need to mail them. That includes:
- Week 1-2: Design and get feedback, make revisions
- Week 3: Finalize and order paper/printing
- Week 4-5: Printing (whether you’re doing it or waiting for a service)
- Week 6-7: Assembly and addressing
- Week 8: Mailing (invitations should go out 6-8 weeks before the wedding)
This assumes nothing goes wrong, which… something always goes wrong. Someone will tell you there’s a typo after you’ve printed half of them. Your printer will die. The color will look weird. Build in buffer time.
Common Mistakes I See All The Time
Forgetting the year on the date – seems obvious but happens constantly. Including too much info on the main invitation – that’s what detail cards are for. Using 10 different fonts because you couldn’t decide. Not proofreading… actually not having multiple people proofread because you’re blind to your own typos.
Also people forget to actually tell guests what time to arrive. “Saturday, June tenth” without a time is incomplete. “Five o’clock in the evening” or “half after five” spelled out for formal invites.
The RSVP deadline should be at least 2-3 weeks before your wedding so you can get final counts to vendors. People will still respond late but at least you tried.
What If You Hate Your Design Halfway Through
Start over. Seriously. I know you’ve invested time but if you’re not happy with it, your guests will see that too. It’s better to redesign than to send out invitations you’re embarrassed by.
Or take a break – sometimes you’re just staring at it too long and everything looks wrong. Come back in two days and it might look fine. Get opinions from people whose taste you trust but also remember it’s YOUR wedding and you can’t please everyone.
Some people will think your invitations are too modern, too traditional, too colorful, too plain… whatever. As long as they communicate the important information clearly, you’ve done your job.
Budget Reality Check
DIY doesn’t always mean cheaper, especially if you value your time. For 100 invitations, you’re looking at:
- Paper/envelopes: $50-150 depending on quality
- Printing: $0 if home, $100-200 if professional
- Embellishments (ribbon, wax seals, etc.): $30-100
- Postage: $70-120
So realistically $150-500 for DIY versus $200-800 for ordering pre-designed invitations from a stationery company. You’re saving money but spending time, and time has value too.
The benefit of DIY isn’t just cost – it’s customization and the satisfaction of making something yourself. If that matters to you, it’s worth it. If you’re just doing it to save $100 and you hate crafts, maybe just order them.
Oh and one more thing – save your design files. Like back them up in multiple places. You might need to print extras later or want to use the design for thank you cards or whatever. I’ve had people lose their files and have to recreate everything from scratch and it’s just sad and unnecessary in 2024 when cloud storage exists everywhere