Planning Guides, Style Guide
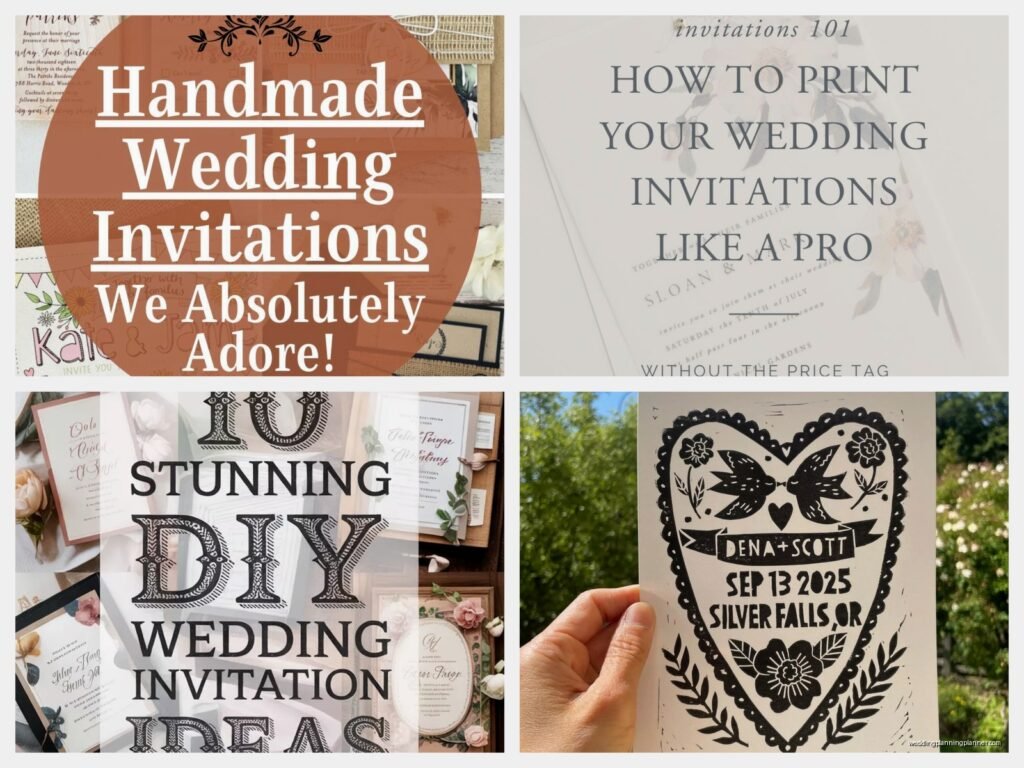
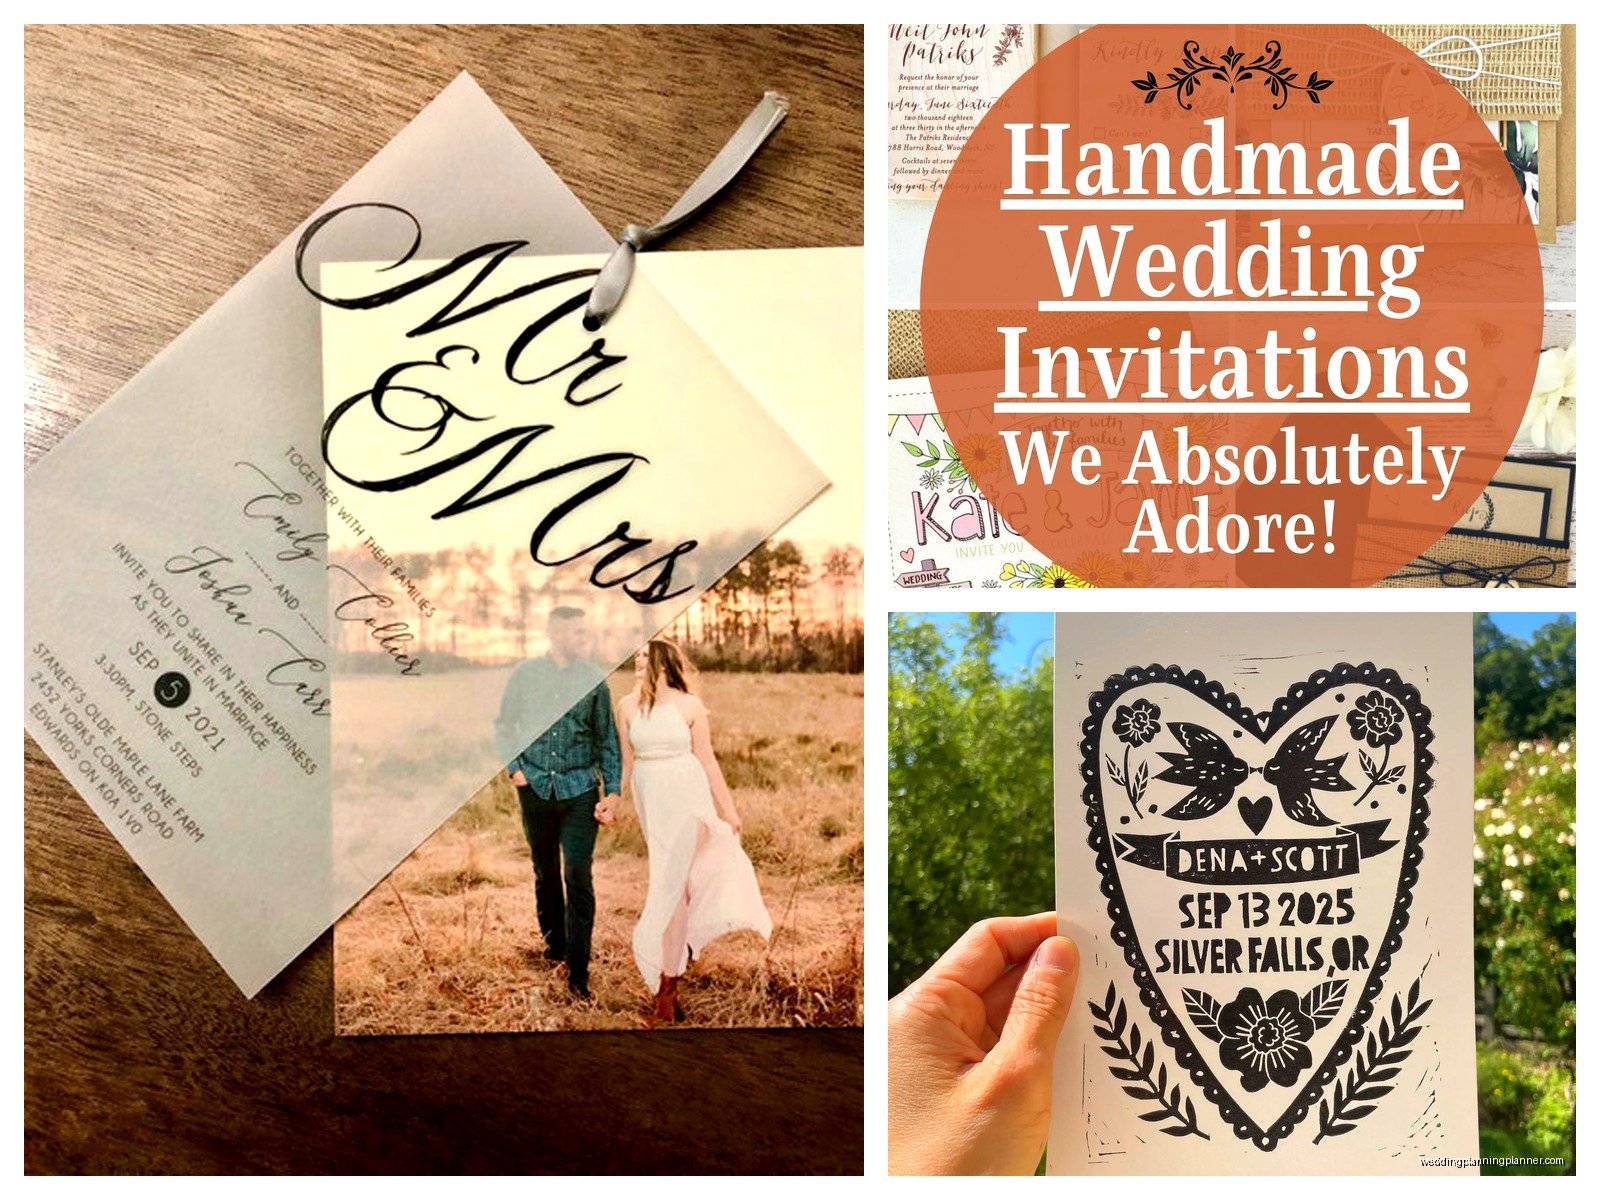
Homemade Wedding Invitations: Handcrafted DIY Tutorial
Mar
Getting Your Supplies Together First
So you wanna make your own wedding invitations and honestly it’s not as scary as people make it out to be. I’ve helped maybe fifteen couples do this themselves over the years and the main thing is just getting organized before you start cutting anything because I once had a bride in spring 2023 who jumped right in without measuring and she ruined like 80 sheets of this gorgeous handmade paper from Italy and I wanted to cry for her wallet.
You’re gonna need cardstock first and foremost. Go with 80lb or 100lb weight because anything lighter looks cheap and flimsy when people pull it out of the envelope. I always send people to paper stores rather than craft chains because the quality is just better and you can feel samples before buying in bulk. Get at least 20% more than your guest count because you WILL mess some up.
For tools you need a paper trimmer not scissors, a bone folder for crisp creases, a ruler, pencil, good quality adhesive like Tombow or ATG gun if you’re getting fancy, and whatever embellishments you want. Ribbon, wax seals, dried flowers, whatever matches your vibe.
Picking Your Invitation Style
There are basically three routes that actually work for DIY and don’t look homemade in a bad way. Single panel flat cards are the easiest, folded cards give you more space and feel fancier, and pocket folds are for when you have multiple inserts and want everything contained but those are kinda annoying to assemble honestly.
I usually push people toward folded cards because they’re the sweet spot of looking professional but not making you want to quit halfway through assembly. Standard size is 5×7 inches when folded so you’re cutting your cardstock to 10×7 and folding in half. This fits in A7 envelopes which you can buy basically anywhere.
The thing that annoyed me SO much when I started doing stationery consulting was that nobody tells you about the weight limits for mailing. If your invitation with all the layers and ribbons and whatever weighs over 1 ounce you’re paying extra postage and if it’s lumpy or has a wax seal that sticks out you need hand-canceling at the post office or it’ll get destroyed in their machines. Take a finished sample to the post office and have them weigh it before you do all 150 invitations.
Designing the Layout
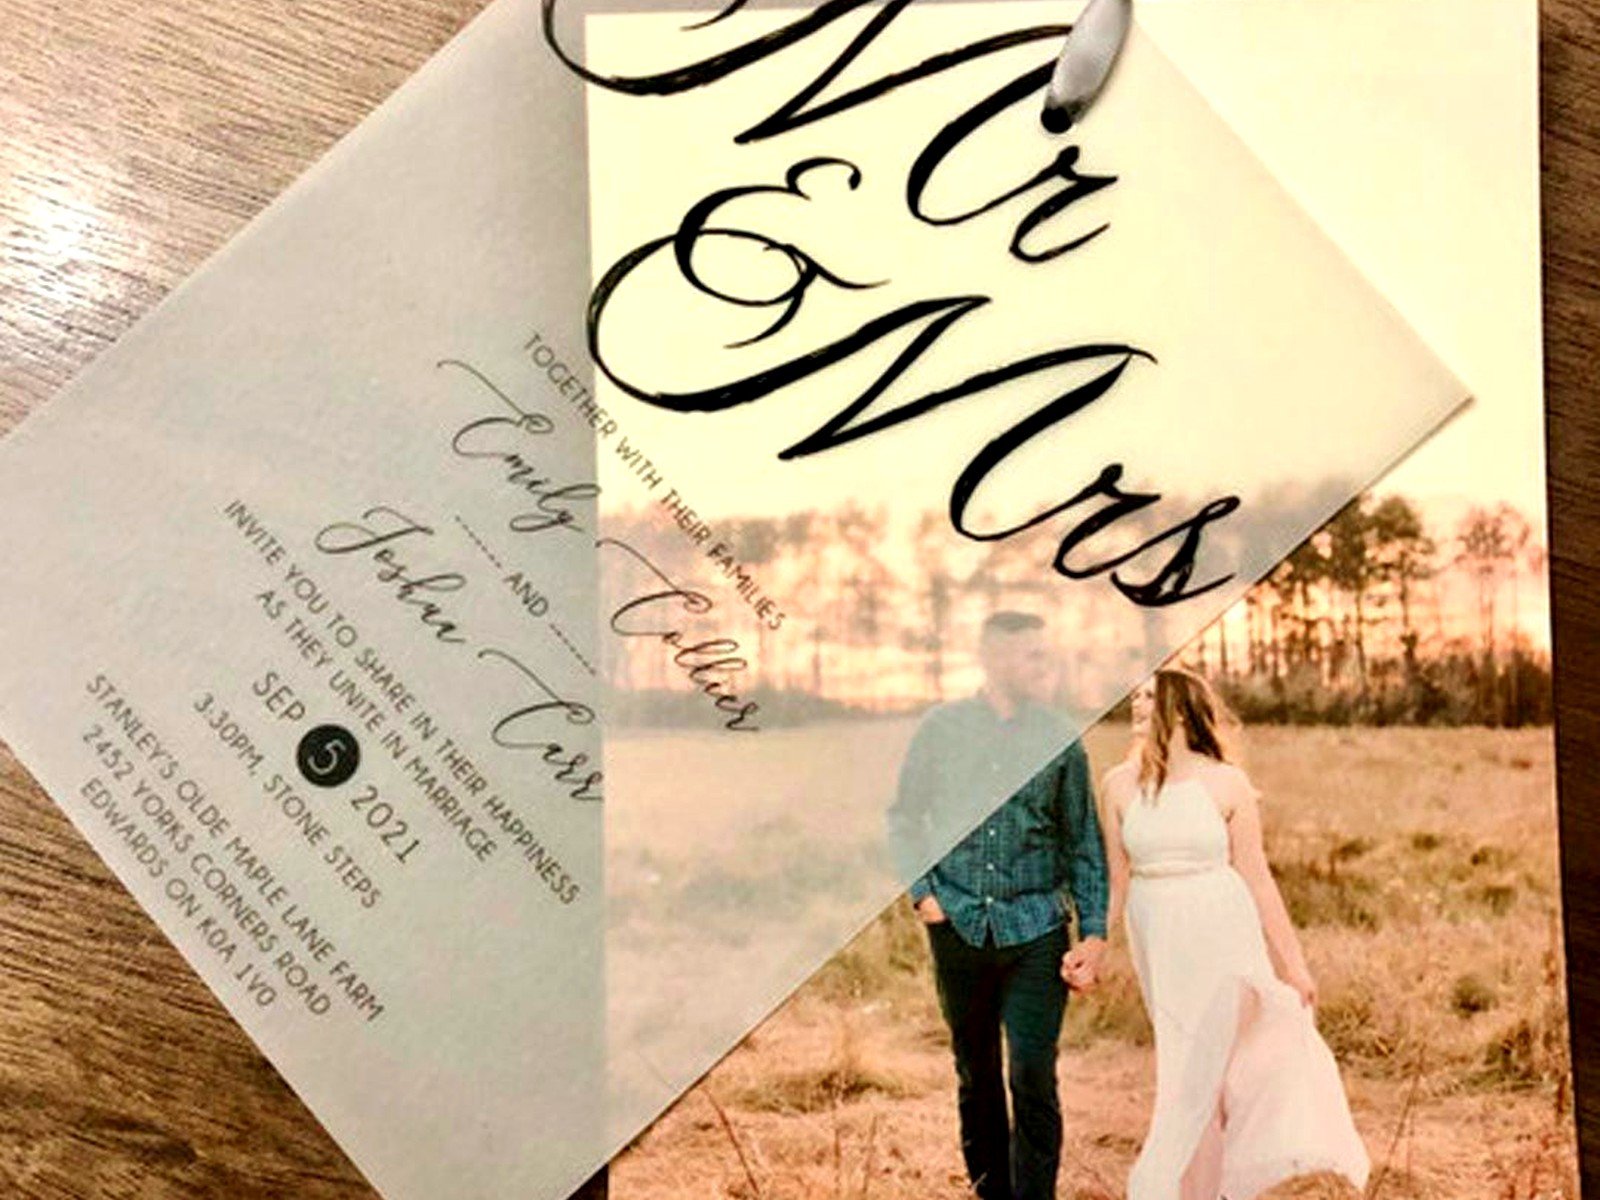
You can design in Canva which is free and honestly pretty good now or use Word if you’re comfortable with that or even hand letter everything if you’ve got nice handwriting or want to hire a calligrapher for just the names. I’ve seen all of it work.
Your invitation needs this info at minimum: who’s getting married, date, time, location with full address, and either reception details or a separate card for that. RSVP deadline and how to respond. That’s it. You can add dress code, wedding website, hotel blocks, whatever else but don’t cram too much on the main invitation or it looks cluttered.
For fonts pick two maximum. One fancy script for names and one clean readable font for details because if great aunt Susan can’t read what time the ceremony is you’re gonna get phone calls. I learned this the hard way.
Printing Your Design
This is where people usually mess up. Your home printer is probably fine for quantities under like 50 but you gotta do test prints on your actual cardstock first. Print quality on cardstock is different than regular paper and colors can look way different than on your screen.
Set your printer to highest quality, use cardstock setting if your printer has it, and feed sheets one at a time if it’s being finicky. I once printed an entire batch during a Netflix binge of some reality show I can’t even remember and didn’t notice the ink was running low so the last 30 came out all faded and streaky.
For quantities over 50 I usually tell people to just get them printed at a print shop. Staples, FedEx, local printers, whoever. It costs more than doing it yourself but saves your sanity and your printer. Get them printed on your cardstock that you provide or have them source it but get a sample first.
Cutting and Scoring
If you’re doing folded cards you need to score before folding or the fold looks cracked and messy. Use a bone folder and ruler, put the ruler where you want the fold, run the pointed end of the bone folder along it with firm pressure. Then fold and use the flat side of the bone folder to really crease it flat.
For cutting I’m serious about the paper trimmer thing. Those big board ones with the blade that slides are like $30 and will save you hours compared to scissors. Measure twice cut once is not just something your dad said about building a deck, it applies to paper too.
Cut slowly and line up your blade carefully. If you’re cutting multiple sheets stack them but don’t do more than 5 at a time or they shift and you get uneven edges.
Adding Layers and Embellishments
Layering different colored cardstock creates dimension and looks more expensive than it is. Cut a piece slightly smaller than your base card, maybe a quarter inch border showing on all sides, and adhere it with double sided tape or glue dots. Foam dots add even more dimension if you want that raised effect.
For belly bands which are those strips that wrap around the invitation you need strips about 2 inches wide and long enough to wrap around with a half inch overlap. Secure with a glue dot on the back. You can add a tag or embellishment to the front of the belly band.
Wax seals are having a moment and they’re actually easy. Get a wax stick or beads, melt them with a wax melting spoon over a candle, pour onto your paper, press your seal in and hold for a few seconds. Let it cool completely before touching. My cat knocked over my melting setup once and I had red wax on my desk for weeks.
Ribbons should be tied before you glue everything together if possible because trying to thread ribbon through a finished invitation is… well you’re gonna have a bad time. Cut ribbon lengths, tie them where you want them, then assemble the rest.
Assembly Line Process
Don’t try to complete one invitation at a time. Set up an assembly line and do each step for all invitations before moving to the next step. This is how production works and it’s way faster.
Clear a big table or even the floor. Lay out all your base cards. Then go through and add your first layer to all of them. Then your next layer. Then printed inserts. Then embellishments. Then stuff them in envelopes.
Put on music or a podcast because this part is mindless and takes forever. For 100 invitations budget like 8-10 hours of assembly time depending on complexity. That’s not including the design and printing time.
In summer 2021 I helped a couple who decided to add hand-tied bows to each invitation and we were up until 2am the night before they needed to mail them and my fingers hurt for days from tying tiny knots in silk ribbon but they looked gorgeous so.
Envelope Addressing
You can print directly on envelopes if your printer can handle it, use labels, or hand write them. For a formal wedding hand calligraphy or hiring someone to do addressing looks best but it’s expensive.
If you’re printing on envelopes do a test run on a random envelope first to make sure your margins are right. Most printers have envelope settings but they’re kinda unreliable so just… test it.
For labels get clear ones not white because they blend better. Print them on regular paper first to check alignment before using your actual label sheets.
Return address goes on the back flap or upper left corner of the front. Guest address is centered on the front.
Inserts and Extra Cards
RSVP cards should be smaller than your main invitation, usually 4×6 or so. Include a blank line for names, checkboxes for accepts/declines, meal choices if you’re doing that, and a date by which they need to respond. Put “M____” at the top so guests write “Mr. and Mrs.” or whatever on that line.
RSVP envelopes need to be included and should be pre-addressed to whoever’s collecting responses and pre-stamped because if you make people find stamps they’re less likely to send them back on time. Just factor that cost into your budget.
Details cards can include your wedding website, hotel block info, directions, weekend events if you’re doing welcome drinks or brunch, dress code. Keep it simple.
Stack your inserts in size order with the largest on bottom and smallest on top. The invitation goes on the bottom, then any details cards, then RSVP card and envelope on top. This is the traditional order and it looks organized when people open it.
Actual Real Timeline
Start this process at least 3 months before you need to mail them which should be 8 weeks before the wedding. That gives you time to design, order supplies, wait for shipping, do samples, make changes, print, assemble, address, and mail without having a breakdown.
I’ve seen people try to do this in 2 weeks and it’s just… nah. Don’t do that to yourself. You’ve got enough going on with wedding planning.
Order supplies 10-12 weeks out. Design 8-10 weeks out. Print and assemble 6-8 weeks out. Address 6 weeks out. Mail 8 weeks before wedding.
Cost Breakdown Reality Check
DIY doesn’t always mean cheaper btw. Cardstock runs about $1-2 per invitation depending on quality. Envelopes another $0.50-1. Printing if you outsource it maybe $0.50-1 per invite. Embellishments add up fast. Postage is probably $0.75-1 per invitation depending on weight. So you’re looking at $3-5 per invitation for DIY versus $4-8 for ordering from a stationer.
The benefit of DIY is customization and the satisfaction of making something yourself not really saving money unless you’re doing super simple designs. Just know that going in so you don’t feel like you wasted time if the cost ends up similar.
Common Problems and Fixes
Paper jams in your printer mean you’re feeding too many sheets at once or your cardstock is too thick. Feed one sheet at a time and check your printer’s weight limit.
Smudged ink happens with inkjet printers on certain papers. Let each sheet dry completely before stacking and consider a spray sealant.
Uneven cuts mean your blade is dull or you’re not holding the paper steady. Replace blades regularly and use the guide on your trimmer.
Glue showing or creating bumps means you’re using too much. Less is more with adhesive. You just need it to stick not to ooze out the sides.
Envelopes not sealing well happens with cheap envelopes or if you licked too many and they got soggy. Use a glue stick on the flap or get a moistening pen thing from the post office.
Things I Wish Someone Told Me
Order extra envelopes because you’ll mess up addresses. Like at least 20 extra.
Your hands will cramp during assembly. Take breaks.
Invest in good tools not cheap craft store versions. A good paper trimmer lasts forever.
Test everything before doing the full quantity. Print one, assemble it completely, mail it to yourself.
Get someone to help you with assembly. Bribe them with pizza and wine. This is not a one person job unless you enjoy pain or have like 30 invitations total.
Keep one finished invitation for yourself as a keepsake before you mail them all because you’ll want it later and you won’t remember to do it in the chaos.
Double check your date and venue address like five times before printing because I’ve seen that mistake more than once and it’s expensive to reprint everything.