Planning Guides, Style Guide
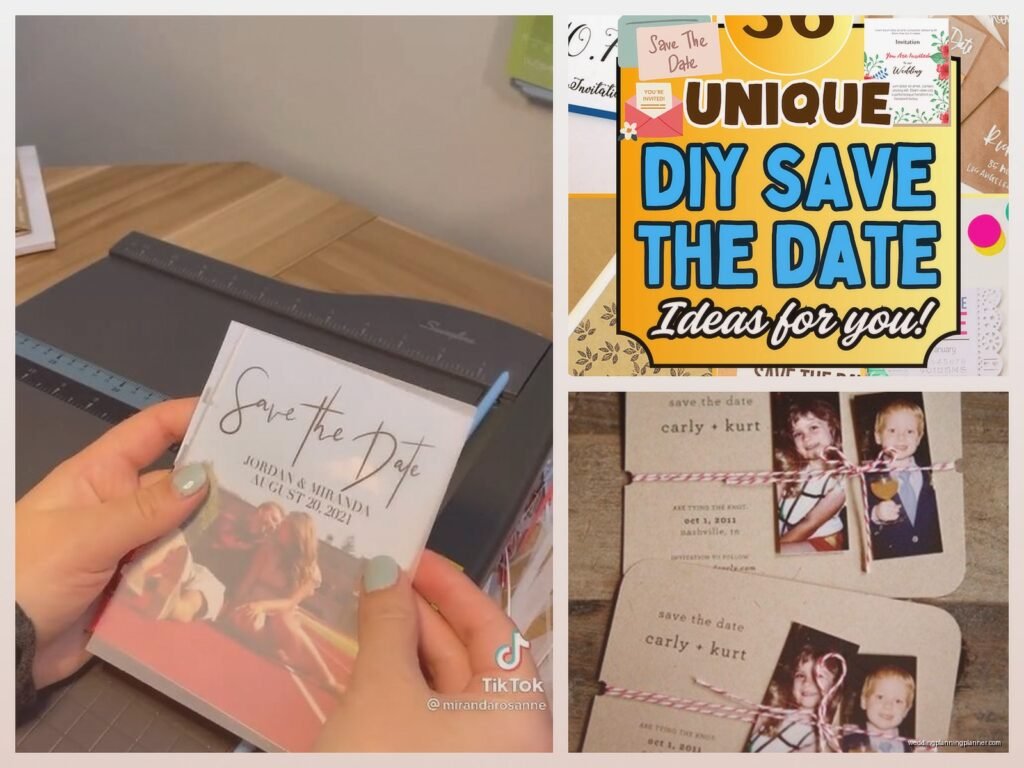
DIY Save the Date Cards: Handmade Announcement Tutorial
Mar
Materials You’ll Need First
Okay so before you dive into making save the dates you gotta gather your supplies because trust me nothing’s worse than getting halfway through and realizing you don’t have the right paper. I learned this the hard way in spring 2023 when a bride texted me at 9pm panicking because she’d already cut 80 cards before realizing her cardstock was way too flimsy.
Here’s what you need:
- Cardstock (110lb minimum, don’t go lighter or it’ll feel cheap)
- A paper cutter or really good scissors and a ruler
- Adhesive – I like double-sided tape or a tape runner
- Envelopes that fit your card size
- Printer if you’re doing any digital elements
- Stamps or ink pads if you want to get fancy
- Embellishments like ribbon, twine, stickers, whatever matches your vibe
The cardstock thing really matters. You want people to feel the quality when they pull it out of their mailbox. I usually go with 110lb or 120lb weight. Anything less and it feels like a flyer for a garage sale.
Deciding on Your Design Style
This is where couples get overwhelmed because there are like a million options. Do you want rustic? Modern? Minimalist? Floral? Honestly the best approach is to think about your wedding vibe first and then match that.
Some popular styles I’ve seen work really well:
- Rustic kraft paper with twine and stamps
- Clean white cards with simple black typography
- Watercolor designs (you can print these even if you can’t paint)
- Photo cards with your engagement pics
- Vintage-inspired with lace or doilies
What really annoys me is when people try to cram too much information on a save the date. It’s literally just supposed to tell people the date and location so they can mark their calendars. You don’t need your whole life story or seventeen different fonts. Keep it simple.
The Information You Actually Need
Your save the date needs like four things max:
- Your names
- The wedding date
- The city/location (you don’t need the full venue address yet)
- Maybe “invitation to follow” or your wedding website
That’s it. I’ve seen people try to include accommodation details, dress code, their proposal story… nah. Save that for the actual invitation.
Method One: The Digital Print Approach
This is gonna be the easiest method if you’re not super crafty but still want something handmade. You design it digitally then add handmade touches after printing.
First, design your card in Canva or whatever design program you like. Canva has free templates specifically for save the dates which makes it super easy. Make sure your design dimensions match your card size – standard is 5×7 inches but you can do 4×6 or even square cards if you want.

When you’re designing, leave some blank space. This is important because you’ll want room to add physical elements later. A design that’s completely filled edge to edge doesn’t leave room for the handmade touches that make DIY special.
Print these at home on your cardstock or – and this is what I usually recommend – upload them to a print shop. FedEx Office, Staples, or online places like Catprint can print on cardstock for pretty cheap. The quality is way better than most home printers and you don’t have to worry about your printer jamming or running out of ink halfway through.
Adding Handmade Elements
Once you have your printed cards, here’s where it gets fun. You can add:
- A ribbon tied around the middle
- A wax seal (you can buy these kits on Amazon for like $20)
- Hand-torn edges for a rustic look
- Small dried flowers glued in a corner
- A vellum overlay with your names written in calligraphy
My cat knocked over an entire jar of wax beads once while I was doing this for a client and it was such a mess, but anyway – wax seals are really having a moment right now and they’re easier than they look.
Method Two: Full DIY With Stamps and Ink
If you want to go more traditional handmade, stamps are your best friend. You can get custom stamps made on Etsy with your names and wedding date, or use a combination of individual letter stamps and design stamps.
Cut your cardstock to size first. I cannot stress this enough – measure twice, cut once. Use a paper cutter if you’re doing more than like 10 cards because scissors will make you want to cry by card number 15.
Standard sizes are easier because you can buy envelopes that fit. If you go with a weird custom size you’ll have to order custom envelopes which gets expensive fast or… actually I had a groom once who insisted on octagon-shaped cards and finding envelopes was a nightmare, we ended up having to make little sleeves out of vellum and it added so much time to the project.
Stamping Tips That Actually Matter
Practice on scrap paper first. The pressure you use when stamping makes a huge difference. Too light and it’s patchy, too hard and the ink bleeds outside the stamp lines.
Use a stamping block or acrylic block if you have clear stamps. For wooden stamps, make sure the surface you’re stamping on is hard and flat. I put a piece of glass or a cutting mat under my cardstock when stamping.
Ink colors matter for readability. Black is classic and shows up on everything. Colored inks are pretty but make sure there’s enough contrast with your paper. Light pink ink on white paper is gonna be hard to read.
If you mess up a card – and you will, everybody does – don’t try to fix it. Just start a new one. I know it feels wasteful but a smudged or crooked stamp looks worse than just redoing it. Buy extra cardstock.
Method Three: Layered Card Design
This technique looks really professional and it’s not that hard. You’re basically gluing different layers of paper together to create dimension.
You’ll need cardstock in at least two colors. Cut your base card (this is the biggest layer), then cut a slightly smaller piece for the middle layer, then an even smaller piece for the top layer where your text goes.
The measurements I usually use for a 5×7 card:
- Base layer: 5×7 inches
- Middle layer: 4.5×6.5 inches
- Top layer: 4×6 inches
This gives you a quarter-inch border between each layer which looks clean and intentional. You can print your text on the top layer or use stamps or even hand-letter it if you have nice handwriting.
Use a tape runner or double-sided tape to attach the layers. Liquid glue tends to warp paper and you can see it through lighter colors. Nobody wants bumpy cards.
Adding Texture
Between the layers you can add texture with things like:
- Lace trim
- Patterned scrapbook paper
- Burlap ribbon
- Embossed paper
Just make sure whatever you add doesn’t make the card too thick to mail. If it’s more than a quarter-inch thick, you’ll pay extra postage and some might not even fit through mail sorting machines which means hand-processing and that’s a whole thing.
The Assembly Line Method
Okay so here’s something I learned from doing this professionally – you gotta set up an assembly line. Don’t make one complete card at a time. It takes forever and you’ll lose your mind.
Instead, do one step for all your cards, then move to the next step. Like:
- Cut all your cardstock
- Print or stamp all your cards
- Add all ribbons to all cards
- Attach all embellishments
- Stuff all envelopes
This is so much faster. When I was working on save the dates for a 150-person wedding in summer 2021, doing them assembly-line style saved probably 10 hours compared to completing each one individually. Put on a podcast or trashy reality TV and just zone out while you work.
Envelope Addressing Options
You made beautiful cards and now you need to address envelopes. You’ve got options here and honestly this is where a lot of DIY projects fall apart because people underestimate how long addressing takes or how bad their handwriting looks when they’re doing 100 envelopes.
Option one: Print labels. Some people think this looks cheap but if you use clear labels or nice paper labels with a pretty font, it looks fine. Way better than messy handwriting.
Option two: Print directly on envelopes. Most printers can do this if you adjust the settings. Test with a blank envelope first because paper jams are real.
Option three: Hand-letter them. If you have good handwriting or want to learn basic calligraphy, this looks amazing. But practice first and give yourself way more time than you think you need. I’d say if you’re doing more than 50 envelopes, hand-lettering might not be realistic unless you really enjoy it or want to spread it out over several weeks.
Option four: Hire a calligrapher. If your budget allows, this is actually not that expensive for just save the dates since they’re going out months before the wedding. Prices vary but I’ve seen it for like $2-3 per envelope.
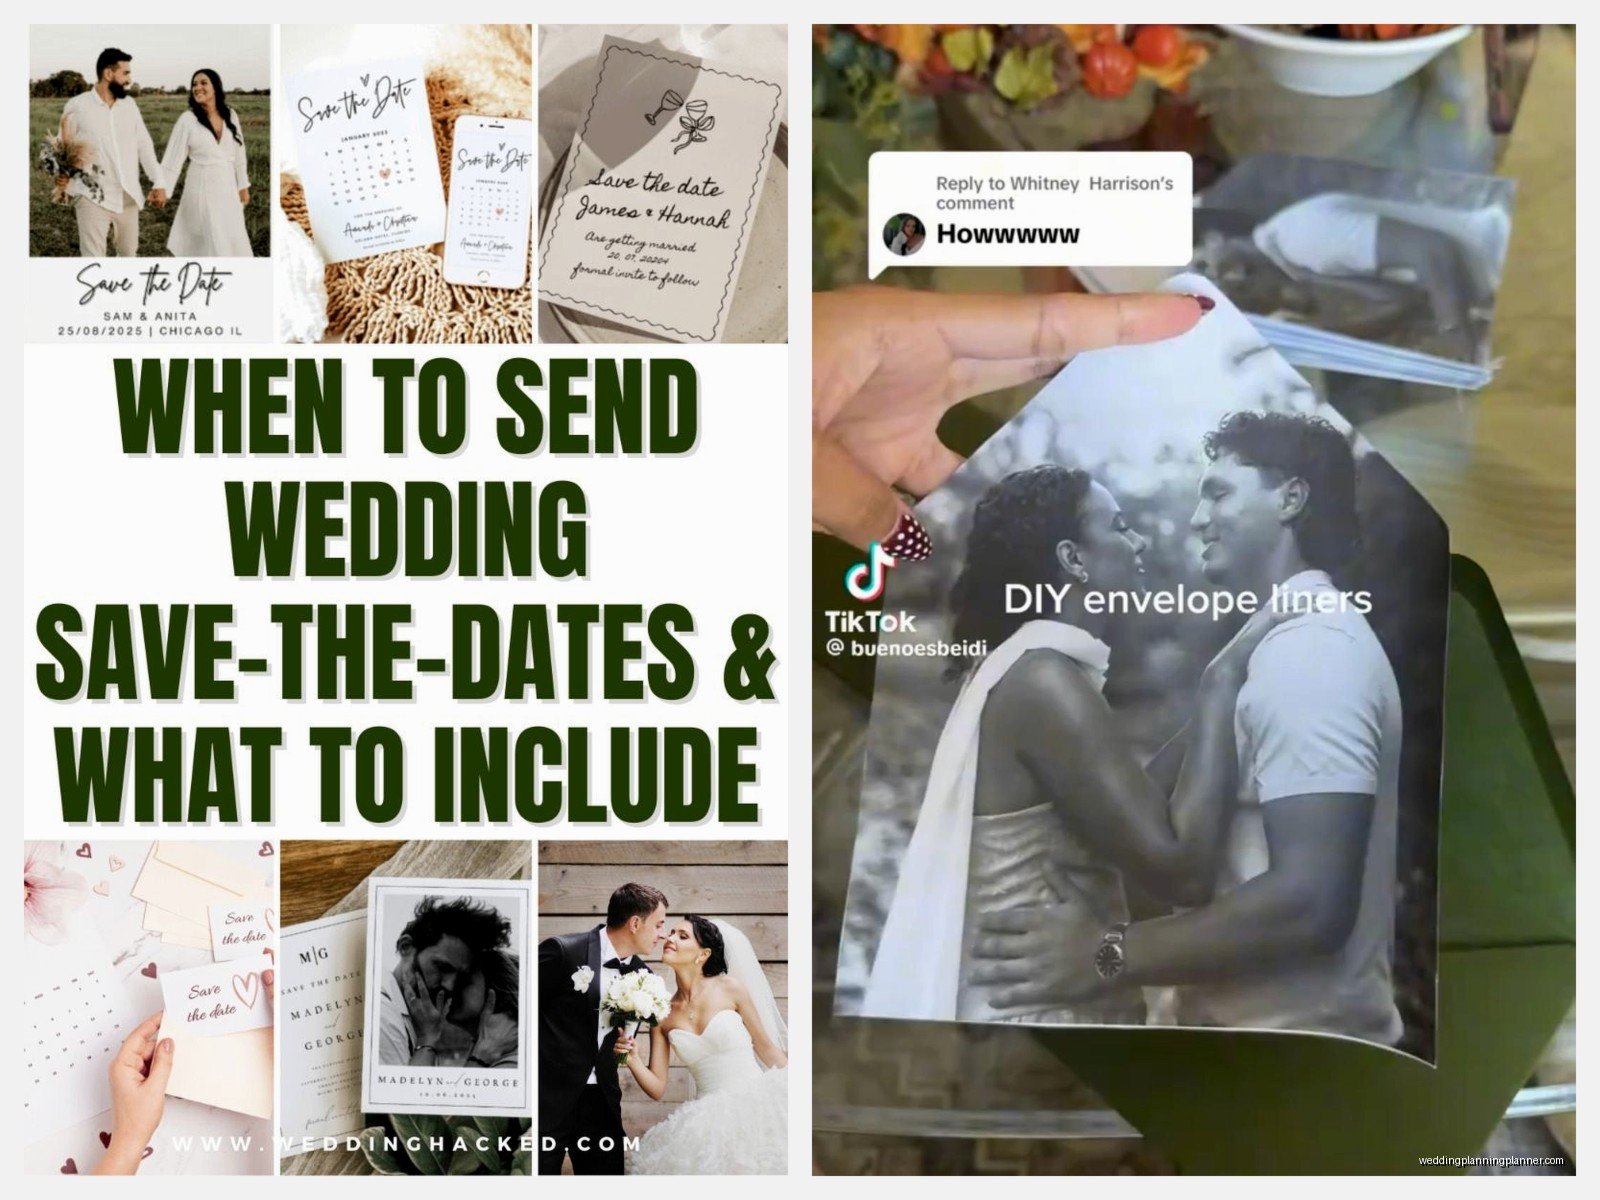
Timing and Quantities
You need to send save the dates 6-8 months before your wedding. For destination weddings, go with 8-12 months. This gives people time to request vacation days and book travel.
How many should you make? Count your guest list and add about 10% extra for mess-ups, last-minute additions, or keepsakes. So if you’re inviting 100 people, make 110 cards. This is especially important if you’re doing something intricate or using materials that might be hard to match later.
Start your DIY project at least 2 months before you need to mail them. I know that sounds like a lot of time but life happens, you might hate your first attempt and need to start over, supplies get delayed… just give yourself buffer time.
Common Mistakes to Avoid
Don’t forget to weigh your finished card with the envelope at the post office before you buy stamps. If it’s heavier than a standard letter or has weird dimensions, you’ll need extra postage. Nothing worse than having all your save the dates returned for insufficient postage.
Test your printer settings before printing all your cards. Print one, check it, adjust if needed, print another test. Only then print the full batch.
Don’t use glitter. I know it’s tempting but postal workers hate it, it gets everywhere, and some facilities actually charge extra for glittery mail because it gums up their machines. If you want sparkle, use metallic paper instead.
Make sure any ribbons or bows are flat enough that the card won’t get caught in sorting equipment. I usually put a little tape to secure ribbons flat against the card.
Proofread everything before you print or stamp 100 cards. I’ve seen people spell their own venue wrong, use the wrong date, forget to change the year from their template… just triple-check.
Budget Breakdown
DIY save the dates should cost you around $1-2 per card if you’re being smart about it. Here’s roughly what you’re looking at:
- Cardstock: $15-25 for enough for 100 cards
- Envelopes: $20-30 for 100
- Stamps or printing costs: $20-50 depending on method
- Embellishments: $15-40 depending on how fancy you go
- Postage: $0.66+ per card
So for 100 save the dates you’re probably spending $150-250 total if you do it yourself, compared to $300-500+ if you order them from a stationery company. The tradeoff is your time obviously.
Buy supplies from craft stores when they have sales. Michaels and Joann always have 40-50% off coupons. Amazon has bulk cardstock that’s cheaper than buying individual packs at craft stores.
When DIY Might Not Be Worth It
Look, I love DIY projects but sometimes it’s not the move. If you’re inviting more than 150 people, DIY save the dates become kinda a part-time job. If you’re already stressed with wedding planning and working full-time and you know you’re not crafty… it’s okay to just order them.
Also if your wedding is in less than 4 months, you probably don’t have time to DIY save the dates and also do everything else you need to do. At that point just send a digital save the date or order rush printing from a online company.
The goal is for you to enjoy the process, not to stress yourself out trying to save money on one small piece of your wedding. I tell all my clients this – pick the DIY projects that sound fun to you and outsource the rest. Nobody judges you for buying save the dates, but they will notice if yours look sloppy because you rushed through them or hated making them.