
Planning Guides, Style Guide
Free Editable Wedding Program Template Word: Customizable
Jul
Getting Started with Free Word Templates
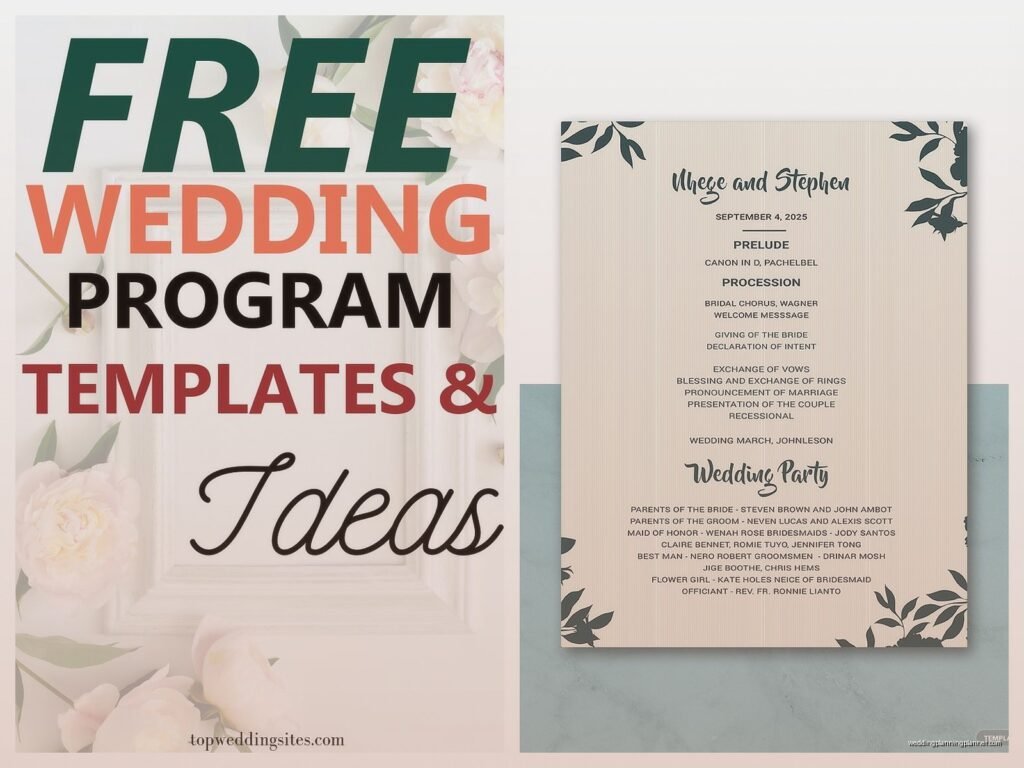
Okay so you’re looking for free editable wedding program templates in Word and honestly this is gonna save you SO much money compared to ordering from a stationery company. I’ve been dealing with wedding programs since like 2009 and the amount of couples who panic about programs two weeks before the wedding is… a lot. Just download a template from Microsoft Office’s template library or sites like Template.net, Canva (they have Word exports now), or even Etsy has free ones sometimes if you dig around.
The thing with Word templates is they’re already formatted with placeholder text and design elements, so you’re not starting from a blank page staring at you like some kind of design nightmare. You’ll see sections for ceremony order, wedding party names, thank you notes to parents, all that stuff. Just click and replace the text with your actual information.
Where to Actually Find Decent Free Templates
Microsoft Word itself has built-in templates if you go to File > New and search “wedding program” – some are kinda dated looking but there’s usually a few modern ones mixed in. I had this couple in spring 2023 who refused to pay for programs at all (totally fair) and we found this gorgeous bifold template right in Word that looked like it cost $200 to design. Saved them probably $350 just on printing costs alone because they could print at home.
Other places I send people: WPS Office Template Center has good free options, Vertex42 has some classic styles, and honestly Pinterest links to a bunch of free downloads if you can wade through all the paid options. Just make sure you’re actually downloading a .docx or .doc file, not a PDF because PDFs are way harder to edit unless you have Adobe Acrobat Pro which… most people don’t.
The Annoying Part Nobody Warns You About
Here’s what drives me absolutely crazy about Word templates – the formatting gets messed up the SECOND you start typing sometimes. Like you’ll delete the placeholder text and suddenly the whole layout shifts three inches to the left or the font changes to Calibri even though the template was clearly in some fancy script font. This happens because of how Word handles styles and text boxes.
My advice is to not delete the placeholder text entirely at first. Just highlight it and type over it. That usually keeps the formatting intact. And if you’re working with text boxes (most templates use these for layout), click inside the box carefully before you start editing or you’ll accidentally move the entire box instead of editing the text and then you’re trying to line everything back up for twenty minutes.
Customizing the Basic Info
You’re gonna need to have all your ceremony details ready before you start editing. I’m talking exact order of events, correct spelling of every single person’s name (you’d be surprised how many people spell their own bridesmaid’s names wrong), song titles if you’re including those, and any readings with author names.
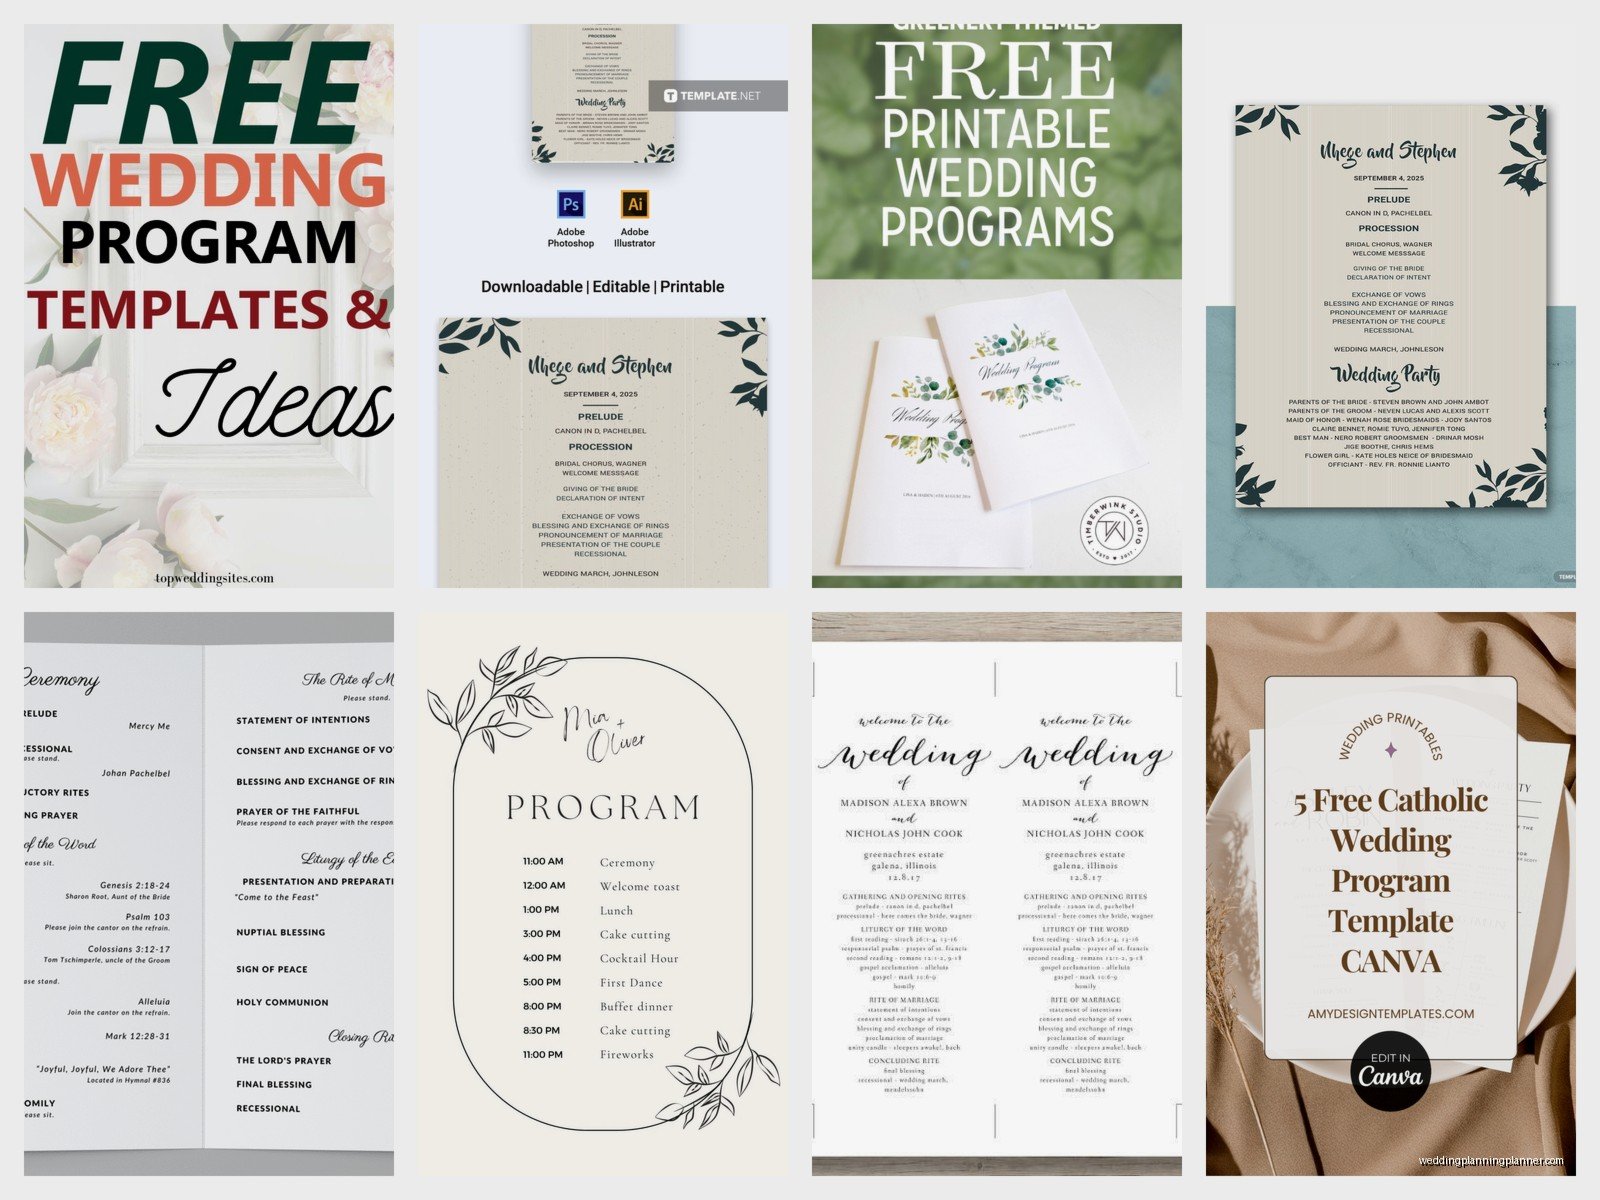
Start with the easy stuff – your names, wedding date, ceremony location, time. These usually go on the front cover or top of the program. Then move into the ceremony order section. Most Christian ceremonies follow a pretty standard format: Processional, Welcome/Opening Prayer, Readings, Vows, Ring Exchange, Unity Ceremony if you’re doing one, Pronouncement, Recessional. Jewish ceremonies are different with the Seven Blessings and breaking the glass. Hindu ceremonies – whole different structure that honestly probably needs a custom template because they’re so much longer and more complex.
One time my cat jumped on my keyboard while I was updating a template for a client and somehow managed to change all the names to wingdings font and I didn’t notice until I sent the proof over. They thought it was hilarious but I was mortified.
Wedding Party Section Tips
This is where I see people get tripped up. You need to list your wedding party with their relationship to you, but the format depends on your template style. Some templates have two columns (bride’s side and groom’s side), others list everyone together, some include photos.
If your template has photo placeholders and you don’t wanna use photos, you can just delete those image boxes. Right-click on the image, hit delete. If it messes up your layout, use the undo button and instead try resizing the image box to be super tiny and move it off to the side where it won’t print.
Also you don’t HAVE to include everyone’s full legal names. “Sarah Johnson, Maid of Honor” is fine. You don’t need “Sarah Elizabeth Johnson-Smith, Maid of Honor, Bride’s College Roommate and Best Friend Since Sophomore Year” – like, I’ve seen programs that are basically mini biographies and it’s… a lot. Keep it simple or you’ll run out of space.
Design Elements You Can Actually Change
The colors in most Word templates are editable even if you’re not a designer. Click on any colored element (borders, backgrounds, text), and you’ll see format options pop up. For shapes and borders, right-click and choose “Format Shape” or “Format Object” and you can change the color to match your wedding colors.
Fonts are easy to change but here’s my warning – don’t use more than two fonts in the whole program. One fancy font for headers and names, one readable font for body text. I cannot stress this enough because I’ve seen programs that look like ransom notes with seven different fonts and it’s chaotic. Stick with combinations like: Cormorant Garamond with Montserrat, or Playfair Display with Lato, or Great Vibes with Raleway.
If your template uses a script font you don’t have installed on your computer, Word will substitute it with something else and it’ll look weird. You can download free fonts from Google Fonts or DaFont, install them on your computer (just double-click the font file and hit install), then restart Word and they’ll show up in your font menu.
Sizing and Layout Adjustments
Most wedding program templates are designed as bifold (one sheet folded in half) or trifold formats. The page size is usually 8.5 x 11 inches that you print and then fold. Some are designed as 5 x 7 or 4 x 6 booklets but those need special paper.
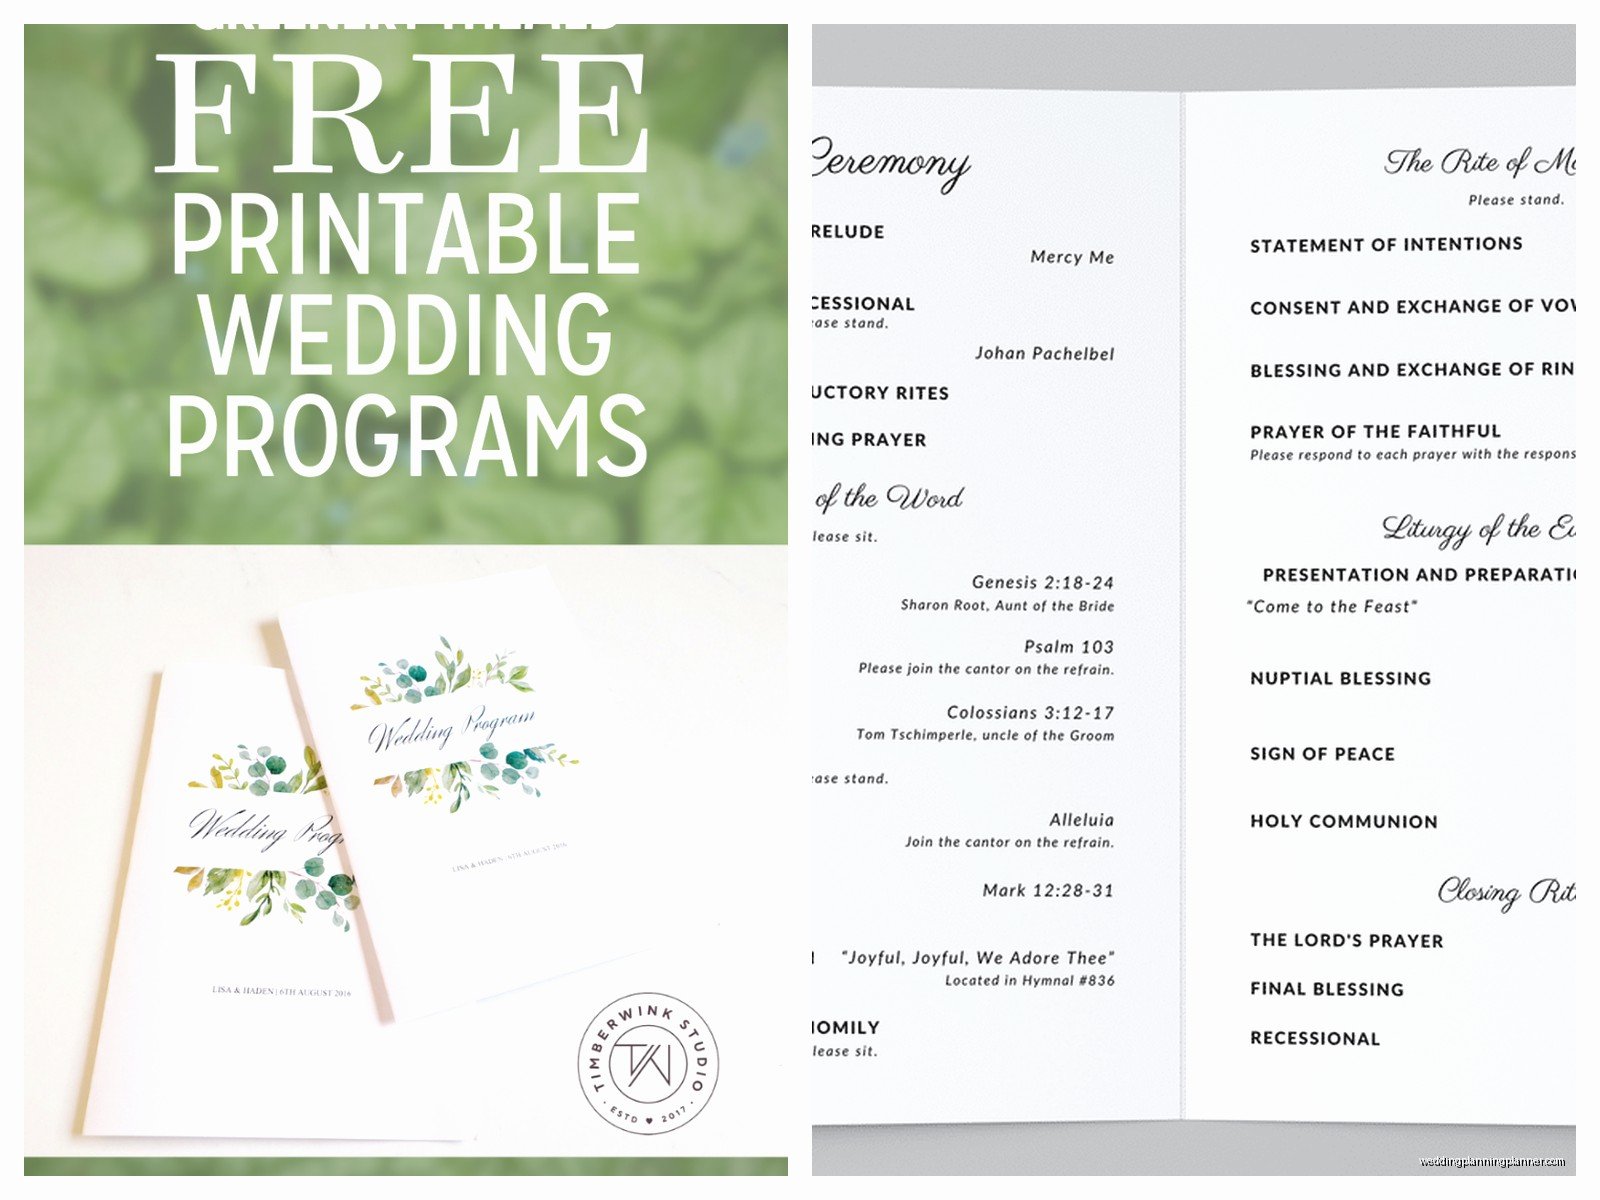
If you need to add more text than the template has room for, you can adjust margins (go to Layout > Margins > Custom Margins) or decrease font size slightly, but don’t go below 10pt for body text or older guests won’t be able to read it. During this super stressful client situation in summer 2021 we had to fit an entire Catholic mass program into a single page bifold and it required… creative spacing solutions and 9pt font which I don’t recommend but sometimes you gotta do what you gotta do.
You can also add pages if it’s a booklet-style program. Just put your cursor at the end of the last page and hit Ctrl+Enter to insert a page break, then copy the design elements from previous pages to keep it consistent looking.
Adding Personal Touches
The beauty of editable templates is you can add whatever you want. A lot of couples include a “Thank You” section to parents and anyone who helped with the wedding. Some add their “love story” or how they met, though honestly those can get kinda long and I’m not sure everyone reads them but if you want it, go for it.
You can insert images pretty easily in Word – go to Insert > Pictures and choose your file. Then right-click the image and select “Wrap Text” > “Square” or “Tight” so you can move it around freely. Engagement photos are popular on the cover or inside.
Some couples include a memorial section for family members who’ve passed, which is really touching. Just a simple “In Loving Memory” header with names. Or a favorite quote or scripture that’s meaningful to you.
What to Skip Because Nobody Cares
You don’t need detailed directions to the reception if everyone already has that info from your invitation or website. You don’t need to explain what every single ceremony element means unless it’s a cultural tradition your guests might not be familiar with. Like if you’re having a handfasting ceremony or jumping the broom, yeah explain it briefly. But you don’t need to define what wedding vows are – people know.
Also nah on including your entire wedding website URL in giant letters. If people want more info they’ll find it. The program is for the ceremony itself.
Printing Your Programs
Before you print 150 copies, print ONE test copy. Check that everything fits on the page, that nothing gets cut off when you fold it, that the text is readable, that colors look okay. I’ve seen people print 200 programs only to realize the fold line goes right through someone’s name or the back page is upside down when you unfold it.
For paper, you want at least 80lb cardstock if you’re printing at home, or 100lb if you can find it. Regular printer paper is too flimsy and looks cheap when folded. You can get cardstock at Office Depot, Staples, even Walmart. White and ivory are classic but you can get colored cardstock too.
Home printing is cheapest but your printer needs to handle cardstock – check your printer specs. Most inkjet printers can do it but some budget models can’t. Set your printer to “best quality” or “high quality” mode so the text comes out crisp, not fuzzy. And for the love of everything check your ink levels before you start because running out of magenta halfway through printing is a nightmare.
If you don’t wanna print at home, upload your Word file to FedEx Office, Staples Print & Marketing, or a local print shop. It’ll cost more but the quality is usually better and you don’t have to deal with paper jams or your printer deciding to die the week before your wedding which… happens more than you’d think.
File Compatibility Issues to Watch For
If you’re downloading a template that was created in a newer version of Word than what you have, some design elements might not display correctly. Word 2019 and Microsoft 365 have features that Word 2013 doesn’t, so things can shift around. Save your file in .docx format for best compatibility, or if you’re using a really old version of Word, the template creator might offer a .doc version.
Also if you’re gonna work on the file on multiple computers (like starting it on your laptop then finishing on your work computer during lunch which I’m not recommending but I know people do it), make sure both computers have the same fonts installed or Word will substitute fonts and mess up your layout.
Saving and Backing Up Your Work
SAVE YOUR FILE WITH A CLEAR NAME. Not “Program.docx” but something like “Smith-Johnson-Wedding-Program-FINAL.docx” so you know what it is. And then when you make changes, save it as “Smith-Johnson-Wedding-Program-FINAL2.docx” because I guarantee you’ll want to go back to a previous version at some point.
Back it up. Email it to yourself, save it to Google Drive or Dropbox, put it on a USB drive, whatever. Just have a backup because computers crash and files get corrupted and you don’t wanna be recreating your program from scratch three days before the wedding.
Common Mistakes and Quick Fixes
Text boxes moving around randomly – this happens when you accidentally click and drag them. To lock them in place, right-click the text box, choose “More Layout Options,” go to the “Position” tab and check “Lock anchor.” Or just be really careful when clicking near them.
Colors printing differently than they look on screen – this is normal. Screens use RGB color and printers use CMYK. Your pretty coral might print more orange-ish. Do a test print to see actual colors before printing everything.
Running out of room – decrease margins slightly, reduce spacing between lines (select all text, right-click, choose Paragraph, adjust “Line spacing”), or cut unnecessary text. Sometimes less is more anyway and people appreciate shorter programs because they’re easier to hold during the ceremony.
Fold line problems – if your template is meant to be folded, make sure when you print you know which way to fold it. Most bifold programs have pages 1 and 4 on one side, pages 2 and 3 on the other. When you fold it in half, page 1 is the cover, pages 2-3 are the inside spread, page 4 is the back.
Timeline for Getting This Done
Don’t wait until the week before your wedding to start on programs. Give yourself at least three weeks. One week to customize the template and get all the info together, one week for reviews and edits (you’ll want other people to proofread because you WILL miss typos in your own work – I’ve been doing this for years and I still miss stuff), and one week for printing and assembly.
If you’re ordering printed programs from an online service using your Word template, add extra time for shipping. And definitely order a few extra beyond your guest count because people forget them at the ceremony or want extras as keepsakes or they get damaged or… whatever. I usually tell couples to print 10-15% more than they think they need which sounds wasteful but trust me you’d rather have extras than run short
