
Planning Guides, Style Guide
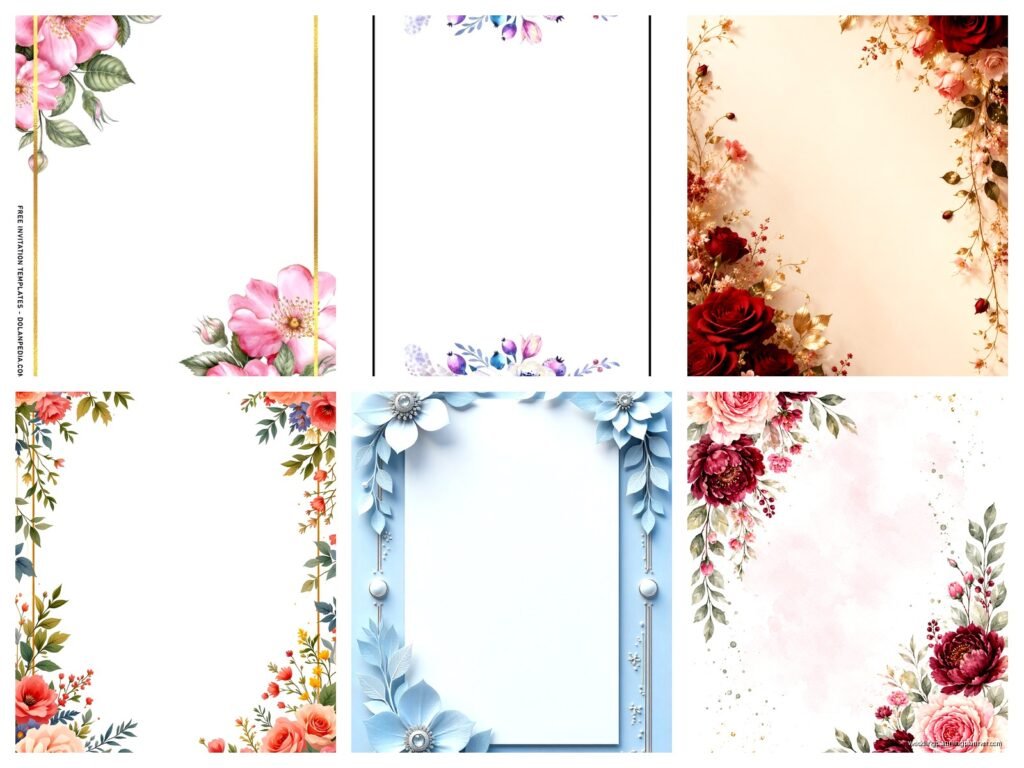
High Resolution Blank Floral Invitation Template: Free Download Files
Sep
Where to Actually Find High-Res Floral Templates That Don’t Look Like Garbage
Okay so you’re looking for floral invitation templates that you can actually download without paying $47 or signing up for some weird subscription service that charges your card every month until you remember to cancel it. I get it. I spent like three hours last spring looking for decent blank templates for a client who wanted “romantic garden vibes but make it modern” and honestly the amount of low-res junk out there is… it’s a lot.
First thing you gotta know about high resolution files is that you’re looking for either 300 DPI (dots per inch) minimum or vector files like SVG, AI, or EPS formats. Anything less than 300 DPI and your printed invitations are gonna look blurry and pixelated, especially if there’s delicate floral details. I learned this the hard way back in summer 2021 when I downloaded what I THOUGHT was a gorgeous watercolor floral border and it printed like someone smeared it with Vaseline. Not cute.
The Free Sites That Actually Work
Canva has a ton of free floral templates but here’s the thing – you need to check if you can actually download them in high resolution without the Pro subscription. Some templates let you download as PDF Print which is 300 DPI, others lock that feature behind the paywall. Super annoying when you’ve already customized everything and then realize you can’t export it properly.
Freepik is where I find probably 60% of my blank templates now. They have a free tier but you have to attribute the designer, which means adding a tiny credit line somewhere or on your website. Not a huge deal for personal use. Their floral selection is massive – like watercolor florals, line art florals, vintage botanical illustrations, the whole deal. Just make sure you’re filtering by “Free” and checking the license terms because some files are only free with attribution and others require Premium.
Vecteezy is similar to Freepik, lots of vector floral elements and full templates. The vectors are great because you can scale them infinitely without losing quality, which is perfect if you’re doing both save-the-dates and full-size invitations and want everything to match.
Pixabay and Pexels technically have some floral graphics but honestly they’re more hit-or-miss for actual invitation templates. Better for finding high-res floral photos you can use as backgrounds.
What File Format You Actually Need
This confuses people all the time so let me just break it down. For printing professional invitations you want:
- PDF – easiest to work with, most printers accept them, make sure it’s set to print quality not web quality
- PNG – good if you need transparent backgrounds, check that it’s at least 300 DPI and not some tiny 72 DPI web image
- AI or EPS – these are Adobe Illustrator files, fully editable vectors, best quality but you need Illustrator or similar software to open them
- SVG – scalable vector graphics, works with Cricut machines if you’re doing DIY cutting, also editable in free programs like Inkscape
JPG files are fine for digital invitations you’re emailing but for printing they can get wonky with compression artifacts around delicate floral details.
How to Customize These Templates Without Adobe Creative Cloud
Not everyone has $55/month lying around for Adobe subscriptions, I totally get it. There are workarounds that work pretty well.
Canva is the obvious choice – you can upload PNG or JPG templates and add your text, change colors, whatever. The free version is honestly enough for most people unless you’re doing this professionally. Their text options are kinda limited compared to InDesign but for wedding invitations it works fine.
For vector files (AI, EPS, SVG) you can use Inkscape which is completely free and open-source. The interface is… not intuitive, I’m not gonna lie. It took me like four YouTube tutorials to figure out how to just change text colors. But once you get the hang of it, you can do pretty much anything Adobe Illustrator does. Well, like 80% of what Illustrator does.
GIMP is free Photoshop basically. Good for working with PNG files and doing photo editing if you want to add custom floral photos to your template. The learning curve is steep though.
I had a client last year who insisted on using Microsoft Word to customize her floral template and honestly it worked better than I expected? You can insert high-res images, add text boxes, and export as PDF. Not my first choice but if you’re comfortable with Word and the template is just a background image with blank space for text, it’ll get the job done.
Checking Resolution Before You Download
This is so important and people skip this step and then get mad when their invitations print badly. Before downloading any template:
- Look for the file specifications – it should say either “300 DPI” or list dimensions like “8.5 x 11 inches at 300 DPI” or show pixel dimensions like 2550 x 3300 pixels (which is 8.5 x 11 at 300 DPI)
- Check if it’s actually a vector file or just a raster image saved as EPS (yes, people do this and it’s misleading)
- Read the reviews if there are any – other users will usually mention if resolution was disappointing
- Download the preview or watermarked version first if possible to check quality before committing
I once downloaded an entire set of “high resolution vintage floral frames” that turned out to be 150 DPI max and the seller just… lied in the description. Still annoyed about that honestly.
Floral Styles That Are Trending Right Now
If you’re choosing a template might as well know what’s actually popular. Watercolor florals have been huge for like five years now but they’re starting to feel a little overdone? Still pretty though. The really loose, flowing watercolor style with lots of greenery and blush pink roses.
Line art florals are having a moment – super minimalist, usually black line drawings of botanical elements. Very modern and elegant, prints well even on textured paper.
Pressed flower aesthetic – looks like actual dried flowers were scanned. Very cottagecore, very “I’m getting married in a barn but make it chic.”
Wildflower meadow vibes with lots of different flower types all mixed together, kinda chaotic but in an intentional way. Popular for outdoor summer weddings.
Vintage botanical illustration style – those detailed scientific-looking drawings from old botany books. Super sophisticated if that’s your vibe.
Customizing Colors Without Ruining the Design
Okay so you found the perfect floral template but the colors don’t match your wedding palette. Here’s how to change them without making it look weird.
If it’s a vector file you can usually select individual elements and change their colors directly. This gives you the most control – you can make the roses burgundy instead of pink, change leaf colors, whatever.
For raster images (PNG, JPG) you’ll need to use adjustment layers or filters. In Photoshop or GIMP you can use Hue/Saturation adjustments to shift colors. This works better on some styles than others – watercolors can get muddy if you shift them too much, but line art is pretty forgiving.
Pro tip: stick to adjusting colors within the same family. If the template has pink florals, shift them to coral or mauve, don’t try to make them blue. It’ll look off because the shadows and highlights won’t make sense anymore.
My cat just jumped on my desk and stepped on the keyboard so if there’s random letters somewhere… anyway.
Adding Your Text Without It Looking Amateur
The template is only half the battle. You gotta add your invitation wording and make it look intentional, not like you just slapped Comic Sans over a pretty background.
Font pairing is huge. You generally want one script/fancy font for names or main headers and one simple serif or sans-serif for body text. Don’t use more than three fonts total or it gets chaotic. Some free font sites I use constantly:
- Google Fonts – completely free, huge selection, easy to download and install
- DaFont – tons of options, check licenses though because not all are free for commercial use
- Font Squirrel – everything is free for commercial use which is nice
- Creative Market has free goods every week including fonts
Text hierarchy matters. Your names should be the most prominent, followed by the date, then location and time, then RSVP details. Use size, weight, and spacing to create this hierarchy. Don’t make everything the same size and just hope people read it in the right order.
Leave enough white space. I see so many DIY invitations where people filled every single inch with text or decorative elements and it’s just… it’s overwhelming to look at. Let the floral design breathe.
Test Printing Before You Order 150 Invitations
This should be obvious but I’ve had clients skip this step and regret it. Print one or two test copies on your home printer first, or order a single proof from your printing service. Check for:
Colors looking different than on screen (they always do, screens use RGB and printing uses CMYK so there’s always some shift). Floral designs especially can print darker than they appear on your monitor.
Text being legible. That fancy script font might look gorgeous at 24pt on your screen but at actual invitation size it could be hard to read, especially for your older guests.
Margins and bleed areas. If your floral design goes to the edge of the page you need to set up bleed (extra image area beyond the cut line) or you’ll get white borders or cropped flowers.
Paper texture affecting how the design looks. Florals on smooth cardstock look different than on textured linen paper.
Printing Options That Won’t Cost Your Entire Wedding Budget
Once you’ve got your customized template ready you need to actually print these things. Options ranked by price roughly:
Home Printing: Cheapest if you already have a decent inkjet printer. Buy high-quality cardstock (I like 110lb weight minimum). Your margins might be limited depending on your printer. Colors can be inconsistent between batches if your ink levels change. Fine for small weddings or if you’re going for a more DIY aesthetic anyway.
Local Print Shops: Like FedEx Office or local printing companies. Mid-range pricing, you can usually see paper samples in person which is helpful. Turnaround is quick. They’ll help with file setup if you’re not sure about bleeds and margins.
Online Print Services: Vistaprint, Moo, Overnight Prints, Catprint, etc. Usually good quality, competitive pricing especially for larger quantities. You’re trusting them with color accuracy though since you can’t see samples first. Shipping time varies.
Specialty Wedding Printers: Minted, Artifact Uprising, Paper Culture. More expensive but higher quality, better paper options, sometimes include envelope addressing. They often have their own templates though so using your downloaded one might require uploading as a custom design which can cost extra.
I usually recommend clients do a test run with a local print shop first even if they’re planning to order bulk online. The $20 you spend printing 5 invitations locally is worth it to catch any issues before you order 150 from an online service.
File Setup for Professional Printing
If you’re going to a print shop they’re gonna want your file set up properly. Here’s what that means:
Save as PDF/X-1a or PDF/X-4 format – these are printing standards that embed fonts and images properly. Your printer might specify which they prefer.
Convert colors to CMYK not RGB. Most design programs have an option for this. RGB colors (what screens use) don’t translate directly to CMYK (what printers use) and you’ll get color shifts if you don’t convert.
Include bleed if your design goes to the edge – usually 0.125 inches beyond your trim size. So for a 5×7 invitation you’d set up your document as 5.25 x 7.25 with crop marks showing where to cut.
Embed or outline fonts. If you don’t do this the printer won’t have your fonts and text will either be missing or substituted with something else. In Illustrator you “create outlines,” in PDF export settings you “embed all fonts.”
I had this nightmare situation spring 2023 where a client’s sister-in-law offered to handle printing their invitations and didn’t set up bleeds properly and every single invitation had this weird white border on one edge because the cutting wasn’t precise… it was a whole thing. Just set up your files right the first time, trust me.
License Terms You Actually Need to Read
I know reading license agreements is boring but you gotta at least skim them for free templates. Most important things to check:
Personal vs Commercial Use: Free for personal use means you can use it for your own wedding invitations. Commercial use means you can use it for client projects if you’re a wedding planner or designer. Some licenses are personal only.
Attribution Requirements: Some free files require you to credit the designer. For Freepik stuff you usually need to include a line like “Designed by Freepik” somewhere. Some couples put this on their wedding website, others add tiny text on the back of invitations.
Modification Rights: Most allow modifications but some don’t. You need modification rights to customize colors and add text obviously.
Distribution Limits: Usually you can print as many invitations as you need for one wedding. You can’t resell the template or share the file with others.
If you’re unsure just email the creator or check their FAQ. Most designers are pretty chill about wedding invitation use even if the license seems restrictive, they just don’t want people reselling their templates as-is.
Troubleshooting Common Issues
File won’t open – you might not have the right software. AI and EPS files need Illustrator or Inkscape. PSD files need Photoshop or GIMP.
Colors look wrong when you open the file – might be a color space issue. Check if it’s set to RGB vs CMYK, or your software might not be displaying colors accurately.
Template is too small – if it’s a raster image you can’t really enlarge it without quality loss. Better to find a different template that’s already the right size. If it’s vector you can scale it up no problem.
Floral elements look pixelated when you zoom in – it’s probably not actually high resolution despite what the listing said. Check the actual pixel dimensions or DPI.
Can’t edit text in the template – if it’s a flattened image file (JPG or PNG) any text is part of the image and can’t be edited. You’ll need to cover it with text boxes or find an editable version.
I think that covers most of what you need to know about finding and using free high-res floral templates. The main things are just checking resolution before downloading, making sure you have software that can open the files, and doing test prints before ordering your full quantity. It’s really not that complicated once you’ve done it once or twice, you just gotta watch out for low-quality files masquerading as high-res and actually read what format the file is in before you download it and get excited and then realize you can’t open it
