
Planning Guides, Style Guide
Indian Wedding Card Template: Traditional Design Downloads
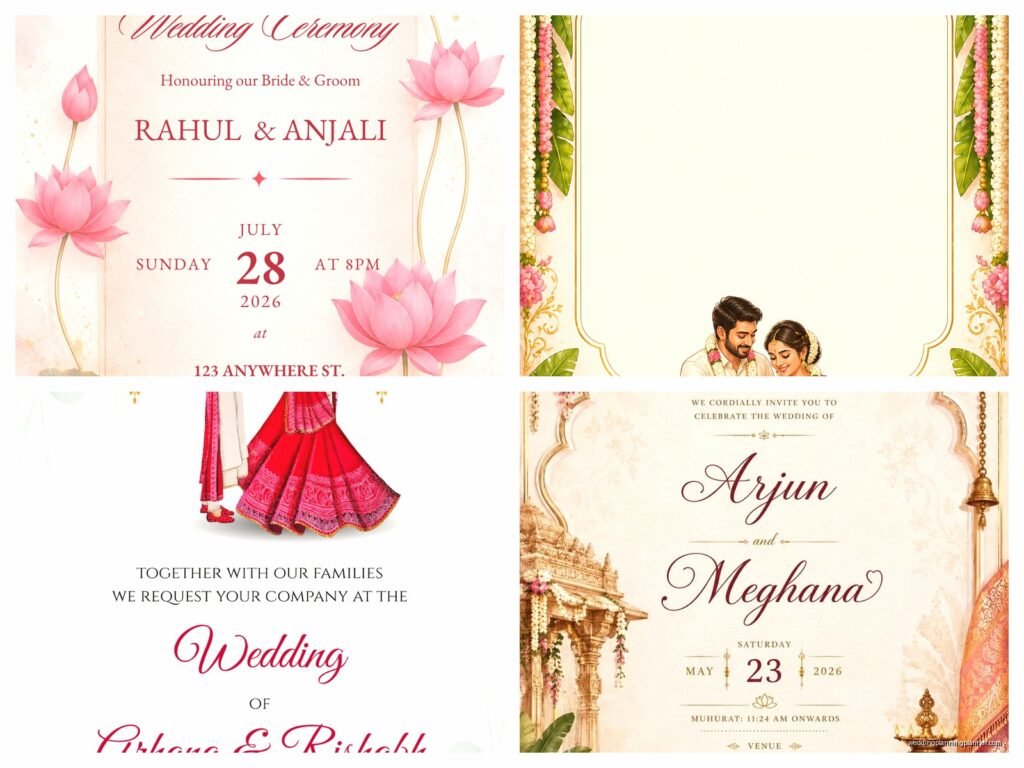
Jul
Getting Started with Indian Wedding Card Templates
So you need Indian wedding card templates and honestly there are SO many options out there it can get overwhelming super fast. I remember back in spring 2023 I had this client who wanted traditional designs but also wanted to download everything instantly because her printer needed files like yesterday, and we spent hours just sorting through what was actually good quality versus what looked amazing online but downloaded as pixelated garbage.
The first thing you gotta know is that traditional Indian wedding invitations come in specific styles based on region and religion. Hindu wedding cards look different from Sikh wedding cards which look different from Muslim wedding cards. If you’re Hindu, you’ll probably want designs with Ganesh imagery, lotus flowers, peacocks, or that classic ornate paisley work. For Sikh weddings, the Ik Onkar symbol is important. Muslim wedding cards often feature intricate geometric patterns and calligraphy.
Where to Actually Find Quality Templates
Okay so the main places I send people are Creative Market, Etsy, and specialized Indian wedding sites like 123WeddingCards or Indianweddingcard.com. Creative Market has gorgeous high-end templates but they’re pricier—like $15 to $50 per template set. Etsy is kinda hit or miss? You’ll find amazing independent designers selling full suites for $20-30, but you really need to read the reviews and check what file formats they’re giving you.
The specialized Indian wedding sites have TONS of free templates but here’s what annoyed me so much about them—half the time the “free download” button takes you to a page where you still have to pay or sign up for some subscription service. It’s misleading and wastes your time when you’re already stressed about wedding planning.
I usually tell clients to budget around $30-75 for a complete template package if you want quality. That should get you the main invitation, RSVP card, details card, and maybe some bonus items like thank you cards or program templates.
File Formats You Actually Need
This is important so pay attention—you need editable files. The most common formats are:
- PSD files (Photoshop) – these give you the most control but you need Adobe Photoshop
- AI files (Illustrator) – great for vector graphics, need Adobe Illustrator
- PDF files – sometimes editable, sometimes not, depends on how they’re made
- Canva templates – if you don’t wanna deal with Adobe programs
- Word or PowerPoint templates – easiest but usually lowest quality
I personally prefer PSD files because you can manipulate literally everything, but if you’re not comfortable with Photoshop, go for Canva templates. They’re user-friendly and you can edit them right in your browser without downloading software.
Traditional Design Elements to Look For
Traditional Indian wedding cards have specific design elements that make them feel authentic. You want rich colors—deep reds, golds, royal purples, emerald greens. Pastels are pretty but they don’t scream traditional Indian wedding, you know?
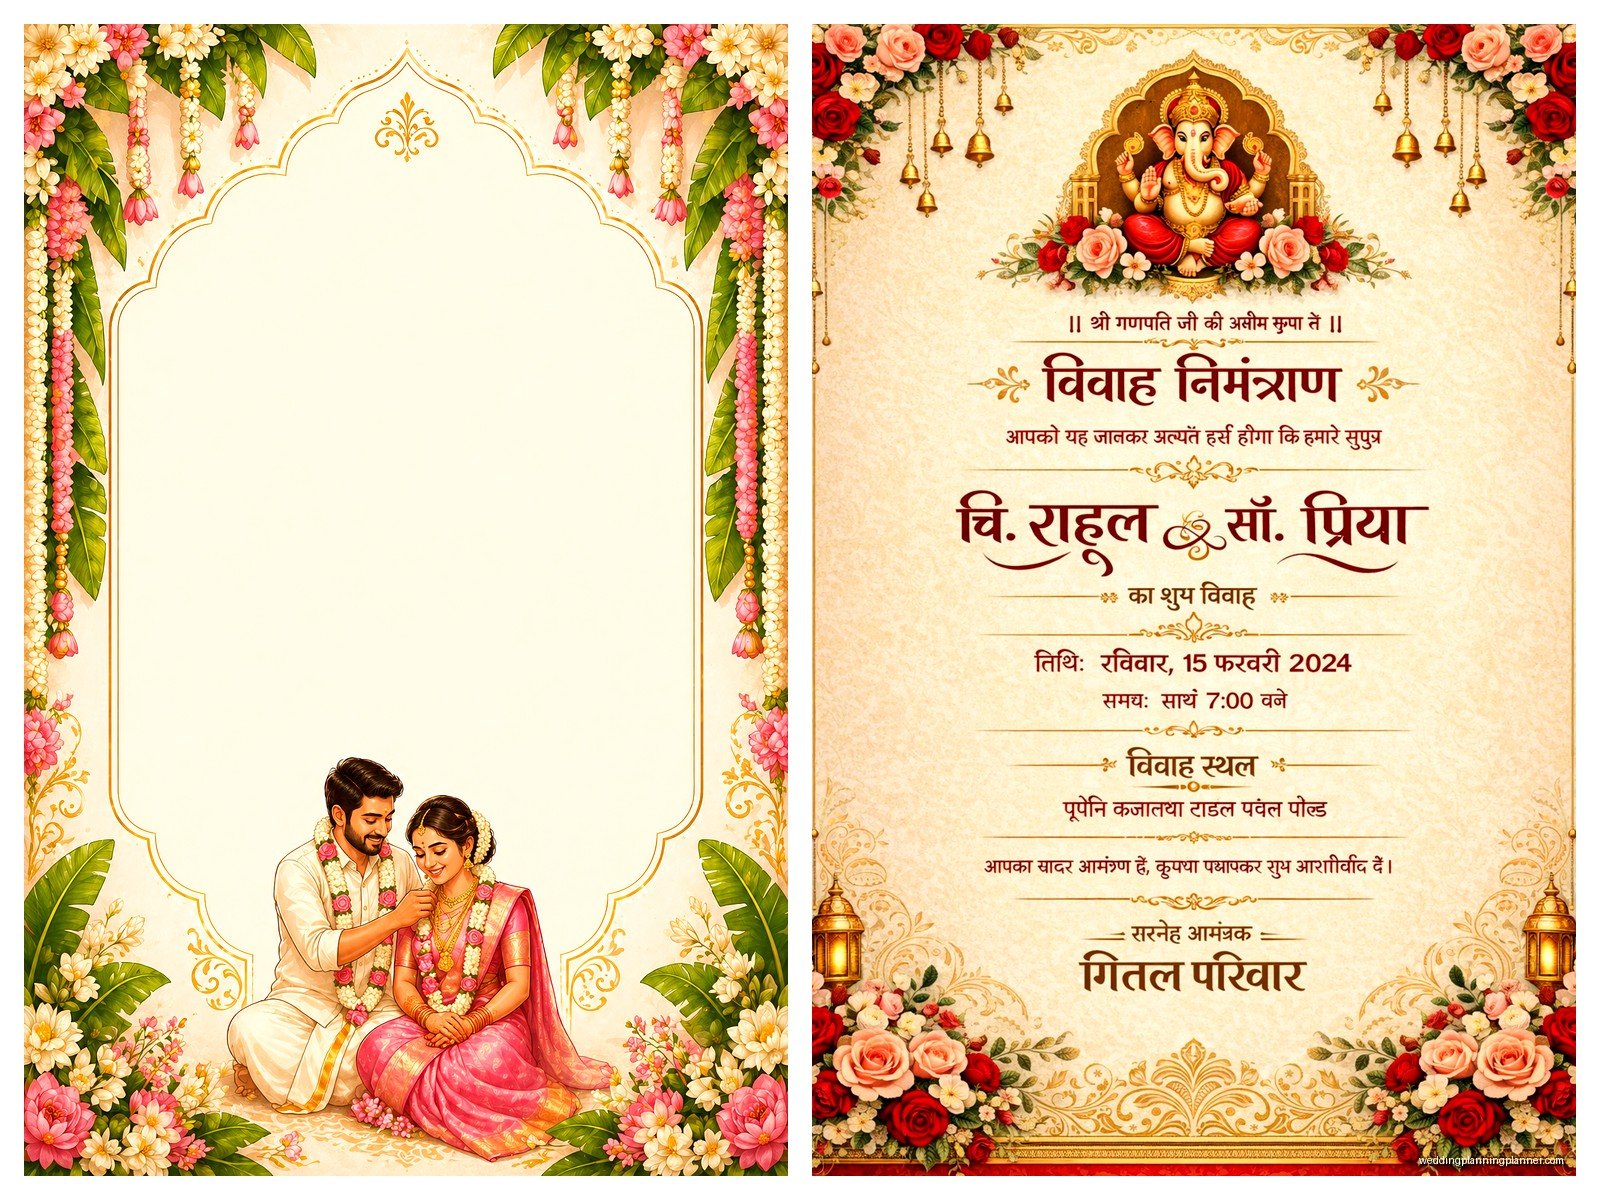
Look for templates that include:
- Border designs with paisley or mandala patterns
- Ganesh illustrations or other deity imagery if that’s appropriate for your religion
- Damask patterns or intricate filigree work
- Peacock motifs (super popular and gorgeous)
- Lotus flowers
- Elephant designs
- Ornate frames and corners
The typography matters too. Traditional cards often use decorative fonts that have that Indian feel—think ornate serifs or scripts that mimic Hindi calligraphy even if you’re writing in English. But make sure it’s still readable because I’ve seen cards where the font is so decorative nobody can actually read the venue address.
Customizing Your Downloaded Template
Once you download a template, you’ll need to customize it with your actual wedding information. This seems obvious but I had a client once who printed 200 invitations before realizing she left the template’s dummy date in there… it was a whole thing.
Here’s what you need to include on a traditional Indian wedding invitation:
- Both families’ names (Indian weddings typically include parents’ names prominently)
- The couple’s names obviously
- Wedding date and time for each ceremony if you’re having multiple events
- Venue names and full addresses
- RSVP information
- Dress code if you want (like “Indian formal attire” or whatever)
- Any special instructions about parking or accommodations
For multi-day events like Sangeet, Mehendi, wedding ceremony, and reception, you might need a details card insert that lists everything. Some templates come with these as part of the package, others don’t, so check before you buy.
Technical Stuff You Can’t Ignore
Okay this is the part that gets technical but it’s important for printing. Your template needs to be high resolution—at least 300 DPI (dots per inch). If it’s lower than that, it’ll look blurry when printed even if it looks fine on your screen. Most quality templates will specify the DPI in the product description.
Size matters too. Standard Indian wedding cards are usually 5×7 inches but they can be square (like 6×6), larger (7×10), or even folded formats. Make sure the template size matches what your printer can handle or what you wanna order. Some online printing services have specific size requirements.
Bleed and trim marks—ugh, I know this sounds complicated but basically “bleed” means the design extends slightly beyond where the card will be cut. This prevents white edges if the cutting isn’t perfectly precise. Professional templates include bleed (usually 0.125 inches extra on each side). If your template doesn’t have bleed built in, you might get white borders on your printed cards.
Color Mode: RGB vs CMYK
This is something that trips people up constantly. Computer screens display colors in RGB (red, green, blue) but printers use CMYK (cyan, magenta, yellow, black). If your template is in RGB and you send it to a professional printer, the colors might look different when printed—usually less vibrant.
Good templates come in CMYK already, but if yours doesn’t, you can convert it in Photoshop or Illustrator. Just know that some colors will shift slightly during conversion. That gorgeous bright red might become more muted. I usually recommend ordering a proof print before you print 300 copies just to see the actual colors.
Free vs Paid Templates: What’s Actually Worth It
Look, I’m gonna be real with you—free templates are fine if you’re on a super tight budget or if you’re just doing a small family-only thing. But they come with limitations. The designs are often overused (you might see the same template at three other weddings), customization options are limited, and the quality can be questionable.
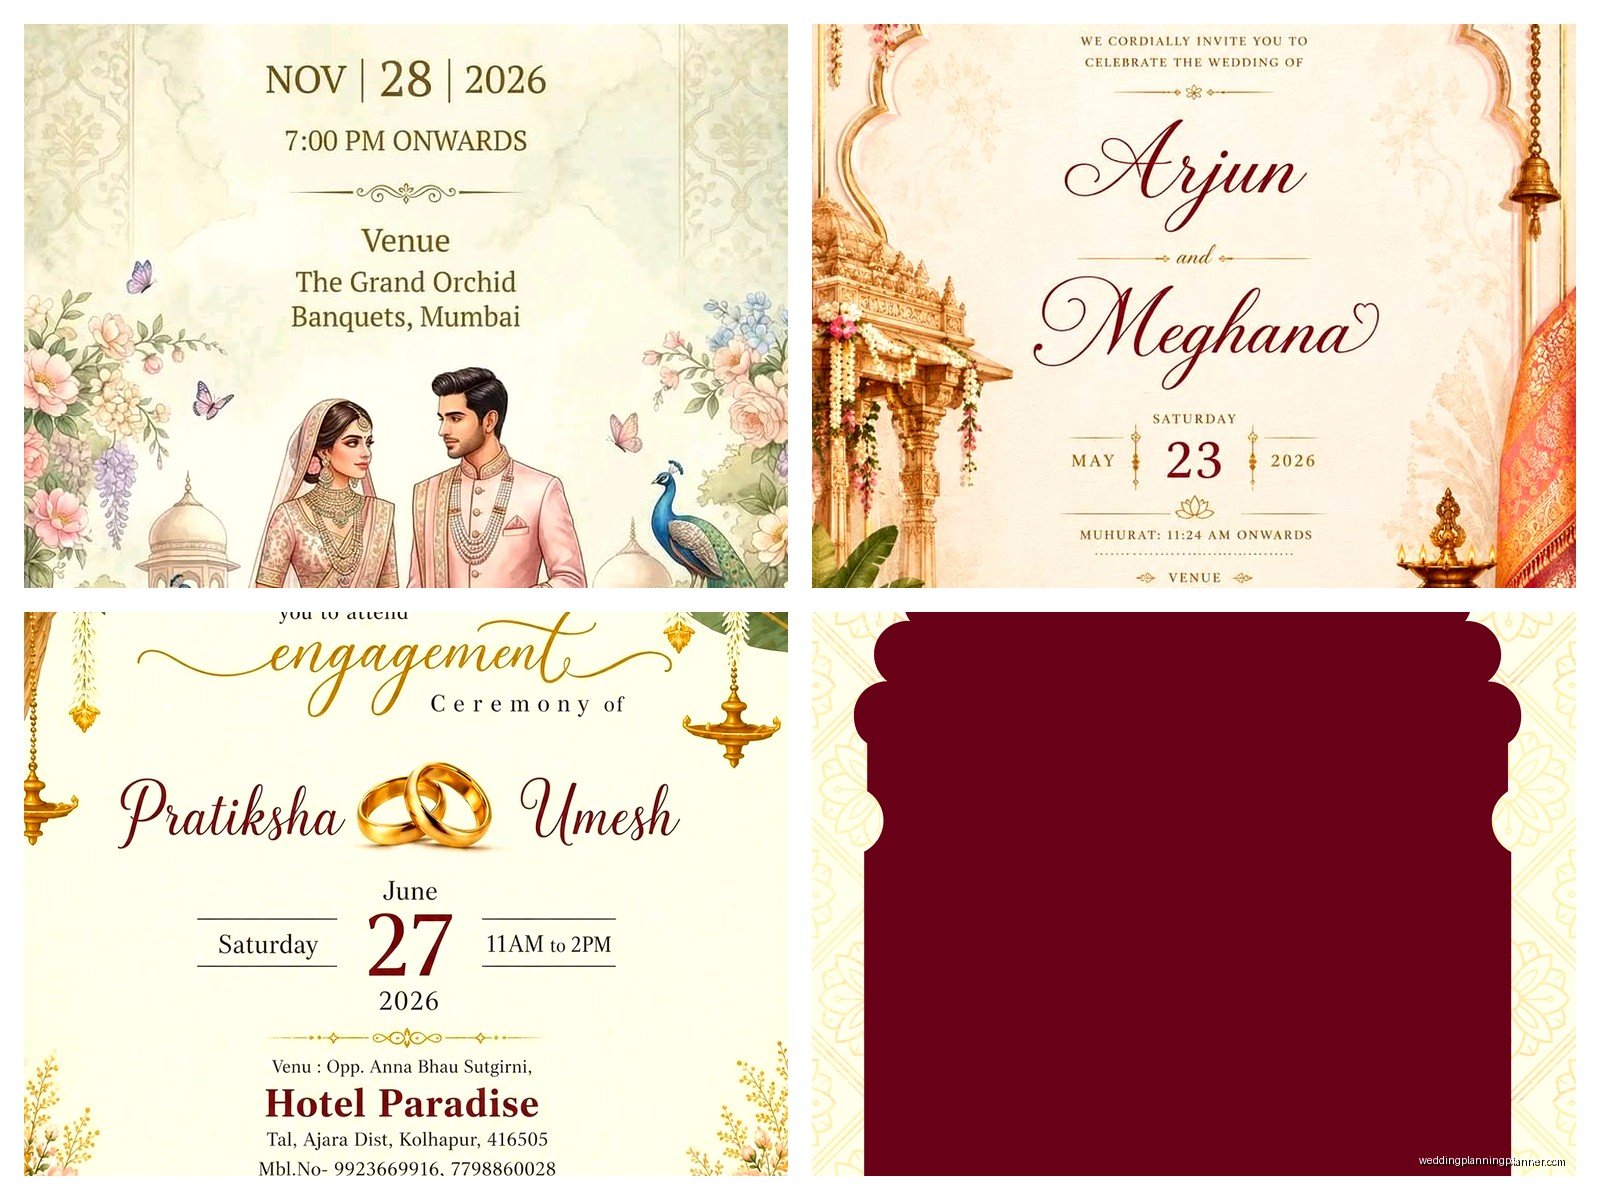
Paid templates give you:
- Higher quality graphics and resolution
- More unique designs
- Better file organization and layers
- Customer support if something goes wrong
- Commercial use rights (important if you’re printing lots of copies)
- Usually multiple format options
That said, there are some decent free options on Canva and even some Indian wedding blogs offer free downloads. Just inspect them carefully before committing.
My Actual Workflow for Template Projects
When I’m helping a client with Indian wedding card templates, here’s my process and you can totally steal it:
- Figure out the wedding style and religious requirements first—this narrows down design options
- Determine how many pieces you need (invitation, RSVP, details card, etc.)
- Set a budget for templates AND printing
- Browse 3-4 sites and save favorites—don’t buy immediately
- Check reviews and seller ratings if buying from marketplaces
- Verify file formats and make sure you have the software to edit them
- Purchase and download everything
- Open files and check quality before the return period expires
- Customize with your information
- Proofread like your life depends on it—then have someone else proofread
- Order a sample print before doing the full print run
I cannot stress number 10 enough. I once had a bride who spelled the groom’s father’s name wrong on 400 invitations because nobody proofread carefully. His name was Rajesh and she wrote Rajish. Small difference, huge embarrassment.
Printing Your Downloaded Templates
So you’ve got your perfect template customized and ready—now what? You’ve got options for printing and they all have pros and cons.
Local print shops are great because you can walk in, show them your file, discuss paper options, and see samples. They can usually turn around orders in a week or two. The downside is they’re often more expensive than online printing services.
Online printing services like Minted, Vistaprint, or Printique are convenient and usually cheaper. You upload your file, select paper type and quantity, and they ship to you. But you can’t see or touch anything until it arrives, which is kinda nerve-wracking for something as important as wedding invitations. Also my cat knocked over my coffee on my keyboard right as I was placing an order once and I accidentally ordered 500 instead of 50—that was an expensive mistake.
Specialty Indian printers understand the cultural elements better and often have paper options specifically suited to traditional designs—like textured cards or metallic finishes. They’re usually mid-range on pricing.
Paper Types That Work Best
The paper you choose affects how your design looks. For traditional Indian wedding cards, I usually recommend:
- Matte cardstock (80-110 lb) – sophisticated, no glare, colors look rich
- Shimmer or pearl cardstock – adds elegance, catches light beautifully
- Textured linen – upscale feel, hides fingerprints well
- Glossy – makes colors super vibrant but can feel less formal
For really traditional fancy invitations, some people go with velvet paper, handmade paper, or even fabric-covered cards, but those usually require professional printing—you can’t DIY those at home.
Common Mistakes I See All The Time
People download a template and think they’re done but then run into problems. Here are the mistakes that drive me crazy:
Not checking the license – Some templates are for personal use only, meaning you can’t use them if you’re a wedding planner creating cards for clients. Read the license agreement.
Ignoring layer organization – Good templates have organized layers in Photoshop or Illustrator. Don’t just start deleting things randomly or you’ll mess up the entire design and then you can’t fix it.
Using low-res images – If you’re adding your own photos to the template (like for a photo invitation), make sure they’re high resolution too. A 300 DPI template with a 72 DPI photo still prints badly.
Forgetting about envelopes – Your gorgeous traditional invitation needs an envelope. Some template packages include envelope designs, most don’t. Figure this out early.
Not testing prints – I mentioned this before but seriously, always print a test copy at home or order one sample from your printer before committing to 200 copies.
Software Alternatives If You Don’t Have Adobe
Adobe products are expensive and not everyone wants to pay the monthly subscription. If you’re looking for alternatives…
Canva is my top recommendation for beginners—it’s free for basic features, browser-based, and has tons of Indian wedding templates already built in. The Pro version ($13/month) gives you more options and removes watermarks.
GIMP is free Photoshop alternative that can open PSD files, but the learning curve is steep and the interface is… not intuitive.
Affinity Designer and Affinity Photo are one-time purchase alternatives to Illustrator and Photoshop—around $50 each, no subscription. They’re powerful and can open AI and PSD files with some limitations.
For really simple text-only changes, sometimes you can even use free PDF editors, though you won’t have control over design elements.
Cultural Considerations and Symbolism
When you’re picking a traditional Indian wedding card template, think about the symbolism in the design. It actually matters to a lot of families.
Ganesh is the remover of obstacles, so his image is common on Hindu wedding invitations—it’s considered auspicious to have him bless the beginning of the invitation. Lotus flowers represent purity and beauty. Peacocks symbolize romance and love. Elephants represent wisdom and strength. Paisley patterns (mango motifs) symbolize fertility and good luck.
Colors carry meaning too—red represents love and prosperity, gold is for wealth and grandeur, green is for new beginnings, yellow is auspicious and represents happiness. If you’re choosing or customizing colors, think about what you’re communicating.
Some families are super particular about this stuff, others don’t care as much, but it’s worth having a conversation with parents and in-laws about whether certain symbols or colors are important to them before you finalize your template choice. I learned this the hard way when a client’s mother-in-law was upset that the cards didn’t include any religious imagery and we had to reprint everything.
Wording for Traditional Indian Invitations
The wording on Indian wedding invitations is different from Western ones—it’s usually more formal and includes more family information. Traditional invitations often start with a religious symbol or phrase like “Shri Ganeshaya Namah” or “Ik Onkar.”
Then you list both sets of parents hosting the wedding, followed by “request the honor of your presence at the marriage of their children” or something similar. The couple’s names come next, then all the event details.
Many templates include sample wording but you’ll need to adapt it to your situation. Are both families hosting equally? Is it the bride’s family hosting traditionally? Are the couple hosting themselves? The wording changes based on who’s hosting and I’m not gonna lie, this can get political with families so tread carefully and maybe let the parents hash out the exact wording before you fill in the template.
You might also need bilingual text if family members speak Hindi, Punjabi, Gujarati, or another language. Some templates have space for dual language text, others don’t, so check if that’s important to you.
Timeline for Template-Based Invitations
If you’re doing this yourself with downloaded templates, here’s a realistic timeline:
- 3-4 months before wedding: Start browsing templates and designs
- 3 months before: Purchase and download template, start customizing
- 2.5 months before: Finalize wording with families, proofread
- 2 months before: Order sample prints, review and approve
- 6-8 weeks before: Order full print run
- 5-6 weeks before: Receive printed invitations, start addressing
- 4-6 weeks before wedding: Mail invitations
This assumes everything goes smoothly. Add buffer time if you’re particular or if you think there might be family drama about wording or design choices because there usually is.
Using templates instead of custom design definitely speeds things up—you’re not waiting for a designer to create something from scratch or going through multiple revision rounds. But you still need time for customization and printing, so don’t wait until 3 weeks before the wedding and expect it all to work out. It won’t.
