Planning Guides, Style Guide
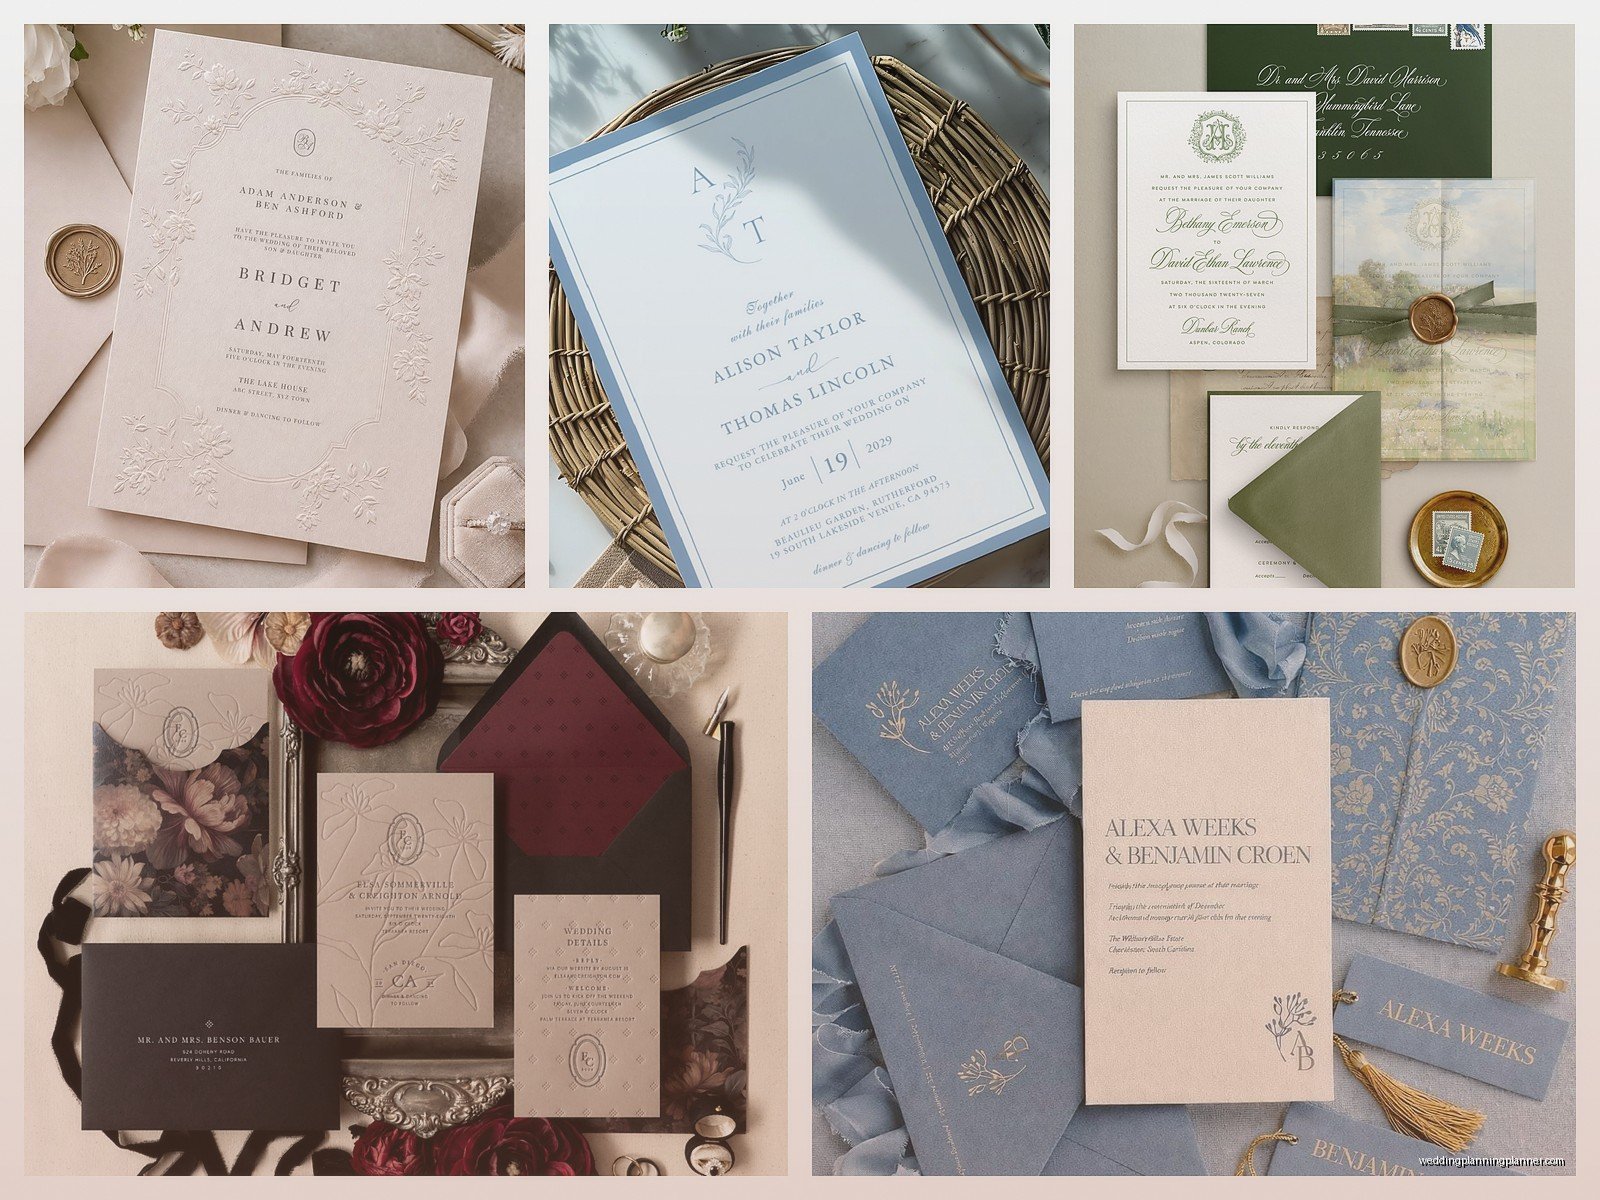
Invitation Suites: Complete Wedding Stationery Packages
May
What Actually Goes Into an Invitation Suite
Okay so invitation suites are basically the whole package of stationery you send to guests, not just the main invitation card. Most couples think it’s just one card but nope—there’s usually like five or six pieces minimum if you’re doing a proper suite. The main invitation is obviously the star, then you’ve got your RSVP card with its own envelope, a details card (or sometimes called an enclosure card), maybe a reception card if ceremony and reception are different locations, and often a weekend events card if you’re doing a whole wedding weekend thing.
I had this couple back in spring 2023 who got SO mad at me when I quoted them for a full suite because they genuinely thought “wedding invitation” meant one card. Like they’d budgeted $200 total and I’m sitting there explaining that quality suites run $800-2000 for 100 guests and they just stared at me. It was awkward but also kinda funny because the bride kept saying “but my friend only paid…” and I’m like yeah your friend probably did online templates or something super basic.
The Core Components You Actually Need
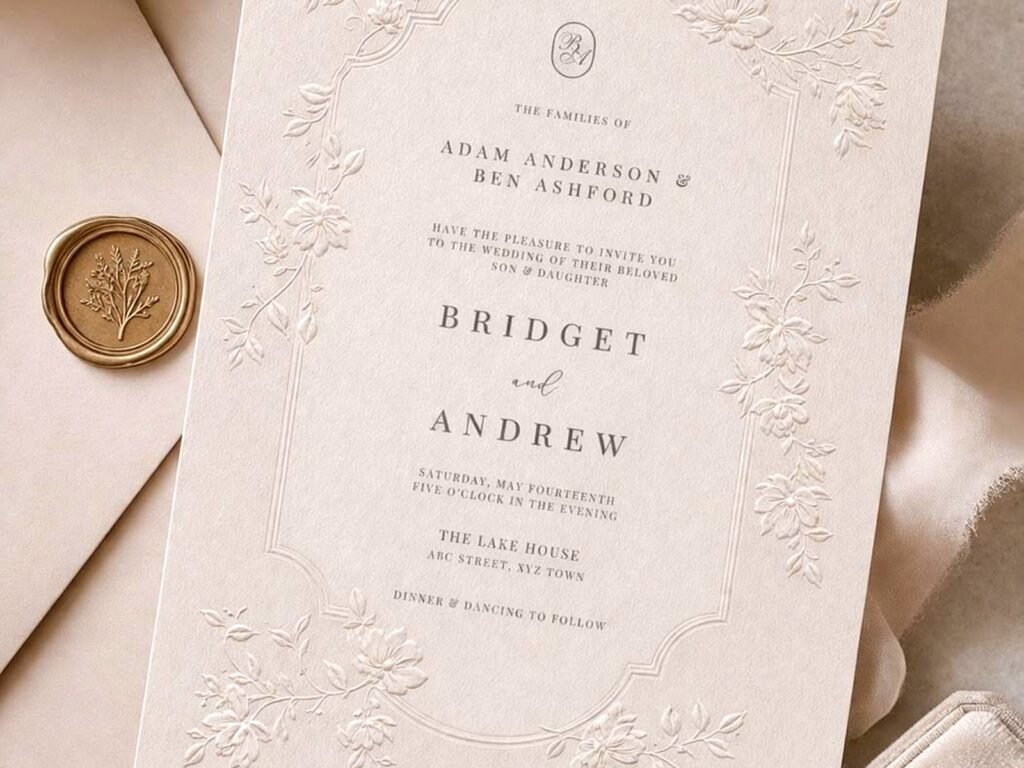
The main invitation is non-negotiable obviously. This is the 5×7 card (sometimes 5.5×8 if you wanna be fancy) that has your names, date, time, and venue. It sets the whole tone—formal, casual, rustic, modern, whatever vibe you’re going for.
RSVP cards are technically optional now since everyone does online RSVPs but honestly? I still recommend physical RSVP cards for formal weddings. Your older guests will appreciate it and it feels more… complete? The RSVP card needs its own envelope and you gotta put your return address on it and ADD THE STAMP. This drives me insane when couples forget to add stamps—your guests aren’t gonna hunt down a stamp, they’ll just not respond.
Details cards are where you put your wedding website, hotel room blocks, dress code, and any other info that doesn’t fit on the main invite. Some people skip this and just rely on their website but I think that’s a mistake because not everyone checks websites regularly.
The Extra Stuff That Makes It “Complete”
Reception cards are needed if your ceremony and reception are at different venues or different times. Don’t try to cram this info onto the main invitation—it looks cluttered and confusing.
Weekend events cards are for destination weddings or when you’ve got a welcome party Friday night and brunch on Sunday. List out all the events with times and locations. I usually suggest adding “optional” or “join us if you can” language so guests don’t feel obligated to attend everything.
Envelope liners are totally unnecessary but they make such a difference when someone opens the envelope. It’s like a little surprise of color or pattern. I’m obsessed with them even though they add cost and assembly time.
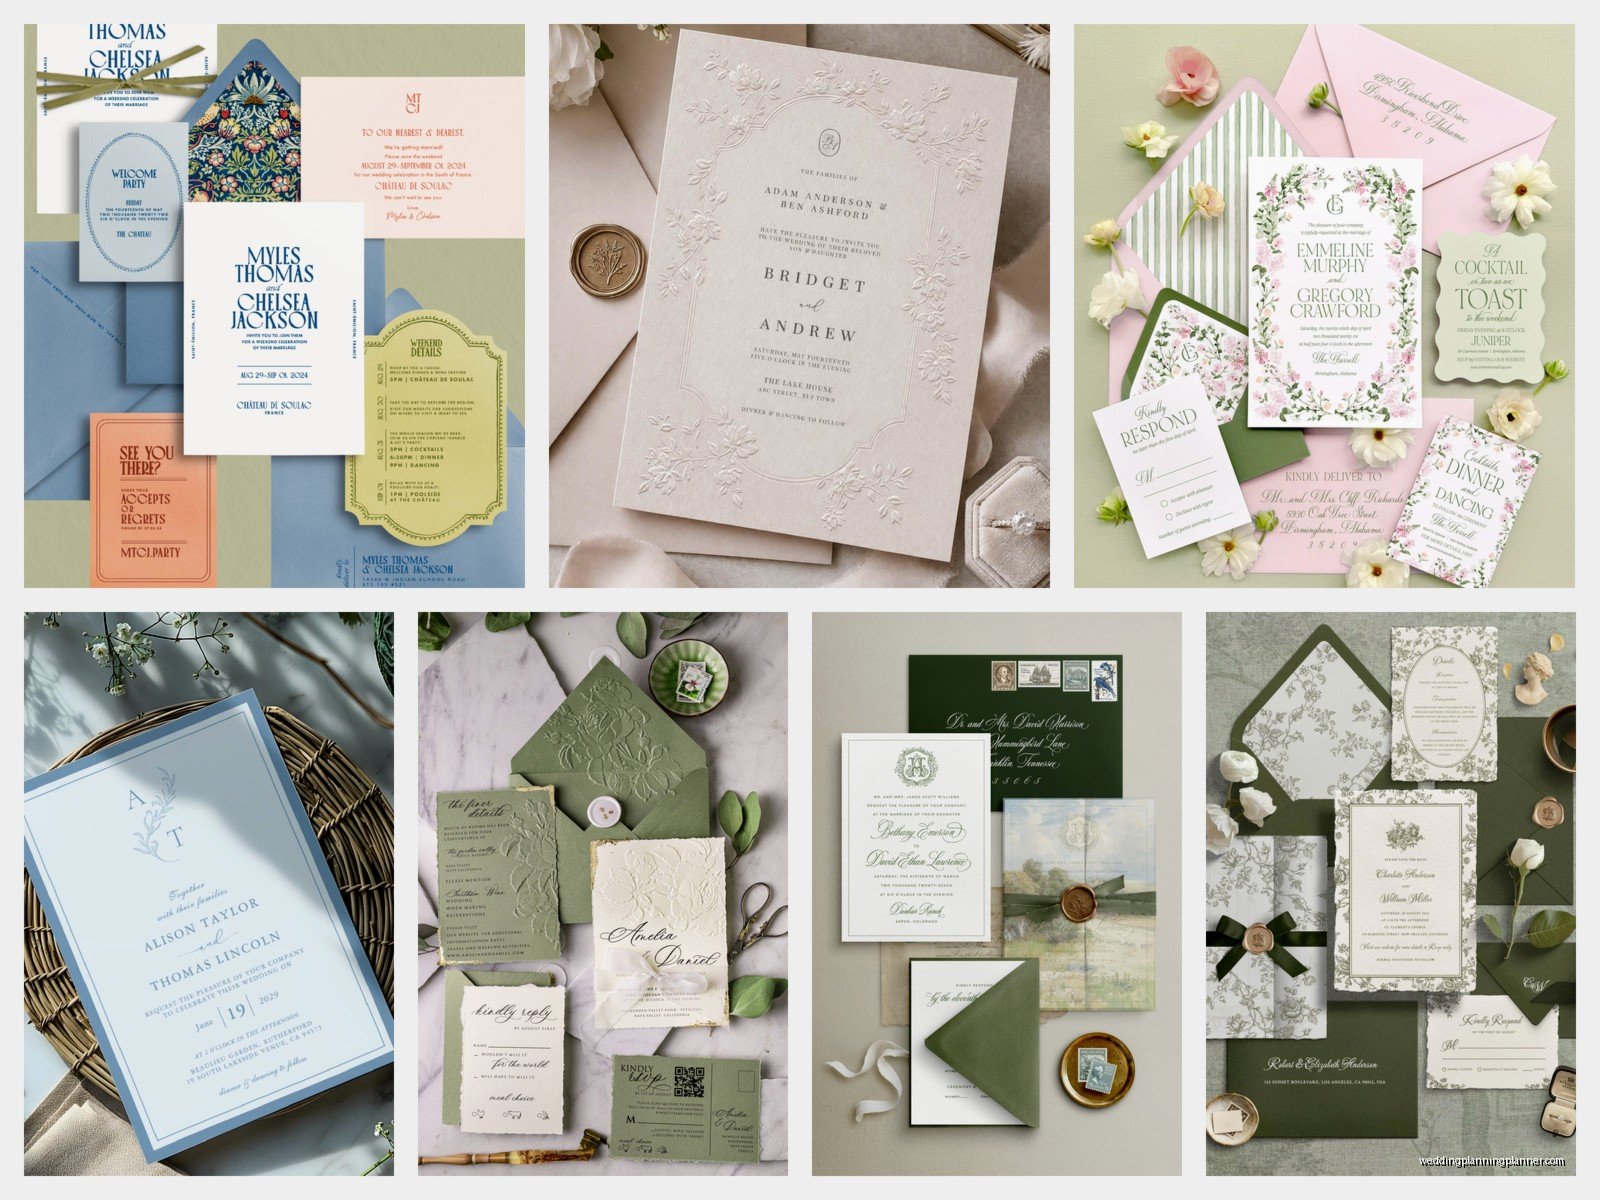
Belly bands, ribbon wraps, or vellum overlays are the finishing touches that hold everything together literally and aesthetically. Belly bands are paper bands that wrap around the suite, ribbon is self-explanatory, and vellum overlays are translucent sheets that go over the invitation with your names or monogram printed on them.
How to Actually Choose Your Suite Style
Start with your wedding vibe and work backward. If you’re doing a black-tie ballroom wedding, you need formal invitations—think engraved or letterpress printing, traditional fonts, classic colors like ivory and gold. If you’re doing a backyard garden wedding, you can go more whimsical with florals and watercolors and casual language.
The printing method matters more than people realize. Digital printing is the most affordable and looks great for modern designs with lots of color. Letterpress is that gorgeous debossed look where you can feel the impression in the paper—it’s expensive but stunning for formal weddings. Foil stamping adds metallic elements and is kinda in between price-wise. Engraving is the most traditional and most expensive, with raised ink on the front of the card.
Paper quality is something couples overlook until they feel cheap cardstock in their hands. I always tell people to splurge on paper weight—110lb cardstock minimum, but 130lb feels way more luxurious. Textured papers like cotton or linen add another level of quality.
The Timeline Nobody Tells You About
You need to order your invitations 4-6 months before your wedding date. That gives you time for design, proofing, printing, and assembly. Then you mail them 8-10 weeks before the wedding (12 weeks for destination weddings).
But here’s what actually happens—you need your venue finalized, your hotel blocks set up, and your wedding website live before you can even design the suite because all that info goes in there. So really you’re looking at having your details nailed down 5-7 months out.
Proofing takes longer than you think. You’ll go back and forth on wording, fonts, colors, layout… I had one bride who changed her mind about the font seven times. SEVEN. And each time we had to redo the whole layout because different fonts have different spacing needs and…
Package Options and What They Actually Cost
Basic packages usually include the main invitation, RSVP card with envelope, and one details card. You’re looking at $3-6 per suite for digital printing with standard cardstock. So for 100 invitations that’s $300-600 before postage.
Mid-range packages add better paper quality, maybe some foil stamping or letterpress on one element, envelope liners, and a belly band or ribbon. These run $8-15 per suite, so $800-1500 for 100.
Luxury packages are the whole deal—letterpress or engraving, thick cotton paper, custom envelope liners, wax seals, silk ribbon, vellum overlays, maybe even a custom map or illustration. You’re easily at $20-40 per suite, which is $2000-4000 for 100 invitations. I know that sounds crazy but when you hold one in your hands you understand.
DIY vs. Professional: The Real Talk
Everyone thinks they’re gonna DIY to save money and sometimes it works out great but usually… it doesn’t. I’m not trying to be discouraging but I’ve seen so many couples stress themselves out trying to assemble 150 invitation suites the week before their wedding.
If you’re crafty and you’ve only got like 50 guests, go for it. Templates from Etsy or Minted or Zola are actually pretty good now. You can customize them and print at home or at a print shop. But factor in your time—assembly takes HOURS. My cat literally knocked over an entire box of assembled invitations once while I was helping a friend with hers and we had to start over. It was a nightmare.
Semi-custom is a good middle ground where you work with a stationer who uses templates but customizes colors, fonts, and wording for you. You get professional printing and assembly without the full custom design cost.
Full custom design is when a stationer creates everything from scratch based on your vision. This is the most expensive option but you get exactly what you want and it’s truly unique to you.
Addressing and Assembly Tips
Addressing envelopes properly is an art form. Outer envelopes get formal names and full addresses. Inner envelopes (if you’re using them, which is traditional but not required) get just the names of who’s invited—this is how you indicate if kids are invited or if someone gets a plus-one.
Digital calligraphy printing looks gorgeous and is way more affordable than hiring a calligrapher for 100+ envelopes. Real calligraphy is stunning if you have the budget—expect $3-8 per envelope.
Assembly order matters: invitation on bottom, then reception card, then details card, then RSVP card and envelope on top. Some people put the RSVP card under the flap of its envelope, some tuck it inside. Either works. Add your belly band or ribbon, then slide everything into the inner envelope (if using) and then the outer envelope with the flap side down so when recipients pull it out, they see the front of the invitation first.
Postage Is More Complicated Than You Think
This is the thing that annoyed me most when I first started as a planner—nobody warns couples about postage complications. Your standard invitation suite is NOT going to mail for one forever stamp. They’re too heavy and often too thick.
Take a fully assembled suite to the post office and have them weigh it BEFORE you buy stamps. You’ll probably need $1.00-1.50 in postage per invitation. And if your envelopes are square or have a wax seal or are rigid, they’re considered non-machinable and cost extra.
Buy pretty stamps that match your theme. The post office has vintage stamps, floral stamps, love stamps—it’s worth the effort to find ones that coordinate with your design.
Save the Dates and Other Stationery
Save the dates go out 6-8 months before your wedding (8-12 months for destination). They’re simpler than invitations—just your names, wedding date, and location (city/state, not full venue details). You can do postcards to save on postage or standard cards if you want something fancier.
Thank you cards should match your invitation suite design. Order these at the same time as your invitations to save on setup fees. You’ll need one for every household that gave a gift, plus extras for vendors and anyone who helped with the wedding.
Programs, menus, place cards, and table numbers are ceremony and reception stationery. These don’t have to perfectly match your invitations but they should coordinate. I usually suggest pulling one design element from the invitations—like the same font or color palette—and using that throughout.
Working With a Stationer vs. Online Services
Online services like Minted, Zola, Paperless Post, and Artifact Uprising are convenient and affordable. You can see tons of designs, customize them yourself, and order without talking to anyone. Great for couples who know what they want and don’t need hand-holding.
Independent stationers give you personalized service and often more customization options. You’re supporting a small business and you get expert advice on paper choices, wording, etiquette, and design. It costs more but the quality and experience are usually better.
Etsy is hit or miss—there are incredibly talented designers on there but also people just reselling templates. Read reviews carefully and look at their portfolio. Make sure they specify what’s included in the price and what costs extra.
Common Mistakes to Avoid
Not ordering enough invitations. Order 10-15% more than you think you need for mistakes, last-minute additions, and keepsakes. You can’t just reorder 10 more later—there are setup fees and minimum quantities.
Forgetting about inner envelope printing or RSVP envelope printing when you’re budgeting. These are often extra charges.
Using fonts that are too small or too decorative. Your 80-year-old grandmother needs to be able to read the details without a magnifying glass.
Not proofreading carefully. Have at least three people read every word before approving the final proof. Check dates, times, addresses, website URLs, and spelling of every name.
Assembling everything and then realizing they don’t fit in the envelopes. Always order envelope samples first and do a test assembly.
Waiting until the last minute. I cannot stress this enough—stationery takes time and rushing leads to mistakes and stress and usually spending more money to expedite everything.
The Wording Part Everyone Stresses About
Traditional wording follows specific etiquette rules about who’s hosting, how to list names, and formal vs. informal language. If the bride’s parents are hosting: “Mr. and Mrs. John Smith request the honour of your presence at the marriage of their daughter Jessica Anne to Michael Robert Jones…”
Modern wording is more flexible. You can say “together with their families” if both families are contributing, or just use the couple’s names if you’re hosting yourselves. You can say “invite you to celebrate” instead of “request the honour of your presence.” It’s your wedding, you can word it however feels right.
Just be consistent with formality level—if you’re using first and middle names for the bride, do the same for the groom. If you’re spelling out numbers and times formally on the invitation, do it on all the other cards too.
The RSVP deadline should be 3-4 weeks before your wedding date. That gives you time to follow up with people who don’t respond (and there will be many) and get final counts to your caterer.