
Planning Guides, Style Guide
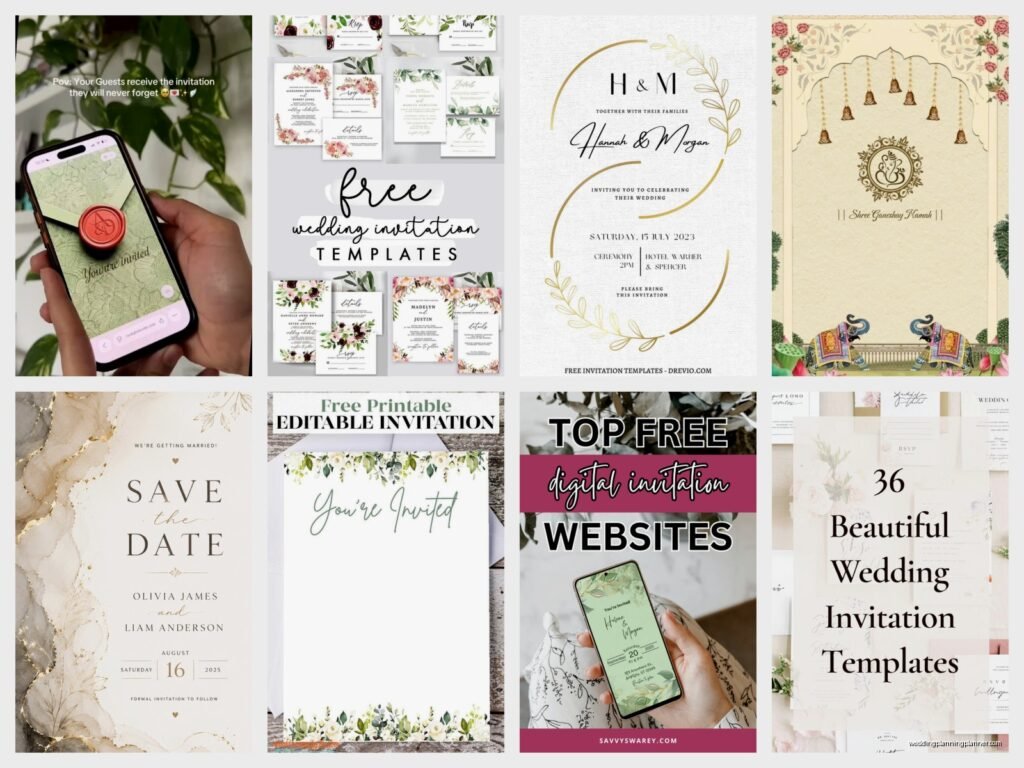
Online Wedding Invitation Templates: Digital Design Tools
Jul
Getting Started With Digital Wedding Invitation Tools
Okay so digital wedding invitation templates are basically everywhere now and honestly it’s kind of overwhelming when you first start looking. I had this bride back in spring 2023 who came to me absolutely panicked because she’d spent like four hours on Canva and hadn’t saved anything properly and lost all her work, so let me just save you from that nightmare right now.
The main platforms you’re gonna want to look at are Canva, Templett, Adobe Express (used to be Adobe Spark), and if you’re feeling fancy, actual design software like Adobe Illustrator or Affinity Designer. But let’s be real, most people don’t need the fancy stuff unless you’re really particular about typography or you want complete control over every single pixel.
Canva Is Your Starting Point (Probably)
I tell like 80% of my clients to start with Canva because it’s just so straightforward. You don’t need design experience, there are literally thousands of wedding invitation templates already made, and you can customize colors and fonts without wanting to throw your laptop across the room. The free version is actually pretty decent but if you’re doing a whole wedding suite—save the dates, invitations, RSVP cards, detail cards, menus, programs—you’ll want Canva Pro because it gives you access to way more templates and you can upload custom fonts.
Here’s what I do: create a brand kit first. Even if you think that sounds too formal or whatever, just do it. Pick your 3-5 wedding colors, choose 2-3 fonts that work together, and save them in Canva’s brand kit feature. This way when you’re making your save the date in January and then your actual invitation in March, everything matches automatically. I learned this the hard way when a client’s rehearsal dinner invites looked like they were for a completely different wedding because she forgot which shade of sage green she’d used originally.
The search function in Canva is pretty good but also kinda annoying because you’ll type “minimalist wedding invitation” and get like 47 results that are absolutely not minimalist. Just scroll past the first few pages because sometimes the best templates are buried. And you can filter by color which is actually super helpful.
Templett For The DIY Brides Who Want Control
Templett is different because you’re usually buying templates from independent designers on Etsy or their own websites, and then you edit them through Templett’s platform. The templates tend to be more unique and designed better than random Canva stuff, but you’re paying anywhere from like $8 to $40 per template usually. What I like about this is that you get that semi-custom look without paying designer prices.
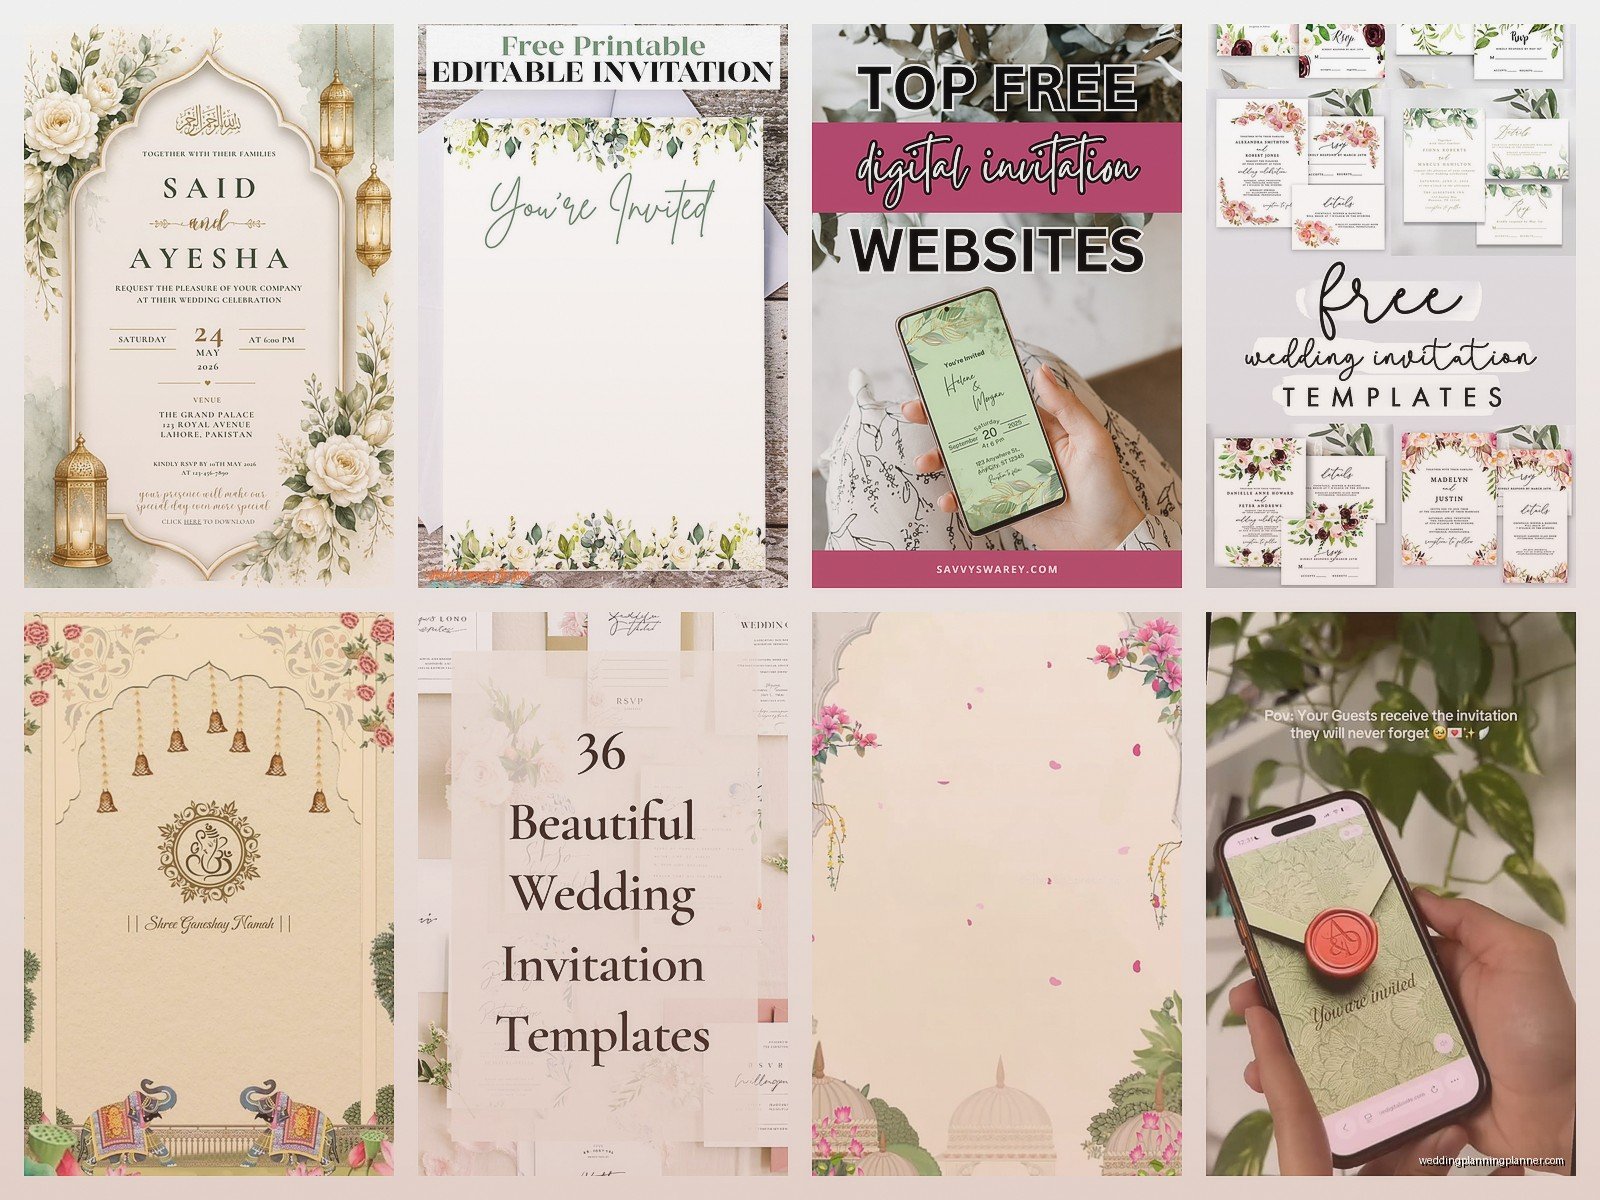
The interface is pretty intuitive—you click on text boxes to edit them, you can change colors, swap out photos if the template has image placeholders. What you CAN’T do is move elements around freely or add new design elements, which honestly annoys me sometimes because you’re so close to having exactly what you want but you can’t shift that floral element two inches to the left and it’s just… anyway.
Adobe Express Is The Middle Ground
Adobe Express is free for basic stuff but their wedding templates aren’t as extensive as Canva. However—and this is a big however—if you’re already using Adobe products for anything else or you want that Adobe quality, it’s worth looking at. The templates are usually more polished and professional-looking right out of the gate. You can also animate elements which is cool if you’re doing digital-only invitations that you’ll email or text.
I had a couple last summer do their whole invitation suite in Adobe Express because the groom was a graphic designer and wanted more precise control but didn’t want to start from scratch in Illustrator, and it turned out gorgeous. They could fine-tune spacing and alignment in ways that Canva just doesn’t let you.
Actually Designing Your Invitation (The Practical Stuff)
Alright so you’ve picked your platform, now what. First thing—and I cannot stress this enough—get your wording finalized BEFORE you start designing. I know you wanna jump in and play with pretty fonts but trust me, if you design everything and then realize you need to add a line about parking instructions or your parents want their names included differently, you’ll have to redo the whole layout.
Standard Invitation Wording Order
This is the traditional order but you can obviously mix it up:
- Host line (who’s hosting/inviting—parents, couple, both)
- Request line (request the honor of your presence, etc.)
- Couple’s names
- Date and time
- Location name and city
- Reception information if applicable
For digital invitations specifically, you can get away with being more casual. Like “Sarah and Mike are getting married!” instead of the formal “request the honor of your presence” thing. Just make sure your tone matches the rest of your wedding vibe.
Size and Format Decisions
If you’re printing these yourself or through an online printer, you need to know your dimensions from the start. Standard invitation sizes are 5×7 inches or 4×6 inches usually. For digital-only invitations that people will view on phones, I actually recommend designing them in a vertical format, like 1080×1920 pixels (Instagram story size) because that’s how everyone’s gonna look at them anyway.
One thing that drives me crazy is when people design a horizontal invitation and then get confused why it looks weird when they text it to people and everyone has to turn their phone sideways to read it. Like, think about the actual user experience here.
Color and Readability
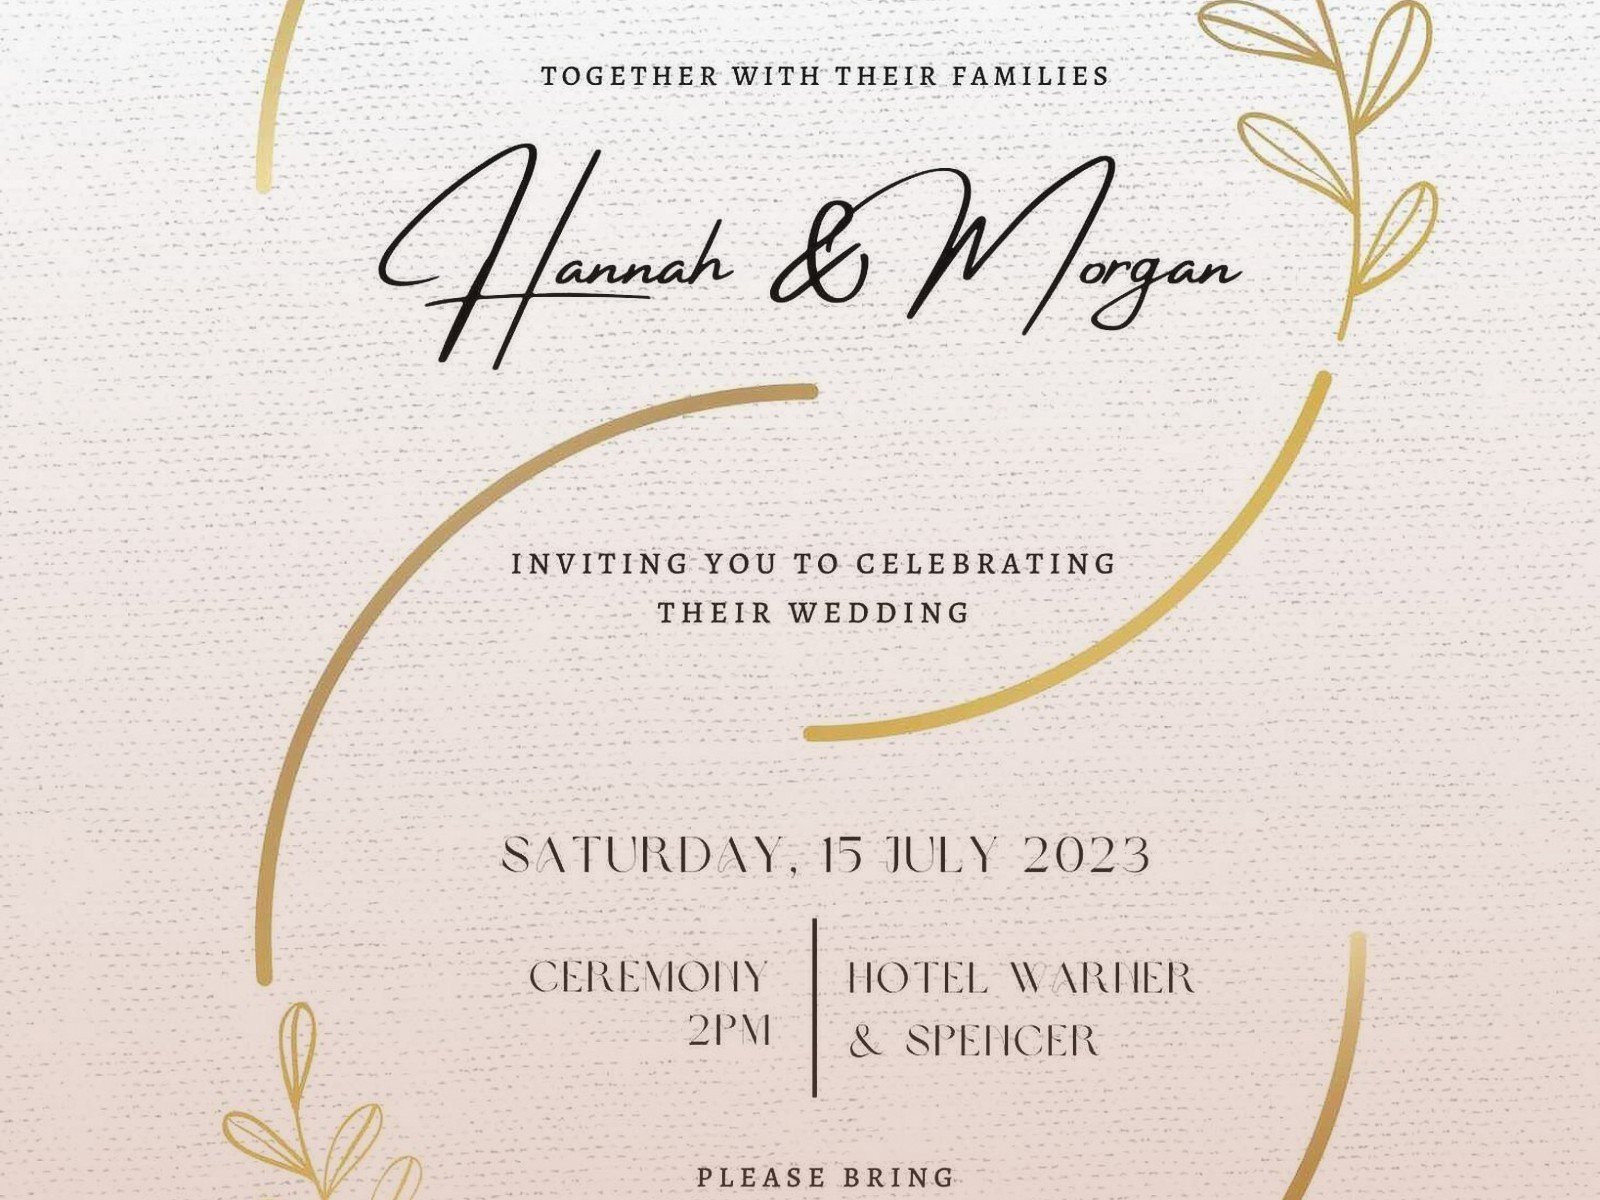
Your invitation can be the most beautiful thing ever but if people can’t read it, you’re gonna get texts asking for the details. Light text on light backgrounds is the worst offender I see constantly. That pale blush pink script on a white background might look ethereal but your aunt Linda can’t read it on her iPhone 8 with the cracked screen.
Do this test: look at your invitation on your phone from across the room. Can you still read the date and location? No? Fix the contrast. I usually tell people the most important info—date, time, location—should be in the darkest, most readable font, and you can go fancy with the decorative stuff like “together with their families” or whatever.
File Formats and Technical Stuff You Need To Know
Okay this is where it gets a little technical but stay with me. If you’re printing, you need high resolution—at least 300 DPI (dots per inch). Most templates will already be set up this way but double check. For digital-only invitations, 72 DPI is totally fine and actually better because the file size will be smaller and easier to email or text.
Save your files as PDFs for printing—it preserves all your fonts and colors exactly how you designed them. For digital sharing, JPG or PNG works great. PNG keeps a transparent background if your template has one, which can be nice for layering over different backgrounds or… actually most people don’t need to worry about this unless you’re doing something specific.
Bleed and Trim Lines
If you’re printing, you need to understand bleed. Basically when a printer cuts your invitations, they need a little extra around the edges to account for slight variations in cutting. This is usually 0.125 inches (called an eighth-inch bleed). Most print-ready templates will have this built in with guidelines showing you where the actual cut will happen. Don’t put important text or design elements right at the edge because they might get cut off.
My cat just knocked over my water bottle so excuse me while I… okay we’re back.
Customizing Templates Without Making Them Look Weird
So you found a template you like but you wanna make it yours. Here’s how to customize without ruining the design that someone probably spent hours creating:
Change colors—this is the easiest and most effective way to personalize. Most templates have a color palette already established. You can usually swap those colors out for your wedding colors and it’ll still look cohesive. Just try to keep the same number of colors (don’t add like three more).
Fonts are trickier. If a template uses two fonts—like a script font for names and a clean sans-serif for details—you can swap those out but keep the same style pairing. Don’t replace a elegant script with a chunky bold font because it’ll throw off the whole balance. And please, I’m begging you, don’t use more than three fonts total. Two is actually ideal.
Photos and graphics—if there’s a placeholder for a photo (like your engagement pic), make sure your photo has the same orientation and composition as what was there originally. A horizontal landscape photo won’t fit well in a vertical portrait-oriented placeholder without cropping weirdly.
What NOT To Do
Don’t cram in extra text that the template wasn’t designed for. If you have a lot of information, use a separate details card instead of trying to shrink the font to size 6 and fit everything on one invitation. Nobody’s gonna read that.
Don’t use every feature available just because you can. I see this mostly on Canva where people discover elements and graphics and suddenly there are flowers AND geometric shapes AND a photo AND three different fonts happening. Pick a vibe and stick with it.
And listen, don’t stress about making it “perfect” because here’s a secret from someone who’s been doing this for years—your guests will look at your invitation for approximately 30 seconds, note the date and location, and then stick it on their fridge or lose it. They’re not analyzing your font choices or whether the spacing is exactly even.
Digital Delivery Methods
Once your digital invitation is designed, you gotta actually send it to people. Email is still the most common way but honestly for younger crowds, a lot of couples are just texting them or creating a private event on Facebook and posting it there.
If you’re emailing, keep the file size under 2MB if possible so it doesn’t bounce back from people’s inboxes. You can usually compress JPGs without losing noticeable quality. Include the invitation as an attachment AND in the body of the email because some people’s email settings block attachments.
There are also specific wedding invitation websites like Greenvelope, Paperless Post, and Joy that let you send designed invitations, track RSVPs, and manage your guest list all in one place. These cost money usually but they’re pretty slick and handle all the technical stuff for you. The free versions are kinda limited though.
RSVP Tracking
This is where digital invitations actually shine compared to paper. You can include a direct link to your wedding website or a Google Form for RSVPs. Make the link SHORT and easy to type if people are looking at it on their phone. I use Bitly to create custom short links like “bitly.com/sarahandmike2024” instead of some long complicated URL.
Google Forms is honestly underrated for this—it’s free, you can customize the questions, and responses go right into a spreadsheet. Just make sure you ask for: full names, number of guests attending, meal choices if applicable, and any dietary restrictions. Don’t make the form too long or people won’t finish it.
Printing Your Digital Design
Even if you designed it digitally, you might want some printed copies for older relatives or just to have physical invitations because… I dunno, it feels more real? When you’re ready to print, you’ve got options.
Home printing is the cheapest but honestly only works if you have a decent printer and you’re doing a small quantity. Regular printer paper looks cheap (because it is), so at minimum get some cardstock from an office supply store. 80lb or 100lb cardstock is thick enough to feel substantial. Print a test copy first to check colors because monitors and printers show colors differently.
Online printing services like Vistaprint, Minted, Zazzle, or Costco Photo Center are way better for quality and not much more expensive especially if you catch a sale. Upload your PDF, choose your paper type (I recommend at least 120lb cardstock or linen finish), and they’ll ship them to you in like a week usually.
Local print shops can be good too if you want to see paper samples in person or you need them super fast. They’re usually more expensive than online but the quality is often better and you can ask questions if something’s not working right with your file.
Envelope Addressing
This is where the digital design process kinda ends and you’re back to manual labor unless you wanna pay for envelope printing. You can design envelope addressing digitally and print directly on envelopes (your printer needs to be able to handle thicker paper), or you can print address labels, or just hand-write them if you’ve got decent handwriting and time.
There are also envelope addressing templates in Canva and other platforms if you wanna go that route. Just make sure you know your envelope size before designing.
Timeline and Practical Planning
Start looking at templates like 4-6 months before you need to send invitations out. Invitations typically go out 6-8 weeks before the wedding, so work backwards from there. If you’re printing, add at least 2 weeks for production and shipping, plus time for addressing and mailing.
For digital-only invitations, you have more flexibility but I still recommend sending them 6-8 weeks out because people need time to make travel arrangements and request time off work. Don’t send them too early though—I had a couple send digital invitations four months in advance and then people forgot about the wedding entirely and didn’t RSVP or showed up on the wrong weekend which was… yeah that was a mess.
Give yourself permission to spend a few sessions working on this rather than trying to knock it out in one sitting. Design fatigue is real and you’ll start making weird decisions if you’ve been staring at font choices for three hours straight. I usually work on designs in the evening after dinner when my brain is still functional but I’m winding down anyway, but that’s just me.
Budget-wise, you can absolutely do this for free if you use Canva’s free version and send digitally. If you want premium templates and printing, budget maybe $100-300 depending on your guest count and paper choices. That’s still way cheaper than custom designed and printed invitations which start around $500 and go up from there.
