
Planning Guides, Style Guide
Wedding Seating Chart Template Excel: Guest Arrangement
Jul
Getting Started with Your Excel Seating Chart
So you’re doing this in Excel which honestly is kinda brilliant because everyone has it and you don’t need to learn some fancy software. I had this bride in spring 2023 who insisted on using this expensive seating chart app and it crashed two days before the wedding and we had to rebuild everything in Excel anyway, so like… just start here.
First thing you’re gonna do is open a new workbook and create three separate sheets. Label them “Guest List,” “Table Assignment,” and “Visual Layout.” The guest list sheet is where all your data lives. Set up columns for: Guest Name, Plus One (yes/no), Dietary Restrictions, RSVP Status, Relationship to Bride/Groom, Table Number, and Notes.
I always put the relationship column in there because you need to know who’s family, who’s college friends, who’s work people. Trust me on this. You can’t just throw random humans together and hope for the best.
Building Your Master Guest List
Start entering everyone. Like literally everyone who got an invitation. Even if they haven’t RSVP’d yet, get them in there. Use one row per person, not per couple – this is important because sometimes couples have different dietary needs or you need to track them separately for whatever reason.
The Plus One column should just be a simple dropdown. You can create this by selecting the cells, going to Data > Data Validation > List, and typing “Yes,No,Maybe” as your options. The Maybe is for those annoying situations where someone asked if they can bring someone and you’re still deciding.
For dietary restrictions, just type them in. I tried using codes once (V for vegetarian, GF for gluten-free) and it got confusing real fast. Just write “vegetarian” or “gluten-free dairy-free” or whatever. Your caterer will thank you.
The Table Assignment Sheet
This is where it gets real. Create columns for Table Number, Guest Name, Seat Number (if you’re doing assigned seats within tables), and VIP Status. The VIP thing sounds weird but hear me out – you need to flag parents, grandparents, wedding party, anyone who needs special attention or positioning.
Here’s what I do: I use Excel’s filter function constantly. Like, constantly. Click on your header row and turn on filters (Data > Filter). Now you can sort by relationship, by RSVP status, by dietary needs, whatever you need in that moment.
Start with your head table or sweetheart table. Get the wedding party situated. Then tackle immediate family. Parents, siblings, grandparents. These are your VIPs and they need good tables with good sightlines to the couple.
The Strategy Part That Everyone Messes Up
Okay so here’s where people get it wrong – they try to fill tables completely before moving to the next one. Nah. What you wanna do is identify your groups first. College friends go together. Work colleagues from the same office. Bride’s book club. Groom’s soccer team. Whatever.
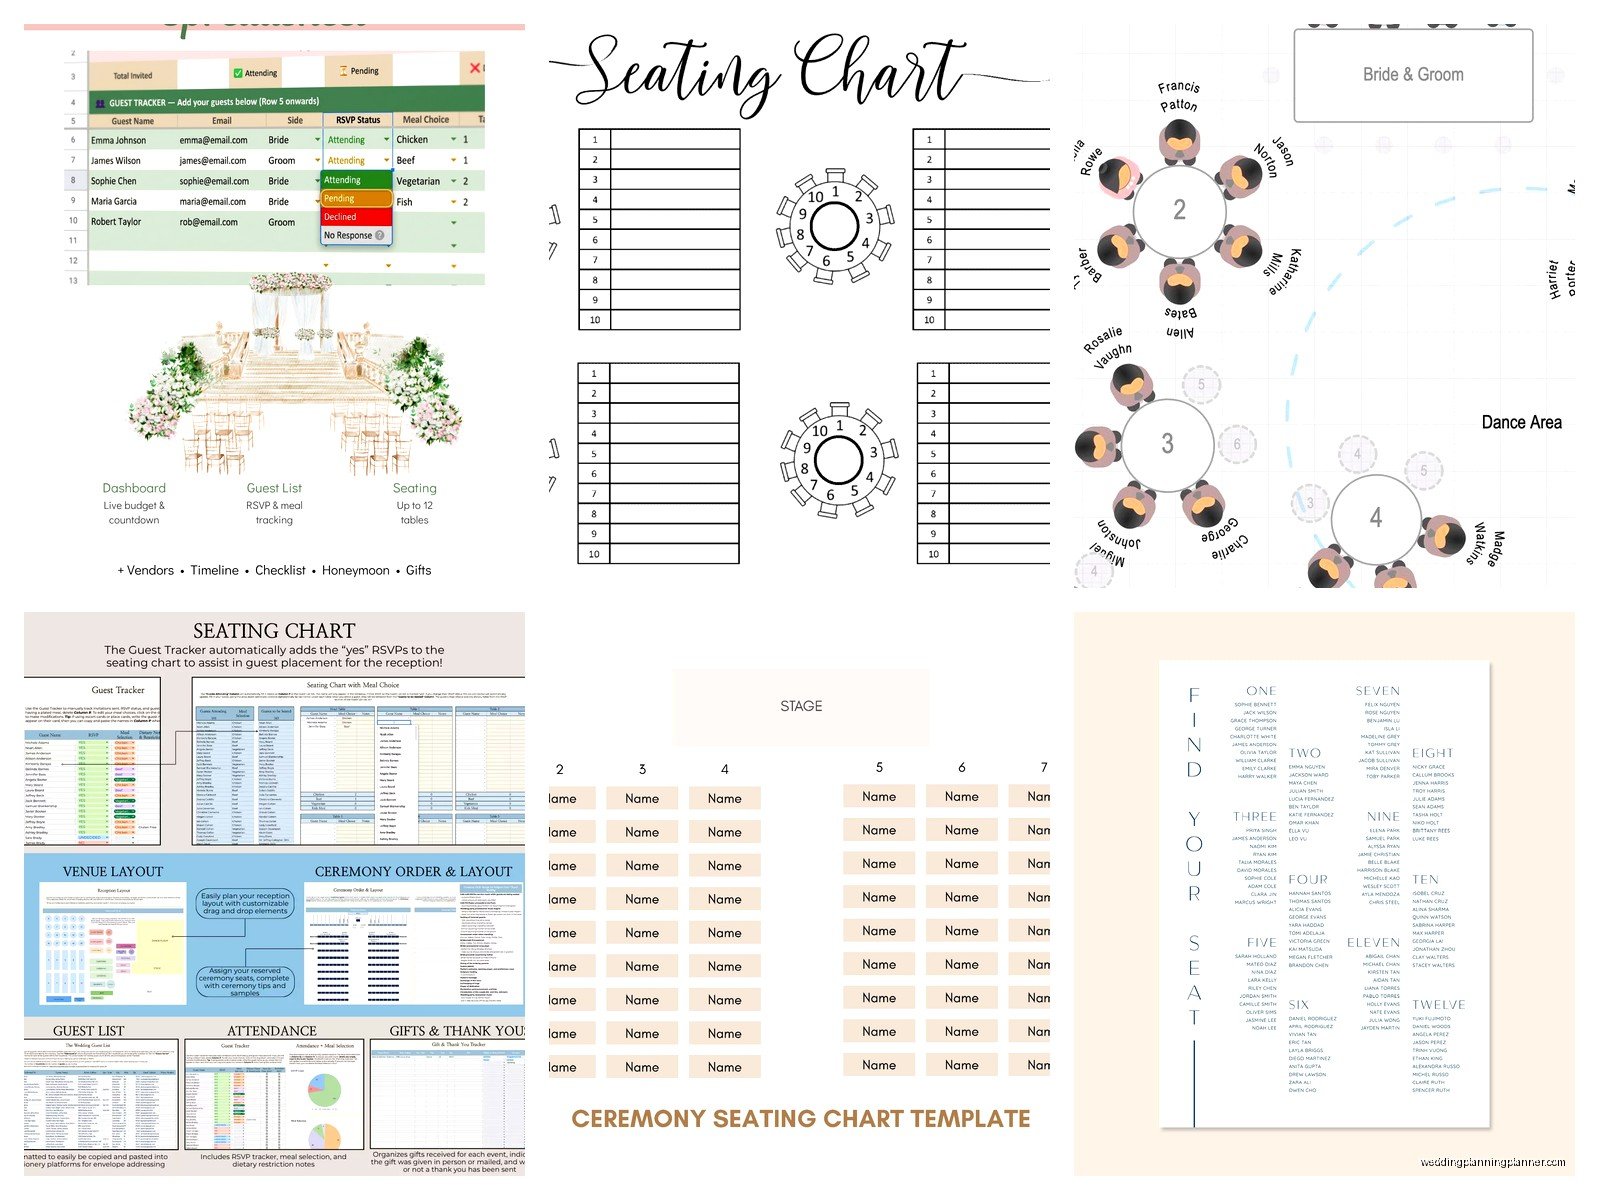
Make a little list on the side of your sheet or on scratch paper of these groups and how many people are in each. Most reception tables seat 8-10 people. If you have a group of 7, you need to find 1-3 compatible people to round it out.
I had this wedding last summer where the couple had exactly 12 people from their improv comedy group and they insisted everyone sit together. We had to use two 6-person tables pushed together and it actually worked out great but like… sometimes you gotta get creative with the numbers.
Use conditional formatting to color-code your tables. Select your Table Number column, go to Home > Conditional Formatting > Color Scales or create custom rules. I usually do different colors for different table numbers so I can quickly see at a glance how things are distributed. My cat walked across my keyboard once and messed up all my color coding and I almost cried, but anyway.
The Visual Layout Sheet
This is the fun part. You’re gonna create a visual representation of your reception space. Now, Excel isn’t a design program but you can make it work.
First, make all your cells square. Select all cells (click the triangle in the top left corner), right-click on a column letter, set column width to 2. Then right-click on a row number and set row height to 15. Now you have a grid that’s roughly square.
Use the shapes tool to create your tables. Insert > Shapes > choose circles for round tables or rectangles for rectangular tables. You can also add a rectangle for the head table, squares for the DJ booth, cake table, whatever.
Here’s a trick: put text boxes inside or near your table shapes with the table number. Then you can add tiny text with guest names if you want, but honestly that gets cluttered fast. I usually just do table numbers on the visual and reference back to the Table Assignment sheet for names.
Making Changes Without Losing Your Mind
Because oh boy, you’re gonna make changes. So many changes. Someone breaks up. Someone gets pregnant and can’t sit far from the bathroom. Someone reveals they’re in a fight with someone else and absolutely cannot be near them.
This is why the three-sheet system works. You update the Table Assignment sheet and your Visual Layout stays the same (unless you’re moving entire tables around). Your Guest List sheet stays as your master reference.
Use Excel’s Find and Replace function (Ctrl+F) to quickly locate people. If someone calls and says “where’s Jennifer sitting?” you just search for Jennifer instead of scrolling through 150 names.
Also, freeze your header row. View > Freeze Panes > Freeze Top Row. This way when you scroll down through your guest list, you can still see what each column is for. Seems obvious but you’d be surprised how many people don’t do this and then get confused about which column is which.
The Actual Arrangement Strategy
Alright so strategy-wise, here’s what I’ve learned from doing this approximately eight million times. Start with people who absolutely need to sit together – couples, obviously, but also elderly guests who came with a caretaker, parents with small children who need to be near exits, stuff like that.
Then identify people who absolutely cannot sit together. Ex-spouses. People with known drama. That cousin who gets drunk and inappropriate. Make a note in your Notes column about conflicts so you don’t forget.
Single guests are your wild cards. You can use them to fill gaps, but please don’t just throw all the single people at one “singles table” like it’s 1987. That’s awkward and kinda mean. Mix them in with couples who are social and welcoming.
Age matters but not as much as you think. I’ve seen 70-year-olds have a blast with 30-year-olds when they share interests or family connections. But like, don’t put the groom’s frat brothers who are gonna do shots all night next to Great Aunt Mildred who goes to bed at 8pm.
The Numbers Game
If you’re doing a wedding with 100+ guests, you need a system for numbering tables. I always start with Table 1 as the head table or the table closest to it. Then number outward in a logical pattern – either clockwise around the room or in rows.
Some couples skip Table 13 because superstition. That’s fine. Just skip it in your numbering. What drives me crazy though is when couples want to use table names instead of numbers – like “Paris,” “Rome,” “Tokyo” – because it makes everything more complicated. You can do it, but you’ll need an extra column in your Excel sheet to track both the actual table number (for your reference) and the display name.
In your Table Assignment sheet, add a column for “Distance from Head Table” or “Table Priority” and rank them 1-5, with 1 being closest/most important. This helps you make sure your VIPs aren’t stuck in the back corner by the kitchen doors.
Using Formulas to Make Your Life Easier
Excel has formulas and you should use them. In your Guest List sheet, add a column called “Seated?” and use this formula: =IF(ISBLANK(G2),”No”,”Yes”) – assuming column G is your Table Number column and you’re starting in row 2.
This instantly shows you who doesn’t have a table assignment yet. You can then filter to show only “No” entries and see who still needs to be placed.
Add a COUNT formula at the bottom of your table assignment sheet to count how many people are at each table. Like: =COUNTIF(A:A,”Table 1″) if column A has your table numbers. This prevents you from accidentally putting 12 people at an 8-person table, which I’ve definitely never done… okay I did it once and we had to squeeze in extra chairs and it was a whole thing.
You can also use SUMIF formulas to count dietary restrictions per table. This is helpful for the catering staff. Something like: =COUNTIF(C:C,”vegetarian”) tells you total vegetarians across all tables.
The Final Walkthrough
Once you think you’re done – you’re not done. Go through each table individually and imagine the conversation flow. Do these people have anything in common? Is there at least one extroverted person who can keep conversation going? Are you balancing personalities?
Check that you haven’t accidentally split up couples (sounds obvious but it happens when you’re moving people around). Use your filter to sort by last name and quickly scan for couples who should be together.
Print out your Visual Layout sheet and actually look at it. Sometimes things that seem fine on screen look weird on paper. Are all the older guests stuck on one side? Are work people too close to family? Does the flow make sense?
Sharing With Vendors and Venue
Your venue needs a copy of your layout. Export your Visual Layout sheet as a PDF – File > Export > Create PDF. They need to know where tables go in the space.
Your caterer needs the Table Assignment sheet with dietary restrictions. I usually create a cleaned-up version that has just: Table Number, Guest Name, Dietary Restrictions, and Meal Choice if you’re doing plated service. Save it as a separate sheet and export as PDF or send the Excel file directly.
The couple should have a copy of everything. Email them the whole workbook about a week before the wedding so they can review and approve. I had this couple in 2021 who didn’t review it and then the bride was upset that her divorced parents were at adjacent tables… which she hadn’t told me was a problem. So yeah, get approval in writing.
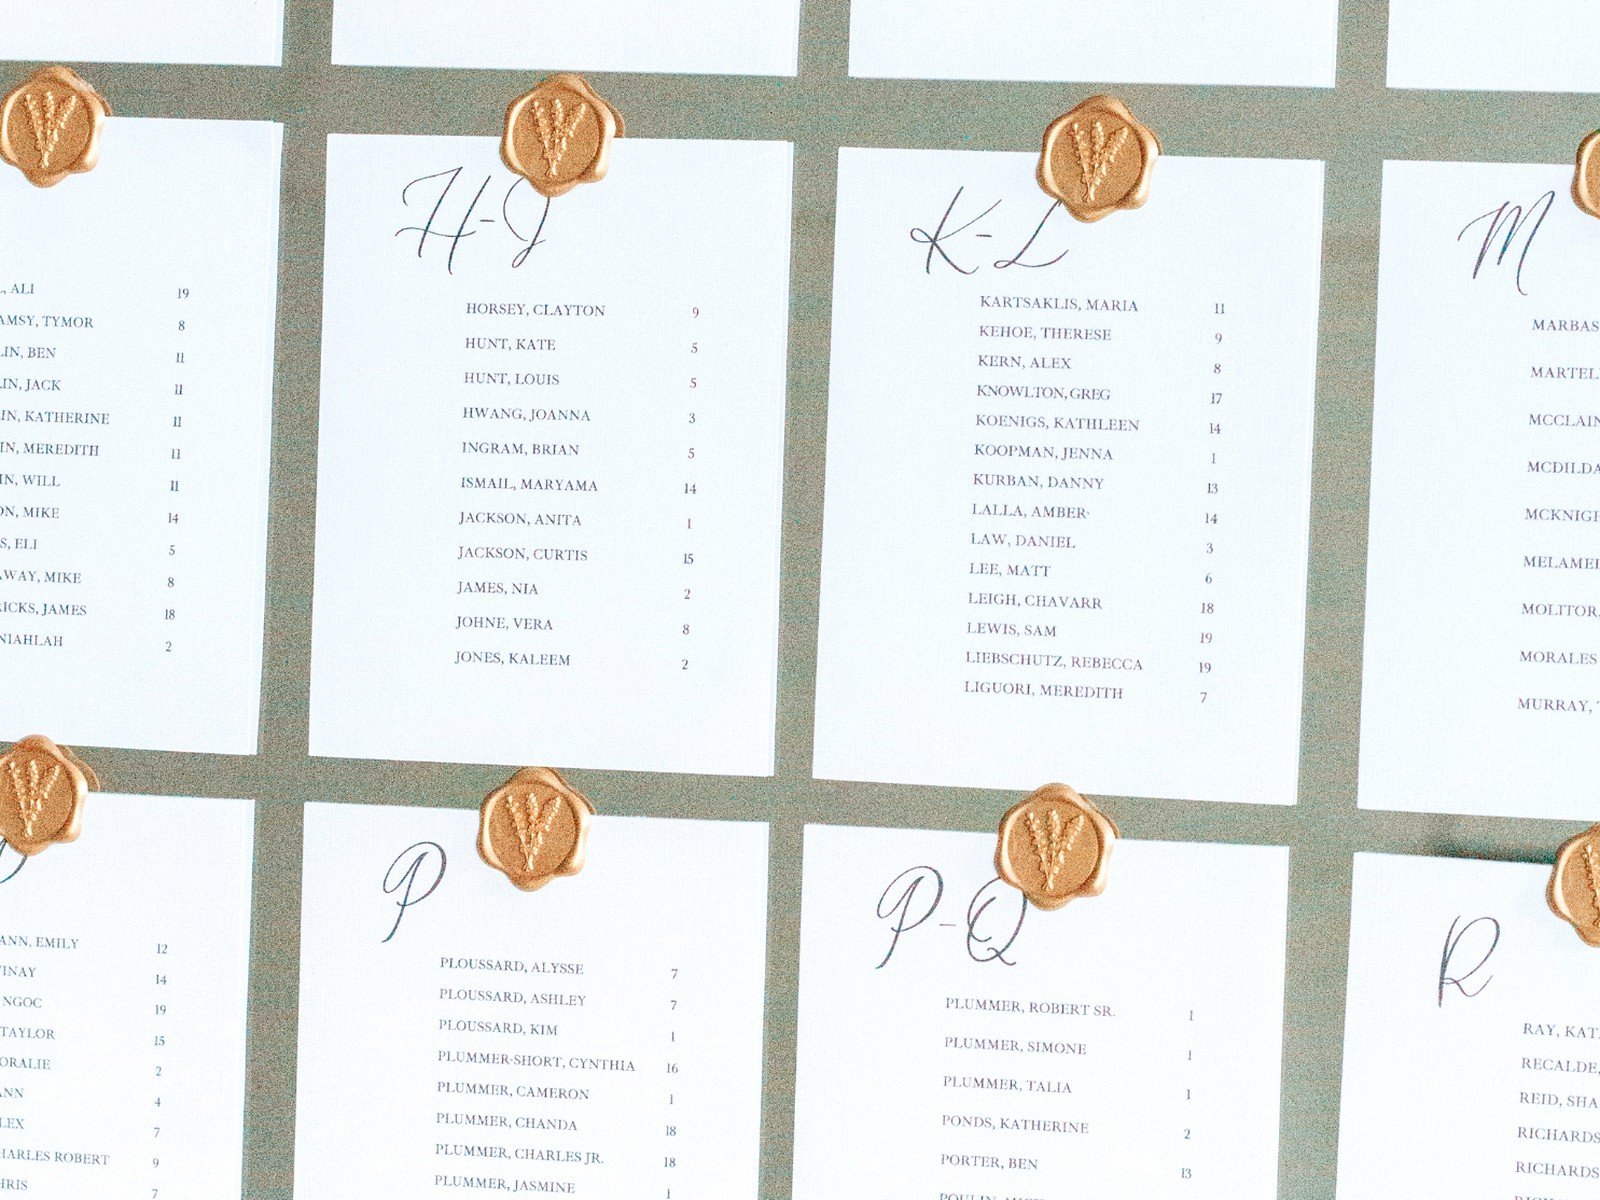
For the actual reception, you need escort cards or a seating chart display. I usually create this from the Table Assignment sheet by copying just Guest Name and Table Number to a new sheet, sorting alphabetically by last name, and formatting it nicely. You can print this as a large sign or make individual cards.
When Everything Goes Wrong
Because it will. Someone doesn’t show up. Someone brings an unexpected plus one. The venue suddenly tells you a table can only fit 8 instead of 10. Keep your Excel file on your laptop at the wedding (or have it on your phone if you have Excel mobile). You can make quick adjustments.
I always print out two copies of the Table Assignment sheet too – one for me and one for the venue coordinator. Low-tech backup for when technology fails, which it absolutely will at some point, probably when you most need it to work.
The thing that annoyed me most was this one time a groom’s mother completely redid the seating chart the morning of the wedding without telling anyone because she decided some people needed to be moved. We showed up and nothing matched our plan and it was chaos. So like, maybe password-protect your Excel file if you have… opinionated family members. File > Info > Protect Workbook > Encrypt with Password.
Also keep a version history. Before making major changes, do Save As and add the date to the filename. “SeatingChart_May15.xlsx” then “SeatingChart_May22.xlsx” and so on. This way if you accidentally delete something or make a change you regret, you can go back to an earlier version.
One more formula that’s super helpful: data validation for table numbers. Select your Table Number column in the Guest List sheet, go to Data > Data Validation > List, and manually type in all your table numbers separated by commas: 1,2,3,4,5,6,7,8,9,10. Now when you’re entering data, you can just pick from a dropdown instead of typing, which prevents typos like accidentally entering “Tabel 7” instead of “Table 7” which would mess up your count formulas.
For rehearsal dinner seating or any other events, just duplicate your sheets and modify them. Right-click on a sheet tab > Move or Copy > Create a copy. This gives you the same structure without starting from scratch.
The absolute last thing you’re gonna do before calling it final is use conditional formatting to highlight any blank cells in critical columns. Select your Table Number column, Conditional Formatting > Highlight Cells Rules > Blanks, choose a bright color like red. This makes it instantly obvious if anyone’s missing a table assignment. Same thing for dietary restrictions if you’re collecting those – though some people won’t have any, so maybe use a different color for that one or just make sure you’ve noted “none” for people without restrictions so you know you checked rather than just forgot to fill it in.
