
Planning Guides, Style Guide
Printable Marriage Certificate: Complete Guide
Aug
So You Need a Printable Marriage Certificate
Okay first things first – printable marriage certificates come in two totally different categories and you gotta know which one you actually need. There’s the official legal document that proves you’re married in the eyes of the government, and then there’s the decorative keepsake certificate that looks pretty in a frame. I can’t tell you how many couples I’ve worked with who confused these two, and honestly it drove me a bit nuts in spring 2023 when I had three different brides ask me where to download their “legal” certificate online like it’s just sitting there on Etsy.
The Legal Stuff Nobody Wants to Hear But You Need To
Your actual legal marriage certificate comes from your county clerk’s office or whatever government office handles vital records where you got married. You can’t just print this yourself. Like, you literally cannot. The officiant files the marriage license after your ceremony, then the government processes it, and THEN you can request certified copies. These have official seals, special paper, signatures – the whole deal.
Most states now let you order certified copies online through the county website, which is honestly so much easier than it used to be. I remember when you had to physically go to the office or mail in forms like some kind of medieval situation. You’ll pay anywhere from $10 to $40 per copy depending on your location. Get at least three copies because you’ll need them for:
- Changing your name on your driver’s license
- Social Security office
- Passport updates
- Bank accounts
- Insurance policies
- That one random thing you’ll forget about until you need it
Some people try to use photocopies and nah, that doesn’t work for official stuff. They want the raised seal, the certified signature, all of it.
The Pretty Decorative Ones Everyone Actually Wants
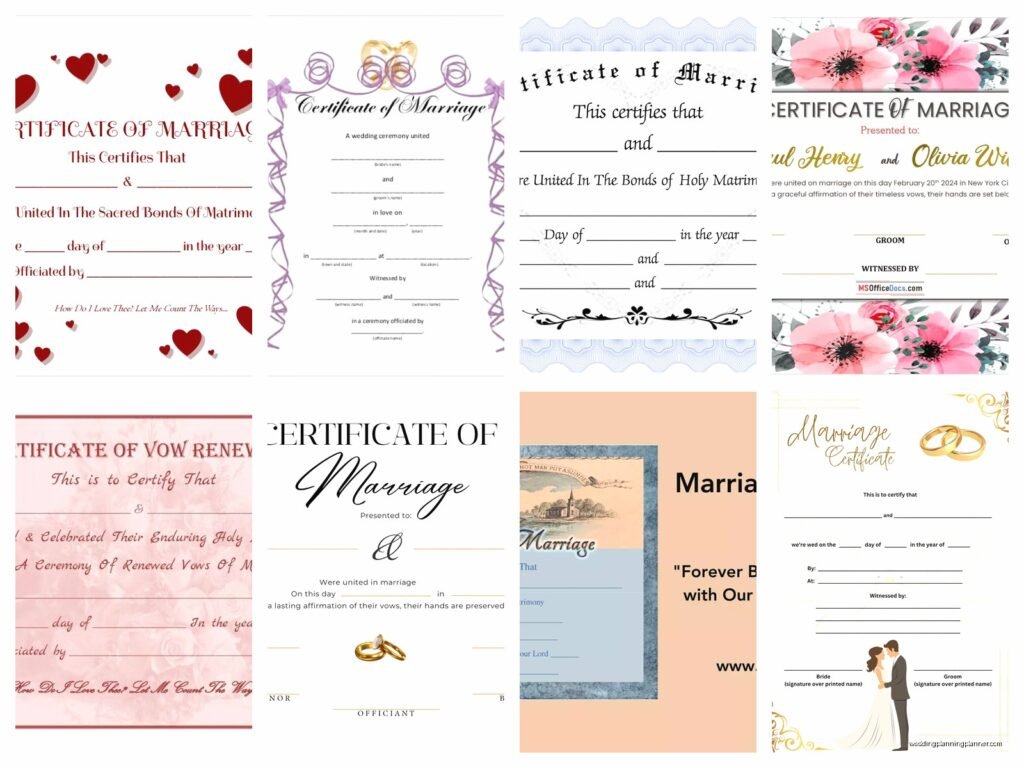
Now THIS is where printable certificates get fun and also kinda complicated. These are the gorgeous ones you see on Pinterest with fancy calligraphy and floral designs that you frame and hang in your house. They have zero legal standing but they’re beautiful and meaningful and honestly way prettier than the government-issued ones which usually look like they were designed in 1987.
You’ve got a few options here:
DIY Templates You Can Customize
Places like Etsy, Creative Market, and even Canva have thousands of templates. You download them, fill in your names and wedding date, and print. I usually tell my clients to look for templates that are:
- High resolution (at least 300 DPI for printing)
- The right size for standard frames (8×10 or 11×14 are easiest)
- Editable in software you actually have access to
During that stressful situation in summer 2021 when everything was delayed because of supply chain issues, I had a bride who bought a template that required some obscure software she didn’t have and she only realized it two days before the wedding. We ended up using Canva at like 10pm to recreate something similar because… yeah that was not the time to learn new software.
What to Include on Your Keepsake Certificate
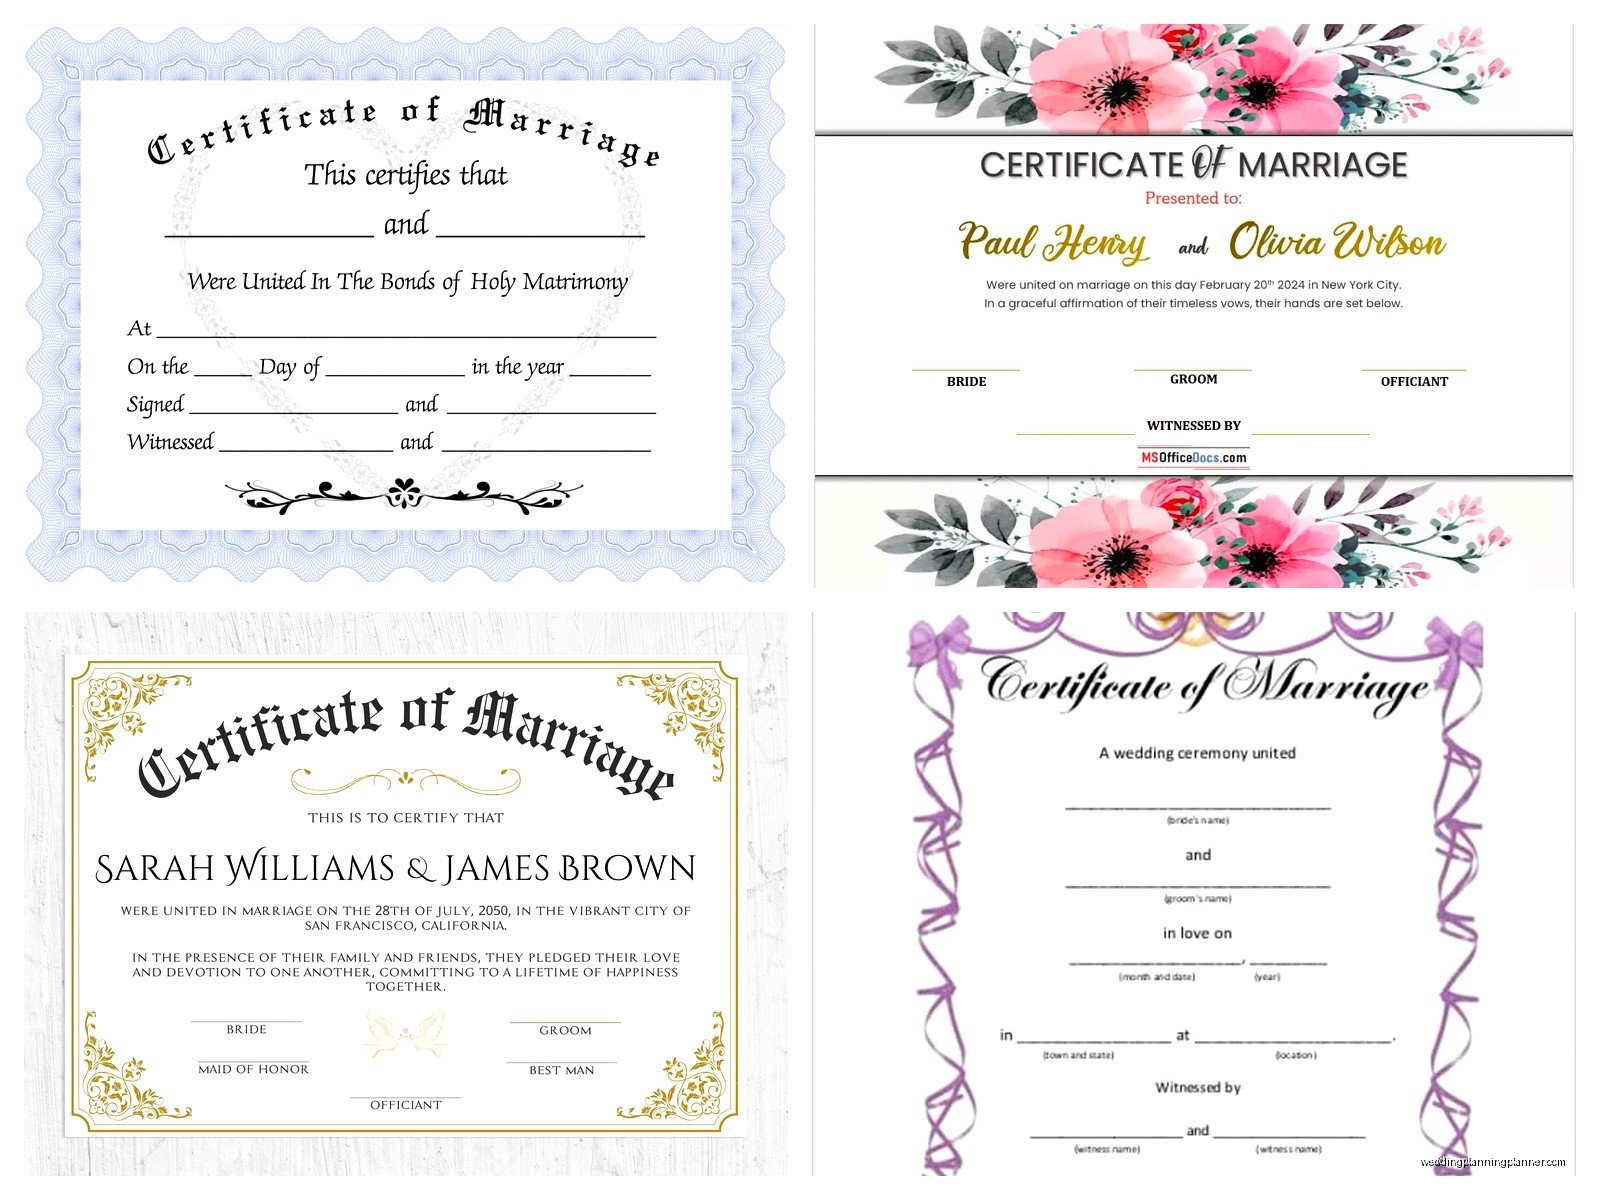
Most decorative certificates include similar information but you can customize however you want since it’s not legal anyway. Standard stuff is:
- Full names (decide if you’re using maiden names, new names, middle names, whatever)
- Wedding date
- Location (city and state, or venue name if you want)
- Officiant name and signature line
- Witness signature lines (usually two)
- Some kind of declaration like “on this day were joined in marriage” or whatever wording feels right to you
I’ve seen people add Bible verses, song lyrics, quotes from their vows… my cat knocked over my coffee while I was working on one last week and honestly the couple wanted to include their dog’s paw print so I guess anything goes.
Printing Tips That Actually Matter
Okay so you’ve got your template, you’ve filled it in, now what. The printing part is where people mess up and then get disappointed with how it looks. Here’s what I learned after printing probably hundreds of these things:
Paper quality is everything. Do not print this on regular printer paper. Just don’t. Go to an office supply store or order online and get:
- Cardstock (at least 80lb weight, 110lb is even better)
- Specialty certificate paper with fancy borders
- Parchment or linen textured paper
- Metallic or pearl finish paper if you’re feeling fancy
I usually send people to their local print shop rather than doing it at home because home printers are kinda unpredictable with heavy paper and color accuracy. FedEx Office, Staples, or local print shops can handle it. Expect to pay $5-15 for a nice print depending on size and paper.
Color Calibration and Why Your Print Might Look Weird
This annoyed me SO MUCH when I first started – what you see on your screen is not always what prints. Monitors display in RGB color mode but printers use CMYK. Blues especially can look totally different. If color accuracy matters for your design (like you’re trying to match your wedding colors), ask the print shop for a test print first or bring a swatch to match against.
Timing and When to Actually Print This Thing
Some couples print the certificate before the wedding and have everyone sign it during the ceremony or reception. Others wait until after and print it once they know everything’s finalized. Both work fine but here’s what to consider:
If you print before, you can display it at the wedding and have it as part of your ceremony, but if someone’s name gets spelled wrong or the date changes (hey, it happens), you’re reprinting. If you wait until after, you have accurate info but then you’re dealing with getting signatures later which people sometimes forget about or it feels less special.
I usually suggest printing before if you’re gonna have a signing ceremony as part of your wedding because it’s a nice moment. Just triple-check every detail before you print because typos on something you’re framing forever is… not great.
The Signature Situation
So you want actual signatures on your keepsake certificate? You’ve got options and they all have pros and cons that I wish someone had explained to me earlier.
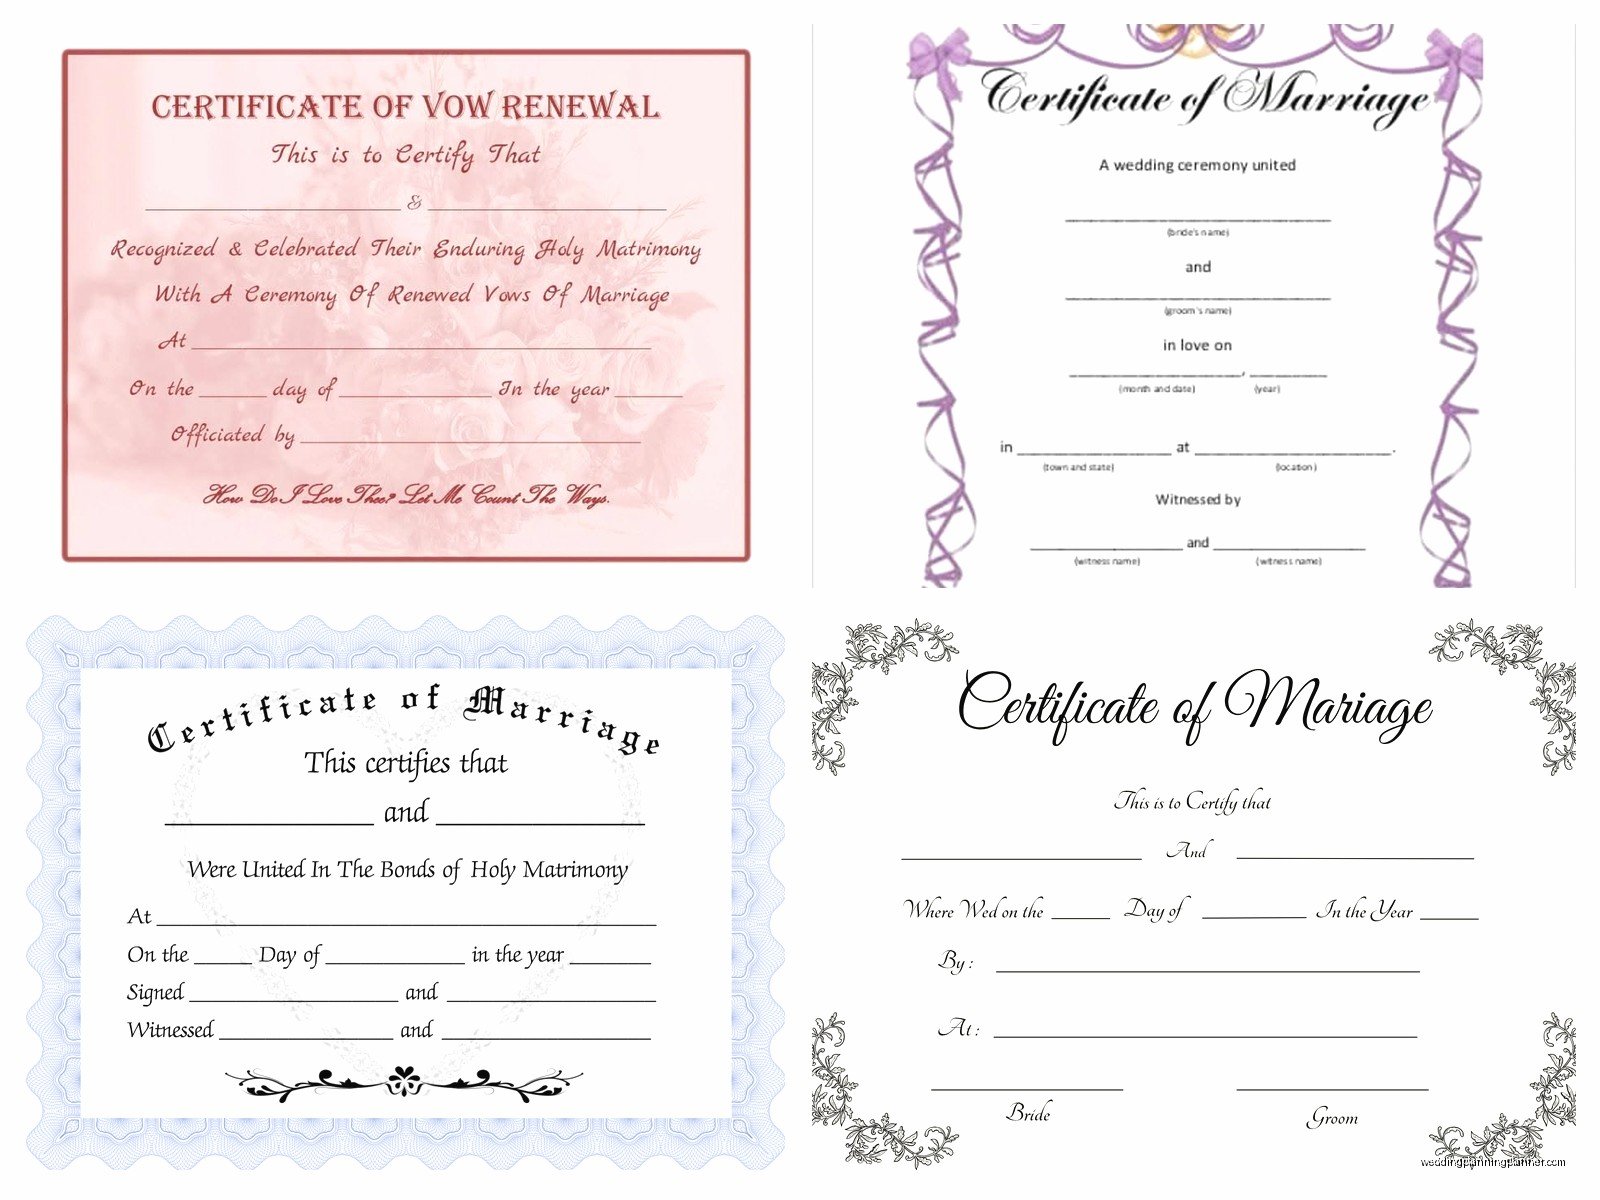
Sign directly on the printed certificate: Most authentic looking, but risky. If someone messes up their signature or you smudge it, you’re reprinting. Use archival quality pens (Pigma Micron pens are my go-to) that won’t fade or bleed.
Add signature lines digitally before printing: You can scan signatures and add them in Photoshop or whatever, then print the whole thing complete. Looks clean and professional but feels less personal.
Leave it blank: Honestly some people just fill in the names and date and skip signatures entirely, which is totally fine for a decorative piece.
Framing and Display
Once you’ve got it printed, you’ll probably want to frame it. Standard frame sizes make life easier – if you designed your certificate at 8×10 inches, you can grab a frame anywhere. Custom sizes mean custom framing which gets expensive fast.
For archival purposes (if you care about preservation), use acid-free matting and UV-protective glass. Regular glass is fine too if you’re not worried about fading over decades. I mean, my own wedding certificate has been in a basic IKEA frame for years and it’s perfectly fine, so don’t stress too much about this unless you’re really into preservation.
Digital Versions and Backups
Here’s something I always tell people that sounds obvious but – save a digital copy of your finished certificate. Like, multiple places. Cloud storage, external hard drive, email it to yourself. I had a client whose house flooded in 2022 and she lost her framed certificate but had the digital file, so she could reprint it. Just… save your files, okay?
Religious or Cultural Certificate Variations
Different traditions have different certificate styles and requirements. Jewish Ketubahs are elaborate contracts with specific text. Catholic marriages have their own certificate formats. Quaker certificates include signatures from all attendees. If you’re incorporating religious or cultural elements, look for templates specific to your tradition or work with someone who understands the requirements.
Common Mistakes I See All The Time
Wrong date format – if you’re in the US but using a template from the UK, their date format is different (day/month/year vs month/day/year). Spell out the month to avoid confusion.
Forgetting to check spelling – I cannot stress this enough, have like three people proofread before you print. Names especially. Middle names, hyphenated last names, accents in names… double check everything.
Printing too small – an 8×10 looks nice on a table but might be hard to read from across a room if you’re displaying it at your reception, just something to think about or…
Using fonts that are too fancy – I love good typography but if your names are illegible because the script font is too decorative, what’s the point? Balance pretty with readable.
What About Guest Signatures
Some couples create a certificate large enough for all guests to sign instead of a traditional guest book. For this you’ll need:
- Bigger size (16×20 or larger)
- Enough white space for signatures
- Clear instructions at the ceremony/reception
- Good pens that won’t smudge (have backups)
This can be really special but also logistically tricky because you need table space, people don’t always see it, someone inevitably signs in the wrong spot… just be prepared for some chaos.
Free vs Paid Templates
Free templates exist and some are decent, but paid templates usually have better quality, more customization options, and actual customer support if something goes wrong. Etsy templates run $5-20 typically, which seems worth it for something you’re gonna look at for the rest of your life. But free Canva templates work fine too if you’re on a tight budget, no judgment.
Printer Settings That Matter
If you’re printing at home (which again, I don’t usually recommend for the final version but maybe for test prints), use these settings:
- Highest quality print setting
- Correct paper type selected in printer settings
- Borderless if you want edge-to-edge printing
- Let it dry completely before touching – ink on cardstock takes longer to dry than regular paper
Multilingual Certificates
If you’re doing a bilingual ceremony or have family who speak different languages, you can create certificates with text in multiple languages. Just make sure the layout works with different text lengths because some languages are way wordier than others for the same phrase.
The Professional Option
Some calligraphers and designers will create completely custom certificates by hand. This is gorgeous but expensive – expect $200-500+ depending on complexity. You get original artwork, perfect personalization, and something truly one-of-a-kind. If that’s in your budget and important to you, it’s a beautiful option.
What Format Files You’ll Need
Templates come in different file formats and you gotta make sure you can actually use them:
- PDF – easiest, works for most people, but limited editing
- PNG or JPG – good for adding to other designs, just images basically
- PSD (Photoshop) – needs Photoshop or similar software
- AI (Illustrator) – needs Illustrator, vector format so scales perfectly
- Canva templates – need a Canva account but super user-friendly
- Word or PowerPoint – easy to edit but sometimes formatting gets weird
Check before you buy what format it comes in and whether you can actually open and edit it.
Coordinating With Other Wedding Stationery
If you want your certificate to match your invitations, programs, menus, whatever – plan ahead. Same fonts, same colors, same design style. I worked with a couple who had this gorgeous botanical theme throughout their entire wedding and their certificate tied it all together perfectly. It wasn’t necessary but it looked really cohesive in photos and in their home afterward.
Some stationery designers offer certificate designs that coordinate with their invitation suites, which makes matching super easy. Or you can DIY it by using the same color palette and general vibe even if the specific designs differ.
