
Planning Guides, Style Guide
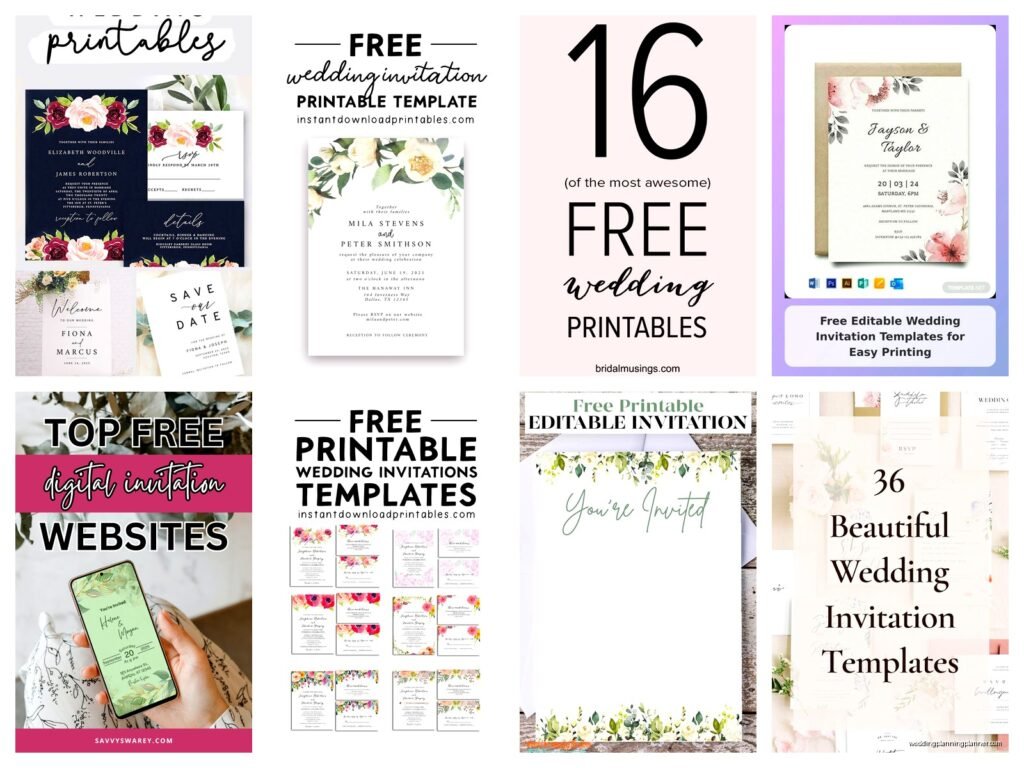
Printable Wedding Invitation Templates: Free PDF Downloads
Jun
So You Want Free Printable Wedding Invitation Templates
Alright so free printable wedding invitation templates are honestly one of those things that sound perfect until you actually start downloading them and realize half of them look like they were made in 2003 or they’re “free” but then require you to sign up for seventeen different email lists. I spent like three hours one night in spring 2023 helping a bride named Jessica who was convinced she could DIY her invitations for under $50 total and honestly? She mostly did it, but there were some landmines we had to navigate.
The main thing you gotta understand is that “free PDF downloads” can mean a bunch of different things. Sometimes you’re getting an actual editable PDF that you can type directly into. Sometimes you’re getting a PDF that’s just an image you need to print and handwrite on (nah, don’t do this for 150 invitations). And sometimes you’re downloading a template that needs to be opened in Canva or Word or some other program first.
Where to Actually Find Decent Free Templates
Canva is gonna be your best friend here, I’m not even kidding. They have thousands of wedding invitation templates and while some require their Pro subscription, tons are completely free. You can edit them right in your browser, change colors and fonts, add your details, and then download as a PDF. The quality is actually really good and they don’t look cheap which is kinda amazing for free.
I also really like Greenvelope for their free printable options – they’re primarily a digital invitation company but they offer some print templates too. The designs are more modern and less… how do I say this… less “default Microsoft Word art” than some other sites.
Template.net has a massive selection but you have to wade through a lot of mediocre designs to find the good ones. I find their search function annoying because it shows you premium templates mixed with free ones and you don’t always know which is which until you click.
Etsy sellers sometimes offer free samples or have genuinely free templates – search for “free wedding invitation template” and filter by price. Some designers put out freebies to showcase their style.
What You Need to Check Before Downloading
Okay so this is where I see people mess up constantly. You download a gorgeous template and then realize it’s sized for A4 paper but you’re in the US and have 8.5×11 letter paper, or it’s designed for 5×7 but you already bought 4×6 envelopes because they were on sale.
Check the dimensions first. Standard wedding invitation sizes are 5×7 inches or 4.25×5.5 inches (that’s A2 size). You want your template to match whatever envelopes you can easily buy. I learned this the hard way when a client in summer 2021 printed 200 invitations at 5.25×7.25 and then we couldn’t find envelopes anywhere that fit properly without custom ordering them.
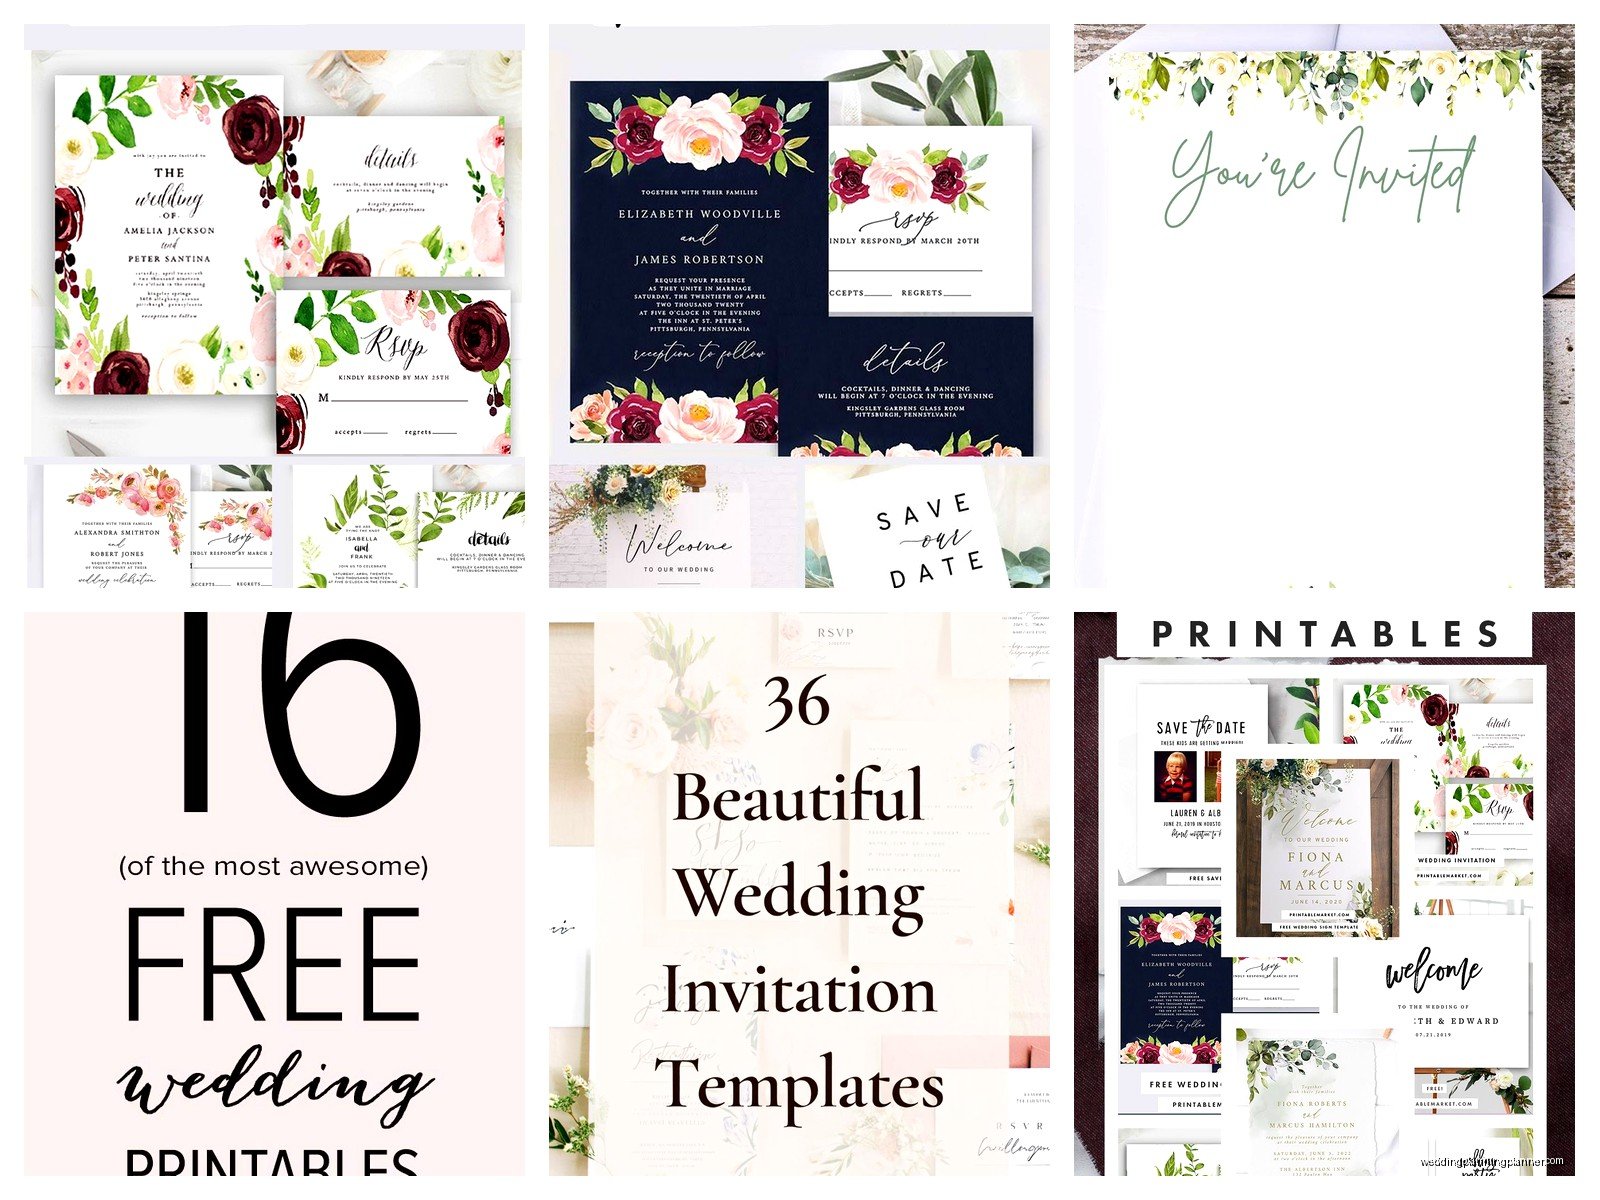
Also check what format you’re actually downloading. Is it:
- An editable PDF you can type into
- A Canva template you edit online
- A Word or Pages document
- A Photoshop or Illustrator file (if you don’t have these programs, skip it)
- Just a JPEG image (harder to customize)
Make sure you can actually open and edit the file format before you spend time downloading and organizing everything.
The Paper Situation Nobody Warns You About
So you’ve got your template picked out and edited – great! Now you need to print it and this is where things get real. Regular printer paper is gonna look cheap and feel flimsy. You want cardstock, and not just any cardstock.
I recommend 80lb or 100lb cardstock minimum. You can get this at any office supply store or on Amazon. White, cream, and ivory are the most versatile. Some templates look amazing on kraft paper too if you’re going for rustic vibes.
Your home printer might not feed cardstock well – most inkjet printers can handle it but you need to adjust your settings. Go into printer preferences and select “cardstock” or “heavyweight paper” as your paper type. Print one test sheet before you print all 100 invitations, because I’ve seen people waste entire packs of expensive paper because they didn’t test first.
If your printer absolutely won’t cooperate with cardstock, you can print on regular paper and then mount it onto cardstock backing, or just take your PDF to FedEx or Staples and have them print it. It’ll cost you but it’s still cheaper than ordering custom invitations.
Actually Customizing Your Template
When you’re editing your template, you’re gonna want to include all the essential info but not cram it so full that it looks cluttered. The basics you need:
- Your names (obviously)
- The date and time
- The venue name and address
- RSVP details or where to find more info
- Dress code if you have one
Some templates have spots for parent names or “together with their families” wording – you can keep or delete that depending on your preference. There’s no rule that says you have to follow traditional wording anymore.
Font choices matter more than you’d think. Don’t use more than two or three different fonts or it starts looking chaotic. And please, I’m begging you, make sure the text is actually readable. I once had a bride pick this gorgeous script font that was basically illegible and we had to redo everything because her grandmother called asking what the invitation said.
If you’re printing in color, make sure your colors aren’t too light or they’ll barely show up. Test print first. If you’re printing in black and white or grayscale, pick a template designed for that – don’t just convert a colorful template because it might lose important design elements.
The Bleed and Margin Thing
Professional designers always talk about bleed and margins and it sounds complicated but it’s actually pretty simple. Bleed means the design extends past where the paper will be cut (if you’re cutting it). Margins mean you keep important text away from the edges.
For DIY invitations you’re printing at home, you don’t really need to worry about bleed because you’re not cutting anything. But you DO need to worry about margins because most printers can’t print all the way to the edge of the paper. Keep all your text and important design elements at least 0.25 inches from the edge, or 0.5 inches to be safe.
Some free templates ignore this and have text right at the edges, which means your printer will cut it off. You’ll need to adjust the layout before printing.
My Biggest Annoyances With Free Templates
Okay so the thing that really bugs me is when websites advertise “free templates” but then the download button takes you to a page where you have to enter your credit card for a “free trial” of their premium service. That’s not free, that’s a trap. If a site asks for payment info for something supposedly free, close that tab and find something else.
Also those templates that are technically free but are such low resolution that they look pixelated when you print them? Useless. You want at least 300 DPI (dots per inch) for printing. Anything less will look blurry or grainy.
And can we talk about how many “wedding invitation templates” are actually just save-the-date templates or RSVP cards labeled wrong? Read the description before downloading or you’ll end up with the wrong thing.
Matching Your Invitation Suite
If you want your whole invitation suite to match – like the invitation, RSVP card, details card, etc – you need to plan this from the start. Some template sites offer coordinating pieces, but many free templates are standalone designs.
You can create matching pieces yourself by using the same fonts, colors, and general design elements from your main invitation template. Canva makes this pretty easy because you can duplicate your design and just swap out the text and resize it.
Standard sizes for the other pieces are 4.25×5.5 for RSVP cards and 4×6 or 5×7 for details cards. You can also do everything as one flat card if you don’t want to deal with multiple pieces – just include all the info on one invitation and skip the inserts.
Envelopes Are Their Own Whole Thing
You can buy envelopes basically anywhere – Amazon, Paper Source, Cards & Pockets, Envelopes.com, even Walmart. Match the size to your invitation size obviously. The color doesn’t have to perfectly match your invitation but it should coordinate.
Some people get fancy with envelope liners or printing return addresses or guest addresses directly on the envelopes. You can find free envelope liner templates too if you want to go that route, though it’s definitely more work.
For addressing envelopes, you can print labels, print directly on the envelopes if your printer can handle it, hand write them, or hire a calligrapher. There’s no wrong answer. I usually hand write mine because my cat knocked over my printer last month and it hasn’t worked right since, but that’s a whole different story.
Printing Tips That’ll Save Your Sanity
Print in batches, not all at once. Do like 10-20 at a time so if something goes wrong you haven’t wasted all your paper. This also gives your printer a break because printing 150 sheets of cardstock continuously can cause jams or overheating.
Keep extra paper on hand because you WILL mess some up. I always tell people to buy at least 20% more paper than they need. So if you need 100 invitations, buy enough paper for 120.
Let the ink dry completely before touching the printed sheets, especially if you’re using an inkjet printer. Inkjet ink can smear if you touch it too soon. Give it like 30 seconds per sheet.
If you’re printing double-sided anything (like a folded invitation), print a test sheet first and make sure the alignment is right. Most printers have slight variations in how they feed paper for the second side.
When to Just Pay for Printing
Sometimes printing at home isn’t worth the hassle. If you need more than like 75-100 invitations, or if your printer is being temperamental, or if you want really high quality results, just take your PDF to a print shop.
FedEx Office, Staples, local print shops – they all do invitation printing and it’s not that expensive for basic printing. You’re looking at maybe $1-2 per invitation depending on the paper and printing options you choose. Still way cheaper than ordering custom invitations from a stationer which can run $5-15+ per invitation.
You can even upload your PDF to online printing services like Catprint or PrintPlace and have them ship the finished invitations to you. Sometimes this is cheaper than printing at a physical store.
Assembly and Finishing Touches
Once everything is printed you gotta actually put it all together. If you have multiple cards (invitation plus RSVP plus details card), figure out your stacking order. Usually it’s invitation on bottom, then any insert cards, then RSVP card and envelope on top.
Some people use belly bands, ribbon, or wax seals to hold everything together and make it look fancy. These are optional but they do add a nice touch. You can find free belly band templates online too – they’re just strips of paper that wrap around your invitation suite.
Wax seals are having a moment right now and they’re actually pretty easy to do yourself. You can buy sealing wax and stamps on Amazon for like $15-20. Just don’t use real wax seals on the outer envelope if you’re mailing your invitations because the post office machines can damage them.
For assembly, set up a little production line situation. I usually do this while watching TV because it’s kinda mindless work once you get into a rhythm. Just… maybe don’t watch anything too intense because you need to pay enough attention to not mess up the order of cards or seal the wrong envelope.
Mailing Considerations
Weigh your finished invitation before you buy stamps because if it’s over 1 oz you’ll need extra postage. Anything bulky or rigid also needs extra postage. Take one completed invitation to the post office and have them weigh it and tell you the correct postage amount.
Square envelopes cost more to mail than rectangular ones because they can’t go through the sorting machines and have to be hand-cancelled. I know, it’s annoying, but that’s how the postal service works.
Mail yourself a test invitation before you send them all out, just to make sure everything arrives in good condition and nothing gets damaged in transit. This is especially important if you used any embellishments or have a thick invitation suite.
Troubleshooting Common Problems
If your printer keeps jamming with cardstock, try feeding one sheet at a time instead of loading a stack. Also make sure you’re using the rear feed tray if your printer has one – it’s usually better for thick paper.
If colors aren’t printing right, check your printer settings and make sure you’re not in “draft” or “economy” mode. You want the highest quality setting. Also consider that colors on screen always look different than printed colors, so don’t panic if there’s a slight variation.
If text is getting cut off at the edges, you need to adjust your margins in the template before printing. This usually happens because the template wasn’t designed with printer margins in mind or because different printers have different printable areas.
When the font you chose isn’t showing up right or gets substituted with a different font, it means your computer doesn’t have that font installed. You might need to download and install the font first, or choose a different font that’s already on your system. Standard fonts like Times New Roman, Arial, Georgia, and Calibri will always work.
Jessica’s invitations from spring 2023 turned out really nice actually, once we figured out all the printing settings and she stopped trying to use that one template that was designed for A4 paper. She ended up spending about $75 total for paper, envelopes, and some ribbon, which for 120 invitations was pretty incredible compared to the $600+ quotes she’d gotten from invitation companies. The key was just being patient with the process and not expecting it to be perfect on the first try.
