
Planning Guides, Style Guide
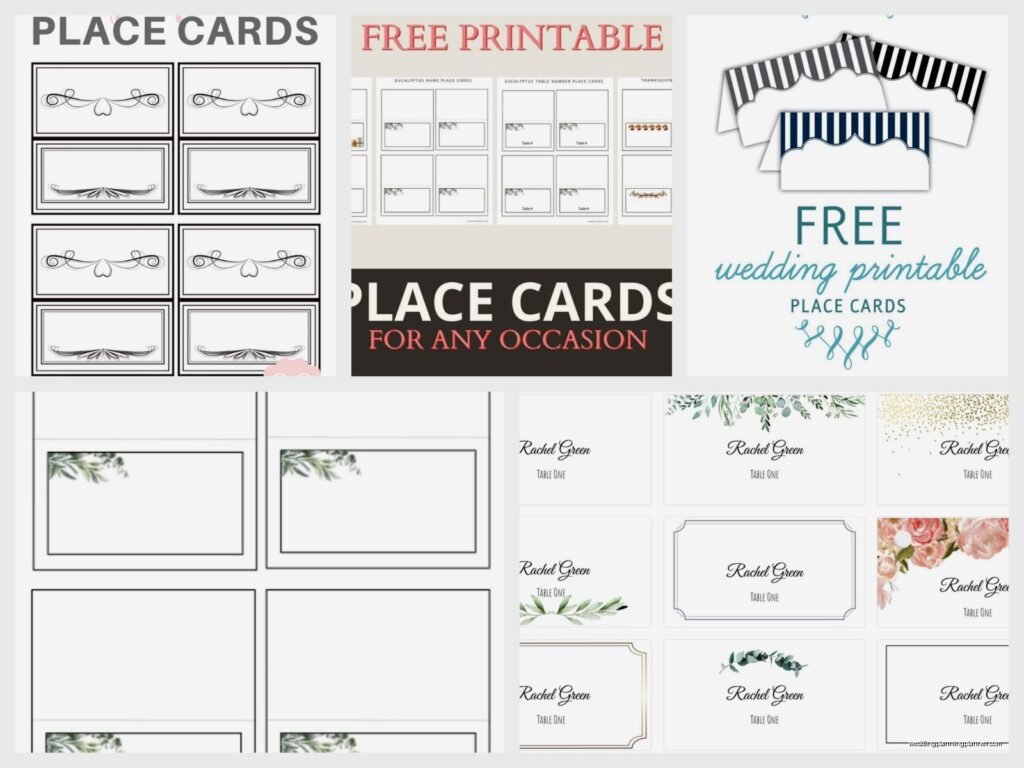
Printable Wedding Place Cards: Free Table Name Downloads
Jul
So You Need Place Cards But Don’t Want to Spend a Fortune
Look, printable place cards are honestly one of the smartest budget moves you can make for a wedding. I’ve planned maybe 200+ weddings at this point and the number of couples who stress about place cards when they could just… print them at home is wild. You’re gonna save anywhere from $150 to $400 depending on your guest count, and honestly nobody remembers if your place cards were letterpress or printed on your home inkjet.
The main thing is figuring out what style you actually want because there are approximately eight million free templates out there and you can lose three hours scrolling Pinterest. I know because I did exactly that last Tuesday when I should’ve been writing invoices, but my cat kept walking across my keyboard so I gave up and went down a place card rabbit hole instead.
Where to Actually Find Good Free Templates
Canva is gonna be your best friend here. They have literally hundreds of free place card templates and you can customize them without needing any design skills. I tell all my clients to start there because it’s just… easier than trying to figure out Adobe Illustrator or whatever.
But also check out:
- Template.net has some surprisingly decent options
- Microsoft Word templates if you’re old school (no judgment, I still use Word for everything)
- Etsy has “free” templates but you gotta search specifically for free ones because most charge like $8-15
- Wedding Chicks occasionally has freebies
- Pinterest links to blogs that offer free downloads, though half the links are broken which is super annoying
One thing that really annoyed me back in spring 2023 was this couple who downloaded a “free” template that was actually a preview file, and they printed 180 of them before realizing there was a watermark across each card. We had to reprint everything two days before the wedding. So like, actually check what you’re downloading before you commit to printing.
Tent Cards vs Flat Cards vs The Weird Other Options
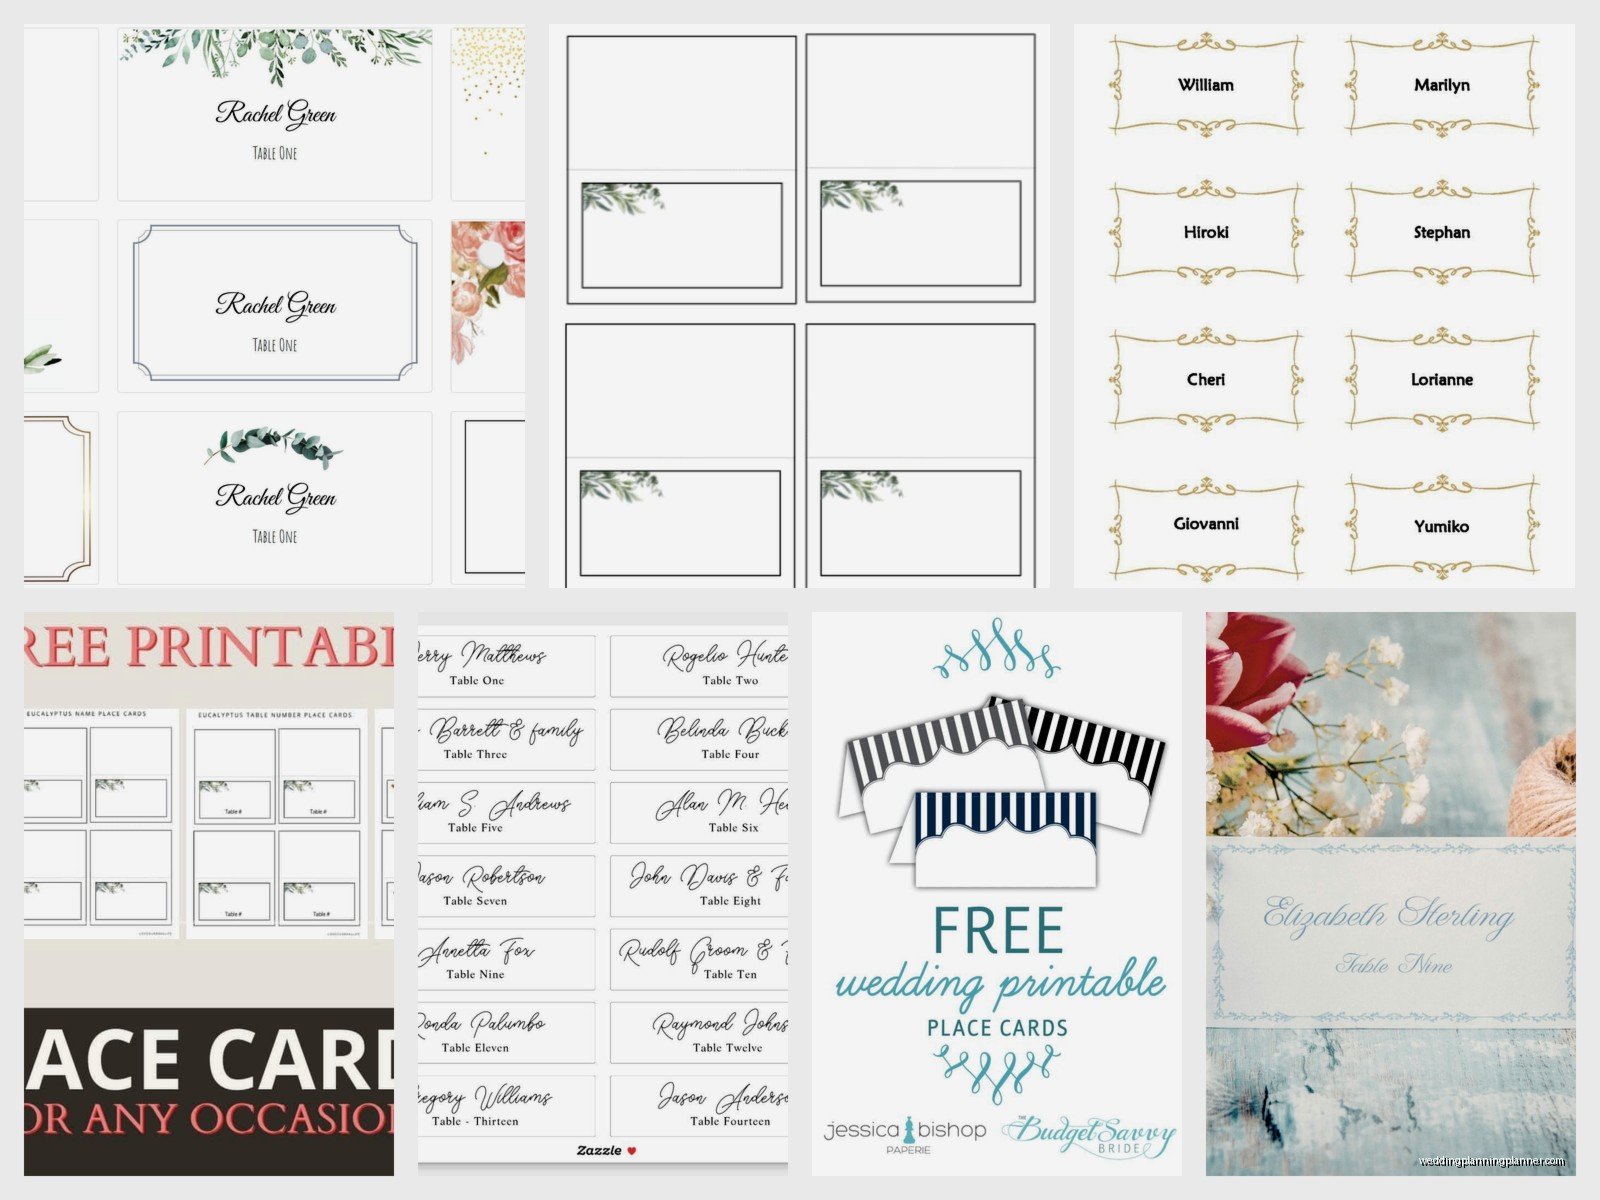
Tent cards are those folded ones that stand up on their own. They’re the most popular because they’re easy to see and you don’t need a holder. You just fold them in half and boom, done. They work on any table surface and guests can actually read them from a few feet away.
Flat cards need some kind of holder or you can lean them against something. I’ve seen people use wine corks, little easels, flowers, rocks… whatever. They look a bit more elegant sometimes but require extra stuff which kinda defeats the purpose of saving money.
There’s also hanging tags if you’re doing like a rustic thing with twine, or circular tags that wrap around wine bottles or napkins. These are cute but honestly more work than they’re worth unless you’re really into crafting.
For most couples I recommend the basic tent card because it’s just practical and you’re not gonna mess it up.
Paper Stock Matters More Than You Think
Do NOT print these on regular printer paper. I cannot stress this enough. It looks cheap and flimsy and it won’t stand up properly if you’re doing tent cards. You need cardstock at minimum 80lb, ideally 110lb.
You can get cardstock at:
- Staples or Office Depot (they usually have ivory, white, and kraft options)
- Michael’s or Hobby Lobby if you want colors or textures
- Amazon if you want to buy in bulk and have specific color needs
- Paper Source if you’re fancy and want something really nice
I always keep a stash of ivory cardstock in my office because inevitably someone needs emergency place cards printed the week of their wedding. Happened in summer 2021 with this bride whose calligrapher ghosted her (!!!), and we printed 95 place cards at my house the night before her rehearsal dinner while watching The Great British Baking Show.
How to Actually Print Them Without Losing Your Mind
First, do a test print. Seriously. Print one page on regular paper first to make sure everything lines up right and the names aren’t cut off or positioned weird.
Then print ONE on your actual cardstock to make sure it looks good. Check the color, check that it’s cutting where you think it should, make sure your printer isn’t smudging anything.
Most templates are set up for standard 8.5″ x 11″ paper with multiple cards per sheet. You’ll usually get 2-4 place cards per sheet depending on the size. The template should have cut lines or at least guides for where to cut.
Some printers are just gonna hate cardstock and there’s nothing you can do about it. If your home printer keeps jamming, you might need to either feed sheets one at a time (annoying but effective) or just take your file to FedEx/Staples and have them print it. It’ll still be cheaper than ordering custom place cards.
Margins and Bleed Areas
If you’re customizing a template, don’t put text too close to the edges. Leave at least a quarter inch margin because home printers are not precise and you will cut off letters otherwise. I’ve seen so many DIY place cards where the “M” in “Michael” is half missing because someone didn’t account for cutting space.
Fonts That Don’t Make Me Want to Scream
Please for the love of everything do not use Papyrus or Comic Sans. I know you probably weren’t gonna but I had to say it.
Good readable fonts for place cards:
- Cormorant Garamond (elegant, free, easy to read)
- Montserrat (clean and modern)
- Playfair Display (classic)
- Lato (simple and unfussy)
- Great Vibes if you want script but still want people to read it
The font needs to be big enough to read from like 2-3 feet away. I usually go with 18-24pt for names. If you’re including table numbers on the place cards too, those can be slightly smaller but not by much.
And listen, I love a good script font as much as the next wedding planner, but if half your guests are over 60, maybe go with something that doesn’t require a magnifying glass to decipher.
Setting Up Your Guest List for Mail Merge
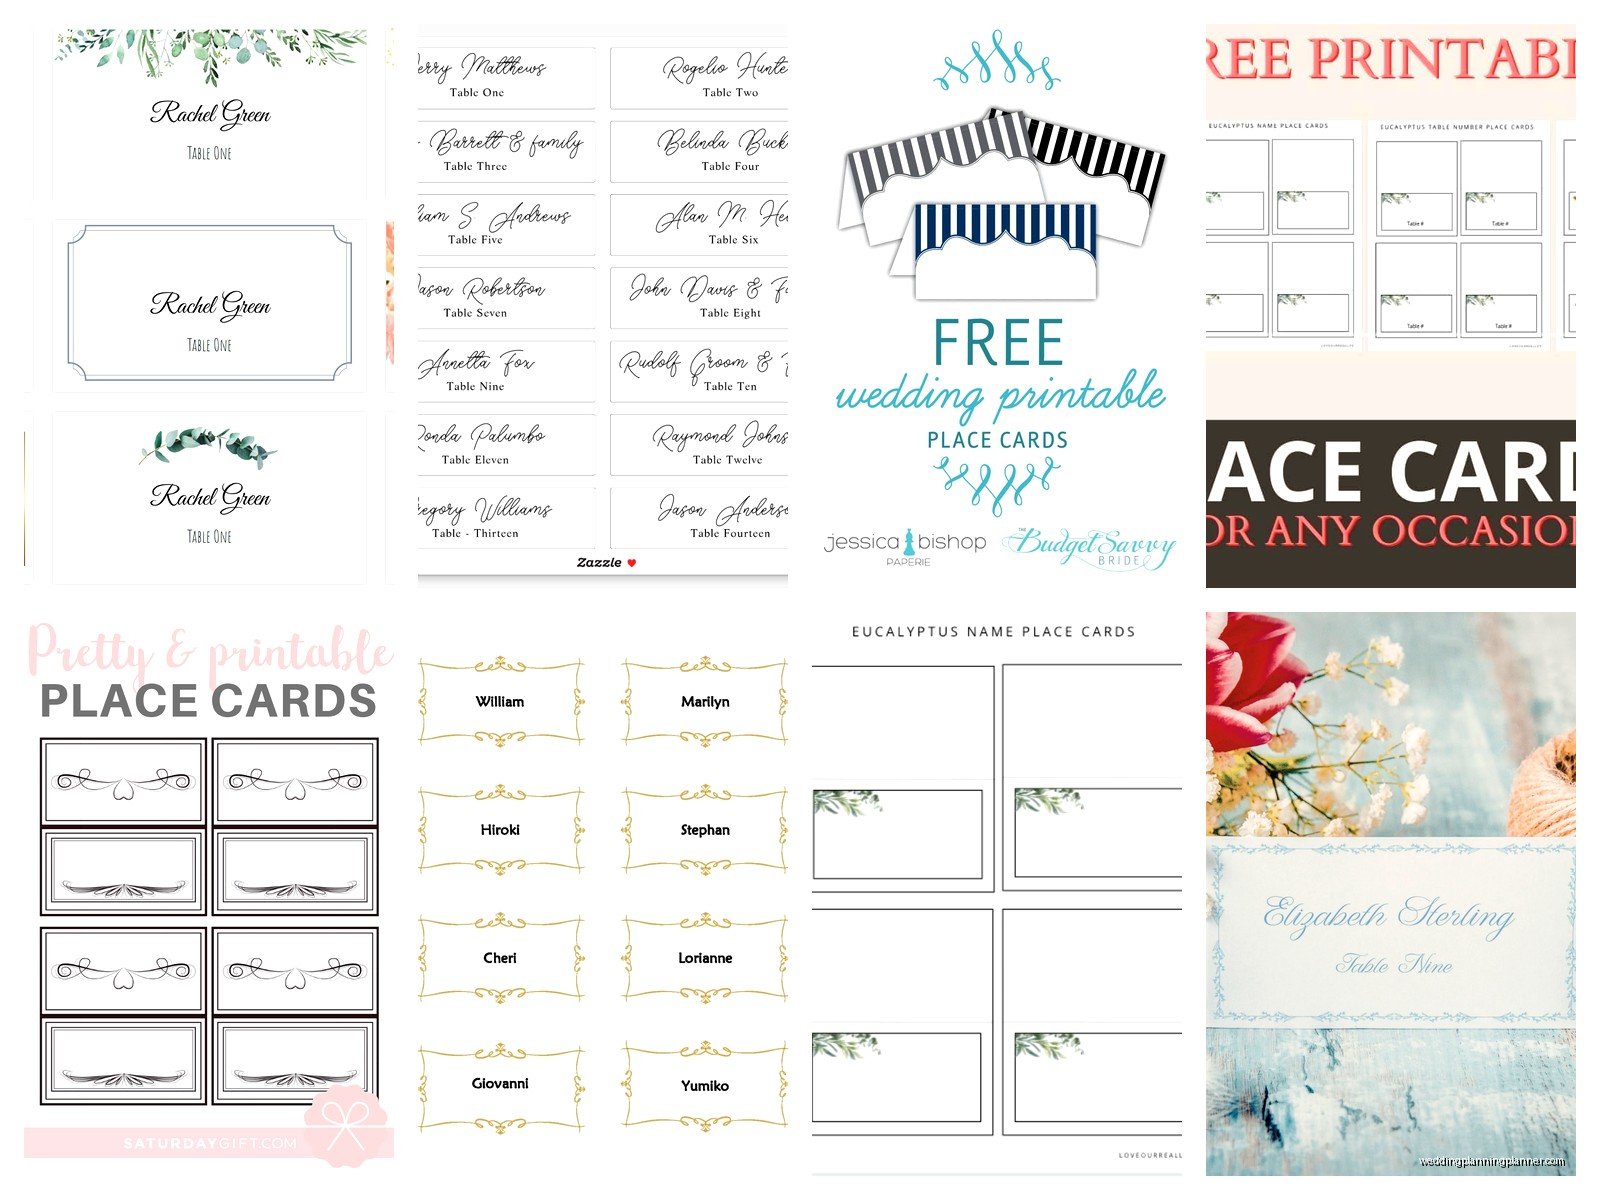
If you have more than like 20 guests, you’re gonna want to use mail merge instead of typing each name individually. It sounds complicated but it’s actually pretty simple once you do it once.
Create a spreadsheet with columns for First Name, Last Name, and Table Number. Some people also include meal choices if you’re doing that on the place cards (personally I think that’s unnecessary but some venues require it).
Most Word templates can connect to an Excel spreadsheet for mail merge. Canva Pro has a similar feature. There are YouTube tutorials for this that explain it better than I can in text, but basically you’re connecting your template to your data and it auto-populates each card.
This saves SO much time and reduces errors. Though you still need to proofread everything because auto-fill can do weird things with names that have apostrophes or hyphens or… I once had it turn “O’Brien” into “OBrien” across 12 cards.
Cutting Them Out Precisely
You have options here. You can use scissors which is fine for small weddings but your hand will cramp after like 30 cards. I learned this the hard way.
Better options:
- A paper trimmer (the kind with the blade that slides) – you can get a decent one for $20-30
- A craft knife and metal ruler if you’re comfortable with that
- Take them to a print shop and pay like $10-15 to have them cut professionally
If you’re doing tent cards, score the fold line before folding. You can use a bone folder (fancy) or just the back of a butter knife (what I actually do). This makes the fold crisp and clean instead of lumpy and weird.
Formatting Table Names vs Numbers
So this is kinda personal preference but table numbers are just easier for everyone. Table names sound cute in theory – like naming tables after places you’ve traveled or your favorite movies or whatever – but they’re confusing for guests and servers.
I had this couple who named their tables after constellations and it was a disaster. Nobody could find “Cassiopeia” and the catering staff kept bringing food to the wrong tables because they couldn’t remember which constellation was which. Just… use numbers.
If you absolutely must do names, at least include a small number too so people have a backup reference.
Adding Extra Touches Without Going Overboard
You can make printable place cards look more expensive by adding simple details. A thin ribbon tied around a tent card looks nice. A small wax seal sticker (you can get these on Amazon for cheap) adds a fancy touch. A tiny sprig of dried flowers tucked into the fold.
But don’t go too crazy because you have to do this for every single card and you will get tired of it. I’ve watched brides start out excited to add ribbon to 150 place cards and by card 40 they’re ready to throw the whole project out the window.
Keep it simple. A clean, well-printed place card on good paper stock is honestly enough.
Timing This Whole Project
Don’t wait until the last minute even though I know you’re gonna anyway because everyone does. Ideally you want to have your final guest count about 2 weeks before the wedding, then you can finalize and print your place cards with a few days to spare.
Print a few extras – like 5-10% more than you need. Someone will RSVP yes at the last second, or you’ll mess up a name spelling, or a card will get smudged. Having extras saves you from emergency reprinting.
I always print extras and I’ve needed them every single time. Like literally every wedding has last-minute additions or changes.
What to Do If Your Printer Hates You
Sometimes home printers just won’t cooperate with cardstock. If you’ve tried everything and it’s still jamming or printing weird, just take your file to a print shop. Upload your PDF to FedEx Office or Staples online, select cardstock as your paper type, and pick it up the next day.
You’ll pay maybe $30-50 for printing depending on quantity, which is still way cheaper than ordering custom place cards that would run you $150-300 minimum.
Make sure you save your file as a PDF before uploading because that preserves all the formatting and fonts. Don’t send a Word doc unless you want the print shop’s computer to substitute your carefully chosen font with Arial.
Common Mistakes I See All the Time
Printing names too small. If grandma needs her reading glasses to see her name, the font is too small.
Forgetting to account for plus-ones properly. Either print separate cards for each person or use “Sarah Johnson & Guest” – don’t leave plus-ones to figure it out themselves.
Using colors that don’t show up well when printed. That pale blush pink might look gorgeous on screen but it’ll barely show up on ivory cardstock. Test print first.
Not alphabetizing your display table. Guests should be able to find their card quickly, which means alphabetical order is your friend.
Spelling errors. Proofread. Then proofread again. Then have someone else proofread. I’ve seen “Brittnay” and “Jhon” and “Cathrine” more times than I can count and it’s always because nobody actually checked the final version carefully.
Displaying Your Place Cards at the Venue
You need a table near the entrance to the reception where guests can grab their cards. This seems obvious but I’ve been to weddings where place cards were scattered across random tables or stuck in a corner where nobody saw them.
Set them up alphabetically by last name. You can do rows by letter if you have a lot of guests – like A-F in the first row, G-L in the second row, etc.
Put a small sign that says “Please find your seat” or “Table assignments” or whatever so people know what they’re looking at.
If it’s an outdoor wedding, make sure your display setup accounts for wind. I’ve seen place cards blow away more times than… actually we’re not gonna talk about the disaster wedding in summer 2021 where half the place cards ended up in the lake because nobody weighted down the display table.
Use small bud vases or decorative items to weight down the corners of your display, or put the cards in a frame or on a board where they can’t blow away.
File Formats and Saving Everything
Save your final place card file in multiple formats and locations. Save the editable version (whatever program you used), save a PDF, and email yourself a copy. Put it on a USB drive too if you’re paranoid like me.
This way if you need to reprint something last minute, you’re not scrambling to recreate the whole thing from scratch. Been there, done that, don’t recommend it.
