
Planning Guides, Style Guide
Wedding Planning Spreadsheet Google Sheets: Cloud Template
Jul
Setting Up Your Google Sheets Wedding Planning Spreadsheet
Okay so Google Sheets is honestly gonna save your sanity if you’re planning a wedding right now. I switched to cloud-based planning templates back in spring 2023 after I had this nightmare situation where a bride’s laptop died three weeks before her wedding and she hadn’t backed up her Excel file anywhere. We had to reconstruct her entire guest list from memory and old emails and I literally never want to experience that panic again.
First thing you need to do is open Google Sheets and either start from scratch or find a template. There are tons of free wedding planning templates out there but honestly most of them are kinda bloated with stuff you don’t actually need. I usually tell people to start with a blank sheet and build what YOU specifically need rather than deleting a million columns someone else thought were important.
The Essential Tabs You Actually Need
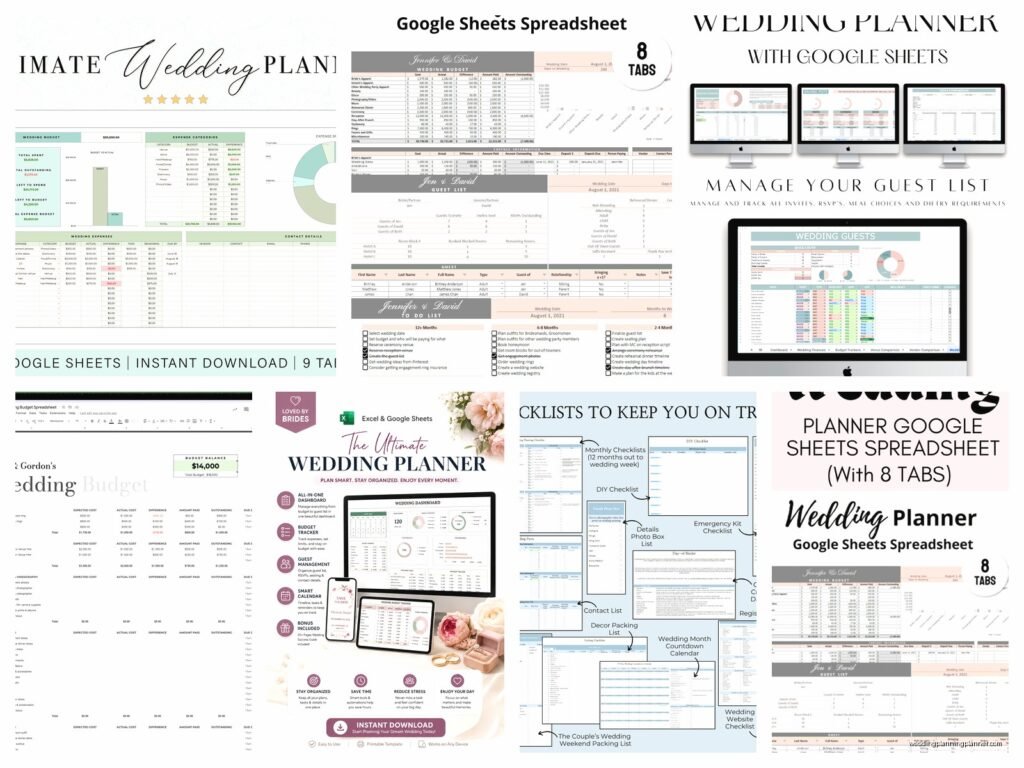
Your spreadsheet should have separate tabs for different categories. I typically set up these core ones: Guest List, Budget, Vendor Contacts, Timeline, and Seating Chart. You can add more later but start with these because they’re the foundation of everything else.
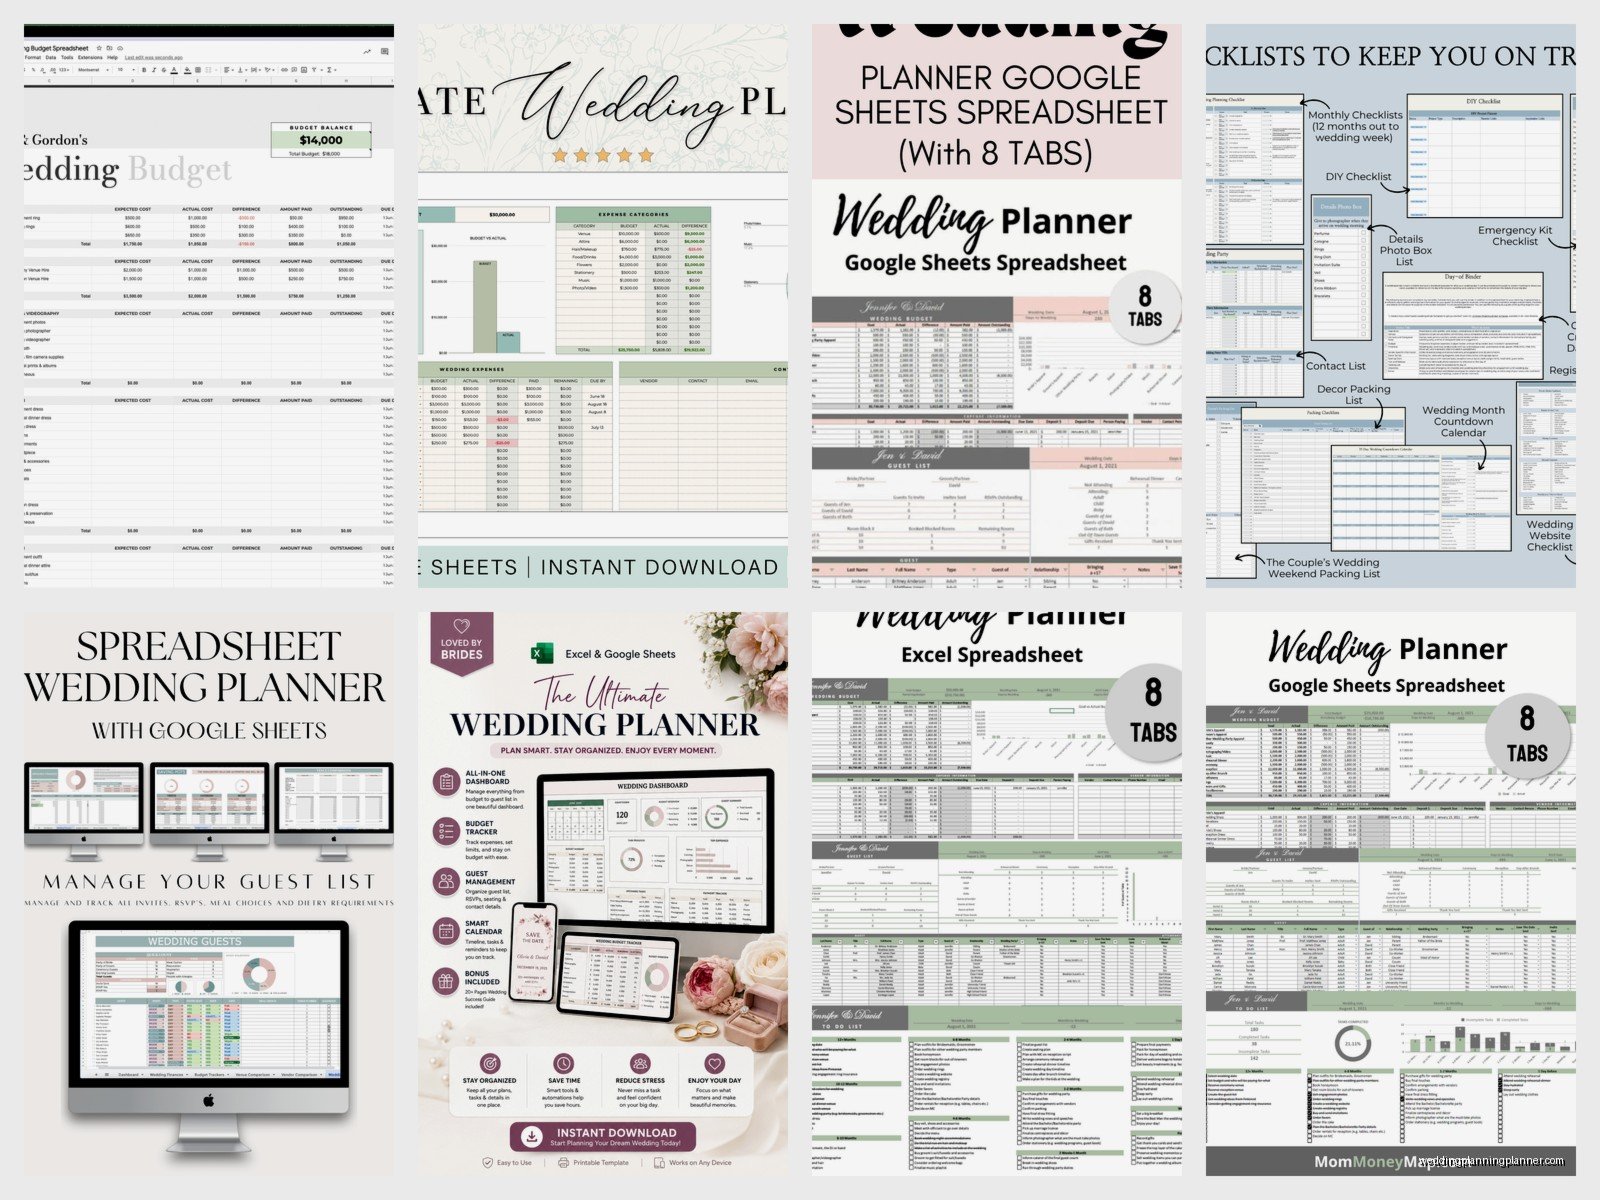
For the Guest List tab, create columns for: Full Name, Address, Email, Phone, Invitation Sent (checkbox), RSVP Status (dropdown), Number of Guests, Meal Choice, Plus One Name, Thank You Sent. The RSVP Status dropdown should have options like “No Response,” “Attending,” “Not Attending,” and “Maybe” even though maybe is annoying as hell and people really need to just commit but whatever.
To make a dropdown in Google Sheets you click on the column, go to Data, then Data Validation, and choose “List of items” where you type your options separated by commas. This keeps everything clean and you can filter by status later which is super helpful when you’re trying to figure out final headcounts.
Budget Tracking That Actually Works
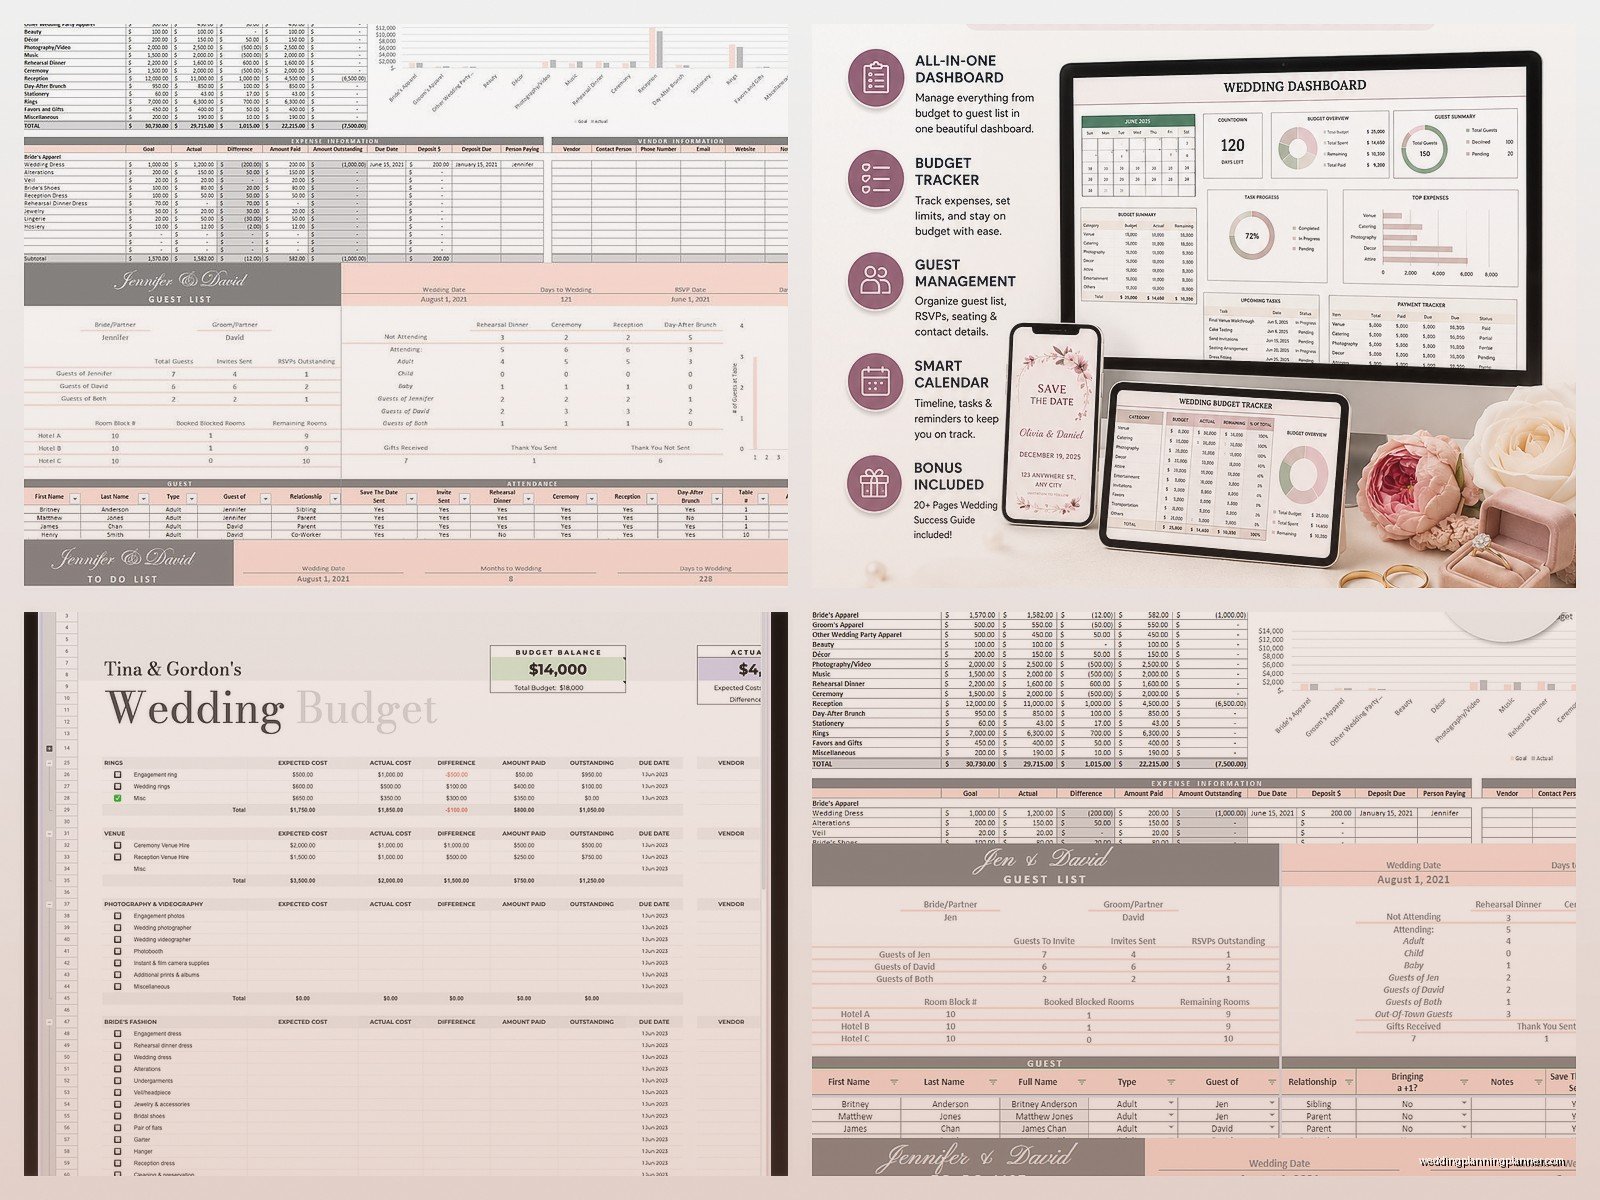
The Budget tab is where most people get overwhelmed but it doesn’t have to be complicated. I structure mine with these columns: Category, Item Description, Estimated Cost, Actual Cost, Deposit Paid, Amount Outstanding, Due Date, and Notes.
Categories would be things like Venue, Catering, Photography, Flowers, Attire, Music, Invitations, etc. Under each category you list the specific items. Like under Catering you might have “reception dinner,” “cocktail hour apps,” “late night snacks,” “cake,” and “bar service” as separate line items.
Here’s the important part though – at the top of your budget sheet, create a summary section. Use formulas to calculate your total estimated budget, total actual spending, total deposits paid, and remaining balance. The formula for total estimated cost would be something like =SUM(C:C) if your Estimated Cost column is column C. You want to see these numbers at a glance without scrolling through everything.
I also add a cell that shows percentage of budget used which is just =Total Actual/Total Estimated formatted as a percentage. This helps you see if you’re on track or if you need to… adjust expectations somewhere.
Vendor Management Section
The Vendor Contacts tab saves so much time when you need to reach someone quickly. Columns should include: Vendor Type, Company Name, Contact Person, Phone, Email, Website, Contract Signed (checkbox), Deposit Amount, Balance Due, Final Payment Date, and Meeting Notes.
One thing that annoyed me for YEARS was not having vendor passwords and portal logins documented anywhere. So now I add a column for Login Info where you can store website credentials for things like your wedding website, registry accounts, or vendor planning portals. Just be aware that Google Sheets isn’t like super secure so maybe don’t put your credit card numbers in there or anything.
I color-code the rows in this tab based on status. Green for fully paid and confirmed, yellow for deposit paid but balance remaining, and red for vendors you’re still researching or negotiating with. To color-code just select the row, click the paint bucket icon, and choose your color. It’s visual and you can see your progress immediately.
Timeline and Task Management
The Timeline tab is basically your master checklist. I organize it with columns for: Task Description, Category, Due Date, Priority Level, Status, and Assigned To (because some tasks are for your partner or parents or whoever).
Start by listing tasks in chronological order based on when they typically need to happen. Like “book venue” should be at 12-18 months before, “order invitations” at 4-5 months, “final dress fitting” at 1-2 weeks before, etc. You can find timeline templates online but honestly every wedding is different so use them as guidelines not rules.
For the Status column I use another dropdown with options: Not Started, In Progress, Completed, and Blocked (for when you’re waiting on someone else). Priority levels can be High, Medium, Low. Then you can sort and filter to see what needs immediate attention.
One trick I learned is to use conditional formatting to automatically highlight overdue tasks. Select your Due Date column, go to Format > Conditional Formatting, and set it so that dates before TODAY() turn red. The formula would be like “Date is before” and then you choose “Today” from the options. Now anything overdue jumps out at you.
Seating Chart Chaos Management
Okay the Seating Chart tab is probably gonna get the most edits of anything because people are complicated and families have drama and someone’s ex-boyfriend ends up at the same wedding and you need to keep them on opposite sides of the room. Trust me on this.
I set this up with columns for: Guest Name, Table Number, Table Name (if you’re doing named tables instead of numbers), Seat Number (if assigned), Dietary Restrictions, and Relationship/Group (like “bride’s college friends” or “groom’s family”).
You can link this to your Guest List tab using formulas so that when someone RSVPs no, they automatically disappear from your seating chart. The formula would be something like =FILTER(Guest_List!A:A, Guest_List!E:E=”Attending”) which pulls names from your guest list where the RSVP status is Attending. It’s… okay this formula stuff can get complicated but there are YouTube tutorials that explain it better than I can in text.
My cat just knocked over my coffee while I’m writing this and I’m realizing I need to mention something important about sharing settings.
Sharing and Collaboration Settings
The whole point of using Google Sheets is that multiple people can access it from anywhere. Click the Share button in the top right and you can add your partner, your wedding planner if you have one, your mom if she’s helping, whoever needs access.
You can set different permission levels. “Viewer” means they can see but not edit anything. “Commenter” lets them leave comments and suggestions. “Editor” means they can change stuff directly. I usually give the couple and the planner editor access, and maybe parents get commenter access depending on the family dynamic and how much they’re involved.
There’s also a “Protect sheets and ranges” option under the Data menu where you can lock specific tabs or columns so only certain people can edit them. Like you might want to protect your Budget tab so only you can make changes there, but leave the Guest List open for your partner to update.
Formulas That’ll Make Your Life Easier
You don’t need to be a spreadsheet expert but a few basic formulas are really helpful. I mentioned SUM already for totaling numbers. COUNT and COUNTA are useful for counting guests – like =COUNTA(A2:A500) would count how many cells in that range have any content.
COUNTIF is even better because you can count specific things. Like =COUNTIF(E:E,”Attending”) would count how many people have “Attending” as their RSVP status. This is how you get your headcount without manually counting.
IF statements let you automate decisions. You could have a column that says “Invitation Needed” and use =IF(E2=””,”Yes”,”No”) which means if the RSVP cell is empty, show Yes, otherwise show No. Basically it tells you who you still need to hear from.
VLOOKUP is more advanced but super powerful for pulling information from one tab to another. Like if you want your seating chart to automatically show dietary restrictions from your guest list. The formula looks scary at first but once you understand it… well it still kinda looks scary but it works.
Mobile Access and Offline Mode
Download the Google Sheets app on your phone because you’re gonna need to check stuff while you’re out at vendor meetings or venue visits. The app works pretty well for viewing and making quick edits though I wouldn’t want to build a whole spreadsheet on mobile.
You can enable offline mode in Google Sheets settings so if you’re somewhere without internet you can still access your wedding planning info. It’ll sync changes once you’re back online. To turn this on go to your Google Drive settings and enable offline access for Google Docs, Sheets, and Slides.
Version History is Your Friend
One of the best things about Google Sheets is that it automatically saves every change and you can see the version history. Click File > Version History > See Version History and you can scroll through every edit ever made, see who made it, and restore old versions if someone accidentally deletes something important.
This saved me during that summer 2021 wedding when the bride’s sister had editor access and accidentally sorted the guest list without selecting all columns, so names got separated from addresses and phone numbers and everything was mismatched. We just went back to the version from before she touched it and restored everything in like two minutes.
Templates and Add-ons Worth Checking Out
If you really don’t want to build from scratch there are some decent templates in the Google Sheets template gallery. When you open Google Sheets there’s a Template Gallery at the top with a “Personal” section that sometimes has wedding planning templates. They’re fine as starting points.
There are also add-ons you can install that extend functionality. Go to Extensions > Add-ons > Get Add-ons and search for wedding-related tools. Some let you send emails directly from your spreadsheet or create fancy charts and timelines. I don’t use many add-ons personally because they can slow things down but some people love them.
Keeping Everything Updated
The spreadsheet is only useful if you actually maintain it. Set a reminder to update it weekly or after any wedding-related activity. Got a vendor deposit back? Update the budget. Someone RSVPs? Update the guest list immediately before you forget.
I tell clients to spend like 15 minutes every Sunday reviewing their spreadsheet and making sure everything’s current. It becomes part of your routine and prevents that panic where you realize you haven’t looked at it in a month and now nothing is accurate.
Also use the Notes feature liberally. You can right-click any cell and add a note with additional context. Like if a vendor gave you a verbal quote but you’re waiting for the written contract, put that in a note. If someone has a complicated dietary restriction that needs explanation, note it. These little details matter when you’re in the thick of planning and can’t remember every conversation you had three months ago.
Backup Your Backup
Even though Google Sheets is cloud-based and theoretically safe, I still download a backup copy monthly. Go to File > Download and choose either Excel format or PDF depending on what you want. Store it in Dropbox or email it to yourself or whatever. Just have a backup of your backup because technology fails sometimes and Murphy’s Law is real.
You can also make a copy of the entire spreadsheet by going to File > Make a Copy. This creates a duplicate you can use for testing formulas or trying different seating arrangements without messing up your main version.
The sharing link is also important to save somewhere besides just in your Google Drive. Text it to yourself, email it, put it in your phone notes. I’ve had clients accidentally lose access to their own spreadsheets because of Google account issues and having that direct link made recovery way easier than trying to search through Drive.
One more thing about guest list management – create a separate tab for B-list guests if you’re doing that. It’s a thing where you have people you’d invite if other people decline, and you need to track them separately so you don’t accidentally send invitations to everyone at once and go over capacity. Not everyone does this but if your venue has strict capacity limits it’s worth considering, even though it feels kinda weird to have tiered guest lists but that’s wedding planning for you
