
Planning Guides, Style Guide
Wedding Website Templates Free: No-Cost Builder Options
Jul
Okay So Free Wedding Website Builders Actually Don’t Suck Anymore
The free wedding website builders have gotten SO much better in the past few years and honestly you don’t need to pay for the fancy upgraded versions unless you’re doing something really specific. I had this couple in spring 2023 who were absolutely convinced they needed to spend like $200 on a premium website package and I was like… nah, let’s try the free options first? Ended up using a completely free builder and their site looked incredible.
So here’s what you gotta know about the actual good free options that won’t make your wedding website look like it’s from 2005.
The Big Players Everyone Uses
The Knot is probably the most popular and for good reason. Their free builder is genuinely comprehensive. You get your own custom URL (like yournames.theknot.com), unlimited pages, RSVP tracking, registry links, photo galleries, and their templates are actually pretty modern. The thing that annoyed me though? Their interface can be kinda clunky when you’re trying to rearrange sections. Like why does it take three clicks to move one text box.
You can customize colors and fonts to match your wedding vibe, and they have this guest list management system that’s honestly better than some paid options I’ve seen. The RSVP system lets guests select meal choices, add plus-ones, and you can track everything in real-time. I’ve had couples manage 300+ guest lists through The Knot’s free version without any issues.
Zola is my personal favorite if I’m being honest. Their templates are cleaner and more minimalist, which works better for modern weddings. The free version gives you custom domain options (you can use yournames.com if you buy the domain separately for like $12/year), password protection for certain pages, full RSVP management, and their registry integration is seamless since they also run a registry service.
What I love about Zola is the mobile editing. You can literally update your website from your phone while sitting in a venue meeting, which I’ve definitely done more times than I should admit. Their photo upload process is also faster than The Knot’s.
The Slightly Less Known But Still Solid Options
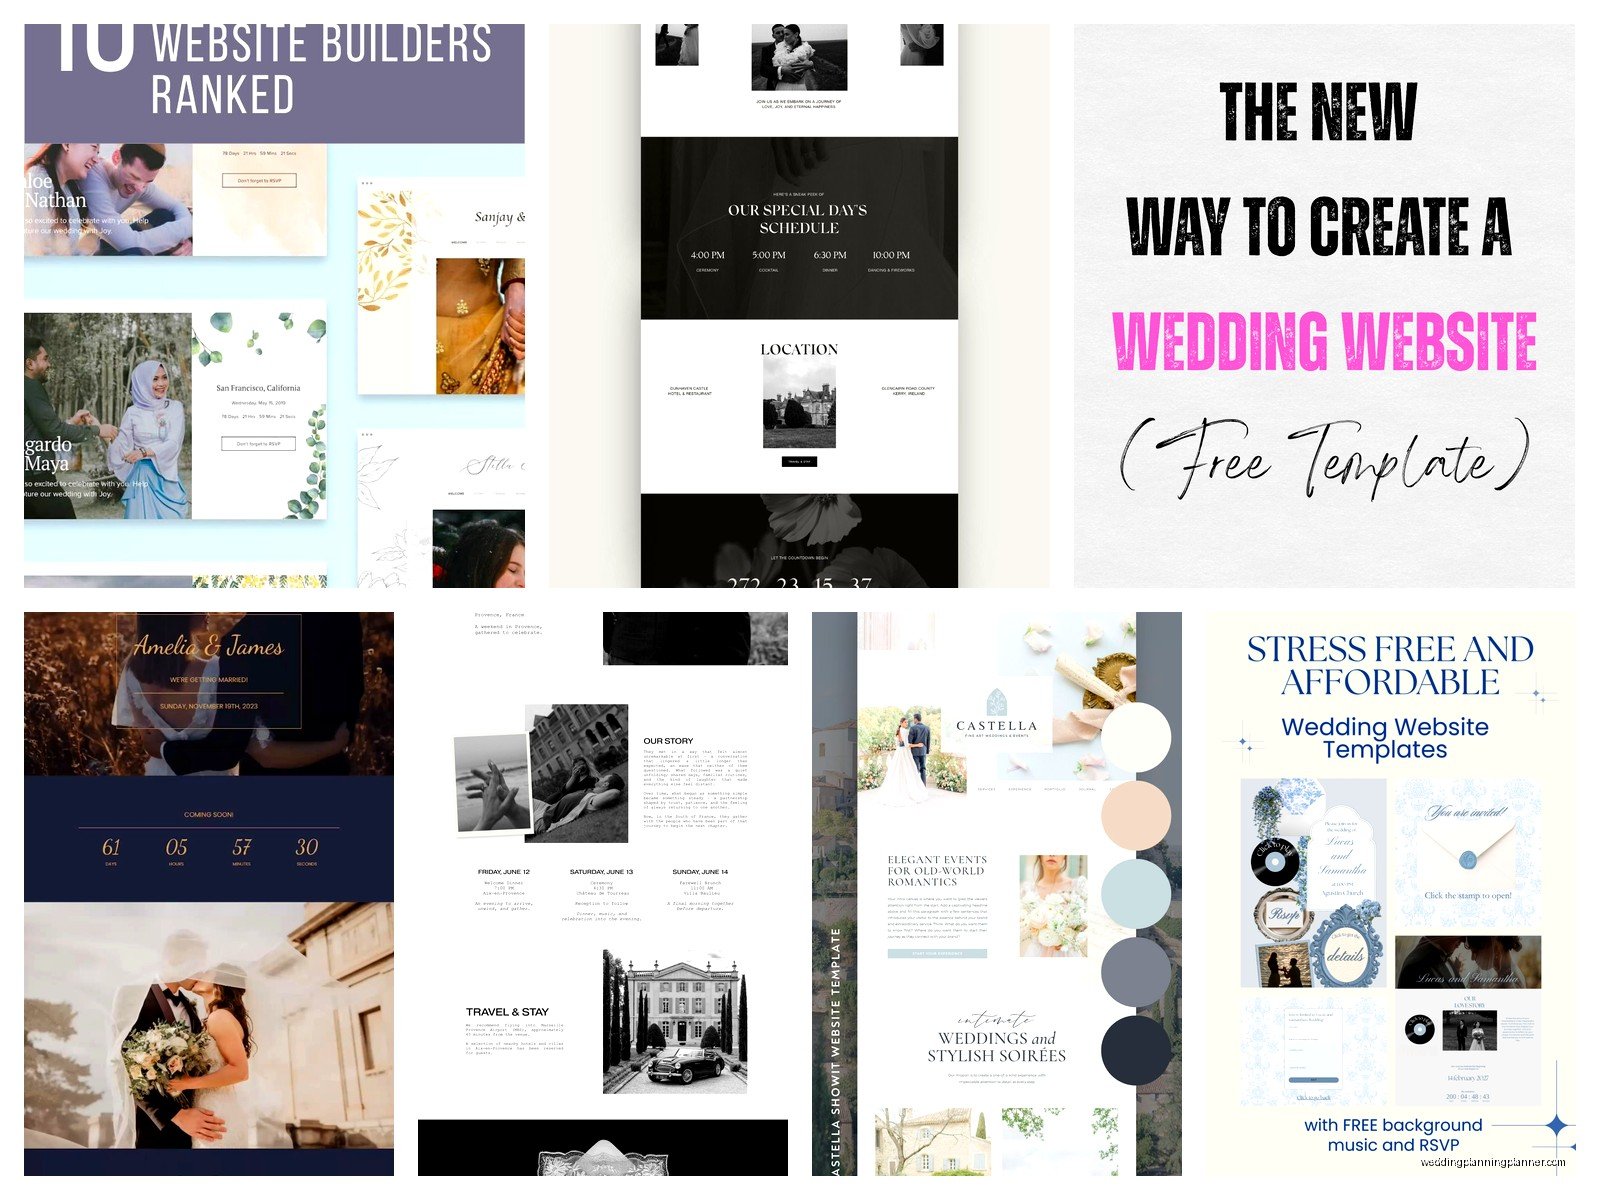
Minted has wedding websites now and if you’re already using them for invitations, the design consistency is really nice. Their free version is more limited than The Knot or Zola—you get basic pages, RSVP functionality, and that’s kinda it. But their templates are GORGEOUS. Like legitimately some of the prettiest free templates I’ve seen. If aesthetics matter more to you than features, check them out.
Withjoy is another good one that nobody talks about enough. Free custom domain, RSVP tracking, guest messaging (which is actually super useful for sending updates), and a cool timeline feature. Their templates lean more toward the romantic/whimsical side, so if you’re having a rustic barn wedding or garden ceremony, their designs fit that vibe perfectly.
I used Withjoy for a micro-wedding last year and the couple loved how easy it was to send mass updates to guests when they changed their ceremony time. Just typed it once, hit send, everyone got notified. Simple.
What You Actually Get With Free Versions
Most free wedding website builders include the essential stuff you actually need. You’re gonna get multiple pages—usually like a homepage, our story page, wedding details, travel/accommodations, registry, RSVP page, and photo gallery. That’s honestly everything unless you’re doing something super custom.
RSVP management is included in pretty much all the major free builders now. Guests can respond online, select meal preferences if you set that up, indicate dietary restrictions, and add their plus-one’s information. You can export this data to spreadsheets, which makes creating your seating chart way less painful.
Registry links are standard. You can link to multiple registries—Target, Amazon, Zola, whatever. Some builders like Zola obviously push their own registry service, but you can still add external links.
Photo galleries work well on free plans. Upload engagement photos, pictures of your venue, photos of your wedding party. Most builders don’t put limits on photo uploads for free accounts, which is kinda amazing when you think about it.
The Limitations You’ll Actually Notice
The URL thing matters to some people. With free plans, your website address is usually something like yournames.buildersite.com instead of just yournames.com. Personally, I don’t think guests care? Like nobody’s gonna not come to your wedding because your URL has “theknot” in it. But if you’re particular about branding or whatever, you might need to upgrade or buy a custom domain.
Some free builders put small ads or their logo on your site. The Knot does this. It’s not super intrusive—usually just a tiny logo at the bottom—but it’s there. Zola doesn’t do this on their free plan, which is one reason I recommend them more often.
Advanced customization gets limited. You can change colors and fonts, but you can’t usually edit the actual code or move elements completely freely. For most couples this doesn’t matter, but if you or your partner is a graphic designer who wants pixel-perfect control… you might get frustrated. Or just, I don’t know, let it go? It’s a wedding website, not a portfolio piece.
Setting Up Your Free Website Without Losing Your Mind
Start by browsing templates before you create an account. Most builders let you preview templates without signing up. Screenshot the ones you like, show them to your partner, agree on a style before you commit. Switching templates after you’ve already inputted all your information is annoying.
Once you pick a builder and template, set aside like 2-3 hours to do the initial setup. You’ll need your wedding date, venue information, hotel recommendations, and your story written out. My cat literally walked across my keyboard while I was setting up a client’s site last month and somehow published it half-finished, so maybe don’t have pets nearby during this process.
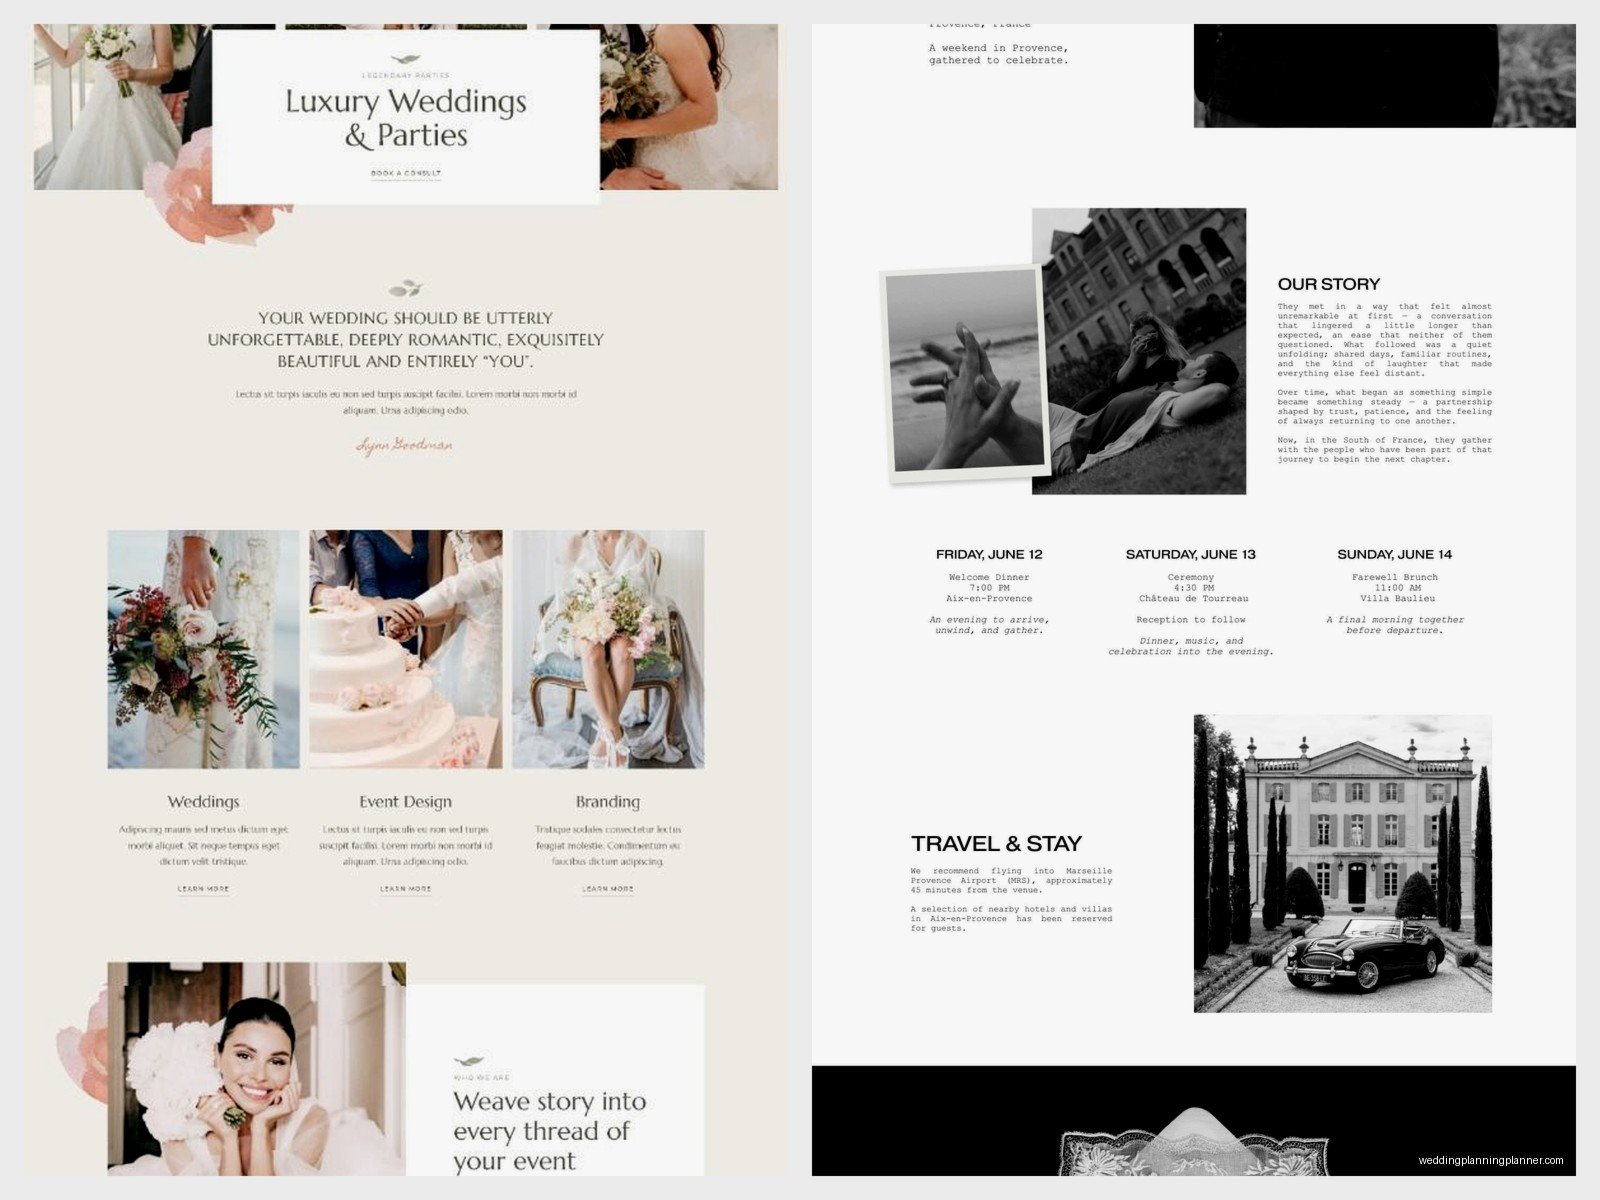
For the “our story” section, you don’t need to write your entire relationship history. Keep it to 3-4 short paragraphs. How you met, a memorable moment, the proposal, and maybe one sentence about what you’re excited for. Guests are gonna skim this anyway—they’re really there for the logistics.
The RSVP Setup Is Where People Get Confused
You need to decide if you’re doing online RSVPs or just using the website for information. I always push couples toward online RSVPs because tracking paper responses is genuinely terrible. But if your guest list skews older and you’re worried about technology barriers, you might need both options.
When setting up RSVP questions, keep it simple. Attending or not attending, meal choice if you’re doing plated dinner, dietary restrictions, and maybe a song request. Don’t add like 15 questions. I had a couple once who asked guests to submit their favorite memory of the couple, their relationship advice, what color they were wearing, their shoe size… okay not shoe size but you get it. Guests abandoned the RSVP form because it took too long.
Set your RSVP deadline in the system for about 3-4 weeks before the wedding. The website can send automatic reminders to people who haven’t responded, which is incredibly helpful when you’re chasing down that one cousin who never checks their email.
What to Actually Put on Each Page
Homepage: Your names, wedding date, location (city/state), and a nice photo. That’s it. Don’t overcomplicate it.
Our Story: Already covered this but seriously, keep it short. Nobody’s reading a novel here.
Wedding Details: Ceremony time and location with full address, reception time and location, dress code, and what happens between ceremony and reception if there’s a gap. Include a map link or embed a Google map if your builder allows it.
Travel & Accommodations: Hotel room blocks with booking codes, alternative hotel options at different price points, airport information if you have out-of-town guests, and transportation info if you’re providing shuttles. Also this is a good place to mention if there’s like… a parking situation guests should know about.
FAQ: This page is more useful than you think. Answer questions about plus-ones, kids, dress code specifics, weather backup plans, and whether the reception is open bar. People are definitely wondering about that last one.
Things I Wish More Couples Would Do
Add your wedding party photos and names. Guests like knowing who’s standing up there with you, especially if they don’t know your friends and family well. Just a photo and first name is fine.
Include pronunciation guides for your names if they’re commonly mispronounced. Or for your venue name. I watched an officiant absolutely butcher a couple’s last name during the ceremony in summer 2021 because they never told anyone how to say it correctly. Could’ve been avoided with one line on the website.
Update your website regularly. If something changes—timeline, venue, literally anything—update the site immediately and consider sending a mass email through the builder’s messaging system. Don’t assume people will check the website randomly.
The Password Protection Question
Some free builders offer password protection for your entire site or specific pages. Whether you need this depends on how private you want to be. If you’re having a small wedding and only want invited guests viewing your site, set a password. If you’re fine with anyone finding it, skip it.
I usually recommend password protecting the RSVP page at minimum. This prevents random people from submitting fake RSVPs, which yes, has happened. People are weird on the internet.
Mobile Matters More Than You Think
Like 70% of your guests will view your website on their phones. Maybe more. So after you build your site on your computer, pull it up on your phone and click through everything. Make sure buttons work, text is readable, photos load properly, and the RSVP form functions correctly.
Some templates look gorgeous on desktop but turn into a mess on mobile. Test this before you send the link to 150 people.
Registry Integration Without Being Tacky
Every free builder lets you add registry links, but there’s kinda an art to not making it feel grabby. Create a dedicated “Registry” page rather than putting links all over the site. A simple intro like “Your presence is the best present, but if you’d like to contribute to our future together, we’ve registered at the following stores” works fine.
List your registries with direct links. Don’t make people search for your names on each site—that’s annoying and some people will give up. Include a honeymoon fund or cash fund option if that’s your thing. Zola and Withjoy both have built-in cash fund features on free accounts.
When You Might Actually Need to Upgrade
If you want to remove all builder branding and ads, that usually requires a paid plan. Usually costs like $10-40 total, not per month. Sometimes worth it if you’re bothered by the logos.
If you need a truly custom domain (yournames.com) and your builder doesn’t support external domain connection on free plans, you’ll need to upgrade. Or just… use the free subdomain? I promise it’s fine.
Advanced features like guest list import from spreadsheets, detailed analytics on who’s viewed what pages, or premium templates might require payment. But honestly, you probably don’t need any of that for a wedding website.
The Actual Process Start to Finish
Pick your builder based on which templates you like best and which features matter to you. Create an account—takes like two minutes. Choose your template. Customize colors and fonts to match your wedding colors or invitations if you want that coordination, but it’s not required.
Fill in all your pages with actual information. Don’t leave placeholder text that says “coming soon” for weeks—just don’t publish until you have real info to add. Set up your RSVP form with appropriate questions and deadline. Add your registry links if you have them.
Preview everything on desktop and mobile. Fix anything that looks weird. Set a password if you want one. Then share the link with your guests—add it to your save the dates, invitations, or just send it via email or text.
Check your RSVP responses weekly as they come in. Update your website if any details change. That’s basically it. The whole process is way less complicated than wedding planning makes it seem, and you definitely don’t need to spend money on it unless you really want to for specific reasons that matter to you personally.
