Planning Guides, Style Guide
Marriage Card Design: Creative Layout Ideas & Inspiration
Mar
Layout Basics That Actually Matter
Okay so the biggest mistake I see is people thinking they need to cram everything onto the front of the card and honestly it drives me nuts because you have multiple panels to work with. Like why are you squishing your names, date, venue, and a giant photo all into one 5×7 space when you could spread things out and let them breathe?
The front panel is your hook. That’s it. You want names, maybe a monogram or simple graphic, and that’s kinda all you need there. I had this couple back in spring 2023 who insisted on putting their entire wedding website URL, hashtag, and both sets of parents’ names on the front and I was like… no. We compromised but man, that was a battle.
Here’s what I tell everyone: think of your invitation suite like a story that unfolds. Front panel teases it, inside left gives details, inside right might have a sweet quote or your ceremony info, back panel is for RSVP directions or your wedding website. You’re not writing a novel on a postcard.
Tri-Fold vs Bi-Fold vs Single Panel
Single panel cards work great for minimalist weddings or when you’re on a tighter budget. They’re clean, they’re simple, you can do a lot with good typography alone. I use these for couples who have that modern aesthetic going on or for destination weddings where you’re keeping info minimal anyway.
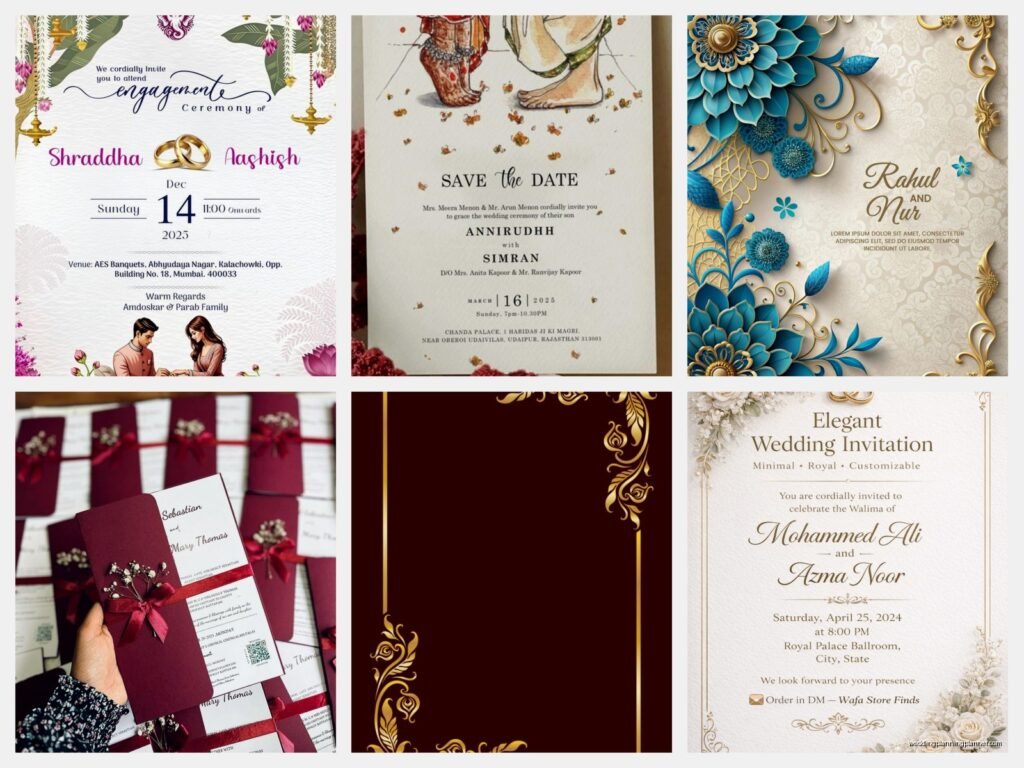
Bi-fold is your classic choice and there’s a reason it’s classic – it just works. You open it like a book, there’s something satisfying about that reveal. Front cover, inside spread, back cover. Four surfaces to work with. This is where I spend most of my time designing because it’s versatile enough for formal church weddings or backyard celebrations.
Tri-fold is fancy but can be overkill. I only recommend this when you’ve got multiple events to list (welcome drinks, ceremony, reception, day-after brunch) or when the venue itself has specific instructions that need space. Also they cost more to print and mail because of the weight, so just factor that in.
Typography Layouts That Don’t Look Like Everyone Else’s
I’m gonna be honest, I’m so tired of seeing the same script font combinations. You know the ones – that curly bride’s name paired with a sans serif groom’s name. It’s fine, it’s pretty, but also it’s on like every third invitation I see at this point.
Try mixing three fonts instead of two, but here’s the trick: use them in different sizes and weights to create hierarchy. Your names should be the biggest element obviously, but then maybe your date is in a completely different style – geometric, art deco, whatever fits your vibe. The venue info can be smallest and in a simple serif or sans serif that just conveys information without trying to be decorative.
Asymmetrical text layouts are having a moment and I’m here for it. Instead of centering everything (which is what everyone defaults to), try flush left or flush right alignment. Put your names on the left side, details on the right. Or stack everything on one side and leave the other side for a graphic element or photo. It immediately looks more custom and less template-y.
Oh and vertical text? Used sparingly, it’s really cool. I did this invitation last summer where we ran the wedding date vertically down the left margin and it became this architectural element that tied the whole design together. My cat knocked over my coffee on the first proof print of that one, which was just perfect timing.
Playing With Text Spacing
Kerning is your friend and most people don’t even know what it is. It’s the space between individual letters and adjusting it can make your design look expensive or cheap. Too tight and it’s hard to read, too loose and it looks like someone didn’t know how to use their design software.
Leading (the space between lines) is just as important. For formal invitations, you want generous leading so everything feels elegant and unhurried. For modern designs, you can tighten it up to create more energy and visual interest.
Color Blocking and Negative Space
This is where layout gets fun. Instead of thinking about your card as a white background with stuff on it, think about it as shapes of color that interact with each other. Maybe the left half of your card is navy blue with white text, and the right half is cream with navy text. Instant visual interest.
I worked with this couple who wanted jewel tones for their fall wedding and we did this layout where each panel was a different color – emerald, sapphire, ruby, gold. The text stayed consistent but the background colors told this rich, layered story. It was gorgeous and also solved the problem of how to include a ton of information without it feeling overwhelming.
Negative space is not wasted space and I wish more people understood this. You don’t need to fill every inch of your card. Sometimes the most elegant move is to put your names in the center and leave huge margins around them. It creates this breathing room that makes everything feel more luxurious.
Incorporating Photos Without Being Cheesy
Okay so engagement photos on invitations can go either way. Done well, they’re personal and sweet. Done badly, they look like a prom announcement from 1997.
If you’re gonna use a photo, make it big or make it small. Don’t do that medium-sized photo floating in the middle of the card – it’s awkward. Either commit to a full-bleed image that covers the entire front panel with text overlaid, or use a tiny photo as an accent element, maybe on the back panel or tucked into a corner.
Black and white photos tend to look more sophisticated than color on invitations. I don’t know why, they just do. Maybe it’s because they feel more timeless? Or because they integrate better with different color schemes?
Duotone effects are really cool right now too. That’s where you take a photo and instead of black and white, you use two colors – like navy and blush, or forest green and gold. It creates this dreamy, artistic effect that doesn’t compete with your text.
Photo Layouts Beyond The Obvious
Try splitting your photo across multiple panels. So like, the image starts on the front and continues inside when you open the card. It creates this reveal moment that’s pretty special.
Or use multiple small photos in a grid pattern instead of one large one. This works great if you wanna show different aspects of your relationship or your venue. Just keep them all the same size and evenly spaced so it looks intentional.
Geometric Patterns and Modern Elements
Circles, hexagons, triangles – geometric shapes can organize your information in ways that feel fresh and contemporary. I did this invitation in fall 2021 where we put all the ceremony details inside a large circle on the left page and all the reception details inside a matching circle on the right page. Simple but it created this balanced, harmonious feeling.
You can also use geometric shapes as frames or borders. Instead of a traditional rectangular border around your text, try a circular frame, or an arch shape (arches are huge in weddings right now anyway), or overlapping circles that create a Venn diagram effect.
Line work is another geometric element that doesn’t get enough attention. Thin lines can separate sections of information, create borders, or just add visual interest. Thick lines make bold statements. Dotted or dashed lines feel more casual and playful.
Illustrated Elements vs Floral Motifs
Look, I love a good floral border as much as the next wedding planner, but there are so many other options. Custom illustrations of your venue, your pets, landmarks from your city, things you love to do together – these make your invitation actually unique.
I had a couple who were both architects and we incorporated tiny line drawings of famous buildings around the border of their invitation. Another couple were kayakers and we had an illustrator draw this beautiful scene of two kayaks on a lake at sunset. These details made their invitations into keepsakes that actually reflected who they are.
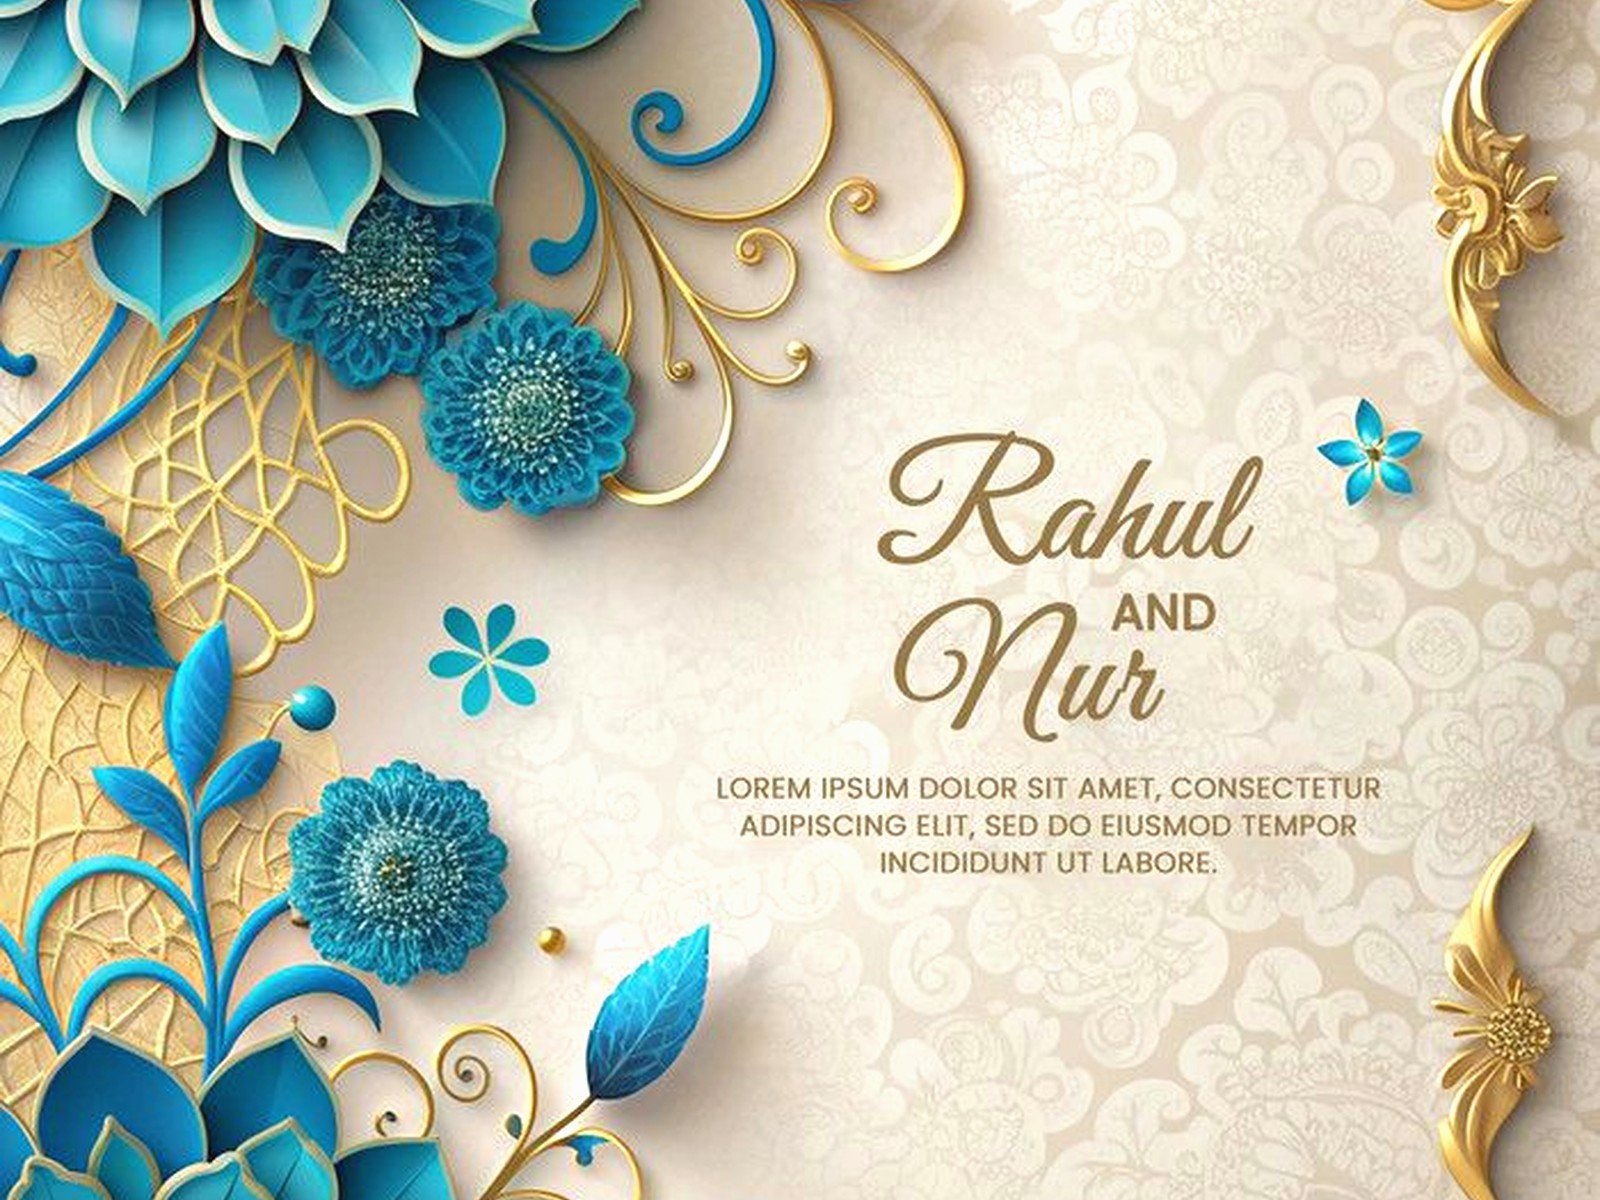
If you do want florals (and honestly they’re popular for a reason), think about placement beyond the standard corners and borders. What if the flowers only appeared on one side? What if they were watercolor washes behind the text instead of defined illustrations? What if they were line drawings instead of full-color realistic renderings?
Abstract and Artistic Approaches
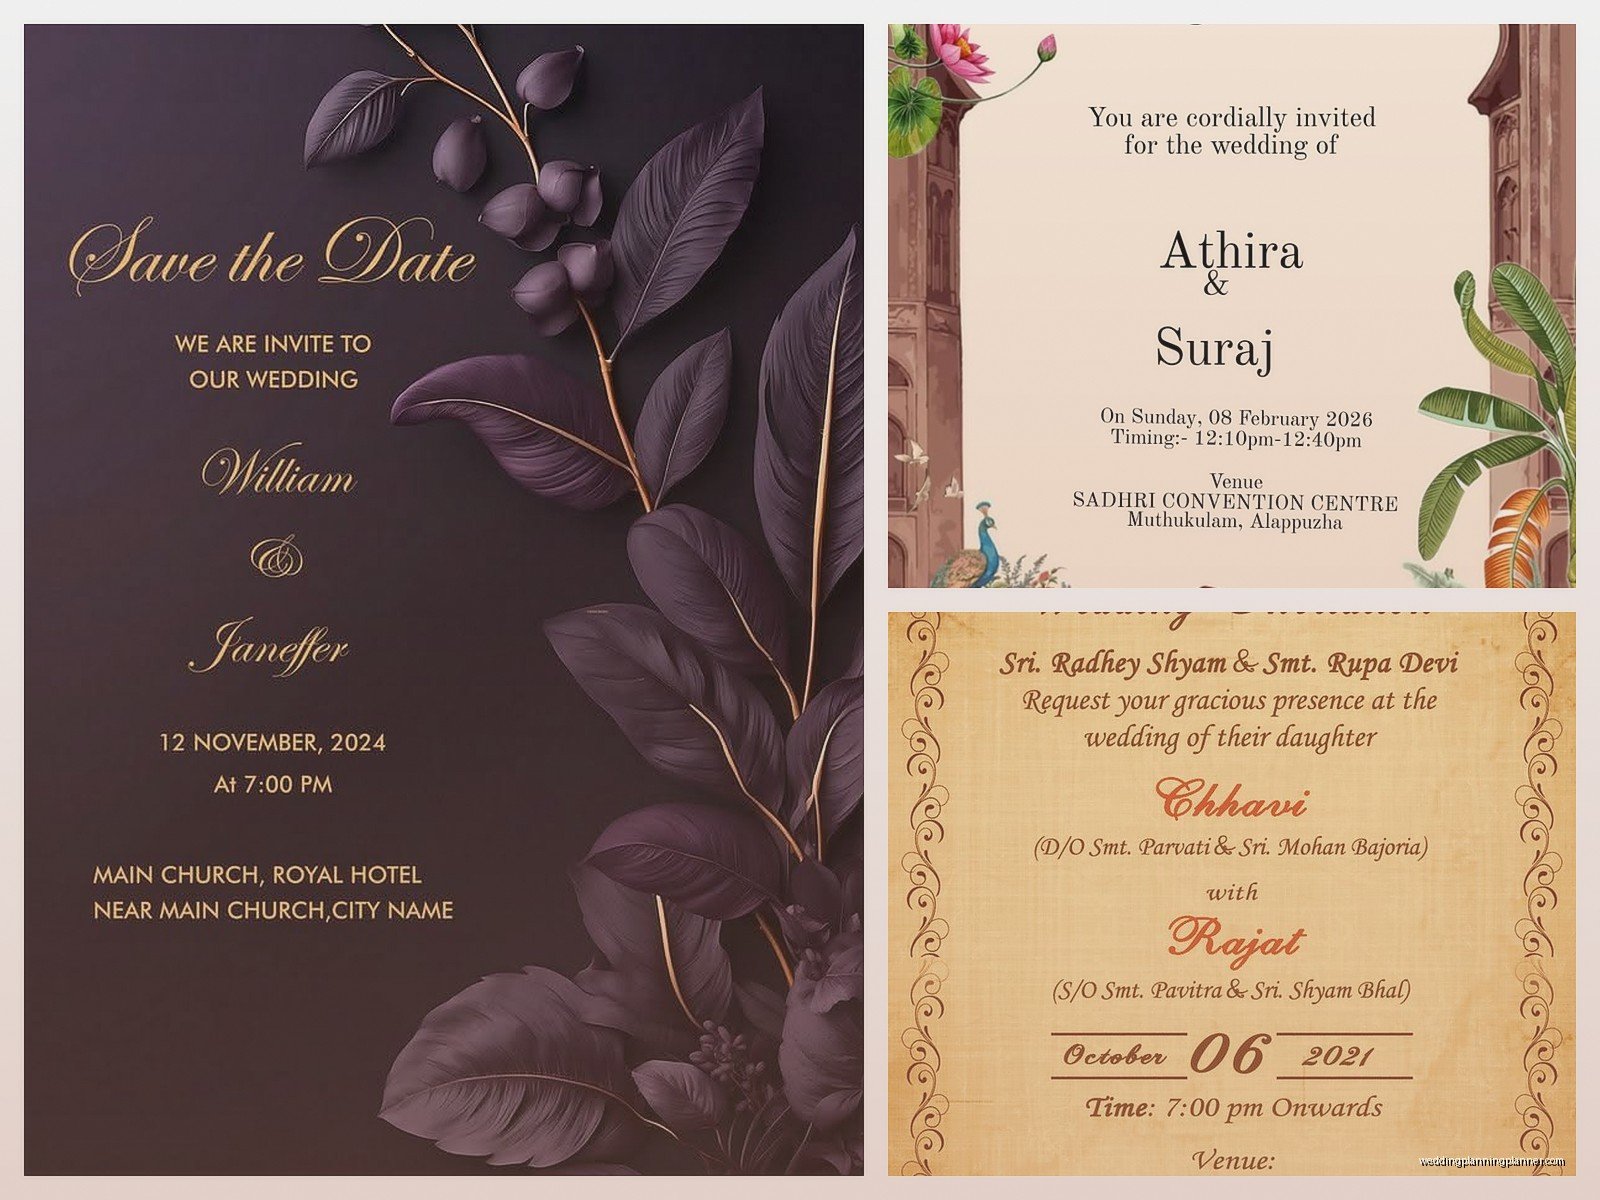
Watercolor washes, brush strokes, ink splatters – these organic elements can create really beautiful backgrounds for your text. The key is making sure there’s enough contrast so your words are still readable. Usually this means keeping the watercolor light and the text dark, or vice versa.
Marbled patterns are having a resurgence and they photograph really well. You can do traditional paper marbling techniques or digital marble effects. They work especially well for formal weddings because they have that luxe, artistic quality.
Layering and Dimension
Okay so this gets into printing techniques but it affects your layout decisions. If you’re using layers – like a vellum overlay, or belly bands, or envelope liners – you need to think about what information goes where and how it all works together.
Vellum overlays are tricky because they’re semi-transparent, so whatever’s underneath will show through. This can be beautiful if you plan for it – maybe your names are on the vellum in gold foil and the details are on the card underneath. But if you don’t plan for it, you get this muddy overlapping text situation that’s hard to read.
Belly bands (those paper or ribbon wraps that hold everything together) give you an extra surface to work with. You can put your monogram there, or a meaningful quote, or “Mr. and Mrs. Smith request the honor of your presence…” Some people use them just for decoration but I think that’s a missed opportunity.
Pocket folds are another layout consideration because you’re organizing multiple cards – the invitation itself, RSVP card, details card, maybe a map or accommodations card. They need to be sized so they fit in the pocket obviously, but also think about the order people will pull them out and read them. The invitation should be on top, most visible.
Unconventional Shapes and Formats
Who says invitations have to be rectangular? Square invitations are pretty common now, but you can also do circles, ovals, scalloped edges, arch-shaped, hexagonal… the main consideration is that weird shapes cost more to print and mail, and some printers can’t do them at all.
I’m obsessed with arch-shaped invitations right now. They have this romantic, architectural quality and they photograph amazingly well. Plus they’re different enough to stand out but not so weird that they seem gimmicky.
Gate-fold invitations open from the center outward like French doors and they’re so dramatic. Perfect for formal weddings or when you really want that reveal moment. The layout challenge is that you have to think about what’s visible when they’re closed versus what people see when they open them.
Practical Layout Tips I Learned The Hard Way
Margins matter more than you think. If you don’t leave enough space around the edges, text gets cut off during printing or looks cramped. I usually recommend at least a quarter-inch margin on all sides, more if you’re doing something fancy with the edges.
Hierarchy is everything. Someone should be able to glance at your invitation and immediately know what the most important information is. Usually that’s names and date. Everything else is secondary. Use size, weight, color, and placement to create this hierarchy.
Test your layout by showing it to someone who knows nothing about your wedding and asking them what they see first, second, third. If they’re not landing on the right information in the right order, adjust your design.
Bleed is a printing term but it affects layout – if you want your color or image to go all the way to the edge of the paper, you have to extend it beyond where the card will be cut. Otherwise you get this thin white border that looks unintentional. Your designer or printer should know this but it’s worth understanding yourself.
Digital vs Print Considerations
If you’re doing digital invitations (which more people are doing for save-the-dates at least), your layout needs work differently. Screens are horizontal, most printed invitations are vertical. Colors look different on screens than on paper. You can include clickable links and animations in digital designs which obviously you can’t do with paper.
I usually design digital invitations to be more vertical/portrait oriented even though screens are landscape, because people are viewing them on phones mostly and phones are held vertically. Also keep the most important info “above the fold” so people don’t have to scroll to see when the wedding is.
Working With Your Venue’s Aesthetic
Your invitation layout should give guests a hint about what to expect. Rustic barn wedding? Maybe your layout includes natural textures, kraft paper, loose handwritten-style fonts. Ballroom wedding at a historic hotel? Clean lines, classic typography, formal spacing.
That doesn’t mean your invitation has to literally show your venue (though it can), but the overall feel should match. I worked with a couple getting married at a botanical garden and we did this layout where the text was arranged like plant stems growing up the page, with small leaf illustrations connecting the different sections. It was subtle but it set the tone perfectly.
Beach weddings are where I see the most cliché layouts – anchors, starfish, waves, all of that. You can do better. Think about the colors of a beach at sunset, the horizontal lines where ocean meets sky, the organic shapes of tide pools. These can inspire a layout without being so literal about it.
Monograms and Custom Crests
A good monogram can become the centerpiece of your layout and then carry through to other wedding stationery. The trick is getting one that feels special to you, not just your initials in a fancy font (though sometimes that works too).
Custom crests or emblems are more elaborate but can be really stunning if your wedding has a formal or traditional vibe. These usually include your monogram plus decorative elements like laurel branches, banners, dates, meaningful symbols. They work great as the focal point on the front of the invitation with all the details inside.
Placement options for monograms are everywhere – centered at the top, bottom corner, as a watermark behind text, on the back of the card, on the envelope liner, on the belly band. Just don’t put it everywhere or it gets repetitive.
Color Theory in Layout Design
Colors affect how people read and experience your invitation. Dark backgrounds feel formal and dramatic but make sure your text is light enough to read easily. Light backgrounds feel airy and romantic but can look washed out if there’s not enough contrast.
Color blocking (which I mentioned earlier) can organize information visually. Maybe all the ceremony info is on a blush pink background and all the reception info is on sage green. Or use color to highlight the most important elements – names in burgundy while everything else is navy.
Ombre effects are still pretty popular, where color gradually transitions from one shade to another. This works best when it goes from light to dark top to bottom, because that’s how people naturally read – you don’t want dark text disappearing into a dark background halfway down the card.
I did this invitation recently where we used the couple’s wedding colors but in really unexpected ways – their colors were coral and teal, which could easily look tropical or beachy, but we used them in a geometric art deco layout with gold accents and suddenly it felt glamorous and sophisticated instead. Context matters as much as the colors themselves.