Planning Guides, Style Guide
Unique Wedding Card Design: Design & Ordering Guide
Apr
Getting Started With Your Wedding Card Design
Okay so the first thing you gotta know about unique wedding card design is that most couples start this process way too late. Like, I had this couple in spring 2023 who contacted me six weeks before their wedding asking for custom letterpress invitations and I literally had to tell them that wasn’t gonna happen unless they wanted to pay rush fees that would make their eyes water. Start looking at designs at least 6-8 months before you need to mail them.
The timeline thing really matters because custom design work takes time. You’re looking at initial consultations, then the designer creates concepts, you review them, there’s probably gonna be revisions, then you approve the final design, then it goes to print, then you have to assemble everything if you’re doing fancy stuff with ribbons or wax seals or whatever. I know it seems like forever but trust me on this.
Figuring Out Your Actual Style
Before you even start looking at designers or templates, you need to figure out what “unique” actually means to you. I see so many couples say they want something unique and then they show me the same minimalist line drawing invitation that literally everyone else is ordering from Etsy. Which is fine! But that’s not unique, that’s trendy.
Make a Pinterest board or whatever but also think about these questions: What colors are you actually drawn to? Not your wedding colors necessarily, but colors you like. What’s your handwriting like – do you love it or hate it? Would you want it incorporated? Are there textures you’re obsessed with? Do you collect anything weird that could inspire a motif?
I had a couple once who were both marine biologists and we incorporated this really subtle pattern of phytoplankton into their invitation design and it was absolutely stunning but you had to look closely to see what it was. That’s the kind of personal unique that actually means something, not just picking whatever’s trending on Instagram this season.
The Budget Reality Check
Alright so here’s what really annoys me about wedding card advice online – nobody talks about actual numbers until you’re already emotionally invested. So let me break it down:
- Template designs you customize yourself: $50-200 for digital files
- Semi-custom with an Etsy designer: $300-800 depending on complexity
- Custom design with a stationery studio: $1,000-3,000+ just for design
- Printing costs are separate and depend on method and quantity
Printing is where things get wild. Digital printing is cheapest, maybe $2-4 per invitation suite. Letterpress starts around $8-15 per suite. Foil stamping, engraving, all that fancy stuff… you’re looking at $10-25+ per invitation. And you need to order extra because people mess up addressing them or you’ll forget someone or whatever.
For 100 invitations with custom design and letterpress printing, you’re realistically looking at $2,000-4,000 total. I know that sounds insane but that’s what unique actually costs.
Finding The Right Designer
There’s basically three routes you can go: DIY with templates, semi-custom designers, or full custom studios. Each has pros and cons that nobody really explains properly.
DIY Templates: Sites like Minted, Zazzle, or Etsy have templates you can personalize. You pick the design, plug in your info, maybe change colors. It’s the most budget-friendly option and honestly some of the templates are gorgeous. The downside is you’re limited to what exists and you might see your same invitation at another wedding. Also the customization options are usually pretty restricted – you can’t just decide to move that text box wherever you want.
Semi-Custom Designers: This is the sweet spot for most people I work with. You find a designer on Etsy or Instagram whose style you love, and they’ll adapt one of their existing designs for you or create something new based on their aesthetic. You get more input, more customization, but you’re still working within their established style and processes. Turnaround is usually 2-4 weeks for the design phase.
Full Custom Studios: This is when you hire a stationery designer to create something completely from scratch based on your vision. Sky’s the limit here but so is the budget. These designers usually want to do your whole paper suite – invitations, programs, menus, place cards, everything. The process is more involved, more meetings, more… everything.
What To Actually Ask Designers
When you’re interviewing designers or messaging them on Etsy, here’s what you need to know:
- What’s included in their design fee? How many revision rounds?
- Do they provide print-ready files or do you have to use their printer?
- What file formats will you receive?
- Timeline from start to finished printed invitations?
- Do they handle printing or just design?
- What if you need to make changes after the “final” version?
- Can you see the actual paper samples before committing?
That last one is huge. Paper quality varies SO much and what looks good on a screen might feel cheap in person or vice versa.
Design Elements That Actually Matter
Okay so you’re working with a designer and they’re asking you questions and you’re like… I don’t know, I just want it to look good? Here’s what actually makes a difference in the final product.
Typography: The fonts you choose set the entire tone. I see couples mixing like four different fonts and it looks chaotic. Stick to 2-3 max. One for names/headers, one for body text, maybe one accent font if you really need it. And please, for the love of everything, make sure the fonts are actually readable. I once had a bride choose this gorgeous script font that literally no one could read and we had guests showing up on the wrong day because they couldn’t decipher the date.
Color Palette: You don’t have to match your wedding colors exactly. In fact, sometimes it’s better if you don’t? Your invitations are the first impression and they should feel cohesive with your wedding but not matchy-matchy. I usually suggest picking 2-3 colors max for the invitation itself. More than that and it starts looking like a carnival.
Paper Stock: This is where you can make something feel really luxurious without going full letterpress. Cotton paper feels completely different than regular cardstock. Textured papers, colored papers, even the weight of the paper matters. 110lb cardstock is standard, but 130lb feels noticeably more substantial. My cat knocked over my paper sample box last week and I’m still finding little swatches everywhere, but it’s worth having physical samples to touch.
Printing Methods Explained
The printing method you choose affects both the look and the cost dramatically, and I feel like people don’t understand the actual differences…
Digital Printing: This is your standard printer situation but professional quality. It’s the most affordable, super versatile with colors and designs, and perfect for photos or watercolor designs. The ink sits on top of the paper. It looks clean and modern. Turnaround is fast.
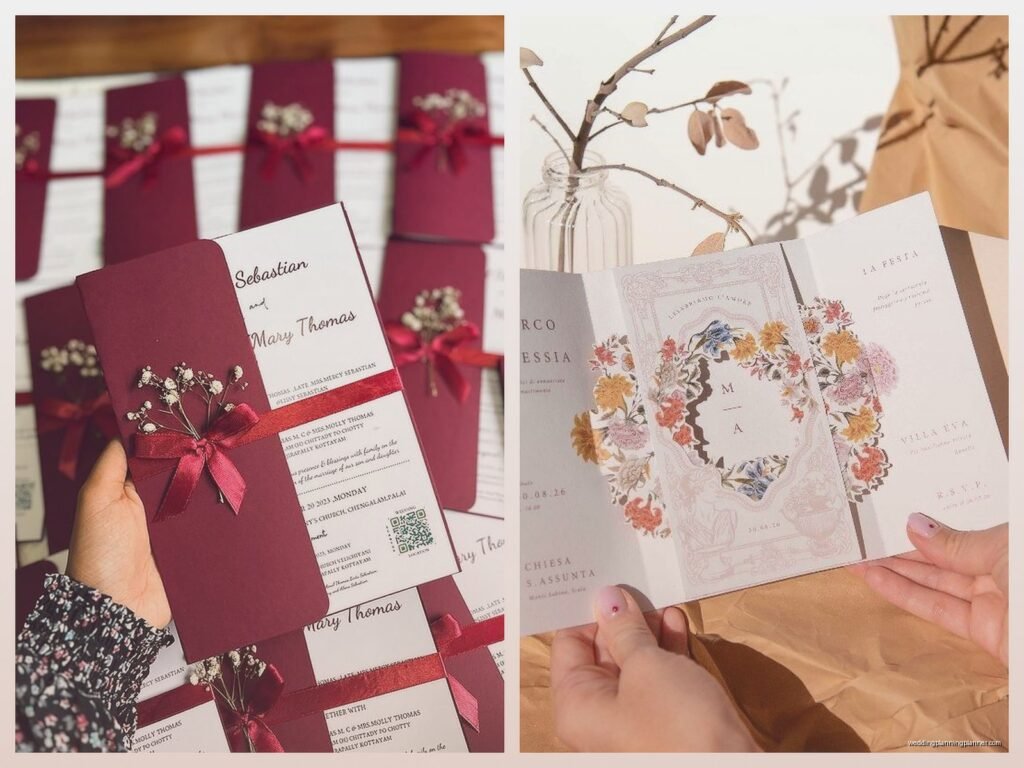
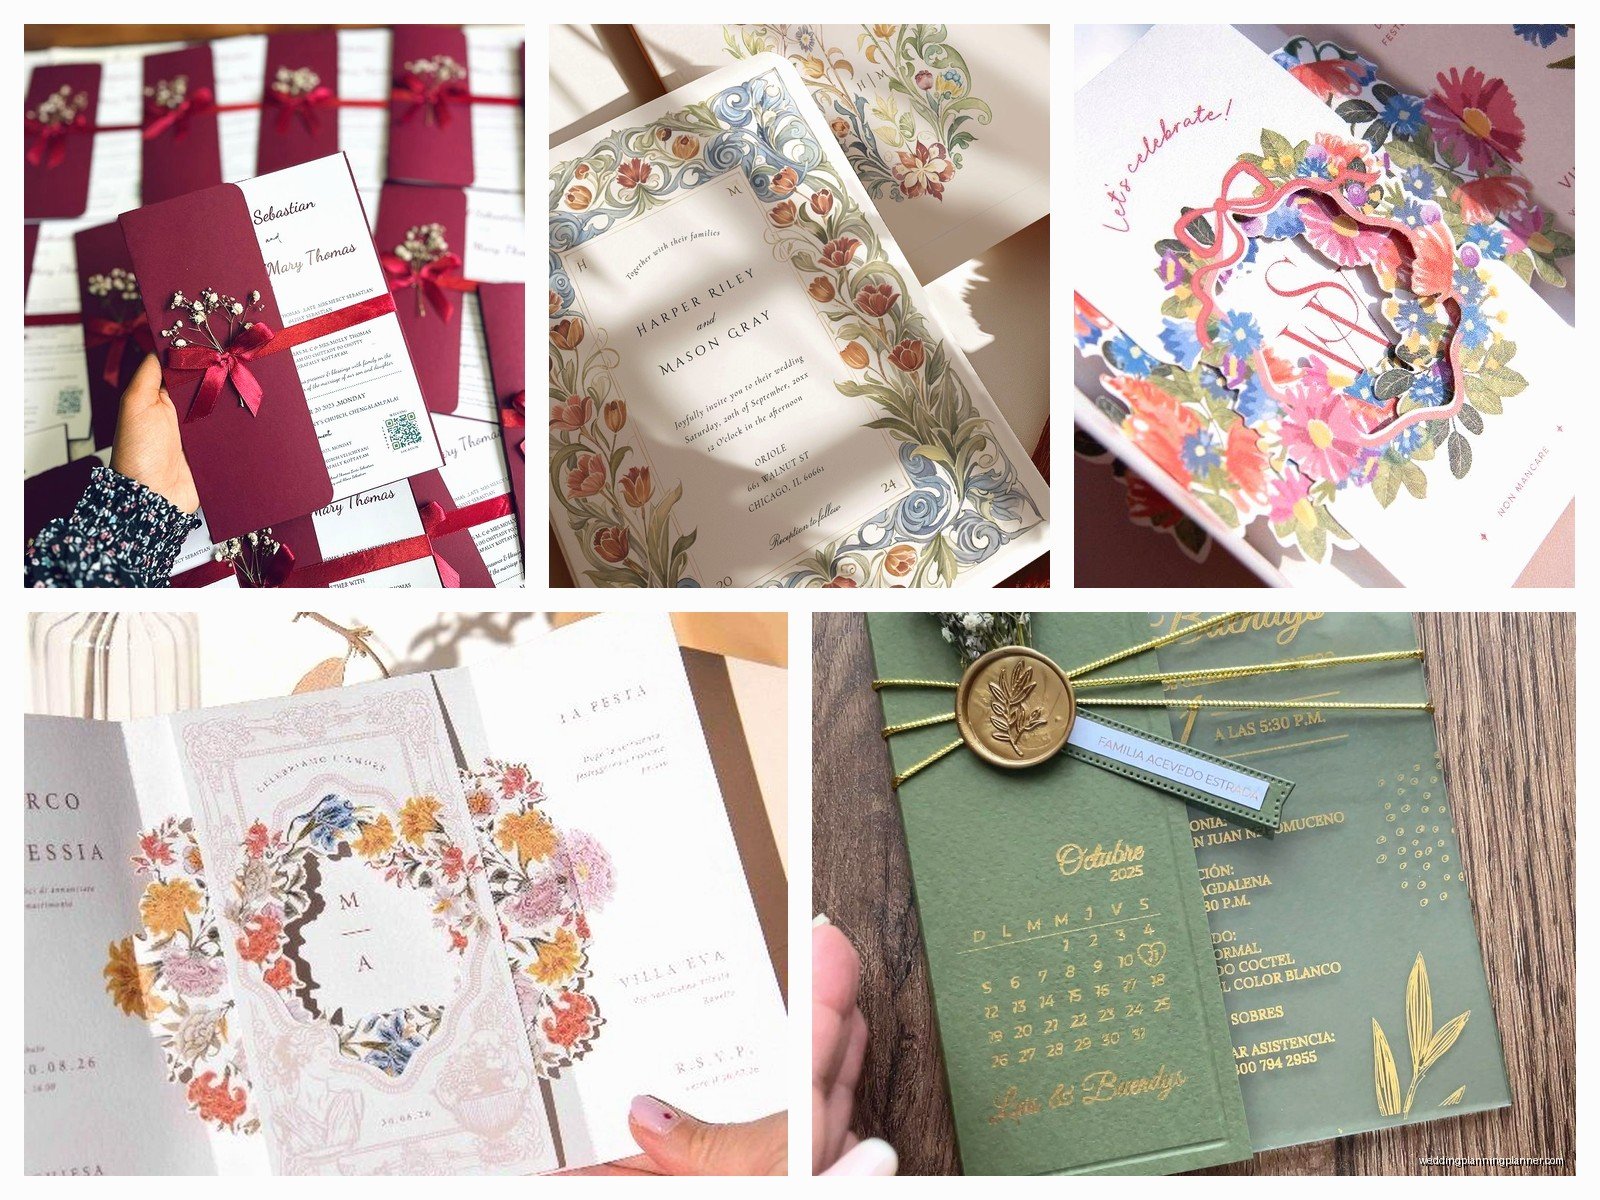
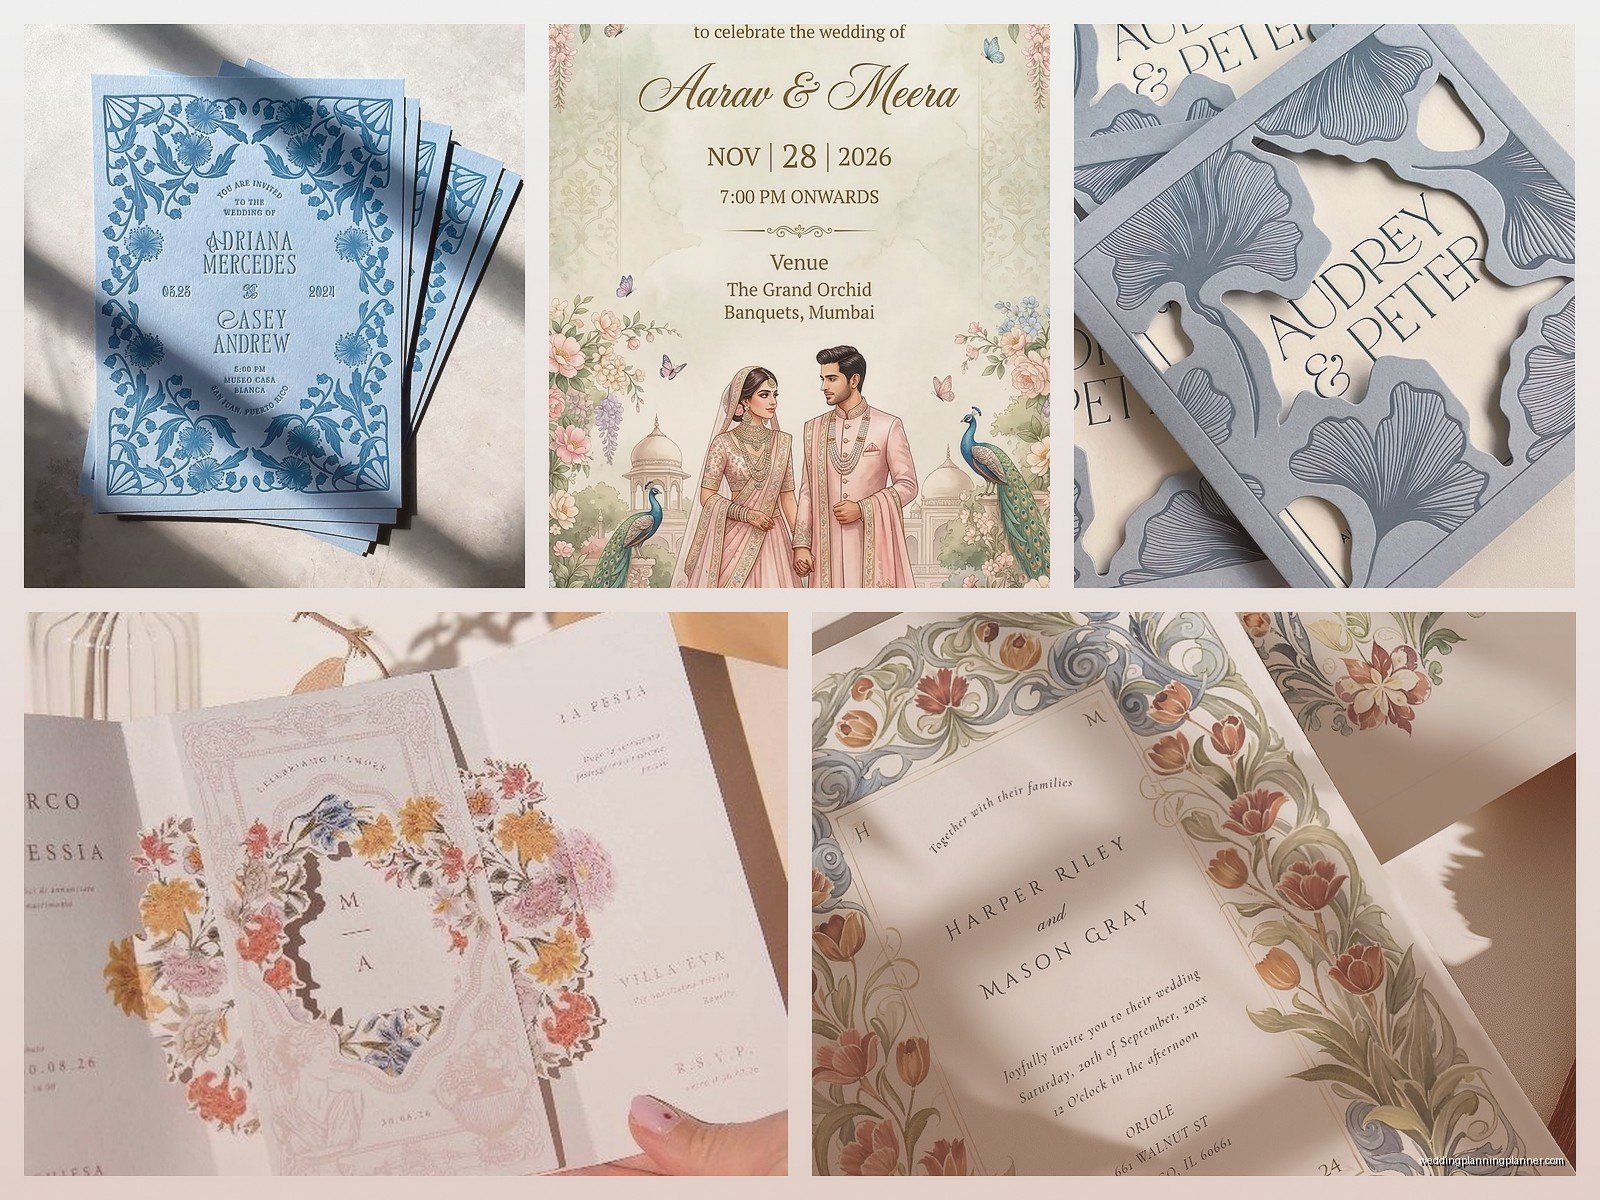
Letterpress: This is when the design is pressed into the paper, creating an impression you can feel. It’s gorgeous and tactile and very traditional-fancy. The downsides? It’s expensive, you’re limited to usually 1-2 colors unless you wanna pay even more, and fine details don’t always work well. Also it requires thick paper to really show the impression.
Foil Stamping: Metallic foil is pressed onto the paper with heat. It’s shiny, it’s eye-catching, it photographs beautifully. Gold and rose gold are super popular right now. It’s also expensive and you can’t do it yourself – needs professional equipment.
Engraving: The most formal and traditional method. The design is etched into a metal plate and pressed into the paper, creating raised text. It’s what fancy wedding invitations used to be. Very expensive, very classic, very “my family has old money” vibes.
You can also combine methods which looks amazing but kinda destroys your budget. Letterpress with foil accents? Gorgeous. Also probably $20+ per invitation.
The Ordering Process Step By Step
Once you’ve got your design finalized, here’s how ordering actually works and what to expect:
First, you’ll get a proof. Do NOT approve this without checking every single word multiple times. Get other people to read it. I cannot tell you how many times couples have missed typos in their own names or the venue address. Print it out at actual size if you can, because things look different on screen versus in your hand.
Check the date. Check the time. Check AM vs PM. Check the year (yes, really). Check that the RSVP date makes sense and is before your actual wedding date. Verify the website URL if you included one. Make sure all the names are spelled correctly, including your parents’ names if you’re doing traditional wording.
When you’re ordering quantities, here’s the formula I use: Number of households you’re inviting + 15-25 extra. You need extras for last-minute additions, mistakes in addressing, keepsakes for yourself and parents, and backups. I always order extra envelopes too because you will mess some up while addressing.
Assembly And Extras
If you’re doing a formal invitation suite, you’ve got multiple pieces: the invitation itself, RSVP card, RSVP envelope, details card, maybe a weekend events card, maybe a map, maybe accommodations info. All of this needs to be assembled in the right order.
Traditional order from bottom to top: invitation (face up), tissue paper if you’re fancy, reception card, other enclosure cards, RSVP card under the flap of its envelope (face up so you can read it). Then everything goes into the main envelope.
But honestly? Do whatever makes sense for your suite. The etiquette police aren’t gonna come after you.
Belly bands, ribbon, wax seals, vellum overlays – these all look gorgeous but they add time and cost. Wax seals especially… they’re beautiful in photos but they sometimes crack in the mail or cause issues with postal equipment. I spent an entire weekend in summer 2021 applying wax seals to 150 invitations for a client and my thumb still hasn’t forgiven me. If you’re doing wax seals, use real wax and a good seal, not those cheap glue gun stick things.
Addressing And Mailing
You’ve got options for addressing: handwrite them yourself, hire a calligrapher, use digital calligraphy printing, or print directly on the envelopes.
Real calligraphy is stunning but expensive, usually $3-8 per envelope depending on the calligrapher and how fancy the style is. Digital calligraphy (where they print in a calligraphy-style font) is more affordable, maybe $1-2 per envelope. Printing directly on envelopes yourself is free but you need a printer that can handle thick envelopes.
Whatever you do, make sure you’re using proper titles and names. The formal etiquette rules are kinda outdated for modern couples, but your older relatives might have opinions about it. I usually tell couples to follow formal etiquette for their grandparents’ generation and be more casual for friends.
Before you mail everything, take ONE COMPLETE INVITATION to the post office and have them weigh it. Square envelopes, thick suites, wax seals, anything lumpy – it all affects postage. You might need extra postage or hand-canceling. Hand-canceling means they process it by hand instead of through the machine, which prevents your wax seals from getting destroyed and your envelopes from getting chewed up. There’s sometimes a small fee but it’s worth it for fancy invitations.
Digital Files And Printing Options
If you’re getting just the design files from your designer, you’ll need to figure out printing separately. You can use online print shops like Minted, Catprint, or PrintingCenterUSA, or you can use a local printer.
Online printing is usually cheaper and more convenient. Upload your files, choose your specs, they mail you the finished products. The downside is you can’t see paper samples in person first and if something goes wrong, you’re dealing with customer service and shipping timelines.
Local printers cost more but you can build a relationship, see samples, and fix problems faster. Plus you’re supporting a local business which feels good.
Make sure your designer gives you files in the right format – usually PDF with bleed and crop marks for professional printing. The resolution should be 300 DPI minimum. If they give you JPEGs or low-resolution files, that’s a red flag.
Common Mistakes To Avoid
Don’t order your invitations before you have your venue and date 100% confirmed. I know that seems obvious but you’d be surprised.
Don’t forget about postage costs in your budget. For 100 invitations with normal postage you’re looking at maybe $70-80, but if you need extra postage or international stamps, it adds up fast.
Don’t make the text too small. I get it, you have a lot of information to include, but if your guests need reading glasses to see the venue address, that’s a problem. 10-point font minimum for body text.
Don’t ignore your RSVP deadline. It should be at least 3-4 weeks before your wedding so you have time to follow up with people who don’t respond (and there will be many) and give final counts to your caterer.
Don’t forget to include your wedding website if you have one. That’s where people can find all the details you can’t fit on the invitation itself.
Sustainable And Alternative Options
If you’re environmentally conscious, there are ways to do unique invitations without the waste. Seed paper that guests can plant is really popular – it’s embedded with wildflower seeds and biodegrades. Recycled paper stocks are widely available now and don’t look cheap like they used to.
Digital invitations have come a long way too. Sites like Paperless Post or Greenvelope have gorgeous designs and they’re obviously the most eco-friendly option. Some couples do a hybrid – digital save-the-dates and printed invitations, or vice versa. Just know that older guests might struggle with digital-only invites.
Wood invitations are a thing now, like actual thin sheets of wood with your invitation engraved on them. They’re unique for sure but they’re heavy (expensive postage) and not everyone’s style. Same with acrylic invitations – they photograph amazingly but they’re not cheap and definitely not sustainable.
Working With Your Designer During Revisions
Most designers include 2-3 rounds of revisions in their fee. Use them wisely. Don’t approve a design if you’re not happy with it just because you feel bad asking for changes – this is what you’re paying for.
But also, be specific about what you want changed. “I don’t like it” doesn’t help your designer fix anything. Instead: “Can we try a different font for our names? This one feels too casual” or “The flowers are overwhelming the text, can we make them smaller or more subtle?”
Understand that some changes are minor (swapping colors, adjusting text size) and some are major (complete layout redesign, changing the entire concept). If you’re asking for major changes after multiple rounds, you might need to pay extra.
Get feedback from people whose opinions you trust, but don’t poll everyone you know. Too many opinions will make you second-guess everything and you’ll never make a decision. I usually suggest showing it to 2-3 people max who understand your style.