Planning Guides, Style Guide
Simple Wedding Card Design: Design & Ordering Guide
Apr
Starting With The Actual Design Part
Okay so the biggest mistake I see couples make is they jump straight into Pinterest without figuring out what they actually need on the card first. Like I had this couple in spring 2023 who came to me with seventeen different inspiration images and none of them had the ceremony time listed because they were all “artistic” photos that cropped that part out. We had to start completely over.
You gotta list out the essential info before you think about fonts or colors or whatever. Here’s what absolutely needs to be on there:
- Both of your full names (however you want them – formal or casual)
- The date – write it out, don’t do 06/14/25 because half your guests will think that’s June and the other half will think it’s the 6th
- The time – and be specific about AM/PM
- The venue name and full address
- RSVP details or at least “invitation to follow” if this is a save the date
I know it seems obvious but you’d be shocked how many designs I’ve seen that forget the actual address. Just the venue name. Like cool, I’ll just Google it and hope there’s only one “The Barn” in your entire state.
Picking A Design Style That Won’t Make You Cringe Later
Simple wedding cards are actually harder than elaborate ones because every choice shows. There’s nowhere to hide. When you’ve got a minimalist design with three lines of text and one delicate border, that font better be perfect.
Here’s what I mean by simple styles that actually work:
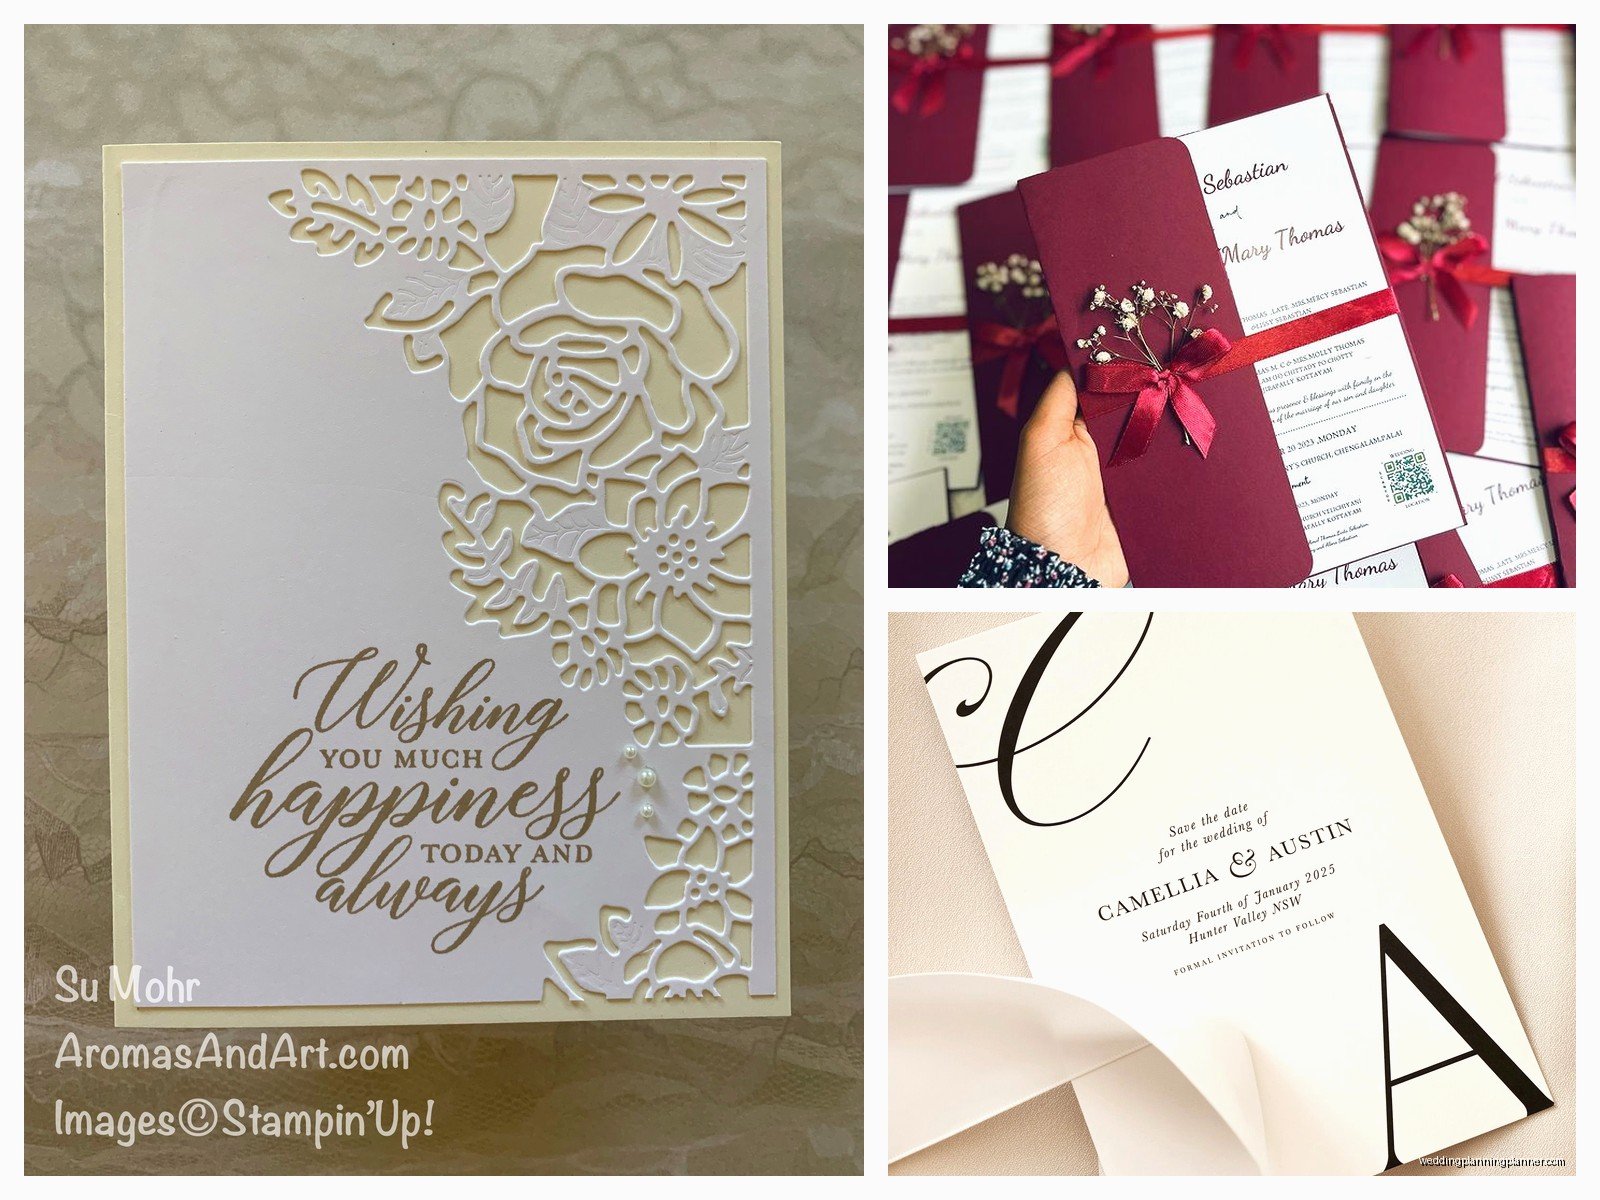
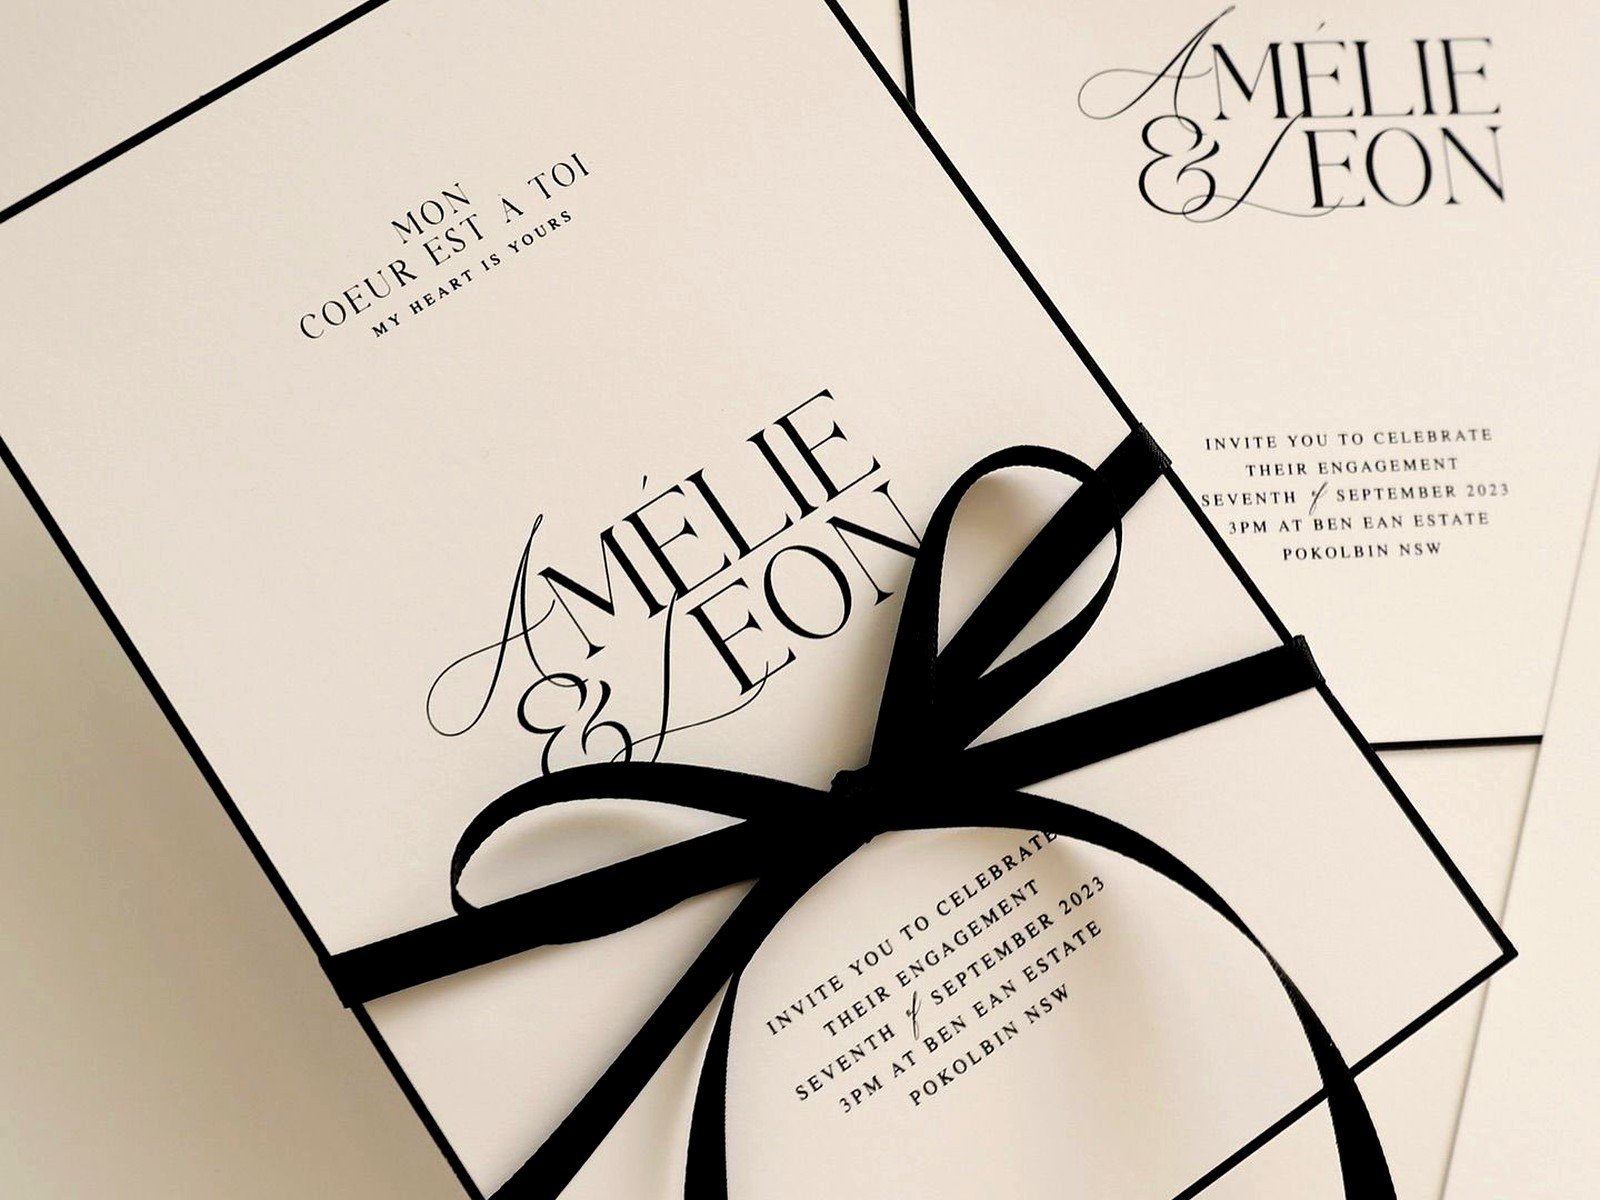
- Classic typography – just really good fonts, lots of white space, maybe one thin border
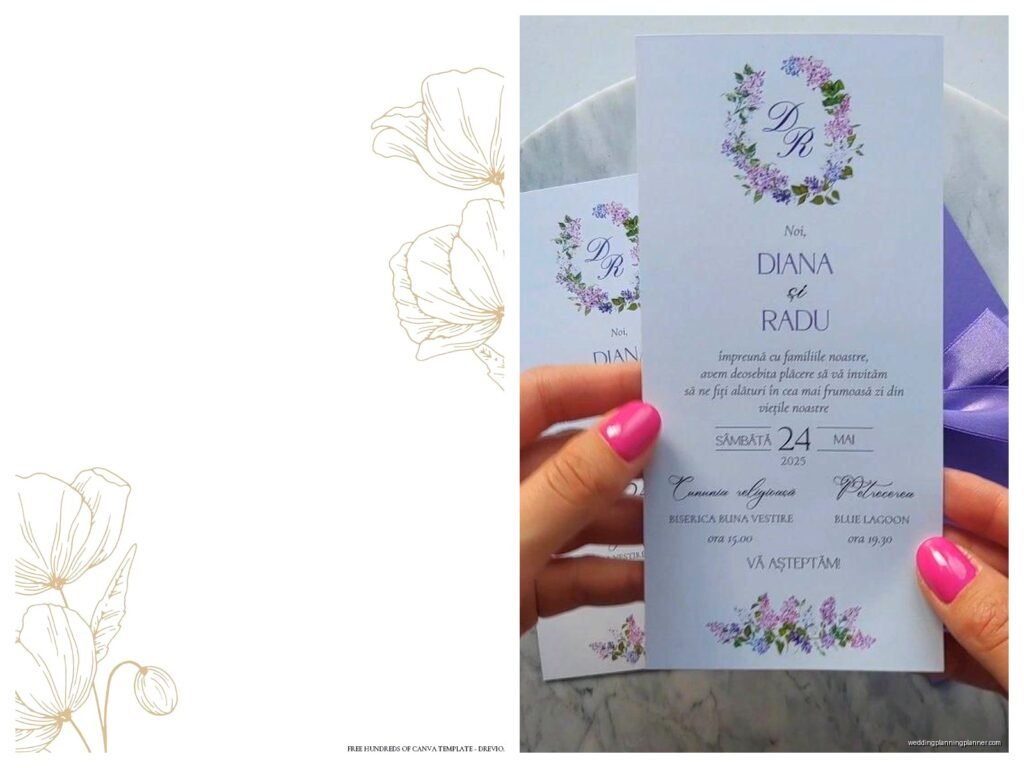
- Single color accent – black text with one color for your names or the date
- Minimal line drawings – like a simple arch outline or single flower stem
- Modern sans serif – clean, contemporary, very “less is more”
The thing that annoys me SO much is when couples say they want “simple” but then add seventeen different elements because they can’t decide. Simple means you pick like two or three design elements MAX and you commit. I’ve literally had to talk clients down from adding their dog’s portrait to an otherwise elegant minimalist design. Save that for the cocktail napkins or something.
Colors For Simple Designs
You’re probably gonna want to stick with a limited palette. Two colors plus white is plenty. Three colors if you’re feeling fancy but honestly that’s pushing it for a simple design.
Safe combinations that always look good: black and white with gold foil, navy and white, sage green and cream, terracotta and cream, charcoal and blush. You can also do tone-on-tone which is like cream text on white cardstock – very subtle and elegant but make sure there’s enough contrast that people can actually read it.
Oh and if you’re doing colored cardstock instead of white, test it first because some colors make text really hard to read. I learned this the hard way with a dusty purple situation that looked beautiful online and completely washed out the text in person.
Fonts Are Gonna Make Or Break This
This is where people either nail it or completely mess up their simple design. You want maybe two fonts – one for names/headers and one for details. Or honestly just one font in different weights can look really sophisticated.
For simple designs I usually recommend:
- One serif font for everything – like Garamond or Cormorant – very classic
- One modern sans serif – like Montserrat or Futura – very clean
- A simple script for names only, paired with a clean sans serif for details
What you don’t want is like a curly script font for everything because nobody can read that. Your aunt Karen shouldn’t need reading glasses and a magnifying glass to figure out what time to show up.
Also avoid fonts that are trendy right now unless you’re okay with your cards looking dated in five years. Not that it matters really because they’re wedding invitations, not your brand identity, but still. Some couples care about that.
Paper Stock And Printing Methods
Alright so this is where the budget comes in and where you need to make real decisions. Simple designs can be printed basically anywhere, which is both good and bad because you’ve got too many options.
Paper weight matters more than you think. Standard cardstock is 80-100 lb. For wedding stuff you want at least 110 lb, preferably 120-130 lb. It just feels more substantial. I’ve seen couples go with flimsy paper to save money and it looks… cheap. Sorry but it does.
Printing Options From Cheapest To Fanciest
Digital printing – this is your Minted, Zola, Vistaprint situation. Totally fine for simple designs. Fast, affordable, lots of templates. The colors are pretty accurate and you can usually get samples. Expect to pay like $1-3 per invitation.
Letterpress – this is where you get that pressed-into-the-paper look. GORGEOUS for simple designs because the texture becomes part of the design. But expensive – like $8-15 per invitation easily. And you need to order way in advance because it’s a specialized process.
Foil printing – metallic foil stamped onto the paper. Really pretty for minimal designs with just your names or a simple border in gold or silver. Mid-range price wise, maybe $4-8 per invitation.
Engraving – the fancy traditional method where the text is literally carved into a metal plate. Beautiful, expensive, takes forever. Only worth it if you’re going full traditional formal wedding.
I usually tell couples to do digital printing for the main invitation and maybe splurge on foil or letterpress for one element if they want something special. Like digital text with a foil border or something.
Working With Online Design Tools Vs Hiring Someone
So you’ve got options here. You can DIY it with Canva or similar tools, use a template from a printing site, or hire a designer. For simple wedding cards honestly the DIY route works fine if you’ve got any design sense at all.
Canva has a million wedding invitation templates and you can customize them pretty easily. Just please please please don’t use their default fonts if you want it to look professional. Upload better fonts or pick from their premium options. And watch out for alignment – everything should line up properly, text should be centered or left-aligned consistently, not just kinda wherever.
Template sites like Minted or Greenvelope are great because they’ve already done the design work and you just customize colors and text. The designs are professionally done so they’re balanced properly. You’re paying a bit more than pure DIY but you’re also not gonna end up with something that looks like a middle school project.
Hiring a designer makes sense if you want something custom or if you’re particular about every detail. Expect to pay $300-800 for custom invitation design. For simple designs this might feel like overkill but some people want that perfect custom look.
What To Ask For When Ordering
Whether you’re doing it yourself or working with someone, you need to know these things before you order:
- Exact guest count plus like 15-20 extra for mistakes and keepsakes
- Whether you need matching envelopes, envelope liners, RSVP cards, details cards
- Your timeline – most printing takes 2-3 weeks but fancy methods take longer
- Whether you want guest addressing printed or if you’re doing it yourself
Oh and this is random but my cat knocked over my coffee onto a proof sample once and I discovered that some printing methods are NOT waterproof. So if you’re worried about that… maybe check. Or keep your cat away from your wedding stuff.
The Actual Ordering Process
Order samples first. I cannot stress this enough. Colors look different on screen vs printed, paper feels different than you expect, sizes might be off. Most places charge like $5-10 for a sample and it’s worth every penny.
When you’re ready to order the full batch, triple check everything. And I mean everything. Names spelled correctly, date is right, venue address is complete, RSVP date isn’t after the wedding (yes this happens). Get multiple people to proofread because you’ve probably looked at it so many times you can’t see mistakes anymore.
Timeline wise, I tell couples to order invitations 4-5 months before the wedding and mail them 6-8 weeks before. So work backward from there. If your wedding is in September, you should be finalizing designs in April and ordering in early May.
Common Mistakes That Are Gonna Drive You Crazy
Inconsistent spacing – like the spacing between lines changes randomly. It looks sloppy even if people can’t pinpoint why. Use a grid or guides when designing.
Too many fonts – I mentioned this already but seriously. Two fonts max for simple designs. Three is pushing it. Four is a crime against design.
Text that’s too small – elegant and delicate is great until your guests need a microscope. Nothing smaller than 9pt for body text, and honestly 10-11pt is better.
Forgetting about envelopes – your beautiful simple invitation comes in a plain white envelope and it looks… incomplete. At least get envelopes that match your cardstock color or add a simple liner.
Not considering accessibility – script fonts are hard for people with dyslexia or vision issues to read. If you’re using script, use it sparingly and make sure the important info is in a clear font.
Assembly And Mailing
Okay so you got your cards printed and now you have 150 pieces of cardstock staring at you. Assembly time. For simple designs this should be straightforward – card goes in envelope, you’re done. But there’s still stuff to think about.
Envelope addressing – you can print directly on envelopes, use labels, hire a calligrapher, or handwrite them. For simple designs I actually think printed addressing looks really clean and modern. Calligraphy can feel like too much unless your whole vibe is formal traditional.
Postage – boring but important. Take a fully assembled invitation to the post office and have them weigh it. Square envelopes cost more to mail (they’re considered irregular). Thick invitations cost more. Budget like $1-2 per invitation for postage, maybe more if you’re doing something oversized or heavy or… wait I’m getting distracted because there was this whole drama with a couple who used vintage stamps that didn’t add up to the right postage and half their invitations got returned and it was a nightmare.
Anyway. Get the right postage, mail them all at once from the post office (don’t just drop them in a mailbox), and consider asking for hand canceling if your invitations are thick or have embellishments. Machine processing can damage nice cardstock.
Digital Alternatives For Simple Designs
Some couples are skipping paper entirely and doing digital invitations. For simple designs this actually works really well because you can do clean, minimal layouts that look great on screens.
Sites like Greenvelope, Paperless Post, or even custom websites can host your invitation. Benefits are it’s cheaper, faster, easier to track RSVPs, and more environmentally friendly. Downside is some older guests might find it confusing or impersonal.
If you go digital, the design principles are the same – keep it simple, use good fonts, make sure all the info is clear. But you can also add features like maps, links to your registry, and real-time RSVP tracking which is kinda nice.
I’m seeing more couples do a hybrid thing where they send digital to most guests and paper to like grandparents or VIPs who would appreciate the physical card. That’s actually pretty smart from a budget perspective.
Budget Breakdown
Since this is supposed to be practical, here’s what you’re actually looking at cost-wise for simple wedding card designs:
DIY with Canva + Vistaprint: Maybe $100-200 total for 100 invitations including envelopes and postage. This is the budget option and it can look good if you have decent design sense.
Template from Minted/Zola: $200-400 for 100 invitations with envelopes. Better quality, professional designs, still affordable.
Semi-custom with Etsy designer: $300-600 including design and printing. Good middle ground.
Fully custom with letterpress or foil: $800-1500+ for 100 invitations. This is the splurge option.
Simple designs are usually cheaper than elaborate ones because there’s less printing complexity, fewer colors, no crazy die-cuts or whatever. But you can still spend a lot if you want fancy paper or printing methods.
Stuff Nobody Tells You
You’re gonna second-guess your design choice like three times during the process. That’s normal. Pick something you like and stick with it because endless revisions will drive you insane and cost extra money.
Order extra invitations – at least 15-20 more than your guest count. You’ll mess up addressing, you’ll want to keep some as keepsakes, last-minute guests will appear. Extra invitations are cheaper when ordered with the main batch than reordering later.
The RSVP deadline should be at least 2-3 weeks before your final headcount is due to the caterer. People will respond late (they always do) and you need buffer time.
Consider having a details card separate from the main invitation – it can list your wedding website, hotel info, dress code, whatever. This keeps your main invitation clean and simple while still getting people the info they need.
Some printers have minimum orders (like 25 or 50 invitations) so if you’re having a tiny wedding, check that first or you’ll end up with way more invitations than you need.