Planning Guides, Style Guide
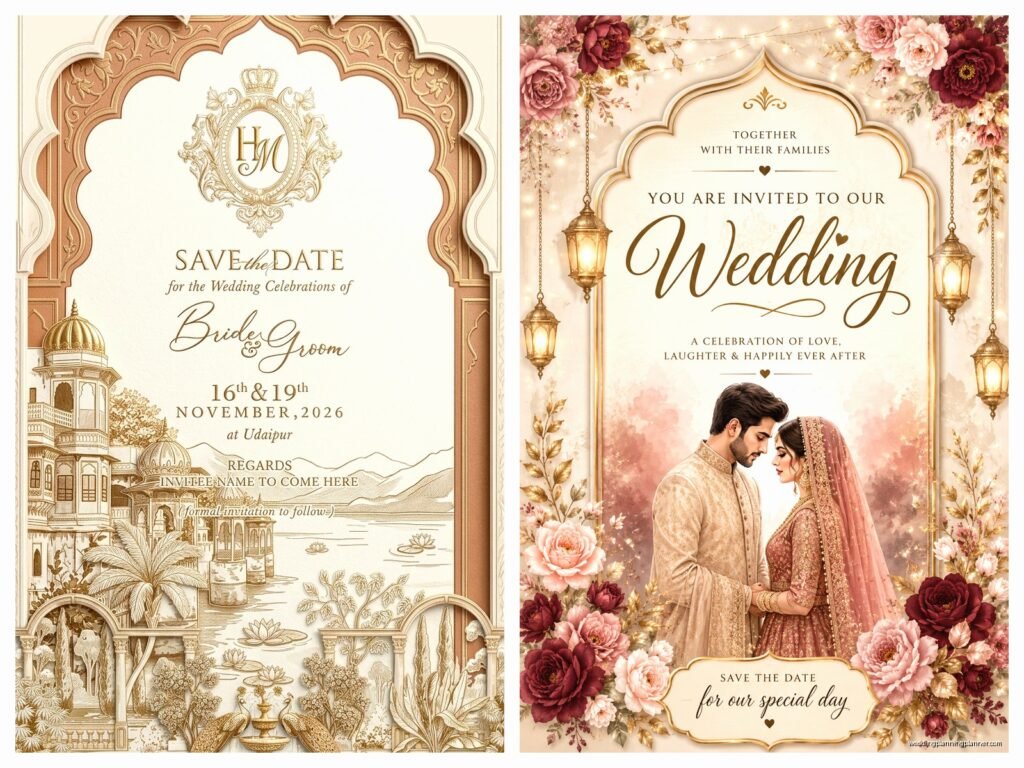
Digital Card For Wedding: Design & Ordering Guide
Jun
Starting With Digital Wedding Cards Because Honestly They Make Sense Now
So digital wedding cards are kinda everywhere now and I’m not gonna lie, when couples first started asking me about them back in spring 2023 I was a little skeptical because I’m literally a stationery person. But then I had this couple, Maya and Josh, who had guests in like seven different countries and the cost of international shipping was absolutely insane. We’re talking almost $800 just for save-the-dates. That’s when I really started paying attention to what digital options could do.
The thing is, digital cards aren’t just “budget” anymore. Some of them look absolutely stunning on a screen, and you can do animation and video elements that paper obviously can’t do. Plus instant delivery which is clutch when you’re running behind schedule.
Figuring Out What Type You Actually Need
There’s like four main categories and they’re not all the same thing even though people use the terms interchangeably which drives me nuts:
- Email invitations – these are literally designed to be sent via email, usually as embedded graphics or HTML designs
- PDF invitations – downloadable files that guests can print themselves if they want, or just save
- Wedding website cards – basically a beautiful digital card that lives on your wedding website
- Social media graphics – optimized for Instagram stories or Facebook events, usually square format
Most couples I work with now do a combo. Like they’ll have a main digital invitation for email, but also create Instagram story versions for their younger guests who honestly check Instagram more than email anyway.
When To Use Which Format
Email invitations work great for save-the-dates and rehearsal dinner invites. For the actual wedding invitation, I usually recommend having at least a PDF version because some guests are traditional and want something they can… I don’t know, it’s a psychological thing but people like having a “real” file they downloaded.
Wedding website cards are perfect for displaying your invitation details in a pretty way when people visit your site. And social media versions are honestly just smart marketing at this point because that’s how people share stuff now.
Design Stuff That Actually Matters
Alright so here’s where you gotta think differently than paper. What looks good printed doesn’t always translate to screen and vice versa.
Colors and Contrast
Screens emit light, paper reflects it. That means colors appear way more vibrant on digital. If you’re doing both digital and print invitations, your colors need to be adjusted separately or they’ll look off. I learned this the hard way in summer 2021 when a couple used the exact same sage green for both and the digital version looked like neon lime on certain monitors.

You want high contrast for readability. Light text on dark backgrounds or vice versa. That medium gray text on white background that looks elegant on paper? It’s gonna be hard to read on phones, especially for older guests.
Font Choices That Don’t Suck On Screens
Script fonts are gorgeous but keep them to 18pt or larger for digital. Anything smaller and they get muddy on screens. I usually tell couples to use script for names only and switch to a clean sans-serif for details and info.
Also, not all fonts render the same across devices. If you use some super fancy custom font, it might not display correctly on all email clients. Safer to either embed the font properly or stick with web-safe font families.
File Formats and Sizes
For email invitations, you want JPG or PNG files under 1MB ideally. Anything bigger and some email clients will block it or it’ll take forever to load. I’ve seen beautiful designs that were like 8MB files and they just… nobody could actually view them properly.
PDFs should be optimized too, maybe 2-3MB max. Nobody wants to download a 15MB invitation to their phone.
If you’re doing animation or video elements, keep it under 10 seconds. People’s attention spans are short and file sizes get huge fast with video.
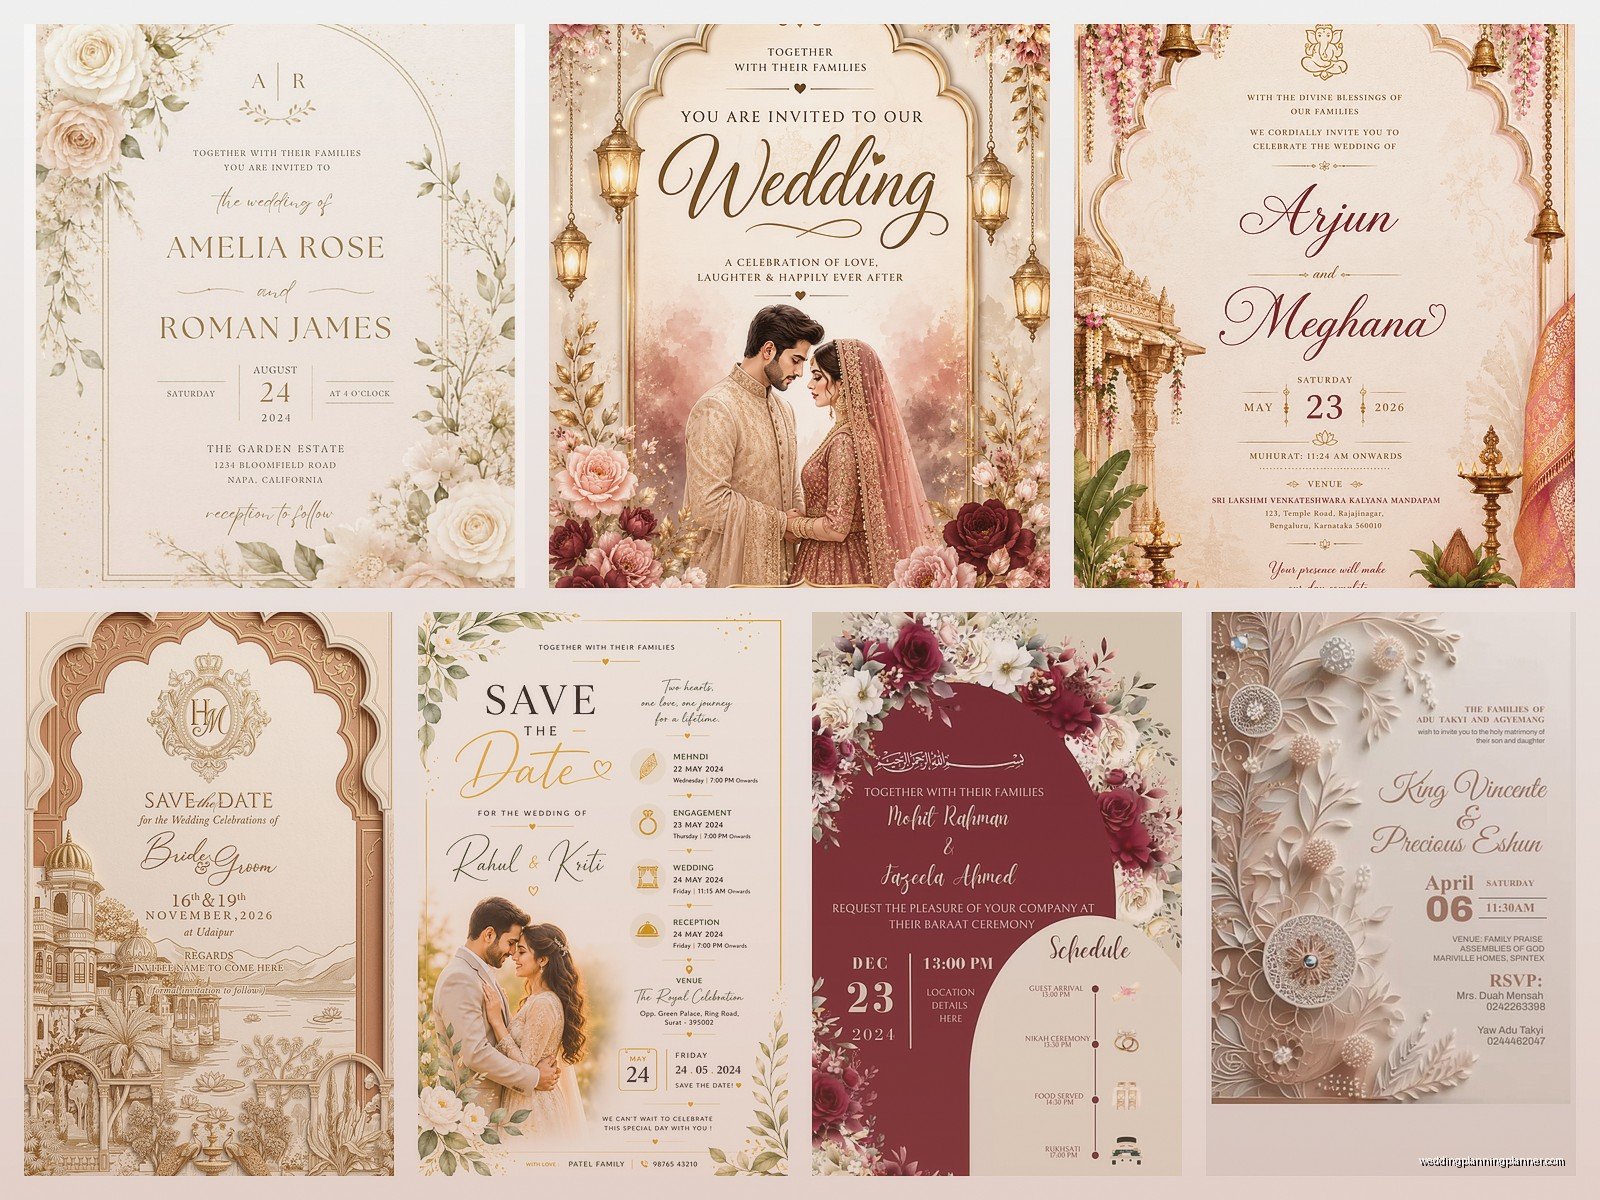
Design Platforms You Can Actually Use
There’s honestly so many options now and they all have different vibes.
Canva
This is where like 60% of my DIY couples start. It’s super user-friendly, has tons of wedding templates, and you can create both static and animated designs. The free version works fine but Pro gives you more fonts and the ability to resize designs easily for different formats.
Pro tip: create your design at 1500×2100 pixels for a standard invitation ratio. Then you can resize for social media or email headers as needed.
Greenvelope and Paperless Post
These are actual digital invitation platforms with built-in sending and RSVP tracking. Greenvelope is more modern and customizable. Paperless Post has that classic stationery feel and their designs are really polished. Both cost money though, usually based on number of guests.
What I like about these is they handle all the technical stuff. You just design, add your guest list, and they send everything. They also track opens and RSVPs which is super helpful.
Minted and Zola Digital Options
Traditional stationery companies that added digital options. The designs are professional and match their paper collections if you want consistency. Usually you pay per invitation sent, somewhere between $1-3 per guest depending on the design complexity.
Adobe Express or Illustrator
If you want full control and have design experience, these are great. But they’re overkill for most couples. I only recommend this route if you’re really particular or have a graphic designer friend helping.
Actually Creating Your Design
Start with your information hierarchy because that determines layout. Most important to least important usually goes: names, date, time, location, RSVP details, website, registry info.
One thing that annoyed me recently was a couple who put their wedding website URL in like 8pt font at the very bottom of their digital card. It’s DIGITAL. The whole point is that people can click through easily. Make that website link prominent and obvious.
Required Information
Don’t overthink this but you gotta include:
- Your names (obviously)
- Date and time – spell it out fully, no abbreviations
- Venue name and city, state
- RSVP deadline and method
- Dress code if there is one
- Wedding website URL
For digital specifically, I always recommend adding “Please save this invitation for reference” somewhere because people will delete emails and then ask you the venue address three days before the wedding.
Adding Interactive Elements
This is where digital gets fun. You can add clickable buttons for RSVP, directions, hotel blocks. You can embed a short video of your proposal or engagement photos. Some platforms let you add music.
Just don’t go overboard. I had a couple once who added autoplay music, three different animations, and like six clickable elements. It was overwhelming and honestly kinda tacky? Keep it elegant and purposeful.
The Ordering Process or Like Getting Files Ready
If you’re using a platform like Greenvelope, “ordering” means finalizing your design and purchasing sending credits. If you’re DIY-ing it, you need to export your files correctly.
Export Settings That Matter
From Canva or similar tools, download as PNG for best quality or JPG for smaller file size. Set quality to high. For PDFs, make sure it’s RGB color mode not CMYK (CMYK is for printing).
Always create a test file first and send it to yourself and like three other people on different devices. Check it on iPhone, Android, desktop email, Gmail app, Outlook, whatever. Things can look wildly different.
Platform-Specific Ordering
Greenvelope: you’ll design, add your guest list with email addresses, personalize any details, then pay based on your guest count. They charge per invitation sent plus RSVP tracking fees if you want that.
Paperless Post: similar process but they use “coins” as currency which is kinda confusing. Free designs use fewer coins, premium designs cost more. You buy coin packages.
Minted/Zola: select your design, customize text and colors, upload your guest list, and pay per send. Usually they offer package deals if you’re doing multiple events.
Timing for Sending Digital Cards
Digital save-the-dates can go out 8-10 months before for destination weddings, 6-8 months for local. Since there’s no printing or shipping time, you have more flexibility.
Actual invitations should still go out 6-8 weeks before your wedding. Don’t send them too early just because they’re digital – people will forget or lose them in their inbox. I learned this when a couple sent digital invites four months out and then half their guests didn’t remember and needed everything resent anyway.
For rehearsal dinners or other events, 2-3 weeks notice is fine for digital.
Best Days and Times To Send
Avoid Monday mornings when inboxes are flooded. I usually recommend Tuesday through Thursday, either late morning (10-11am) or early evening (6-7pm). Weekend sends get buried in personal email that people don’t check as carefully.
Making Sure People Actually Receive Them
This is honestly the most frustrating part of digital invitations. Email deliverability is not perfect.
Email List Best Practices
Get email addresses directly from guests when possible, don’t rely on old contact lists. One typo and that invitation is going nowhere. I always recommend confirming addresses with a quick text or call for your VIP guests.
Use the BCC field if you’re sending manually, or better yet, use a platform that sends individual emails so people aren’t seeing everyone else’s addresses.
Following Up
Send a text or message a day after sending digital invites saying “Just sent your wedding invitation via email! Let me know if you don’t see it.” This catches spam filter issues immediately.
Some guests, especially older ones, just won’t check email regularly. Have a backup plan. Maybe print 10-15 invitations for those specific people. It’s not an all-or-nothing thing.
RSVP Tracking With Digital Cards
Most platforms include RSVP tracking which is genuinely one of the best features. Guests click a button, fill out a form, and you get instant notification.
If you’re doing DIY digital cards, link to your wedding website RSVP form prominently. Google Forms works in a pinch but wedding website RSVP systems are prettier and easier to manage.
Set up automatic reminders through your platform if possible. Like two weeks before RSVP deadline, send a gentle reminder to anyone who hasn’t responded yet.
Mixing Digital and Paper
Most couples I work with now do a hybrid approach. Digital save-the-dates to save money and get info out fast. Then either digital or paper invitations depending on budget and guest preferences.
Or they’ll do digital for everyone but send paper to like grandparents or guests they know prefer traditional mail. There’s no rule that says it has to be one or the other.
If you’re doing both, make sure the designs coordinate. Same color palette, similar fonts, consistent wording. You want them to feel like part of the same wedding aesthetic.
Cost Breakdown So You Know What To Expect
DIY route using Canva free: $0 (but you’re doing all the work)
Canva Pro for better features: $13/month, cancel after you’re done
Greenvelope: around $1.50-2.50 per guest for full invitation suite with RSVP tracking
Paperless Post: $0.50-3.00 per invitation depending on design, plus coins for premium features
Minted/Zola digital: $1-3 per send usually
Hiring a designer for custom digital invitation: $200-800 depending on complexity
So for 100 guests, you’re looking at anywhere from free to maybe $300 if you use a premium platform. Compare that to $400-1200 for printed invitations plus postage and yeah, the savings are real.
Common Mistakes I See All The Time
Making the file size too big so it won’t load. Using fonts that don’t render properly on mobile devices. Forgetting to include timezone for guests in different locations (this is crucial for digital since people might be anywhere). Not testing on multiple devices before sending to everyone.
Also people forget that not everyone has the same size screen. Design for mobile first since that’s where most people will view it initially. My cat walked across my keyboard while I was working on a client’s digital invitation last month and somehow made the text box huge which actually looked better on mobile so… thanks Murphy I guess?
Oh and another thing – make sure any links you include actually work and go to the right place. Test every single clickable element because there’s nothing worse than 150 guests trying to RSVP through a broken link.
Accessibility Stuff You Should Think About
Use alt text if the platform allows it so screen readers can describe your invitation to visually impaired guests. Keep contrast ratios high for readability. Don’t rely solely on color to convey information – like if you have different colored sections for different events, also label them clearly with text.
Include all information in text format, not just as part of an image, so it can be read by assistive technology.