Planning Guides, Style Guide
Wedding Invitation From Parents: Design & Ordering Guide
Jun
Okay So Traditional Parent-Hosted Invitations
The biggest thing people mess up is not understanding that when parents are listed as hosts on a wedding invitation, the wording literally changes everything about how you design and order these things. Like, it’s not just slapping their names at the top and calling it a day.
When parents are hosting—or even when they’re contributing significantly and want that recognition—you’re working with formal wording structures that have been around forever. And honestly? They’re kinda beautiful when done right, but also super easy to screw up if you don’t know the rules.
The Wording Formula Nobody Explains Properly
So the classic format goes like this: the hosts’ names come first, then you have “request the honour of your presence” (or “pleasure of your company” if it’s not in a church), then the couple’s names, then all the details. Easy enough, right? Except then you get into situations where both sets of parents are hosting, or one parent is remarried, or someone’s deceased and you wanna honor them, and suddenly you’re googling at 11pm trying to figure out if you put “and” or “along with” between the names.
I had this client back in spring 2023 who wanted to include her stepdad who raised her but also honor her late father, and we went through like six drafts before she felt good about it. The etiquette around this stuff is weirdly specific but also… there’s more flexibility than people think? You just gotta know which rules you can bend.
Design Considerations When Parents Are Hosting
Here’s what drives me nuts: people think that because it’s a traditional format with parents listed, the design has to be boring. Nah. You can absolutely have a modern, gorgeous invitation that follows traditional wording.
The key is balancing the formality of the words with whatever vibe you actually want. I’ve done parent-hosted invitations with:
- Ultra-minimal black and white typography (so chic)
- Watercolor florals with gold foil accents
- Letterpress with deckled edges
- Modern geometric patterns with clean sans-serif fonts
- Classic engraved script on ecru paper
The formality comes from the wording, not necessarily the design aesthetic. Though I will say, if you’re going full formal wording, Comic Sans is probably not your font choice. But you knew that already.
Figuring Out Who Actually Hosts
This is where it gets messy in real life. Technically, whoever’s name is on the invitation is the host, and traditionally that meant whoever paid. But nowadays? Lots of couples pay for their own weddings, parents contribute various amounts, and everyone’s feelings are involved.
You need to have an honest conversation about expectations before you order anything. I’ve seen family drama erupt over invitation wording, and it’s… it’s not worth it. Just talk it through.
Common Hosting Scenarios
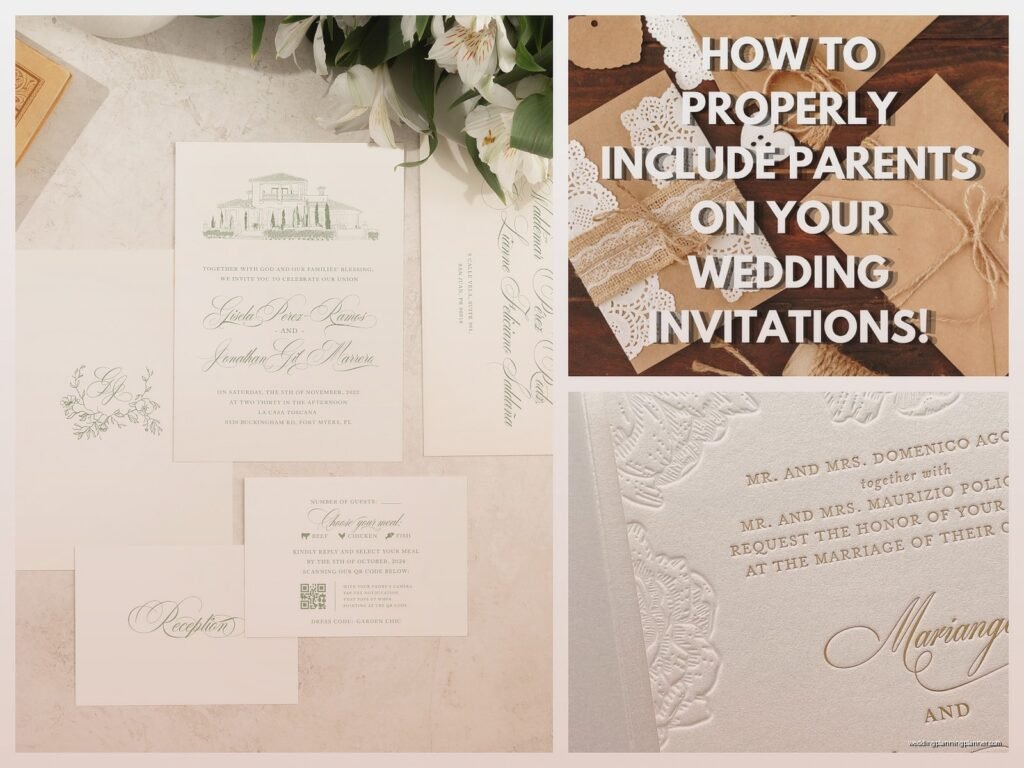
Bride’s parents hosting: This is the traditional setup. “Mr. and Mrs. Jonathan Hart request the honour of your presence at the marriage of their daughter Olivia…” It’s straightforward.
Both sets of parents hosting: You list bride’s parents first, then groom’s parents. “Mr. and Mrs. Jonathan Hart and Mr. and Mrs. Robert Chen request the honour of your presence at the marriage of their children Olivia and Michael…”
Couple hosting with parents: “Together with their families” or “Together with their parents” works here. Or you can list everyone by name if you want to be specific.
Couple hosting themselves: “The honour of your presence is requested at the marriage of Olivia Hart and Michael Chen” or just start with the couple’s names doing the requesting.
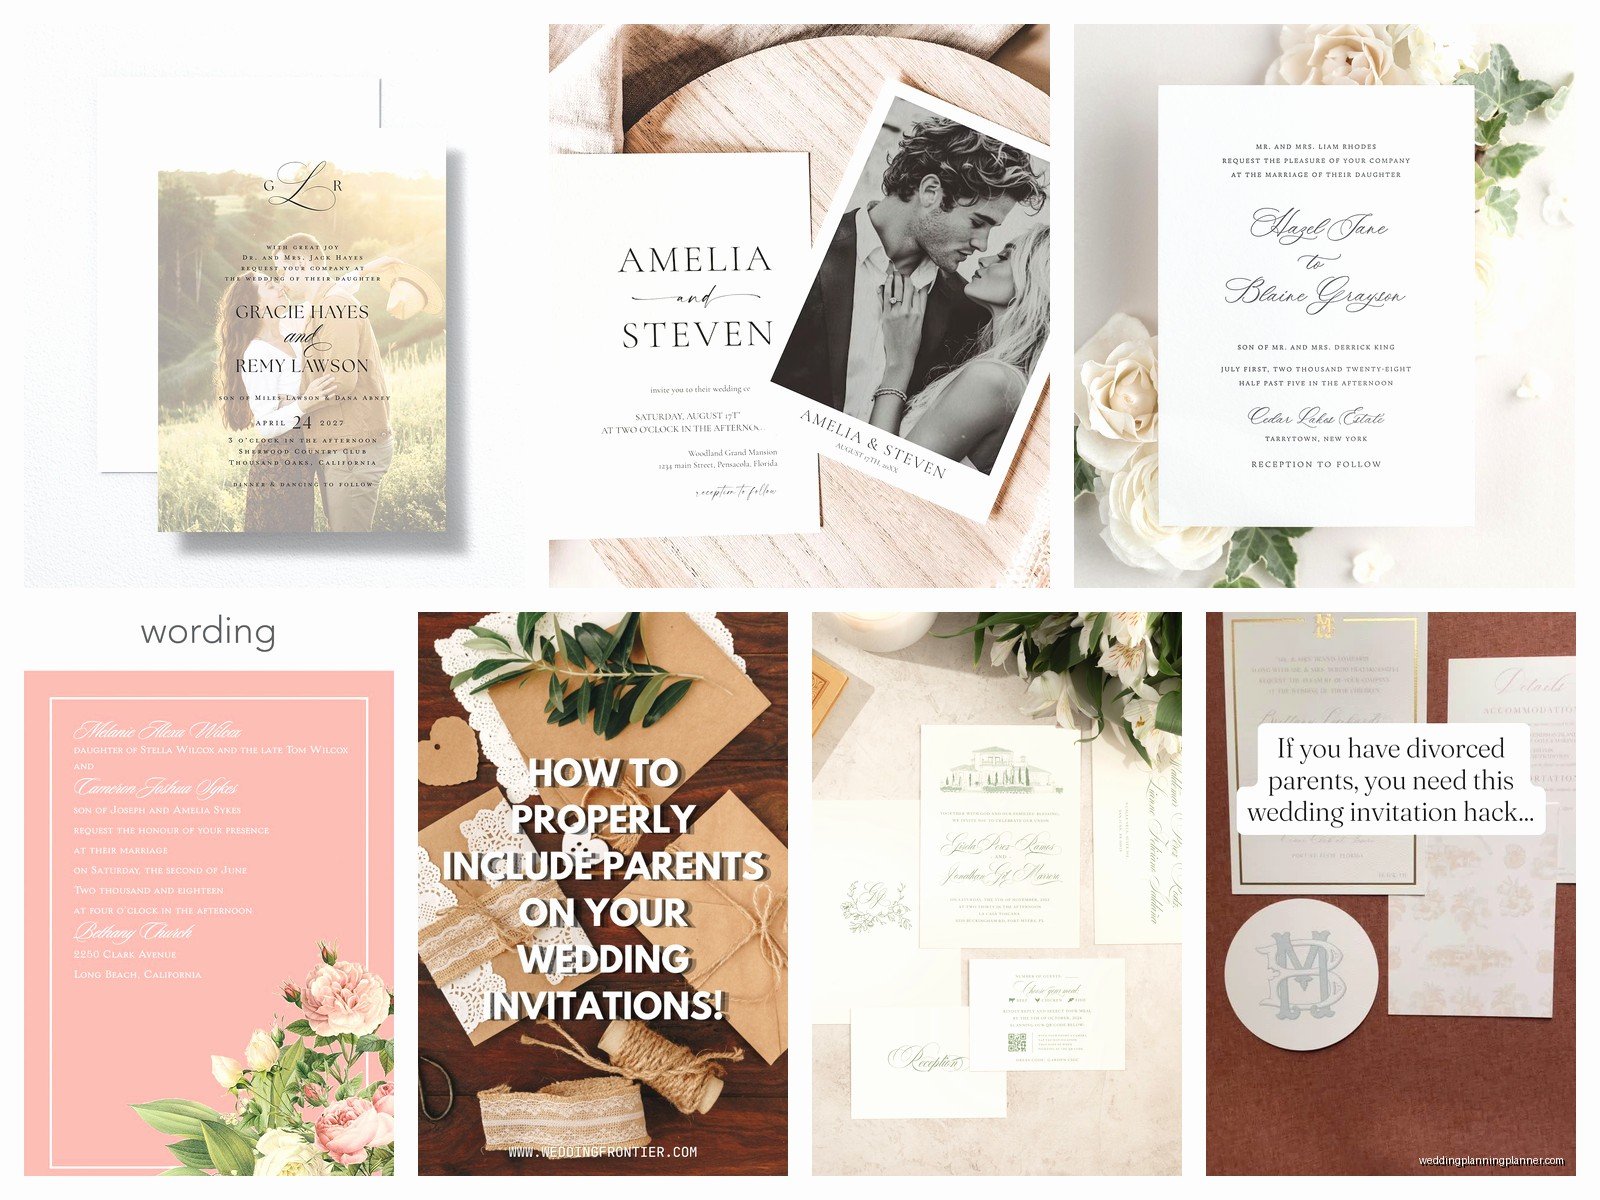
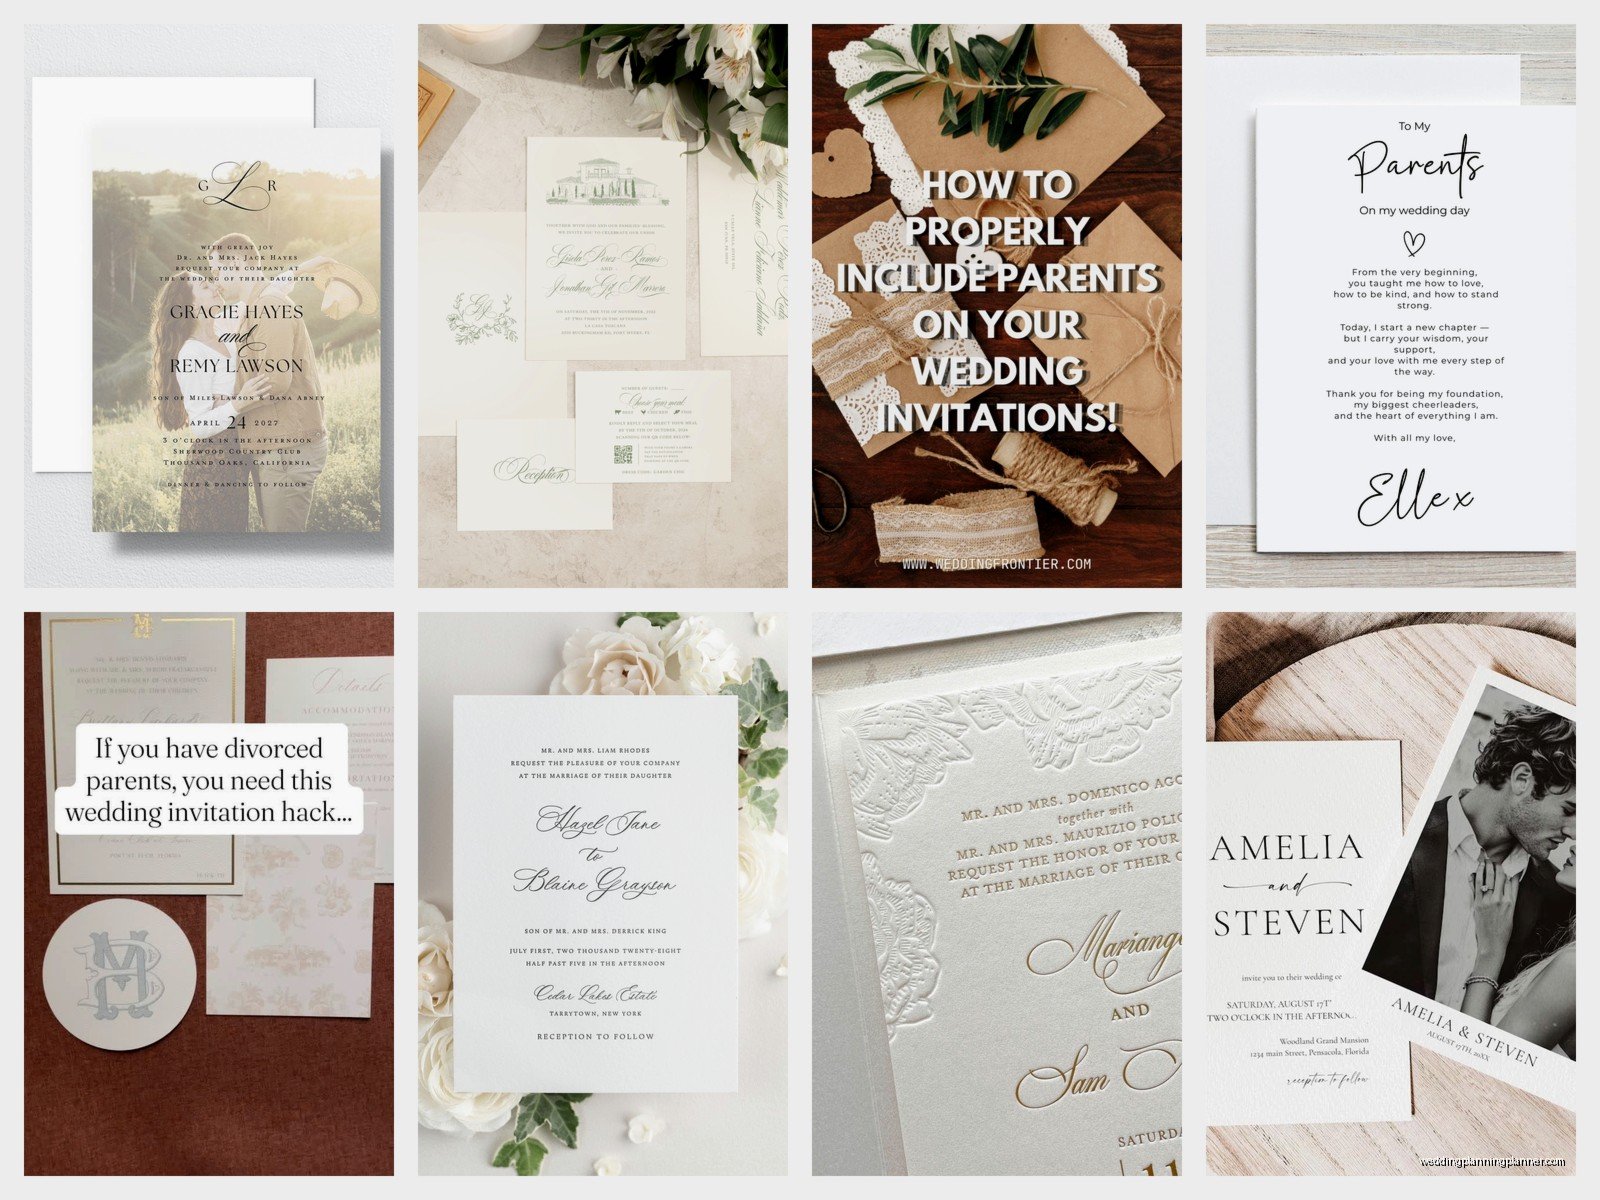
The divorced/remarried/deceased parent situations get their own special wording, and honestly, you’re gonna want to look up specific examples for your exact situation because there are like seventeen variations.
Picking Your Printing Method
Okay so this is where budget meets aesthetics, and you gotta be realistic about what you can afford versus what Pinterest is telling you that you need.
Engraving
This is the fanciest and most traditional option. The letters are actually carved into a metal plate, then stamped into thick cotton paper so you get this gorgeous raised printing on the front and you can feel the impression on the back. It’s beautiful. It’s also expensive—like, probably $1500-3000 for 100 invitations with envelopes and enclosures.
If your parents are hosting a black-tie wedding and budget isn’t a concern, this is the move. The quality is just… you can tell immediately when you touch it.
Letterpress
I love letterpress. You get a debossed (pressed into the paper) effect with gorgeous thick cotton paper. It feels artisanal and special without being quite as formal as engraving. Cost is usually $1200-2500 for 100 invitations depending on how many colors you use and whether you add foil.
The thing about letterpress is it works better with simpler designs. Too much detail and it can look muddy. But for clean, elegant designs? Perfection.
Foil Stamping
Metallic foil applied with heat and pressure. Super popular right now, and honestly it photographs beautifully. You can do gold, rose gold, silver, copper, or even colored foils. Pricing is similar to letterpress, maybe $1000-2200 for 100.
I had a bride once who was obsessed with rose gold everything—like her cat’s food bowl was rose gold, I’m not even joking—and we did rose gold foil on blush paper and it was stunning.
Digital Printing
This is your budget-friendly option, and honestly? Modern digital printing is really good. You can get 100 invitations for $300-800 depending on the vendor and paper quality. The printing is flat (no texture or impression), but you can still have a gorgeous design.
If you’re doing a more casual wedding or you’re trying to allocate budget elsewhere, digital is totally fine. Don’t let anyone shame you for it.
Thermography
This creates raised printing kind of like engraving but it’s way cheaper—usually $500-1000 for 100. It was super popular in the 90s and early 2000s. It’s… fine? I personally think it looks a bit dated now, but some people love it. The raised letters are shiny and you can sometimes see the powder texture if you look close.
Ordering Timeline That Won’t Stress You Out
Here’s what you actually need to know about timing, because the internet will tell you to order invitations like nine months in advance and that’s just gonna make them sit in your closet gathering dust.
6-8 months before: Start looking at designs, figure out your wording, decide on printing method. Collect addresses if you haven’t already (this takes FOREVER, people are terrible at responding).
4-5 months before: Place your order. Most quality printers need 4-6 weeks for production, sometimes longer for engraving or letterpress.
3 months before: Invitations arrive. Address them (or hire a calligrapher, which I highly recommend if you’re doing formal invitations because your handwriting is probably not as good as you think it is, sorry).
8-10 weeks before: Mail them out. Yes, really. People need time to request time off work, book travel, find childcare, etc.
One thing that annoyed me so much was this trend a few years ago where everyone was mailing invitations like 12-14 weeks out and then acting surprised when people lost them or forgot about the wedding. Eight weeks is the sweet spot—not so early that it gets lost in the shuffle, not so late that people can’t plan.
What to Include in Your Suite
When parents are hosting, you’re usually doing a more formal suite, which means more pieces. Here’s what you typically need:
The invitation itself: This is the main card with all the wording. Usually 5×7 or 5.5×7.5 inches.
Reception card: If your ceremony and reception are in different locations or if the reception is significantly later. “Reception to follow” can go on the invitation if it’s the same place.
RSVP card and envelope: Pre-addressed and stamped. Yes, you pay for the stamp. Yes, people will still forget to send them back. I’ve started including the RSVP deadline in multiple places because reading comprehension is apparently optional for some guests.
Details card: This is where you put your wedding website, hotel information, transportation details, dress code if it’s not obvious from the invitation formality, etc. You can also do a separate accommodations card if you have a lot of info.
Envelope liners: Optional but pretty. They’re decorative paper that lines the inside of the invitation envelope.
Belly band or ribbon: To hold everything together. Also optional.
The Outer Envelope Addressing Situation
Formal invitations with parents hosting typically use formal addressing on the outer envelope. That means:
- No abbreviations except Mr., Mrs., Ms., Dr.
- Full state names (not CA, but California)
- Titles for everyone
- Inner envelope is less formal and shows who’s actually invited
Wait, inner envelope? Yeah, traditionally you have an outer envelope (addressed and mailed) and an inner envelope (unsealed, goes inside, has just the names). The inner envelope clarifies who’s invited—like if it says “Mr. and Mrs. Smith” that means no kids, but if it says “The Smith Family” kids are included.
Most people skip the inner envelope now unless they’re doing ultra-formal, but it actually is helpful for the kids question… though I usually just address it on the details card or website because double envelopes feels excessive.
Choosing Your Vendor
You’ve got options here and they’re all kinda different.
Local stationery designers: This is what I usually recommend if budget allows. You get personalized service, custom design, and someone who can walk you through all the etiquette stuff. Expect to pay more, but the hand-holding is worth it. Plus you’re supporting a small business, which feels good.
Online custom designers: Companies like Bella Figura, Dauphine Press, Cheree Berry—they have curated collections you can customize. Quality is excellent, customer service is good, pricing is mid-to-high range. Good middle ground.
Semi-custom online: Minted, Paperless Post (for printed, yes they do that now), Artifact Uprising. You pick a template and customize it. Way more affordable, still looks nice, but you’re limited to their designs.
Print-it-yourself: Etsy templates, Canva, etc. Cheapest option by far. You’re gonna need good cardstock and a quality printer though, and honestly? It’s more work than you think. I’ve seen some DIY invitations that looked amazing and some that looked… well, printed at home.
What to Ask Potential Vendors
Don’t just look at pretty pictures on Instagram. Ask:
- What’s included in the quoted price? (Envelopes, RSVP cards, addressing, postage?)
- How many rounds of proofs do I get?
- What’s the production timeline?
- Do you do envelope addressing or can you recommend a calligrapher?
- What happens if there’s a mistake? (Who pays for reprints?)
- Can I see paper samples before ordering?
That last one is crucial. Colors look different on screen versus in person, and paper weight makes a huge difference in how the invitation feels.
Wording Examples Because You Asked
I know I said I’d explain this earlier but then got distracted talking about printing methods, so here are some actual wording examples:
Bride’s parents hosting, traditional:
Mr. and Mrs. Robert Anderson
request the honour of your presence
at the marriage of their daughter
Sarah Elizabeth
to
Mr. James Michael Cooper
Saturday, the fifteenth of June
two thousand twenty-five
at half after four o’clock
Grace Episcopal Church
Charleston, South Carolina
Both sets of parents hosting:
Mr. and Mrs. Robert Anderson
and
Mr. and Mrs. Thomas Cooper
request the honour of your presence
at the marriage of their children
Sarah Elizabeth Anderson
and
James Michael Cooper
You get the idea. The ceremony details stay the same at the bottom.
One set of parents hosting, casual wording:
Mr. and Mrs. Robert Anderson
invite you to celebrate
the marriage of their daughter
Sarah Anderson
to
James Cooper
See how “invite you to celebrate” is less formal than “request the honour of your presence”? That gives you permission to be a bit more relaxed with the overall design too.
Budget Real Talk
Let’s say you’re inviting 150 people, so you need about 100-120 invitations (couples get one invitation). Here’s what you’re realistically looking at:
Budget-friendly: $300-600 for digital printing with semi-custom design, including RSVP cards and envelopes
Mid-range: $1000-1800 for letterpress or foil with custom design
Luxury: $2000-4000+ for engraving with all the bells and whistles
Add another $200-400 if you’re hiring a calligrapher for addressing. Add $150-200 for postage (those big invitations need extra stamps, and RSVP cards need stamps too).
During that stressful summer 2021 when everything was backed up from COVID, I had clients paying rush fees on top of everything else, which added like 30% to the cost. Try to avoid that by ordering early enough.
Little Details That Make a Difference
Okay so once you’ve got the basics down, here are some things that elevate the whole situation:
Paper weight matters: Don’t go thinner than 110lb cardstock for the invitation itself. 130lb or higher feels substantial and expensive.
Envelope color: White is classic, but don’t sleep on ivory, ecru, or even colored envelopes if they work with your design. I did navy envelopes with gold foil return addressing once and people literally saved them because they were so pretty.
Return addressing: Get this printed or use a stamp. Handwriting your return address on 120 envelopes will make you regret every life choice that led to this moment.
Wax seals: Very extra, very pretty, very gonna-increase-your-postage. The post office will hand-cancel them if you ask nicely, which prevents the seal from getting totally destroyed in the mail sorting machines.
Vintage stamps: You can buy them on Etsy in sets that coordinate with your colors. Way more interesting than a book of Forever stamps.
Proofreading Because Typos Are Forever
Triple-check everything before approving the final proof. Have someone else read it. Check the dates and times against your actual contracts. Make sure the venue name and address are exactly right. Verify spelling of everyone’s names.
I once had a vendor print “Saterday” instead of “Saturday” on 200 invitations and it was a whole nightmare getting them to reprint on their dime. Read every single word, even the ones you think you know are right.
Ordering Extras
Get at least 10-15 extra invitations beyond what you think you need. Addressing mistakes happen. You’ll want some for your parents to keep. You might need to invite a few more people if you get unexpected declines. The extras cost way less when ordered with the original batch than trying to do a reprint later.
Also consider ordering extra envelopes—like 25-30 more than your invitation count. Addressing errors, torn envelopes, last-minute additions… you’ll use them.