Planning Guides, Style Guide
Save The Date Invitation Card: Design & Ordering Guide
Jun
Okay so save the dates are basically the first impression
So you’re probably wondering when to even send these things and honestly the answer is gonna depend on your wedding situation but generally 6-8 months before is the sweet spot. If you’re doing a destination wedding though, like my client Sarah who got married in Cabo back in summer 2021, you need to send them earlier—more like 8-12 months out because people need to book flights and hotels and request time off work.
The whole point of a save the date is just to tell people “hey, mark your calendar, formal invitation coming later” so you don’t need ALL the details figured out yet. You just need the date, the city/location, and your names. That’s it. Venue details, timing, dress code—all that comes later with the actual invitation.
What information actually needs to be on there
Keep it simple. Here’s what you gotta include:
- Your names (however you want them—first names only, full names, whatever)
- Wedding date
- City and state (you don’t need the exact venue yet)
- Some kind of note that a formal invitation will follow
- Your wedding website URL if you have one
That’s literally it. I’ve seen couples try to cram their entire wedding story, engagement photos, registry info, and their dog’s name on there and it just looks cluttered. One thing that really annoyed me was when a couple in spring 2023 insisted on including a full itinerary on their save the date when they hadn’t even finalized half the events yet, and then everything changed and guests were confused.
Design styles and what actually works
So there’s like a million design options and honestly it can feel overwhelming. The main categories are:
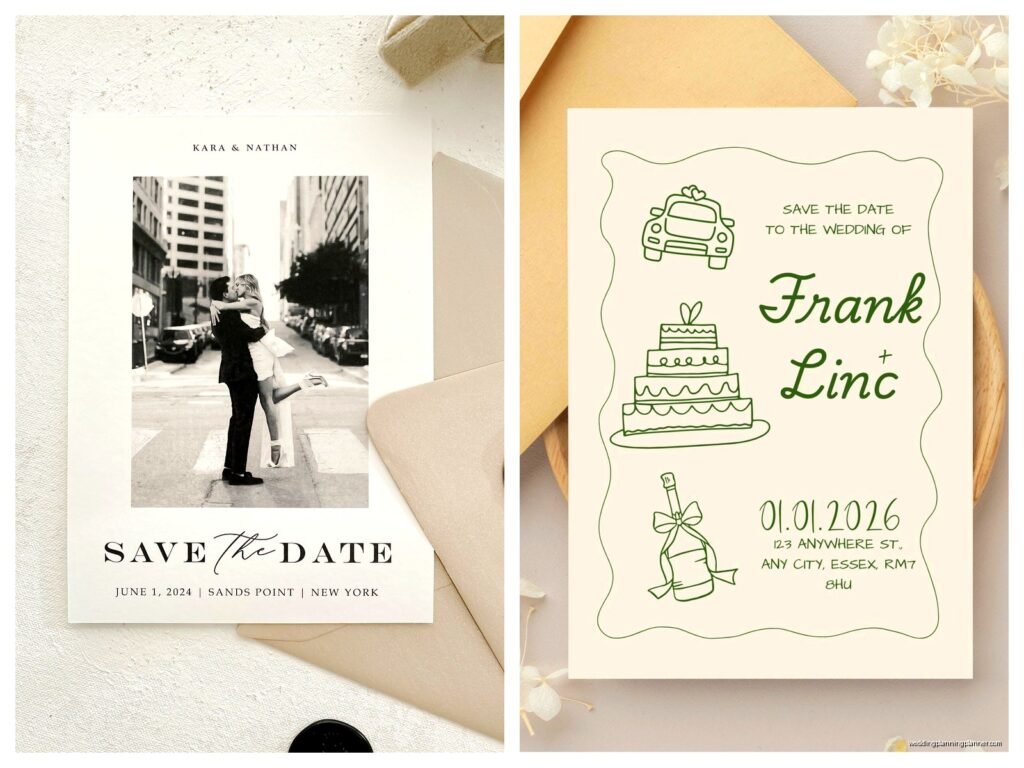
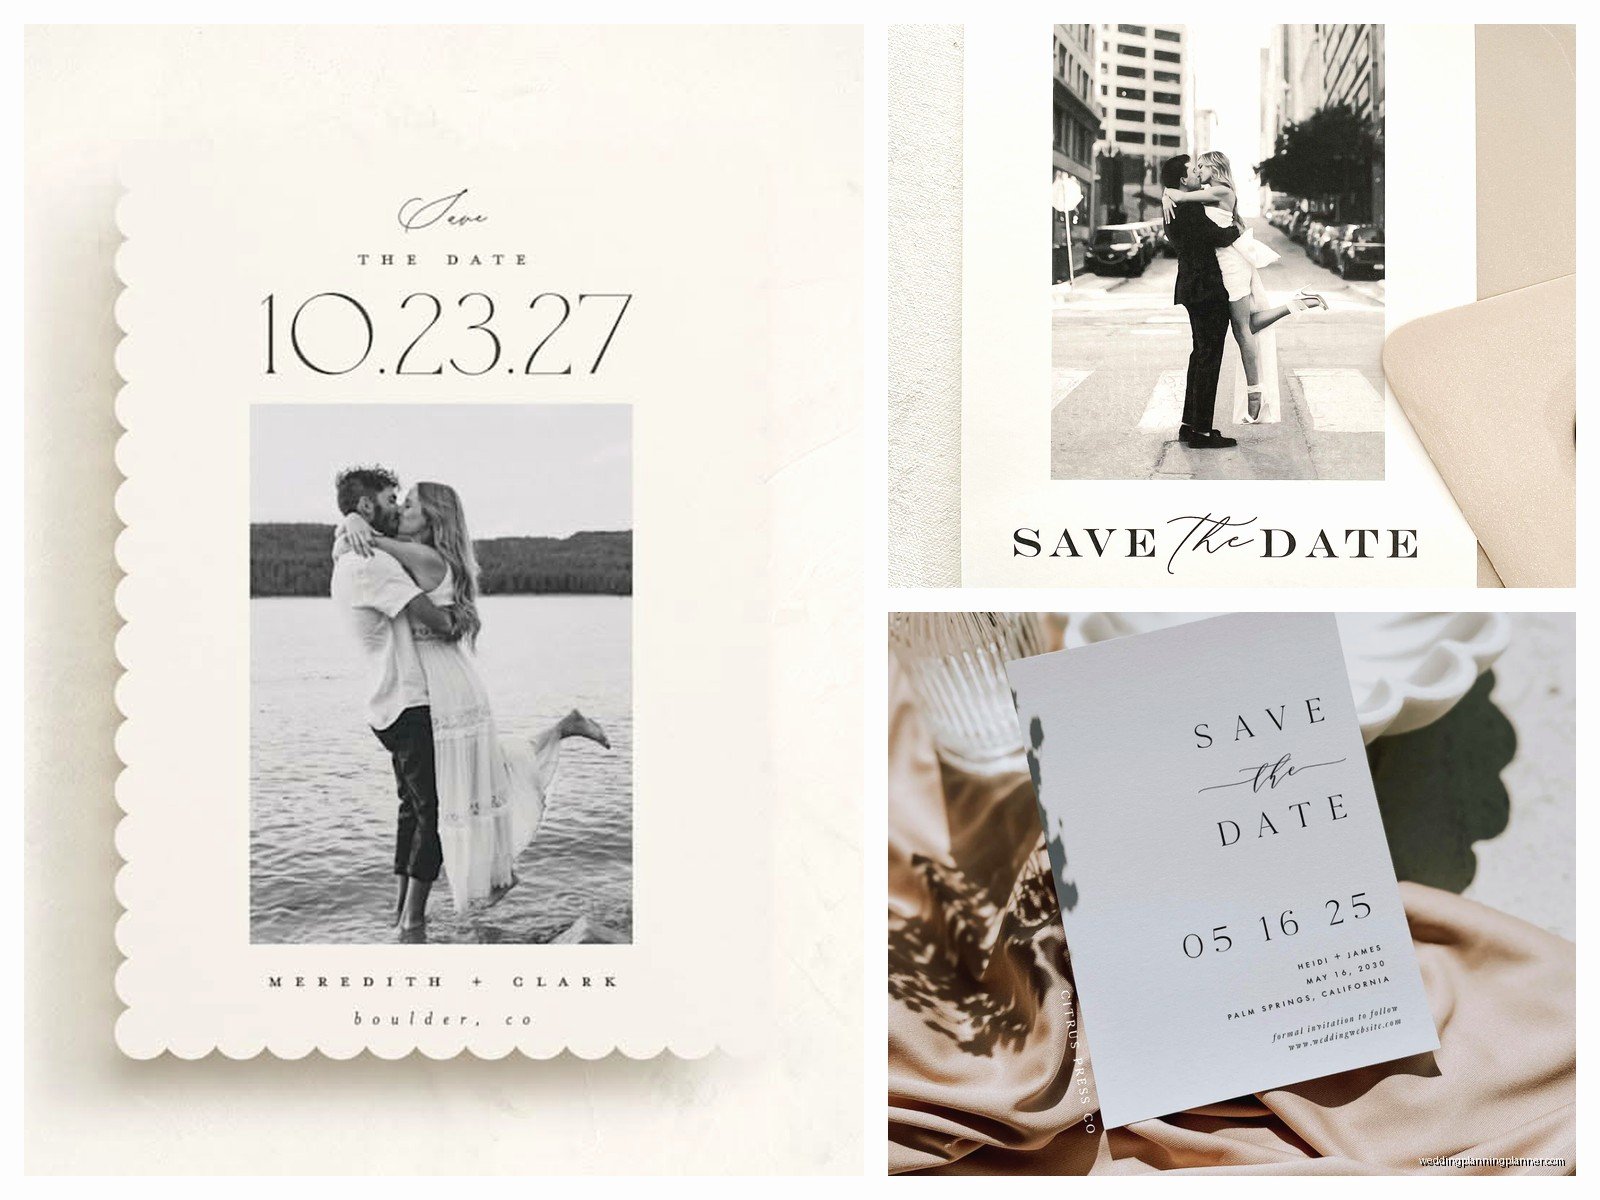
Photo save the dates: These are super popular because people love seeing engagement photos. You can do a single photo, multiple photos in a collage style, or even a photo postcard. I always recommend choosing a photo where you both look happy and natural—not the super posed ones. The candid laughing ones always feel more authentic.
Illustrated or graphic designs: If you’re not into photos or didn’t do an engagement shoot, illustrated designs are great. You can get custom illustrations of you two, or just use graphic elements that match your wedding vibe. Think florals for garden weddings, geometric patterns for modern weddings, that kind of thing.
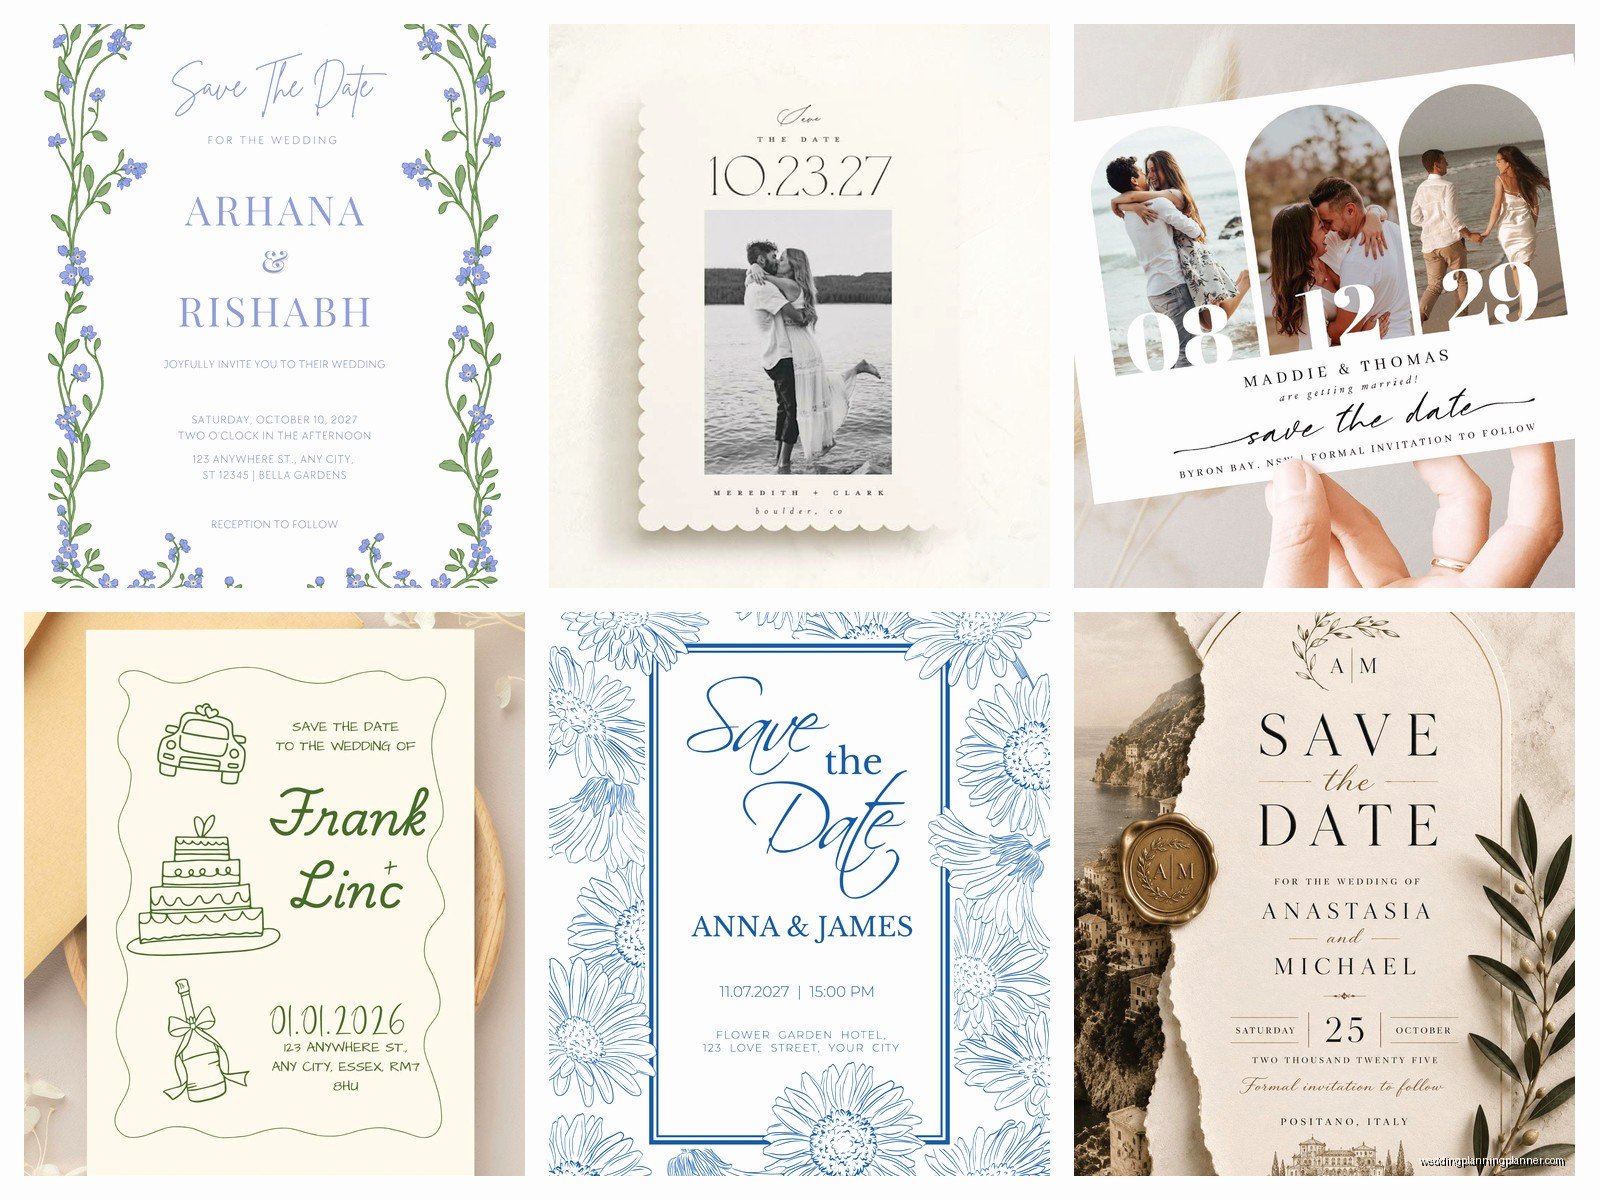
Minimalist text-based: Sometimes simple is better. Just clean typography, your info, maybe a subtle design element. These work really well for formal or modern weddings.
Magnets: Okay so these aren’t really a design style but they’re a format option and people actually keep them on their fridge which means your wedding date stays visible. I love magnets for this reason even though they cost a bit more.
Matching your wedding aesthetic
Your save the date should kinda hint at your wedding style but it doesn’t have to be identical to your invitation suite. I usually tell couples to think of it as the teaser trailer—it sets the tone but the full movie (aka the invitation) has more details and polish.
If you’re doing a black tie wedding, maybe don’t send save the dates with cartoon characters (unless that’s ironically your thing, no judgment). Beach wedding? Watercolor designs or coastal colors make sense. Rustic barn wedding? Kraft paper or woodgrain textures work great.
Where to order them and what to expect price-wise
Alright so let’s talk vendors because this is where it gets real. You’ve got options at basically every price point:
Online print services (Minted, Zazzle, Vistaprint, Shutterfly): These are your budget-friendly to mid-range options. Minted is probably my favorite for quality—their printing is really good and they have tons of designs from independent artists. Prices usually run $1-3 per card depending on the design and any upgrades. Vistaprint is cheaper but the quality shows it sometimes. I’ve seen some that looked kinda washed out.
Etsy sellers: You can find both printable templates (you download and print yourself) or custom designs where the seller handles everything. Prices vary wildly from like $5 for a template to $200+ for custom design work. Just read reviews carefully because quality is inconsistent.
Stationery boutiques and designers: This is the premium route. You’re working directly with a designer who creates something custom for you. Expect to pay $3-8+ per card. The quality is usually amazing though—letterpress, foil stamping, custom illustrations, all that fancy stuff.
DIY printing: If you’re crafty and have time, you can design your own (using Canva or similar) and print at home or at a local print shop. This can save money but honestly the time investment is significant and sometimes you end up spending just as much when you factor in your time and… okay I’m getting off track but my cat just knocked over my coffee which is exactly the kind of chaos that happens when you’re trying to DIY wedding stuff at home.
Quantities and timing your order
Order about 10-15% more than you think you need. Seriously. You’ll mess up addresses, want to keep extras for your wedding album, or realize you forgot to add someone to your list. Production time varies but plan for 2-3 weeks for most online services, longer if you’re doing custom or letterpress work.
If you’re ordering during peak wedding season (like January through March when everyone’s ordering for summer weddings), add extra time because printers get backed up.
Postage and mailing logistics nobody tells you about
This part trips people up constantly. Standard save the dates (flat, rectangular, normal size) can use regular Forever stamps. But if you’re doing:
- Square cards
- Magnets
- Anything over 1/4 inch thick
- Non-rectangular shapes
- Cards larger than 5×7
You’ll need extra postage or non-machinable stamps. Take a sample to the post office and have them weigh it and tell you exact postage. I cannot tell you how many times I’ve had clients mail out 100 save the dates only to have half of them returned for insufficient postage. It’s frustrating and expensive to fix.
Also pro tip: hand-cancel your invitations if they’re fancy or have any embellishments. This means the post office processes them by hand instead of running them through machines that can damage them. There’s usually a small fee but it’s worth it.
Digital save the dates are a thing now
Okay so since COVID, digital save the dates have become way more acceptable. You can send them via email or through wedding websites. They’re free (or cheap), instant, and environmentally friendly. Some couples do both—digital to get the word out quickly and physical ones for the keepsake factor.
Services like Paperless Post, Greenvelope, or even just a well-designed email through your wedding website work fine. Just make sure it doesn’t look like spam and that it’s mobile-friendly since most people will see it on their phones first.
I personally think physical is still nicer for close family and friends, but digital is perfectly fine for everyone else or if you’re on a tight budget. Mix and match based on what works for you.
Common mistakes I see all the time
Sending them too early: More than a year out is excessive unless it’s a destination wedding. People forget, plans change, and you might not even have all your details locked in yet.
Waiting too long: Less than 4 months out doesn’t give people enough time to plan, especially if they need to travel or request time off work.
Including registry information: Nah, don’t do this. It comes across as gift-grabby. Save that for your wedding website or the actual invitation suite.
Not proofreading: I’ve seen save the dates with the wrong date, misspelled names, wrong venue city… triple check everything before you hit order. Have like three other people proofread it too because you’ll miss your own mistakes.
Forgetting about your wedding website: If you have one (and you probably should), include the URL. It’s where people can find accommodation info, travel details, and updates as you finalize things.
Design elements that make them stand out
If you want your save the dates to be memorable, consider these touches:
Custom illustrations: Getting a custom illustration of you two (or your pets, or your venue) makes it unique. Sites like Etsy have artists who do this for reasonable prices.
Unique formats: Postcards, magnets, bookmarks, luggage tags for destination weddings, puzzle pieces… okay some of these are gimmicky but they can be fun if they match your personality.
Foil stamping or letterpress: These printing techniques add texture and shine. They’re pricier but they look really high-end.
Custom stamps: Instead of boring Forever stamps, get custom stamps with your photos or a design that matches your save the date. USPS offers this and it’s a nice detail.
Color schemes and what actually photographs well
Think about how your save the date will look in photos because people will definitely Instagram them. High contrast works best—dark text on light backgrounds or vice versa. All-white or all-black designs can be hard to photograph well without proper lighting.
If you’re using your wedding colors, this is a good place to introduce them but you don’t have to go full-on matchy-matchy. Sometimes just a hint of your color palette is enough.
Working with designers vs using templates
Templates are faster and cheaper, custom design is more personal and unique. Here’s how to decide:
Use a template if you have a tight budget, short timeline, or you find one you absolutely love that needs minimal tweaking. Most online services let you customize colors, fonts, and wording on their templates which gives you some flexibility.
Hire a designer if you want something totally unique, have specific vision that templates can’t achieve, or you’re planning to work with the same designer for your whole invitation suite and want everything cohesive. During that stressful situation with Sarah’s Cabo wedding, we worked with a designer who created this whole tropical suite that tied everything together and it was worth every penny because it eliminated so many decisions later.
If you go the designer route, communicate clearly about your vision, budget, and timeline upfront. Provide inspiration images but don’t expect them to copy someone else’s work exactly—that’s not cool and most good designers won’t do it anyway.
Addressing and mailing tips that’ll save you time
Addressing envelopes is tedious but there are ways to make it easier. You can hand-write them (looks most personal), print labels (fastest but kinda impersonal), or print directly on envelopes (middle ground).
If you’re hand-writing, get a good pen and practice your handwriting first. Or hire a calligrapher—there are people on Etsy who do this for like $1-2 per envelope. For a save the date though, printed is totally fine since it’s less formal than the actual invitation.
Keep a spreadsheet with all your addresses so you don’t have to hunt them down again for the real invitations. Update it as people move or… wait, I should mention that you should probably confirm addresses before ordering if it’s been a while since you’ve mailed anything to people because so many people have moved during the past few years and there’s nothing worse than returns.
Mail them all at once if possible, on a Tuesday or Wednesday. Avoid Mondays (mail gets lost in the Monday pile) and Fridays (weekend delays). This is probably superstition but I swear it makes a difference.