Planning Guides, Style Guide
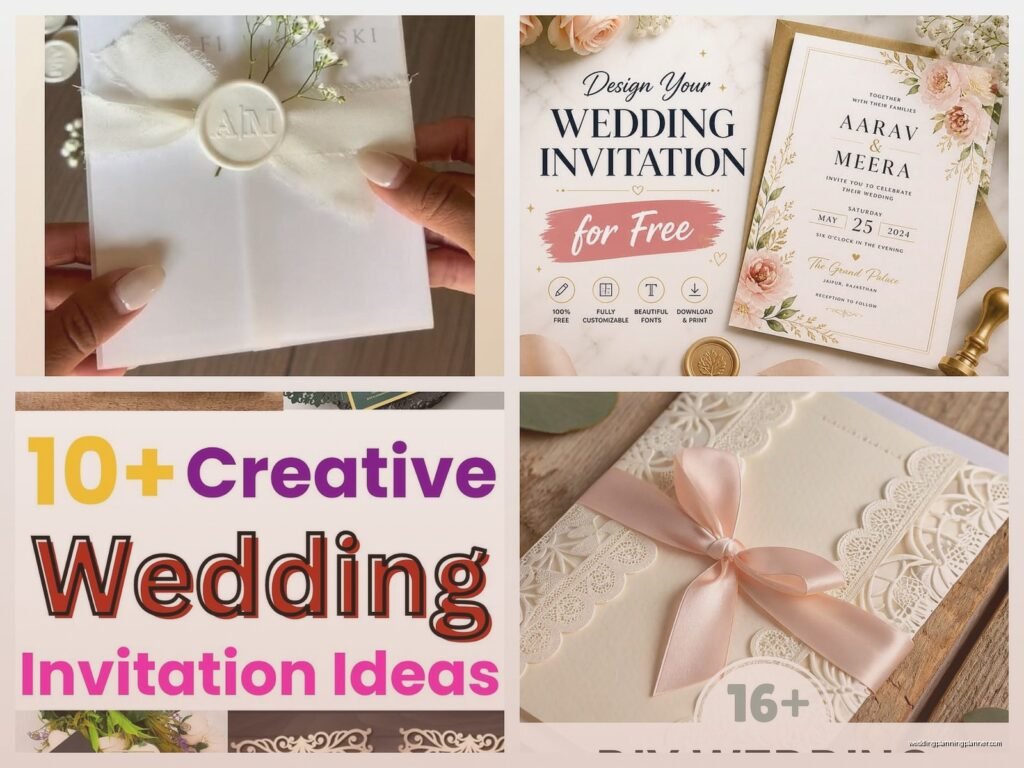
Creating An Invitation Card: Design & Ordering Guide
Jun
Okay So You Need to Design and Order Invitations
The timeline thing is probably the most important part and honestly where most people mess up. You need like 4-6 months before your event to start this process if you’re doing custom printed invites. I learned this the hard way back in spring 2023 when a bride came to me in total panic mode because she’d waited until 8 weeks before her wedding to even think about invitations and wanted this elaborate letterpress situation with three enclosure cards and we basically had to tell her it wasn’t gonna happen. She ended up with digital printing which was fine but not what she wanted, you know?
So here’s the breakdown of how long everything actually takes:
- Design phase: 2-4 weeks (longer if you’re indecisive, and most people are)
- Proofing and revisions: 1-2 weeks
- Printing: 2-4 weeks depending on method
- Assembly and addressing: 1-2 weeks
- Mailing time: factor in at least a week, sometimes two
And you want your guests to have the invites like 6-8 weeks before the event, so work backward from there.
Figure Out Your Actual Needs First
Before you start pinning pretty designs on Pinterest or whatever, you gotta know what information needs to be on this thing. I’ve seen so many couples get a gorgeous design done and then realize they forgot to include half the details they needed.
Main invitation card needs:
- Host line (who’s hosting, traditional is parents but honestly do whatever)
- Request line (like “request the pleasure of your company”)
- Names of the couple
- Date and time (spell it out for formal, numerals are fine for casual)
- Location name and city
- Reception details if it’s at the same location
Then figure out if you need enclosure cards. RSVP card is pretty standard, maybe a details card with hotel info and website, maybe a reception card if ceremony and reception are different places. Direction cards are kinda outdated now that everyone has GPS but some older guests appreciate them.
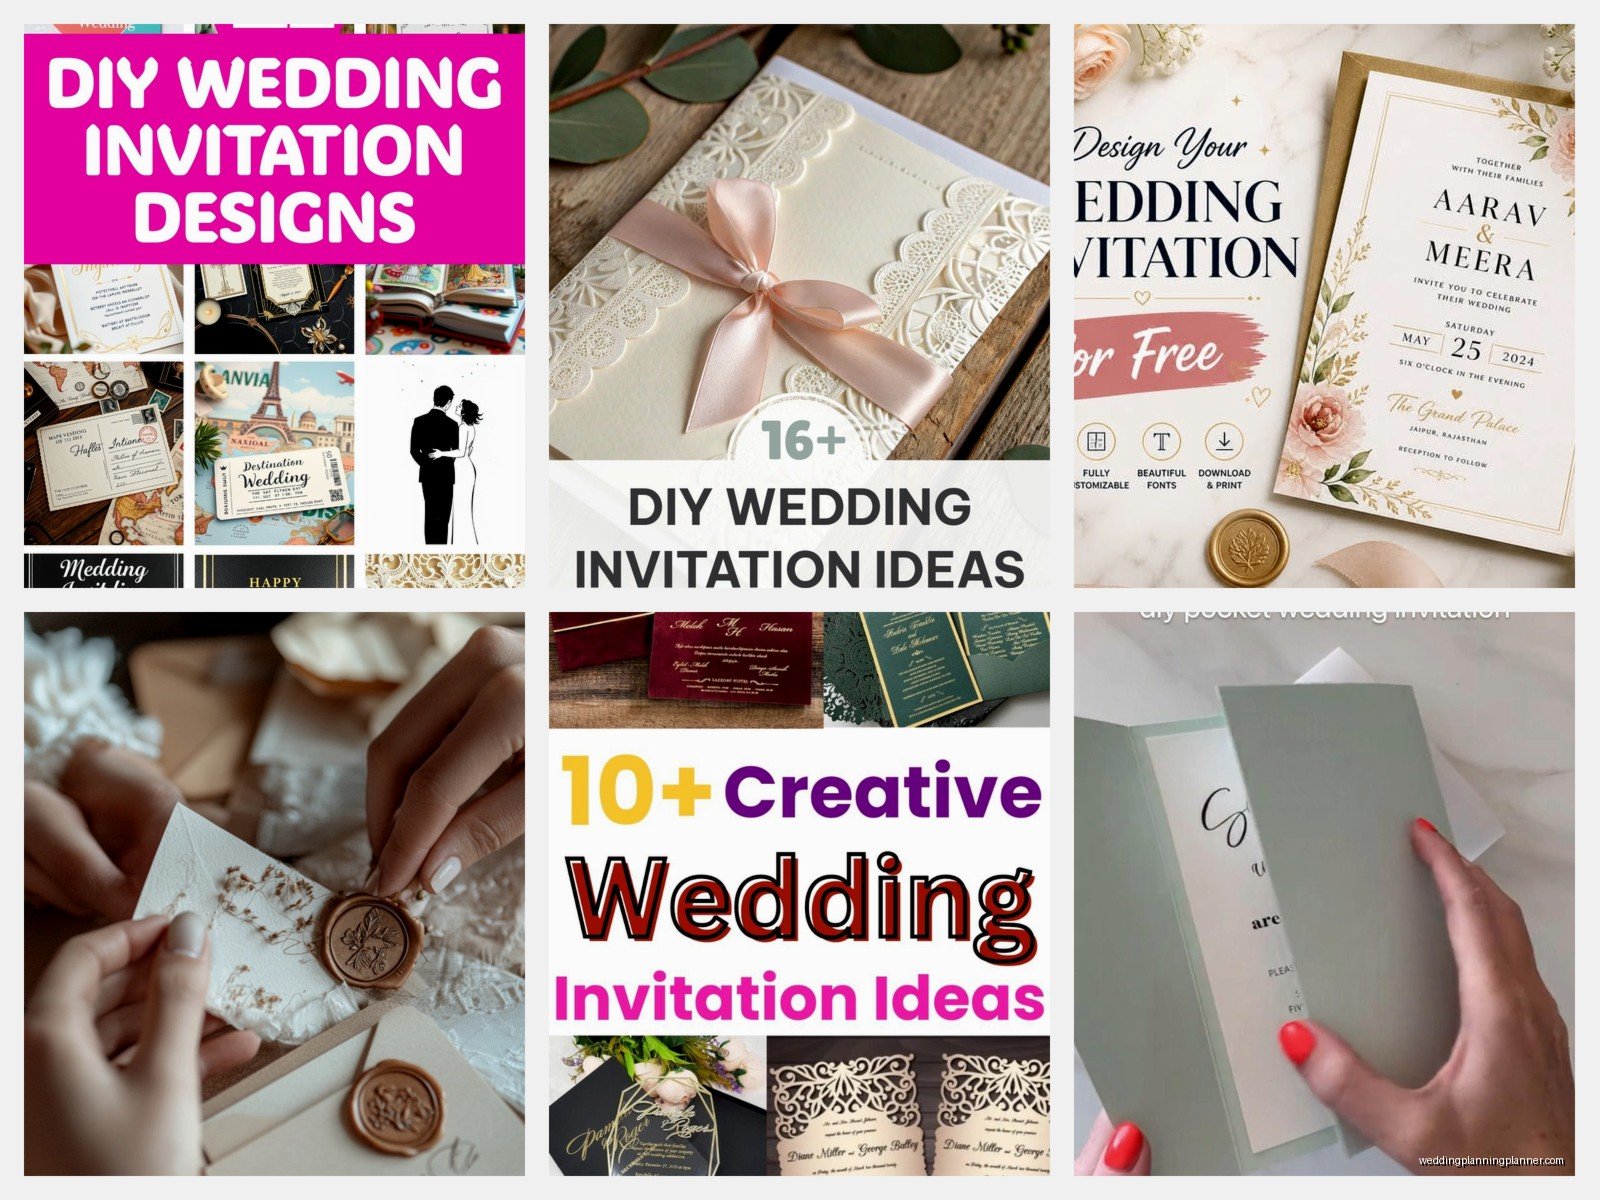
The Design Part That Everyone Overthinks
Look, I’ve been doing this for almost 15 years and the design trends change constantly but the basics don’t. You want something that reflects the vibe of your event without being so trendy that it looks dated in photos later. The whole rose gold and geometric thing from like 2018-2019 already looks super dated, just saying.
Color palette should match your event colors but doesn’t have to be exact. Actually I usually tell people to pull one or two colors from their palette rather than trying to cram all five colors onto a 5×7 card. It gets messy.
Typography is where people get really lost. You need maybe two fonts, three maximum. One decorative font for names or headers, one readable font for details. Mixing too many fonts makes it look like a ransom note. I had this client once who wanted to use seven different fonts because she “loved them all” and I literally had to… okay that’s not helpful but just trust me on the two-font thing.
Some practical design tips:
- Leave margins of at least 0.25 inches on all sides
- Keep important text away from edges where it might get cut
- Make sure there’s enough contrast for text to be readable (light gray text on white is a no)
- Test your fonts at actual size – what looks good on a computer screen might be illegible at 5×7
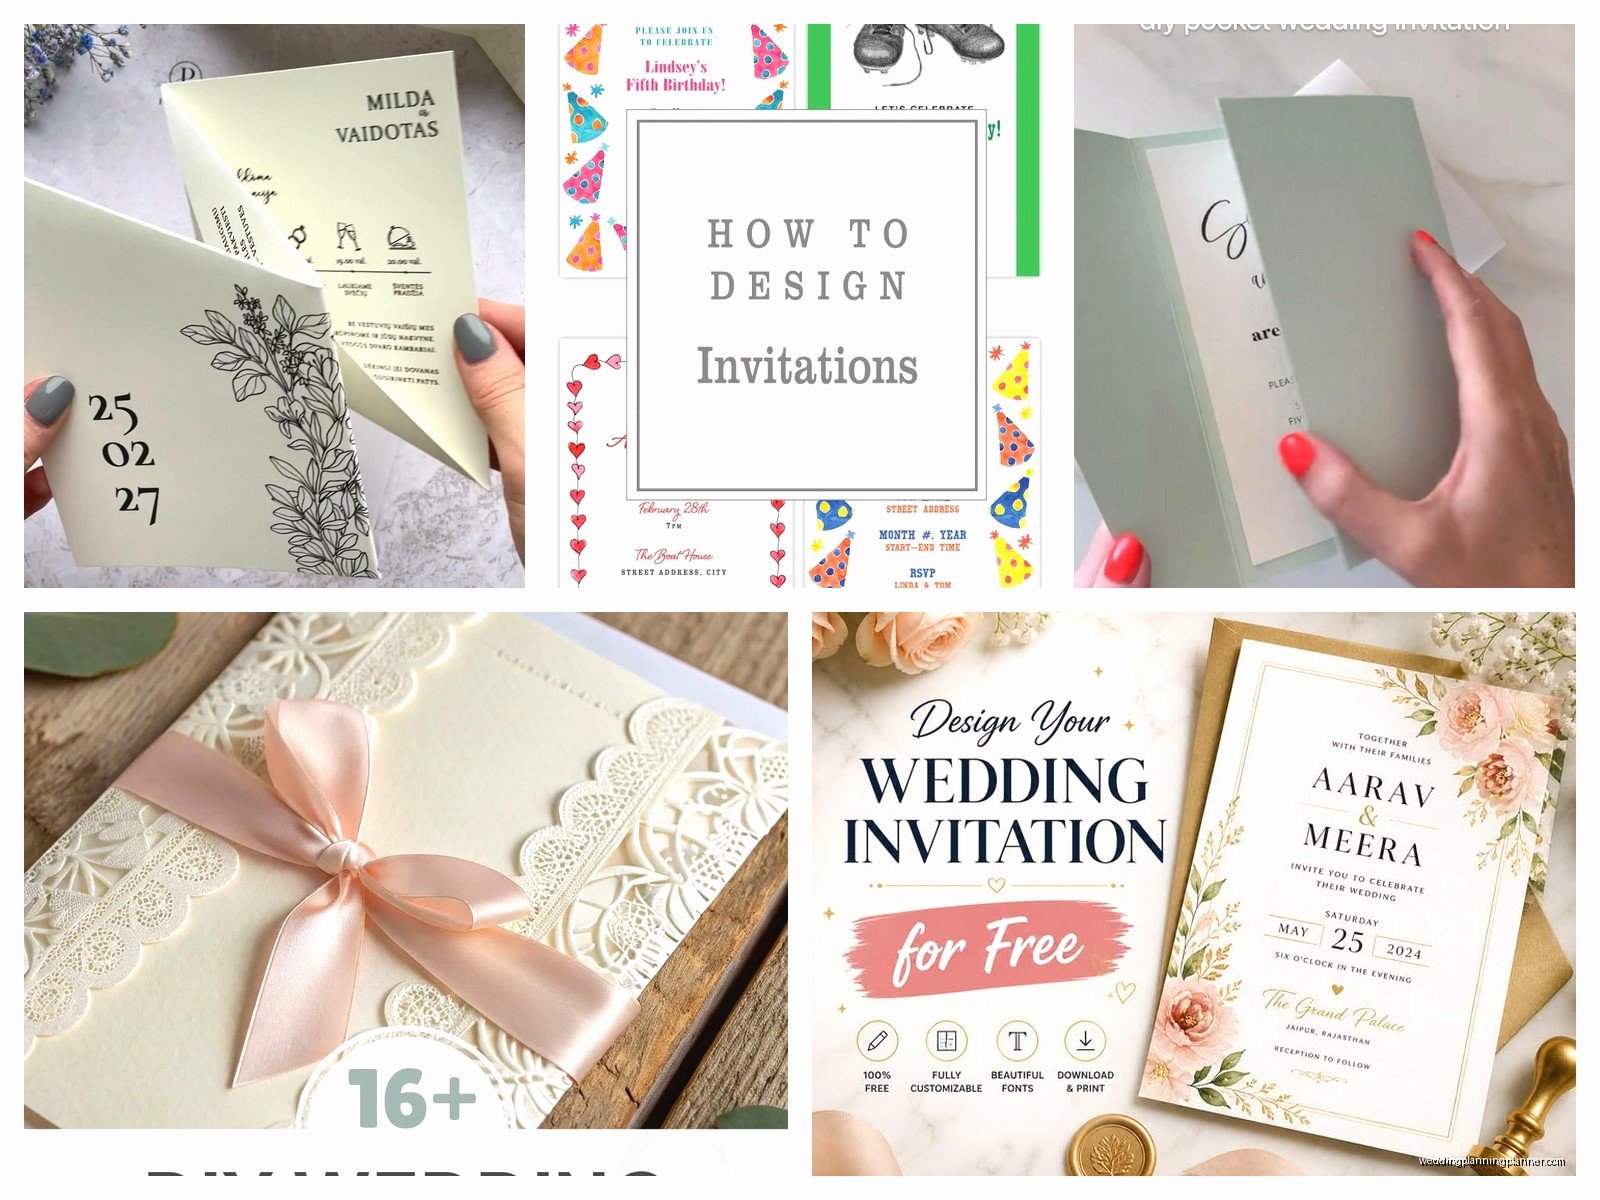
DIY vs Professional Designer vs Templates
This really depends on your budget and how much you care about having something totally unique. Templates from places like Minted or Etsy are honestly pretty good now. You can customize them with your info and colors and they look professional. Cost-wise you’re looking at maybe $1.50-3.00 per invite depending on printing method.
Hiring a designer gets expensive fast. You’re paying for their time plus printing, so expect $5-15+ per invitation suite. But you get something custom that nobody else has and they handle all the technical stuff.
True DIY where you design it yourself in Canva or whatever – this can work if you have decent design sense but I’ve seen some rough results. The thing that annoys me most is when people design something in Canva without understanding print specifications and then get mad when it doesn’t print right. Like you can’t just use RGB colors and 72 dpi images and expect a crisp print, you need CMYK and at least 300 dpi but honestly that’s getting technical.
Printing Methods Explained
Digital printing is the most common and affordable now. It’s basically like a really high-quality printer. Good for full color designs, photos, gradients. Costs less, faster turnaround. Looks professional and most guests won’t know the difference between this and fancier methods.
Letterpress is that beautiful debossed printing where the text is pressed into the paper. It’s gorgeous and tactile but expensive and really only works with simple designs. You can’t do full color photos or gradients. Budget like $8-20 per invite. Also it takes forever – minimum 3-4 weeks for production.
Foil stamping adds metallic or colored foil elements. Really pretty for names or borders but adds cost. Can be combined with digital or letterpress. Adds maybe $2-5 per invite depending on how much foil.
Thermography is this raised printing technique that’s cheaper than letterpress but gives you that textured feel. It’s sorta old-fashioned looking which works for traditional events.
Engraving is the fanciest and most expensive, where the design is etched into a metal plate. You can feel the raised ink on the front and the debossing on the back. Beautiful but costs a fortune and takes weeks.
Paper Stock Actually Matters
I never thought I’d care this much about paper but here we are. The weight and texture of your paper changes the whole feel of the invitation. Standard cardstock is fine for most events – you want at least 80lb cover weight, preferably 100lb or 110lb so it doesn’t feel flimsy.
Textured papers like linen or felt add a nice touch. Cotton paper is gorgeous and substantial but costs more. For really formal events, people sometimes do a double-thick card which is literally two sheets laminated together and feels super luxe.
My cat knocked over my coffee on a sample packet last week and the cotton paper actually held up better than the regular cardstock which was interesting but anyway.
Where to Actually Order
For templates and easy online ordering: Minted, Zazzle, Shutterfly, Vistaprint (budget option), Paperless Post (if you want digital), Greenvelope (also digital). These all have design tools built in and handle everything.
For custom but still online: Etsy has tons of designers who’ll customize templates for you. You usually get a PDF and then you print it yourself or through a local printer. Or they’ll handle printing and ship to you.
For high-end custom: Look for local stationers or boutique online companies like Bella Figura, Dauphine Press, or Cheree Berry. You’re working with a designer directly and getting fully custom work.
Local print shops can be great if you’re doing DIY design. They can help with paper selection and technical specs. Just make sure they do wedding invitations regularly because the quality standards are different than business cards.
Ordering the Right Quantity
Don’t order one per guest, order one per household/couple. So if you’re inviting 150 people but that’s 80 couples and families, you need 80 invitations plus extras.
Always order extras. I tell people to add 15-20 extra invitations because:
- You’ll mess up addressing some
- You’ll want keepsakes
- Last minute additions happen
- Some might get lost in mail
- You need one for your wedding planner, photographer, etc.
Ordering extras later costs way more because there’s usually a minimum order charge, so just get them all at once.
Proofing Is Critical Don’t Skip It
Read your proof like seventeen times. Then have someone else read it. Then read it again. I’ve seen invitations go to print with the wrong date, misspelled names, wrong venue address – it happens more than you’d think when you’re staring at the same text over and over.
Things to specifically check:
- Date and day of week match (June 15, 2024 is a Saturday, not Sunday)
- All names spelled correctly with proper punctuation
- Time is correct and includes AM/PM if using numerals
- Venue name and address are exact
- RSVP date gives you enough time before your final headcount is due
- Website URL is correct if you included it
- Phone numbers have right area codes
Get a physical proof if you’re doing fancy printing. Colors look different on screen versus paper, and you want to see the actual size and paper quality.
Assembly and Addressing
Okay so your invitations arrived and now you have to put them together and address them which sounds simple but takes forever. Summer 2021 I had a wedding with 200 invitations and we spent like 6 hours just doing assembly because they had five different inserts plus belly bands plus wax seals and it was a whole thing.
Standard assembly order from bottom to top:
- Main invitation (face up)
- Tissue paper if you’re using it (traditional but kinda unnecessary now)
- Reception card if separate
- Details/accommodations card
- RSVP card tucked under the flap of RSVP envelope (and stamp the RSVP envelope please, don’t make your guests pay to respond)
Then slide the whole stack into the envelope with the text facing the back flap so when they open it they see the invitation text first.
Addressing Options
Hand calligraphy looks gorgeous but costs $3-8 per envelope. Digital calligraphy or printed addresses cost less, maybe $1-2 per envelope. DIY printing at home is free but can look cheap if your printer isn’t great or the envelope feeding gets wonky.
Some people do address labels which is fine for casual events but looks less formal. Clear labels are better than white labels if you go this route.
Return address goes on the back flap or upper left corner of the front. Get a custom stamp or print these too – it’s faster than writing them all by hand.
Postage and Mailing
Take a fully assembled invitation to the post office and have them weigh it before you buy stamps. Invitations are usually more than one ounce especially if you have multiple enclosures or fancy paper, so you’ll need extra postage. Square envelopes also cost more to mail because they can’t go through automated sorting.
Don’t just stick them in your mailbox. Hand them to a postal worker and ask them to hand-cancel them if possible. This means they stamp them by hand instead of running them through the machine that can damage or smudge fancy invitations.
Mail them all at once so they arrive around the same time. And mail them on a Tuesday or Wednesday, not Friday afternoon when they’ll sit in the post office all weekend.
Tracking isn’t really possible for regular mail but you can do certified mail for really important guests if you’re worried, though that’s probably overkill for most situations.
Common Mistakes to Avoid
Not ordering samples first – always see the actual product before ordering 150 of them
Forgetting about envelope liners – they’re optional but add a really nice touch and aren’t that expensive, usually $0.50-1.50 each
Using too-small envelopes – your invitation should fit comfortably without forcing it or folding it weird
Skimping on RSVP postage – seriously just put stamps on them
Not giving yourself enough time – this is the big one, everything takes longer than you think
Choosing a font that’s too small or too decorative – if your grandmother can’t read it, pick a different font
Going too matchy-matchy with your event decor – invitations set the tone but don’t need to be identical to your centerpieces or whatever
Forgetting to include critical info like whether kids are invited or dress code – put it on the details card if not the main invitation
The whole process is honestly more involved than people expect when they start looking at pretty designs online but if you give yourself enough time and stay organized it’s totally manageable. Just don’t be like that spring 2023 bride and wait until the last minute because rush fees are real and they’re expensive and your options get really limited. Start early, proof carefully, order extras, and you’ll be fine.