Planning Guides, Style Guide
Twilight Wedding Invitation: Design & Ordering Guide
Jun
Getting Started With Your Twilight Theme
So twilight weddings are having this massive moment right now and honestly the invitations are where you really set that whole vibe. I had this couple back in spring 2023 who were dead set on a twilight ceremony and their invitation process was… well, let me just walk you through what actually works because I learned SO much from that experience.
First thing – you gotta nail down what “twilight” means to YOU. Some people think dusky purples and oranges, others are going full celestial with stars and moons, and then there’s the romantic sunset gradient people. I’ve seen all of it. The couple I mentioned? They initially wanted everything and it looked like a Pinterest board exploded. We had to narrow it down.
Color Palettes That Actually Work
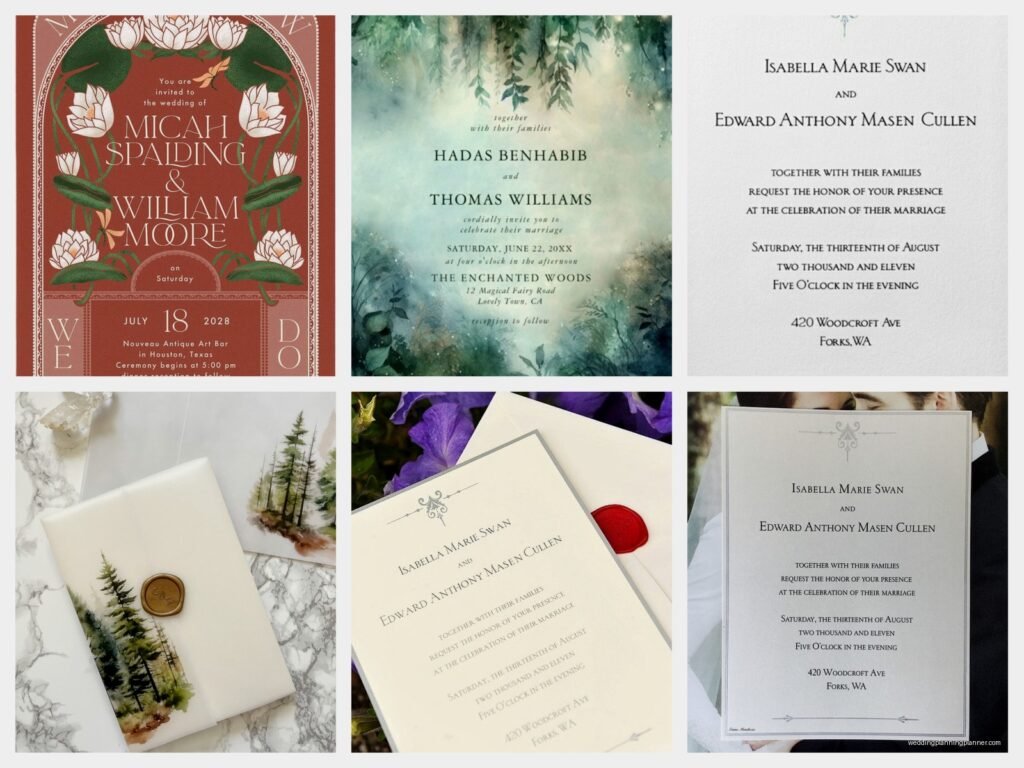
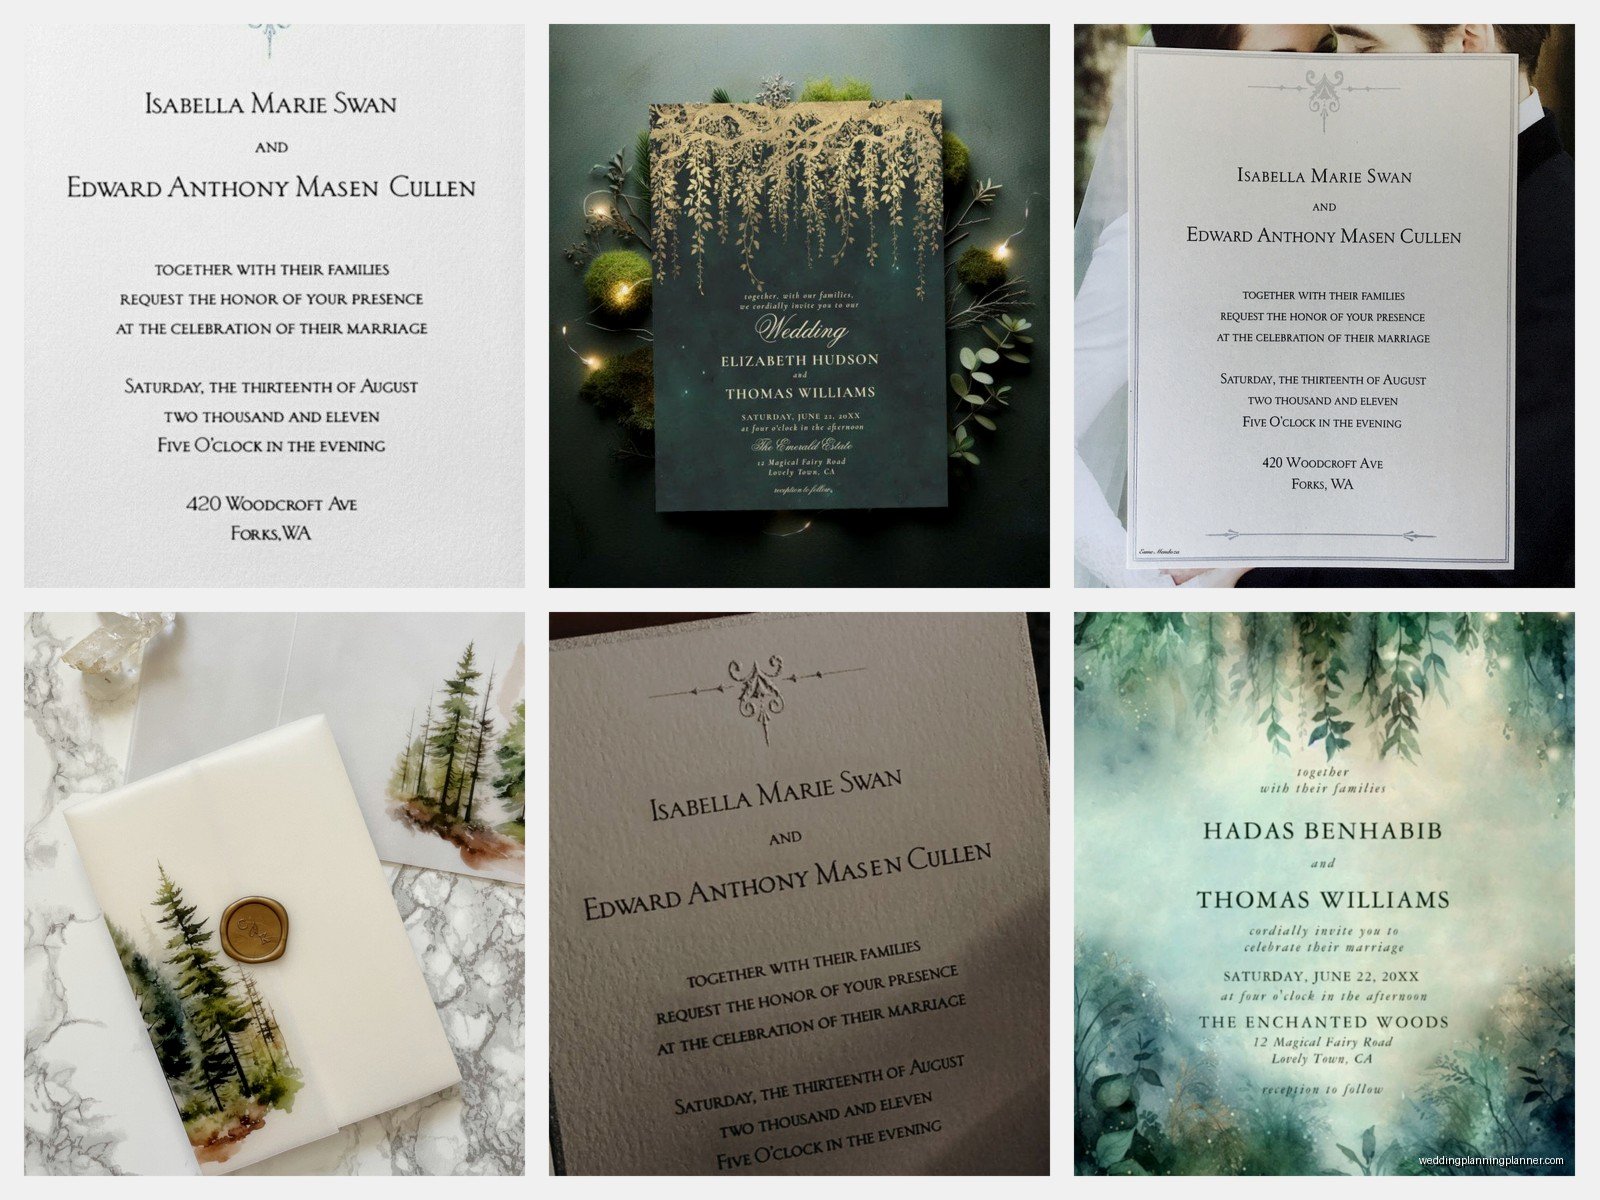
The classic twilight palette is deep purple, navy blue, dusty rose, and gold accents. But here’s what I tell everyone – don’t use ALL of those at once on your invitation. Pick maybe two or three max. I usually recommend a deep navy or purple as your main color, then one accent like rose gold or copper foiling.
Another gorgeous option is the ombre sunset look – starting with coral or peach at the top and fading into deep purple or navy at the bottom. This works really well on larger invitation suites where you have room for that gradient to actually show. On a standard 5×7 invite, it can look kinda cramped.
Metallics are your friend here. Rose gold, copper, and even silver can elevate that twilight feel without making it look too… I don’t know, juvenile? Some twilight designs can read very teenage-bedroom-aesthetic if you’re not careful.
Design Elements To Consider
Okay so the imagery and graphics you choose are gonna make or break this whole thing. Silhouettes work beautifully for twilight themes – think tree lines, mountain ranges, city skylines if you’re doing an urban wedding. These look amazing as a bottom border or as a subtle background element.
Stars and constellations are obvious choices but use them sparingly. A scattered star pattern as a background? Beautiful. Stars everywhere including the return address and envelope liner and RSVP card? Too much. Trust me on this.
One thing that really annoys me is when couples want to use those super literal sunset photos as their invitation background. Like an actual photograph of a sunset behind all the text. It almost never works because you can’t read the text properly and it just looks muddy when printed. If you want photo elements, use them subtly or as a separate detail card, not as the main invitation background.
Typography Choices
For twilight invites, you want something that feels elegant but not too formal unless that’s your wedding vibe. I usually pair a romantic script font for names with a clean serif or sans-serif for the details. The contrast works really well.
Avoid fonts that are too whimsical or curly – they can be hard to read and they don’t photograph well. Your guests will be squinting at their invitations and that’s not the vibe. Also remember that older relatives need to actually READ this thing, so keep body text at least 10-11pt.
Paper Stock and Printing Methods
This is where you can really make your twilight invitations special. Standard cardstock is fine, but if your budget allows, consider these upgrades:
- Vellum overlays – these create a dreamy, ethereal effect that’s perfect for twilight themes
- Shimmer or metallic cardstock – catches the light beautifully and adds dimension
- Textured paper like linen or cotton – feels more luxurious in hand
- Dark-colored paper stock (navy, deep purple, even black) with metallic ink
That spring 2023 couple I mentioned ended up doing navy cardstock with rose gold foil printing and it was STUNNING. But here’s the thing – foil printing is expensive and has minimum order quantities usually starting around 100 pieces.
Printing Method Breakdown
Digital printing is your most affordable option and technology has come so far that it looks great for most designs. It works well for gradient backgrounds and full-color designs. Turnaround is usually faster too.
Letterpress is gorgeous and has that tactile impression in the paper, but it’s pricey and doesn’t work well with dark cardstock or full-color designs. Better for minimalist twilight looks with simple text.
Foil stamping is what I recommend most for twilight invites because that metallic shine really captures the magic hour feeling. You can do foil on dark paper which looks incredible. Just know you’ll pay per foil color, so keep it to one or two foil colors max.
Thermography is like a middle ground – it creates raised text that looks almost like engraving but costs less. Works well for traditional twilight designs.
Suite Components You’ll Need
At minimum, you need the main invitation and an RSVP card with envelope. But most couples doing twilight themes want the full suite because it just looks better as a package. Here’s what I typically recommend:
- Main invitation card
- RSVP card and envelope
- Details card (accommodations, website, dress code)
- Envelope liner in a coordinating pattern or color
- Belly band or vellum wrap to hold everything together
Optional additions include a weekend itinerary card if you’re doing multiple events, a map or directions card (though most people just use Google Maps now), and maybe a thank you card that matches the suite.
Envelope Liners Are Worth It
I cannot stress this enough – envelope liners make such a difference for twilight invitations. When someone opens that envelope and sees a gorgeous sunset gradient or starry pattern, it immediately sets the tone. You can buy pre-made liners or have them custom printed. My cat actually knocked over an entire box of envelope liners once during a client meeting and they went everywhere… anyway, they’re worth the investment.
Where to Order Your Invitations
You’ve got options ranging from DIY to full-service custom designers. Let me break down what I’ve seen work well and what hasn’t.
Online Template Sites
Minted, Zola, Paperless Post (for digital), and Etsy are all solid choices if you’re working with a smaller budget. Minted especially has really elevated their twilight designs lately and their paper quality is good. You can customize colors and wording pretty easily.
The downside is you’re working with templates, so your invitation might look similar to someone else’s. Also customer service can be hit or miss if something goes wrong with your order.
Independent Designers on Etsy
This is a sweet spot for a lot of couples. You get more customization than the big template sites but it’s not as expensive as hiring a local stationer. Look for sellers with lots of reviews and examples of their work. Make sure they offer proofs before final printing because you want to catch any errors.
One annoying thing about Etsy – the shipping times can be all over the place. Some sellers are super fast, others take weeks just to send you a proof. Read those reviews carefully and message them before ordering to ask about timelines.
Local Stationers and Custom Designers
This is obviously where I’m gonna recommend you spend your money if budget allows, but I’m trying to be realistic here. Custom design means your invitations are truly unique and you get personalized service throughout. You can incorporate specific elements from your venue or personal details that templates can’t accommodate.
Expect to pay significantly more – custom suites usually start around $1000-1500 for 100 invitations depending on printing methods and complexity. The timeline is also longer, usually 8-12 weeks from initial consultation to delivery.
Timeline For Ordering
Okay this is important because I see people mess this up ALL THE TIME. Here’s the realistic timeline you should follow:
6-8 months before wedding: Start looking at designs, gathering inspiration, and reaching out to designers or browsing template sites. You need your venue, date, and time finalized before ordering invitations, which seems obvious but you’d be surprised.
4-5 months before: Place your order. This gives you enough buffer for design revisions, printing, shipping, and any potential issues. Plus you need time to assemble everything if you’re doing DIY assembly.
3 months before: Invitations should arrive. Give yourself time to check everything before you start addressing and stuffing envelopes.
8-10 weeks before: Mail invitations. Yes, really. People need time to request time off work, book travel, and actually send back those RSVP cards.
For save the dates with twilight themes, send those 6-8 months before the wedding, especially if you’re doing a destination wedding or peak season date.
Assembly and DIY Considerations
If you’re ordering from most online companies, you’ll need to assemble the suites yourself. This means stuffing envelopes, adding liners, applying belly bands or seals, and addressing everything. It takes WAY longer than you think.
I usually tell couples to budget about 2-3 hours for every 25 invitations if you’re doing a full suite with multiple inserts. Have an assembly party with your wedding party or family – put on some good TV (I binged an entire season of something while helping that spring 2023 couple, can’t even remember what show now) and make it fun.
Addressing Options
You can hand-address envelopes which looks beautiful and personal, but your handwriting needs to be decent. For twilight themes, white or metallic gel pens on dark envelopes look amazing.
Digital calligraphy or printed addresses are totally acceptable now and honestly most guests don’t care as long as it looks nice. Some printing companies offer recipient addressing as an add-on service.
If you want professional calligraphy, hire someone early because good calligraphers book up fast during wedding season. Expect to pay $2-5 per envelope depending on the calligrapher’s experience and style.
Wording and Etiquette
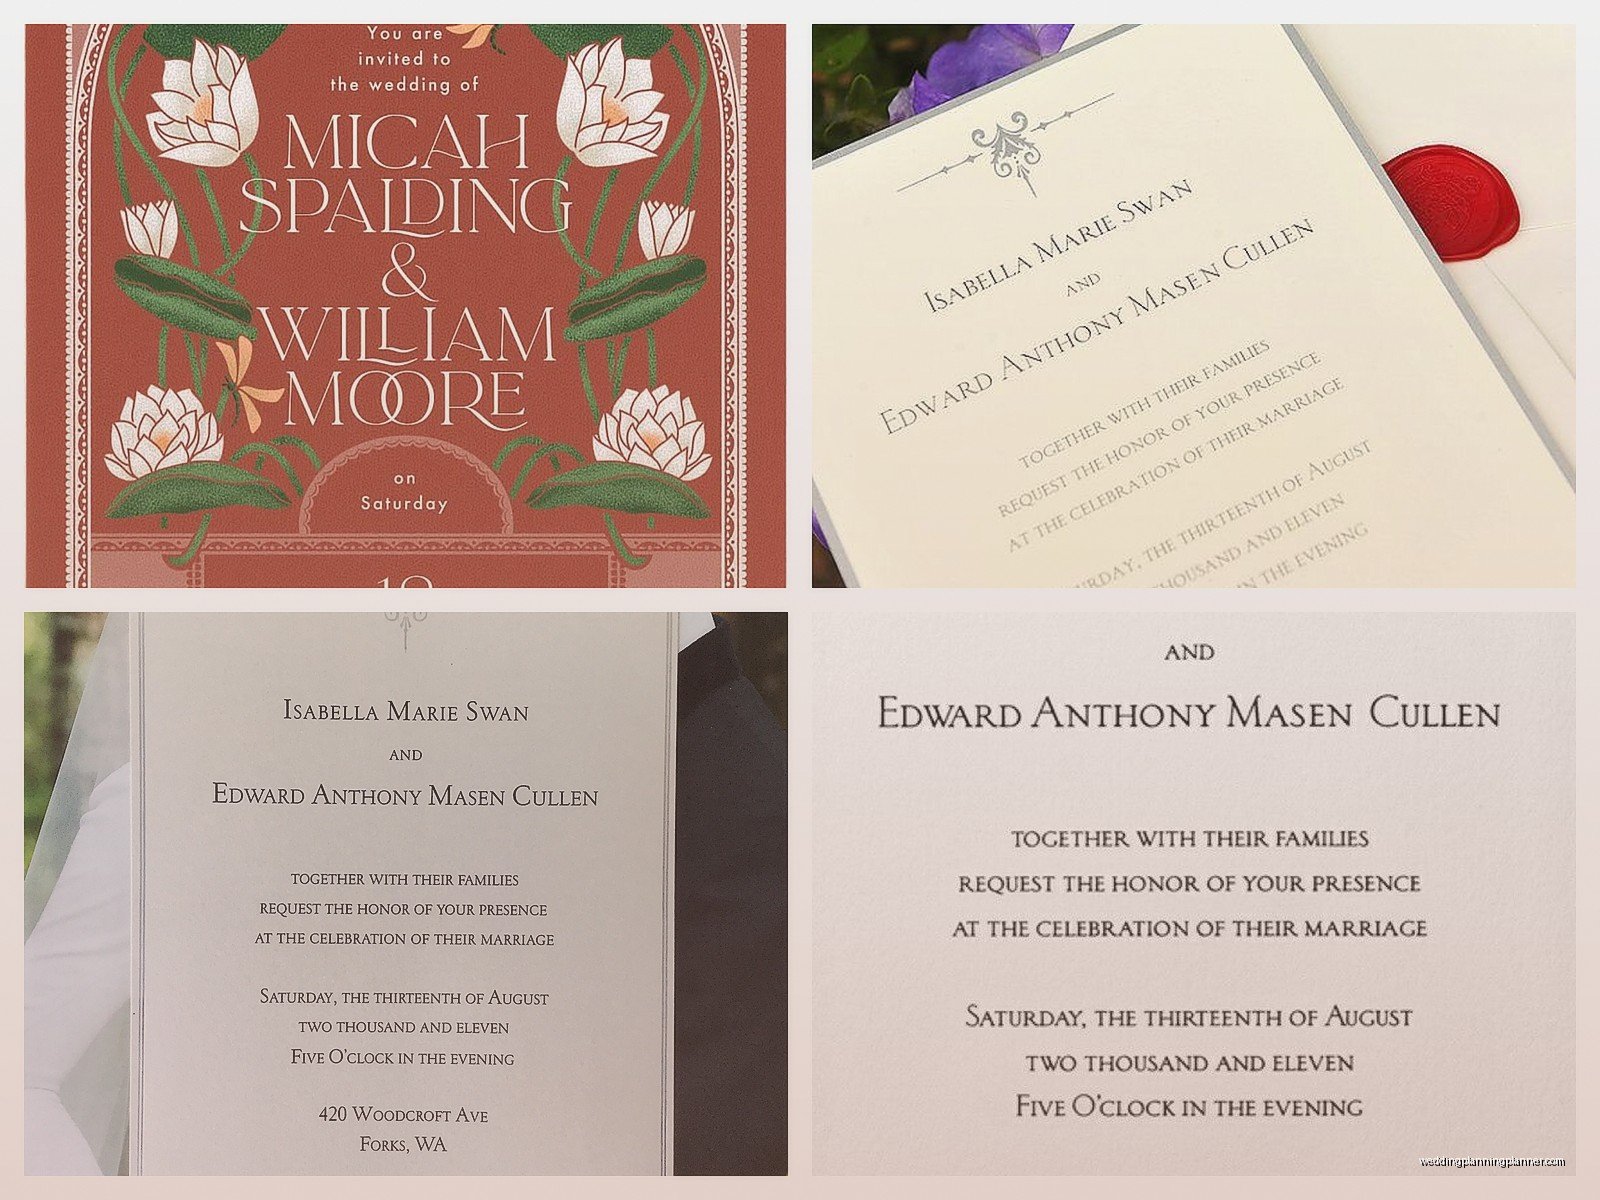
The actual text on your invitation doesn’t change just because you’re doing a twilight theme, but you might want to incorporate some romantic language that hints at the timing. Instead of just “6:00 PM” you could say “at twilight” or “as the sun sets” or something like that, though honestly that can sound a bit cheesy depending on your overall tone…
Traditional wording is fine – host line, request line, couple’s names, date, time, location, reception details. If you’re doing less formal twilight wedding, you can be more casual with your wording. Just make sure all the essential information is there.
One thing – if your ceremony is actually during twilight hours (usually between 6-8 PM depending on season and location), mention the timing clearly so guests know to expect an outdoor ceremony or bring a wrap if it’ll get chilly.
Budgeting Real Talk
Invitations typically run 8-10% of your total wedding budget, but that varies wildly. For a $30,000 wedding, you’re looking at $2400-3000 for invitations if you follow that guideline. But plenty of couples spend way less or way more depending on priorities.
Here’s a realistic breakdown for 100 twilight invitation suites:
Budget option ($200-400): Online template with digital printing, minimal customization, DIY assembly, basic paper stock
Mid-range option ($600-1200): Semi-custom design from Etsy or upgraded templates from Minted, better paper quality, maybe one special printing technique like foil on just the names, envelope liners included
Luxury option ($1500-3000+): Custom designer, multiple printing techniques, premium paper, full suite with 4-5 inserts, professional assembly and calligraphy
You can definitely have beautiful twilight invitations at any price point. It’s about knowing where to splurge and where to save. If you love the look of foil but can’t afford it for everything, just do foil on the couple’s names on the main invite and use regular printing for everything else.
Common Mistakes to Avoid
Don’t order exactly 100 invitations if you need 100. Order at least 10-15 extra for keepsakes, last-minute additions to the guest list, and inevitable mistakes during assembly. You cannot go back and order more later and have them match perfectly – printing batches vary slightly.
Proofread EVERYTHING multiple times. Have someone else proofread too. I’ve seen invitations go out with the wrong date, misspelled venue names, and missing RSVP deadlines. It happens more than you’d think and it’s mortifying.
Don’t forget postage. Twilight invitation suites tend to be bulkier with multiple inserts and fancy paper, which means they’ll need extra postage. Take a fully assembled invitation to the post office and have them weigh it before you buy stamps. Square envelopes also require extra postage because they can’t go through standard sorting machines.
Test your envelope liners before doing all of them. Some adhesives don’t work well with certain paper types and you’ll end up with liners falling out or getting wrinkled. Do a few test runs first.
Digital Invitation Alternatives
Look, I’m a paper person obviously, but digital twilight invitations can work for certain weddings. Paperless Post has gorgeous animated twilight designs that look really sophisticated. They’re environmentally friendly, instantly deliverable, and you can track RSVPs automatically.
The downside is they feel less formal and some older guests might not check email regularly or know how to RSVP online. For casual twilight weddings or elopement announcements, digital works great. For black-tie affairs, stick with paper.
You could also do a hybrid – send digital save the dates with a twilight theme to save money, then splurge on beautiful paper invitations. That’s actually pretty common now and it works well.