
Planning Guides, Style Guide
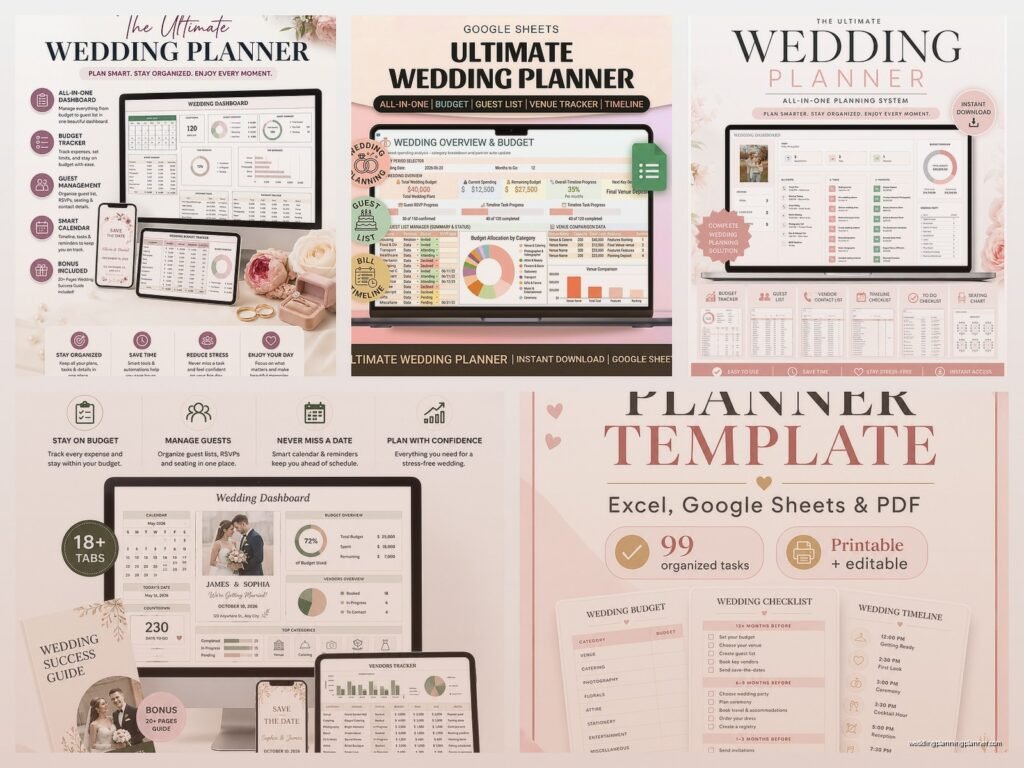
Wedding Planner Google Sheets Template: Free Download Files
Aug
Okay So Google Sheets Templates Are Actually Perfect for Wedding Planning
I’ve been using Google Sheets for wedding planning since like 2019 and honestly I don’t know why I didn’t switch from Excel sooner. The whole cloud-based thing means your couples can access everything from their phones while they’re at the florist or whatever, and you’re not dealing with version control nightmares. Let me walk you through setting up templates that actually work.
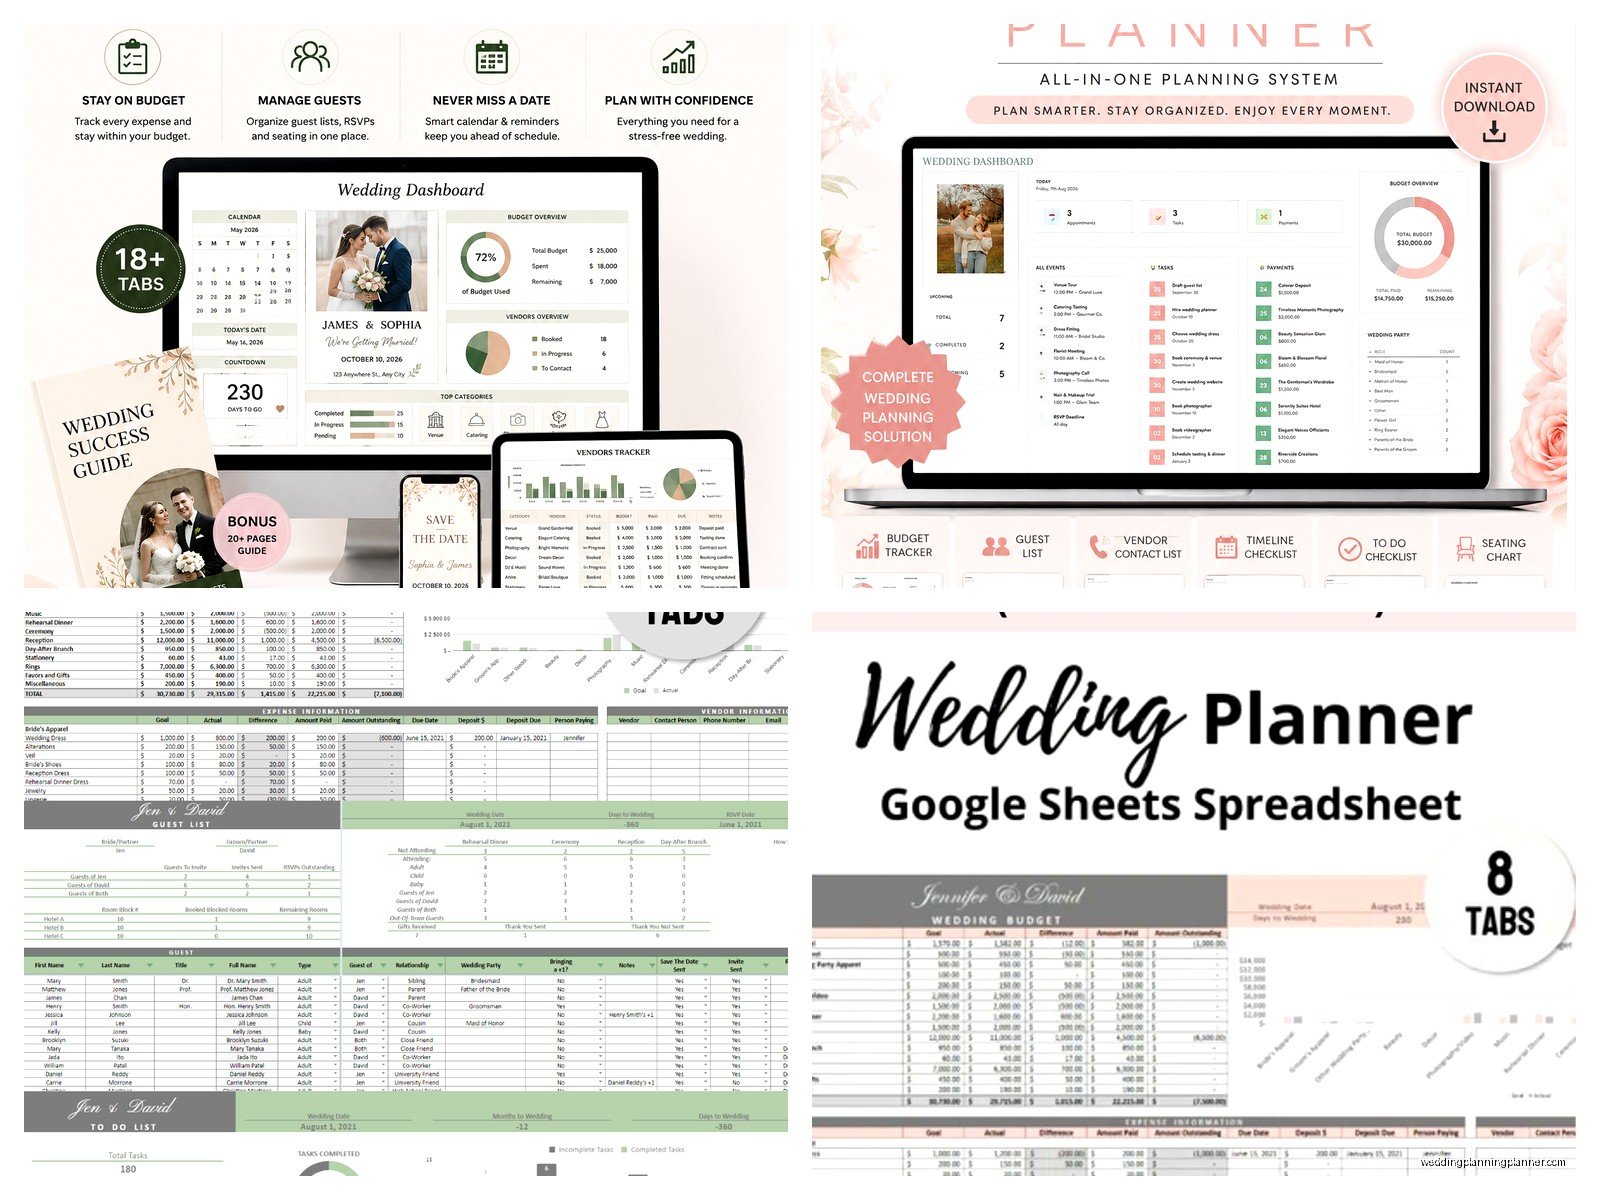
First thing – you need a master budget tracker sheet. This is gonna be your most-used template so make it good. I set mine up with columns for category, vendor name, estimated cost, actual cost, deposit paid, deposit date, balance due, and payment due date. Then I add a notes column because there’s always something random like “they’re throwing in extra centerpieces if we pay by March” that you gotta track.
The annoying thing about most free templates out there? They’re way too complicated. I downloaded one last spring that had like 47 tabs and conditional formatting everywhere and it crashed every time my client tried to open it on her phone. Keep it simple or people won’t use it.
Setting Up Your Budget Template Step by Step
Open a new Google Sheet and name it something like “Wedding Budget Master Template” so you know it’s your blank one. In cell A1 put “Wedding Budget for [Couple Names]” and merge it across like 8 columns. Make it big and bold so it looks professional.
Row 3 is where your headers start. I use: Category | Vendor/Item | Estimated Cost | Actual Cost | Deposit Amount | Deposit Date | Balance Due | Due Date | Payment Status | Notes. That’s 10 columns which sounds like a lot but trust me you need all of them.
Then list out your categories starting in row 4. I always do: Venue, Catering, Photography, Videography, Flowers, Music/DJ, Cake, Invitations, Attire, Hair & Makeup, Transportation, Decorations, Favors, Miscellaneous. You can add or remove based on what you typically see.
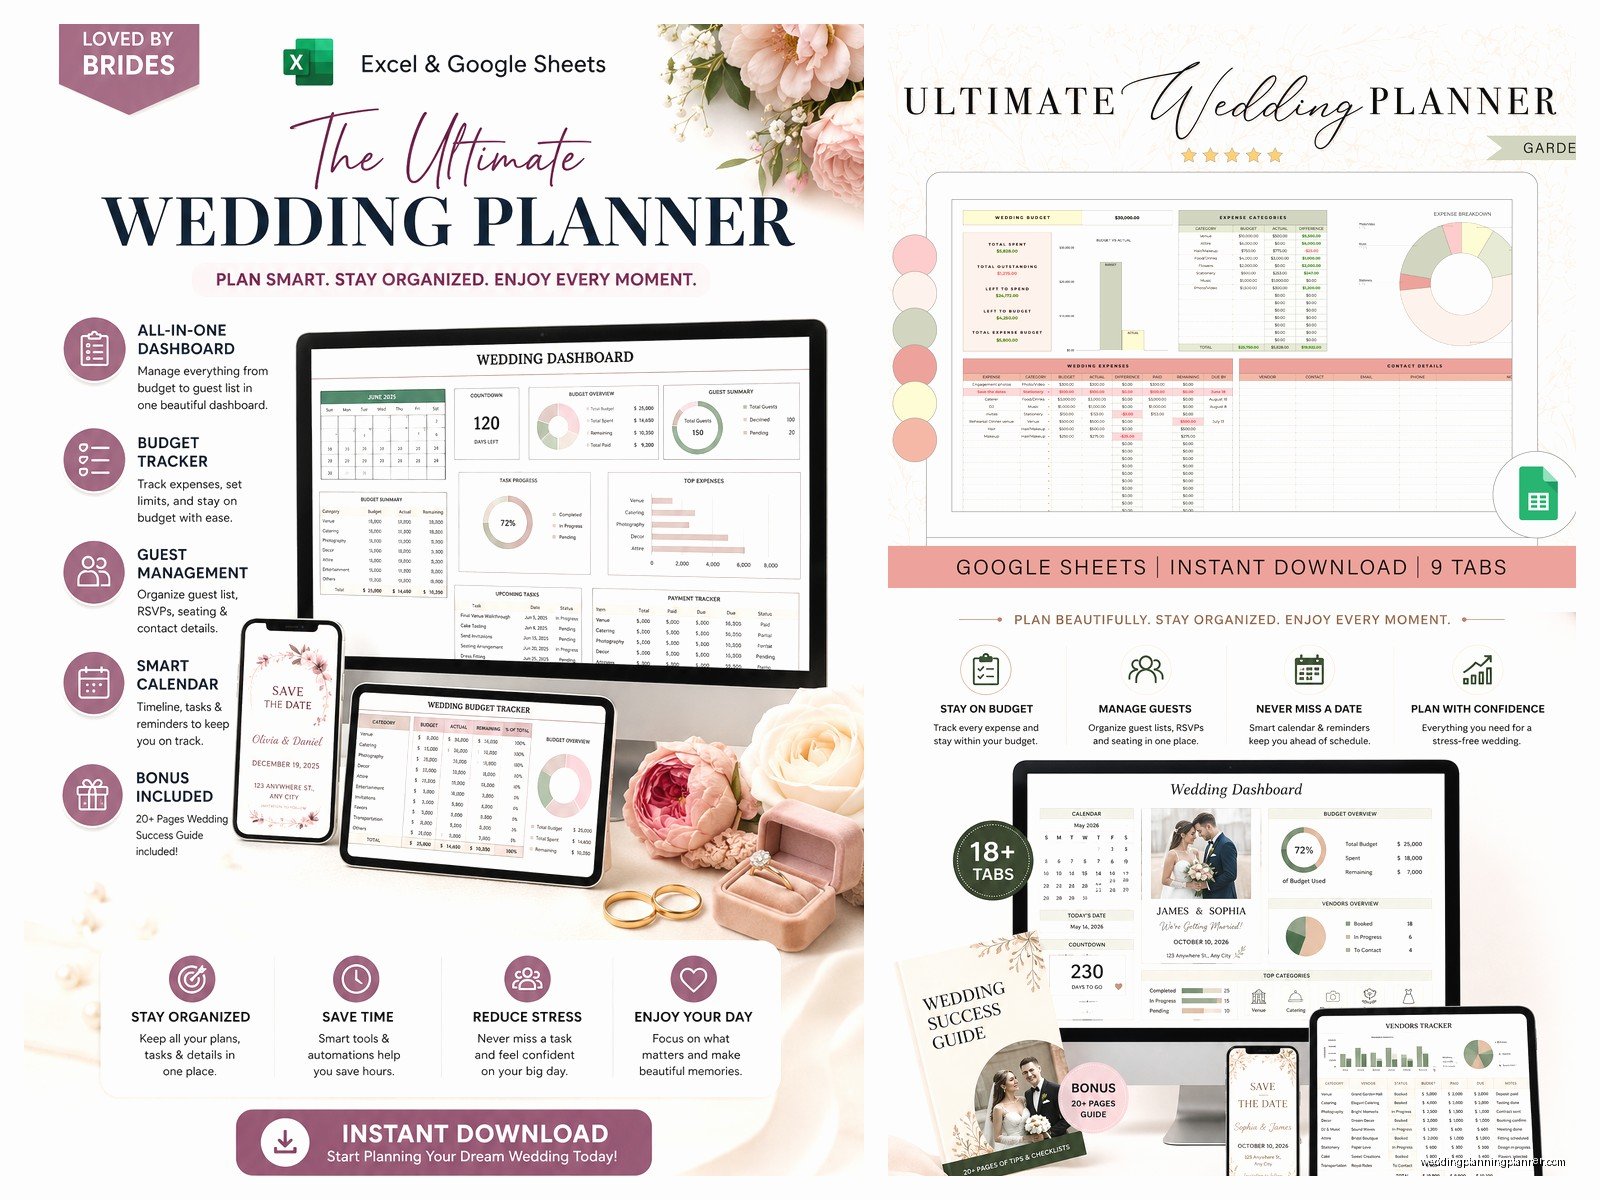
Here’s the important part – add formulas at the bottom. In the Estimated Cost column create a SUM formula that adds everything up. Do the same for Actual Cost. Then create a cell that shows the difference so couples can see if they’re over or under budget. I also add a percentage cell that shows what percent of budget they’ve spent because some people are visual like that.
For the Payment Status column, I just use a dropdown with options like “Paid in Full,” “Deposit Paid,” “Not Yet Paid,” and “Payment Plan.” To create the dropdown, select all the cells in that column, go to Data > Data Validation, and add your options. Makes data entry so much faster.
Guest List Template That Won’t Make You Cry
The guest list template is probably the second most important one and it needs to be detailed but not overwhelming. Summer 2021 I had this bride who invited 340 people and tracked literally everything in a chaotic Notes app situation until I convinced her to use a proper sheet… it was a mess before that.
Create a new tab in your template workbook and label it “Guest List.” Your columns should be: Guest Name, Guest Category (like Bride’s Family, Groom’s Friends, etc.), Address, Phone, Email, Save the Date Sent, Invitation Sent, RSVP Received, Number Attending, Meal Choice, Dietary Restrictions, Plus One Name, Table Assignment, and Gift Received/Thank You Sent.
I know that seems like a lot but you’ll use every single column. The RSVP tracking alone saves so much back-and-forth communication.
Add conditional formatting to the RSVP column so that “Yes” shows up in green, “No” shows in red, and blank cells stay white. It gives you a quick visual of who hasn’t responded yet. To do this select the column, click Format > Conditional Formatting, and set up rules for each value.
At the top of the sheet I always add summary cells that count total invited, total attending, total declined, and total pending. Use COUNTIF formulas for this. So like =COUNTIF(I:I,”Yes”) for counting the yes responses in column I.
Timeline and Checklist Template
This one’s kinda straightforward but super helpful. Create a tab called “Planning Timeline” and set up columns for: Task, Category, Due Date, Assigned To, Status, and Notes.
I pre-populate this with standard tasks organized by timeframe. Like “12+ Months Before” includes tasks like book venue, hire photographer, choose wedding party. “9-11 Months Before” has order invitations, book florist, plan honeymoon, etc. You get the idea.
The Status column should be another dropdown with options like “Not Started,” “In Progress,” “Completed,” and “N/A.” Color-code these too – green for completed, yellow for in progress, red for not started. Makes it really easy to see what needs attention.
One thing I started doing recently is adding a “Days Until Due” column that automatically calculates how many days are left before each task deadline. The formula is just =Due_Date_Cell-TODAY() and it updates automatically. Couples love this because it creates a little urgency without you having to nag them.
Vendor Contact Sheet Because You’ll Forget Otherwise
Create another tab called “Vendor Contacts” with these columns: Vendor Category, Company Name, Contact Person, Phone, Email, Website, Contract Signed, Deposit Paid, Balance Due, Final Payment Date, and Notes.
This is where you list every single vendor with their details. It becomes the master reference sheet for the whole wedding. I can’t tell you how many times I’ve needed to call a florist last-minute and having everything in one place is… it just saves your sanity honestly.
Add a column for “Day-Of Contact Number” too because sometimes the main business line isn’t what you need on wedding day. You need the actual person’s cell phone.
Seating Chart Template That Actually Works
Seating charts are where couples lose their minds so having a good template helps. I create a tab called “Seating Chart” and honestly this one’s more freeform.
Set it up with columns for: Table Number, Guest Name, Meal Choice, Special Notes. Group all guests by their table number. I also create a separate small table at the top that lists each table number and the total seats at that table so you can see at a glance if you’re over or under.
Some people like to do a visual seating chart but I find those get messy in spreadsheet form. Better to keep it simple as a list and then create the visual version in a different program if needed… or just print this one and draw circles on it, whatever works.
Day-Of Timeline Template
This is the template you’ll share with all vendors and the wedding party. Create a tab called “Wedding Day Timeline” with columns for: Time, Duration, Event/Activity, Location, People Involved, and Vendor Responsible.
Start from hair and makeup in the morning and go all the way through the last dance. Be specific – not just “ceremony” but “processional begins,” “ceremony start,” “ceremony end,” “recessional.” Every little piece needs a time slot.
I learned this the hard way during a wedding in spring 2023 when the photographer thought cocktail hour was 45 minutes but it was actually 90 minutes and she missed some key family photos because of the confusion. Details matter.
Include buffer time between events. Like if ceremony ends at 4:00pm, don’t start cocktail hour until 4:15pm. Gives you wiggle room for late starts or long processionals or whatever.
How to Actually Share and Use These Templates
Okay so once you’ve built your master template with all these tabs, here’s what you do. Save it with a name like “MASTER Wedding Planning Template – DO NOT EDIT” in your Google Drive. Then every time you get a new client, make a copy of this file (right-click > Make a Copy) and rename it with the couple’s names and wedding date.
Share the copied version with your couple by clicking the Share button and entering their email addresses. Set their permission to “Editor” so they can make changes. If you have other vendors who need view-only access, you can add them as “Viewer.”
One thing that’s super helpful – use the comment feature in Google Sheets for questions or discussions. If I see a couple put something in the budget that seems off, I’ll add a comment like “hey is this price confirmed? seems high” and they get a notification. Keeps all communication tied to the actual data.
My cat just knocked over my coffee while I’m writing this but anyway… where was I.
Formulas That’ll Make Your Life Easier
Let me give you some specific formulas I use all the time. For budget tracking, this formula shows the difference between estimated and actual costs: =SUM(D:D)-SUM(C:C) assuming D is actual and C is estimated.
To calculate what percentage of budget is spent: =(SUM(D:D)/SUM(C:C))*100 and format that cell as a percentage.
For the guest list, to count total guests attending: =SUM(I:I) if column I contains the number of people each guest is bringing. If you’re tracking yes/no responses, use =COUNTIF(H:H,”Yes”) to count affirmative responses.
To show days until the wedding, put the wedding date in a cell at the top (let’s say B1) and then create a formula: =B1-TODAY() and it’ll count down automatically.
For conditional formatting on dates, you can highlight cells that are coming up soon. Select your due date column, go to Format > Conditional Formatting, choose “Date is before” and set it to “today” with red formatting. Then add another rule for “Date is in the next week” with yellow formatting. Gives you a visual warning system.
Extra Tabs You Might Want
Some planners like to add a “Menu Planning” tab with columns for course, dish name, ingredients, and vendor. This is helpful if you’re doing tastings or need to track dietary restrictions across multiple events.
A “Gift Tracker” tab is useful with columns for: Guest Name, Gift Received, Date Received, Thank You Sent, Date Sent. Keeps couples organized with their thank you notes.
I also sometimes create a “Payment Schedule” tab that’s separate from the budget, showing every single payment deadline across all vendors in chronological order. Just pulls the due dates from the budget tab and sorts them by date. Makes it really clear what’s coming up financially.
For destination weddings or weddings with lots of out-of-town guests, an “Accommodation” tab helps. Track: Guest Name, Hotel, Confirmation Number, Check-in Date, Check-out Date, Special Requests.
Common Mistakes to Avoid
Don’t make your templates too rigid. Leave room for customization because every wedding is different. I used to have really specific category names in my budget template and then I’d get couples who wanted to categorize things differently and it became a whole thing.
Don’t over-format. Too many colors and borders and merged cells makes sheets hard to edit and slow to load. Keep formatting minimal and functional.
Don’t forget to protect certain cells if you’re sharing with multiple people. Like if you have formulas you don’t want accidentally deleted, you can protect those cells. Go to Data > Protected Sheets and Ranges and select what you want to lock down.
Also make sure you’re using data validation (those dropdowns I mentioned) wherever you can. It prevents typos and keeps data consistent. Nothing worse than trying to sort a column that has “yes,” “Yes,” “YES,” “y,” and “confirmed” all meaning the same thing.
Where to Find Free Templates to Start From
If you don’t wanna build from scratch, there are decent free templates out there. Google Sheets has a template gallery – just go to sheets.google.com and click “Template Gallery” at the top. They have a wedding planning template that’s pretty basic but usable.
Wedding Wire and The Knot both offer free downloadable templates, though you usually have to give them your email. They’re alright as starting points but you’ll definitely want to customize them.
I’ve also found good ones on Etsy but make sure they’re actually Google Sheets compatible and not just Excel files. Some sellers list things as Google Sheets templates when they’re really Excel files that kinda work in Sheets but not great.
Pinterest has links to free templates but honestly half of them are broken links or lead to sites that want your credit card info. Be careful with random internet downloads.
The best approach is honestly to build your own template once and then reuse it forever. Spend a few hours getting it exactly how you want it and you’ll save hundreds of hours over your career. I’m still using a template structure I created in 2020 and just refining it slightly for each wedding based on what I learn.
Make sure whatever template you use or create, you’re backing it up. Google Sheets auto-saves which is great but I also download copies as Excel files once a month just in case. You never know when Google’s gonna have a weird glitch or whatever.
The version history feature in Google Sheets is also a lifesaver. If someone accidentally deletes a bunch of data, you can go to File > Version History > See Version History and restore an earlier version. I’ve used this probably a dozen times when couples or their family members get overzealous with editing.
