
Planning Guides, Style Guide
Wedding Ceremony Chair Layout Template: Free Download Files
Sep
Chair Layout Templates Nobody Tells You About Until You’re Already Stressed
Okay so chair layouts for wedding ceremonies seem super straightforward until you’re standing in an empty venue at 7am with a delivery truck full of chairs and zero idea where anything goes. I learned this the hard way in summer 2021 when a venue “forgot” to mention their ceremony space had a massive support beam right in the middle of the aisle and we had like 45 minutes to reconfigure everything.
The thing about chair layout templates is they’re basically your insurance policy against total chaos. You need them in multiple formats because your florist wants a PDF, your rental company needs measurements, and your venue coordinator is gonna ask for it in an email they can forward to their setup crew who may or may not actually read it.
The Basic Templates You Actually Need
I keep about seven different chair layout templates saved and honestly you’re probably thinking that’s excessive but hear me out. Every venue has different quirks and every couple has different guest counts and family dynamics that affect seating.
Traditional rows facing forward is your baseline template. This is what 80% of weddings use because it works and people know what to do. You’ve got your center aisle, equal rows on each side, maybe 8-10 chairs per row depending on your space. The template should show chair spacing at about 18-20 inches apart because anything closer and people are literally touching shoulders with strangers which gets awkward fast.
Then there’s the split aisle setup which I actually love for smaller weddings under 100 guests. Instead of one center aisle you create two aisles with three sections of chairs. Bride’s side gets divided into two sections, groom’s side same thing, and you end up with better sightlines for everyone. My cat knocked over my coffee right onto a printed version of this template last month and I had to redraw the whole thing which was annoying but whatever.
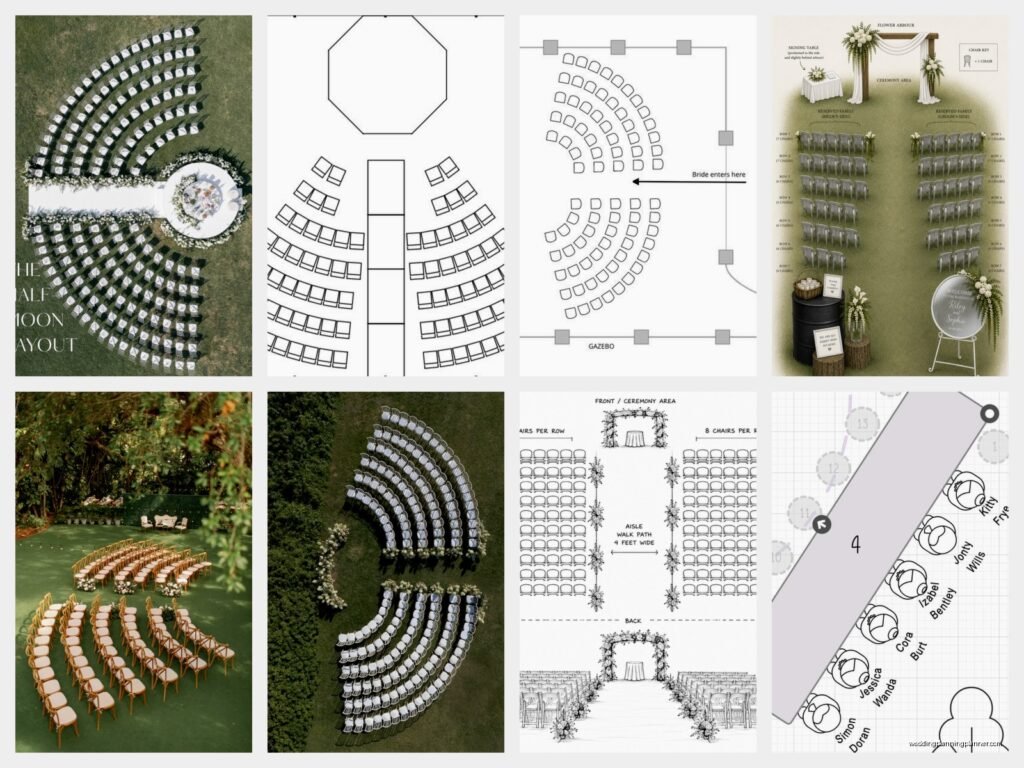
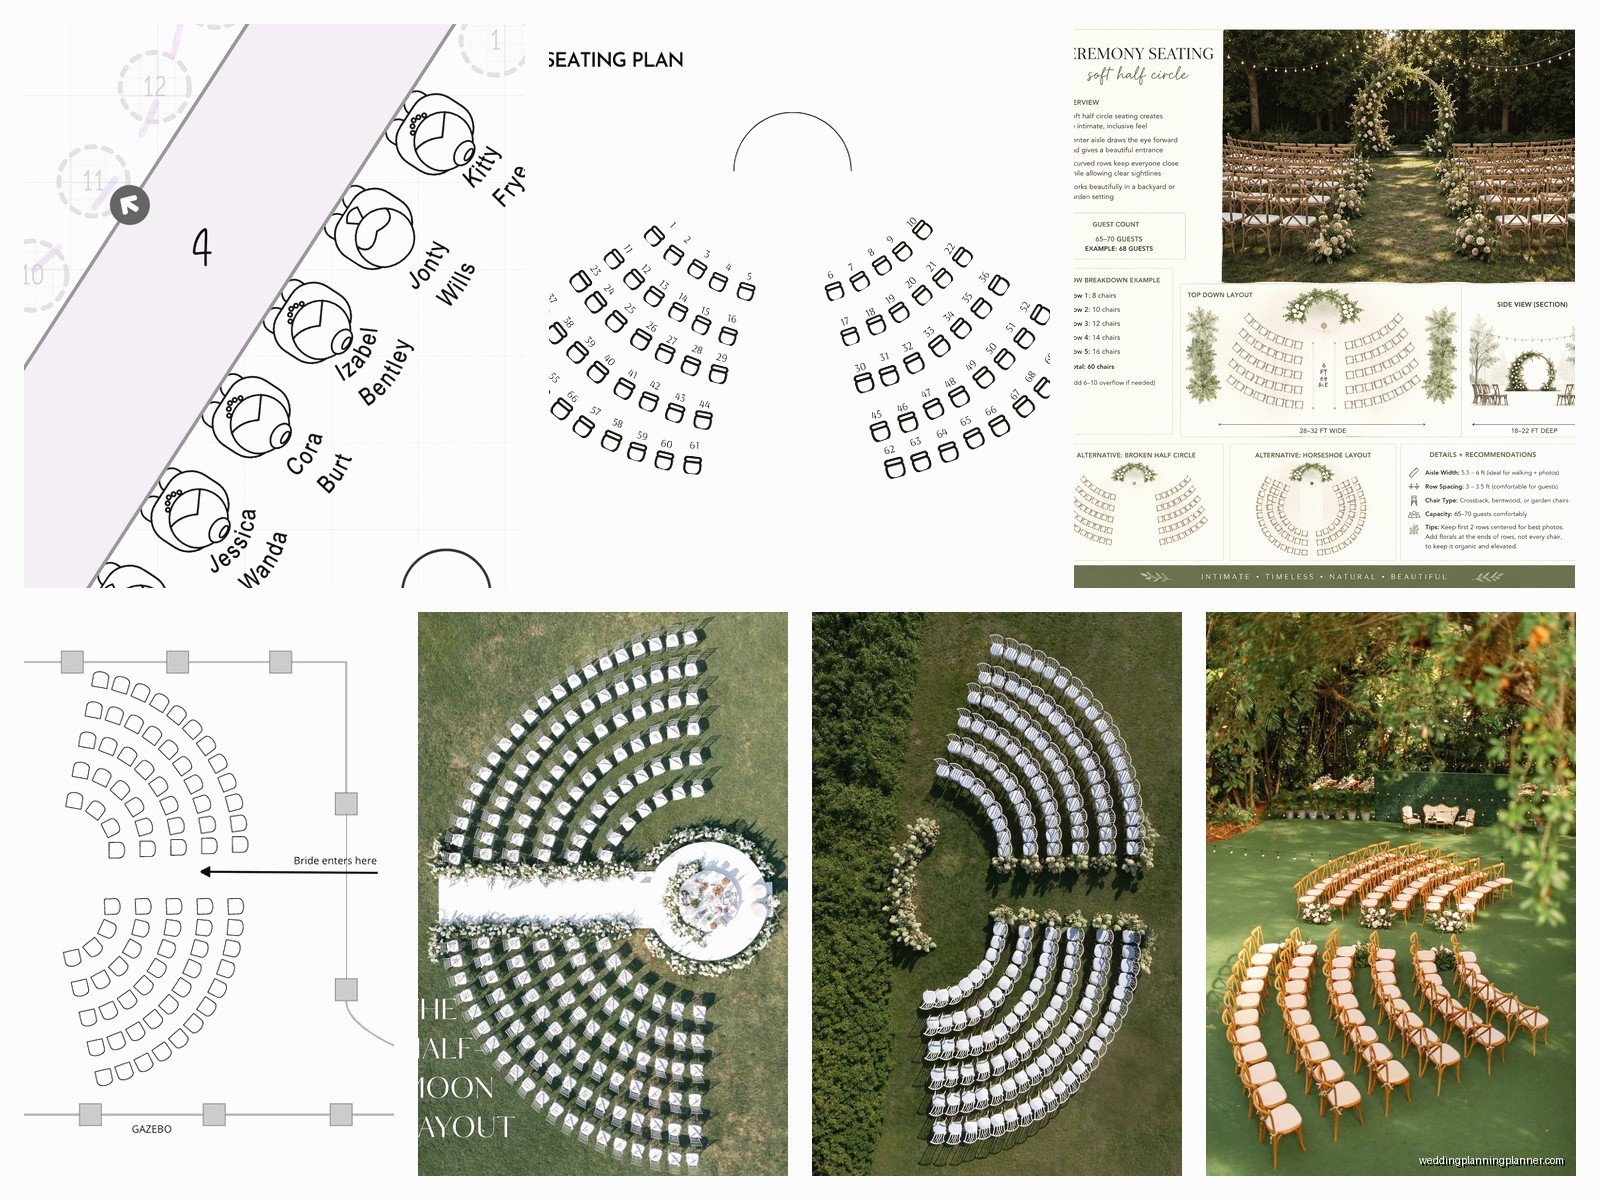
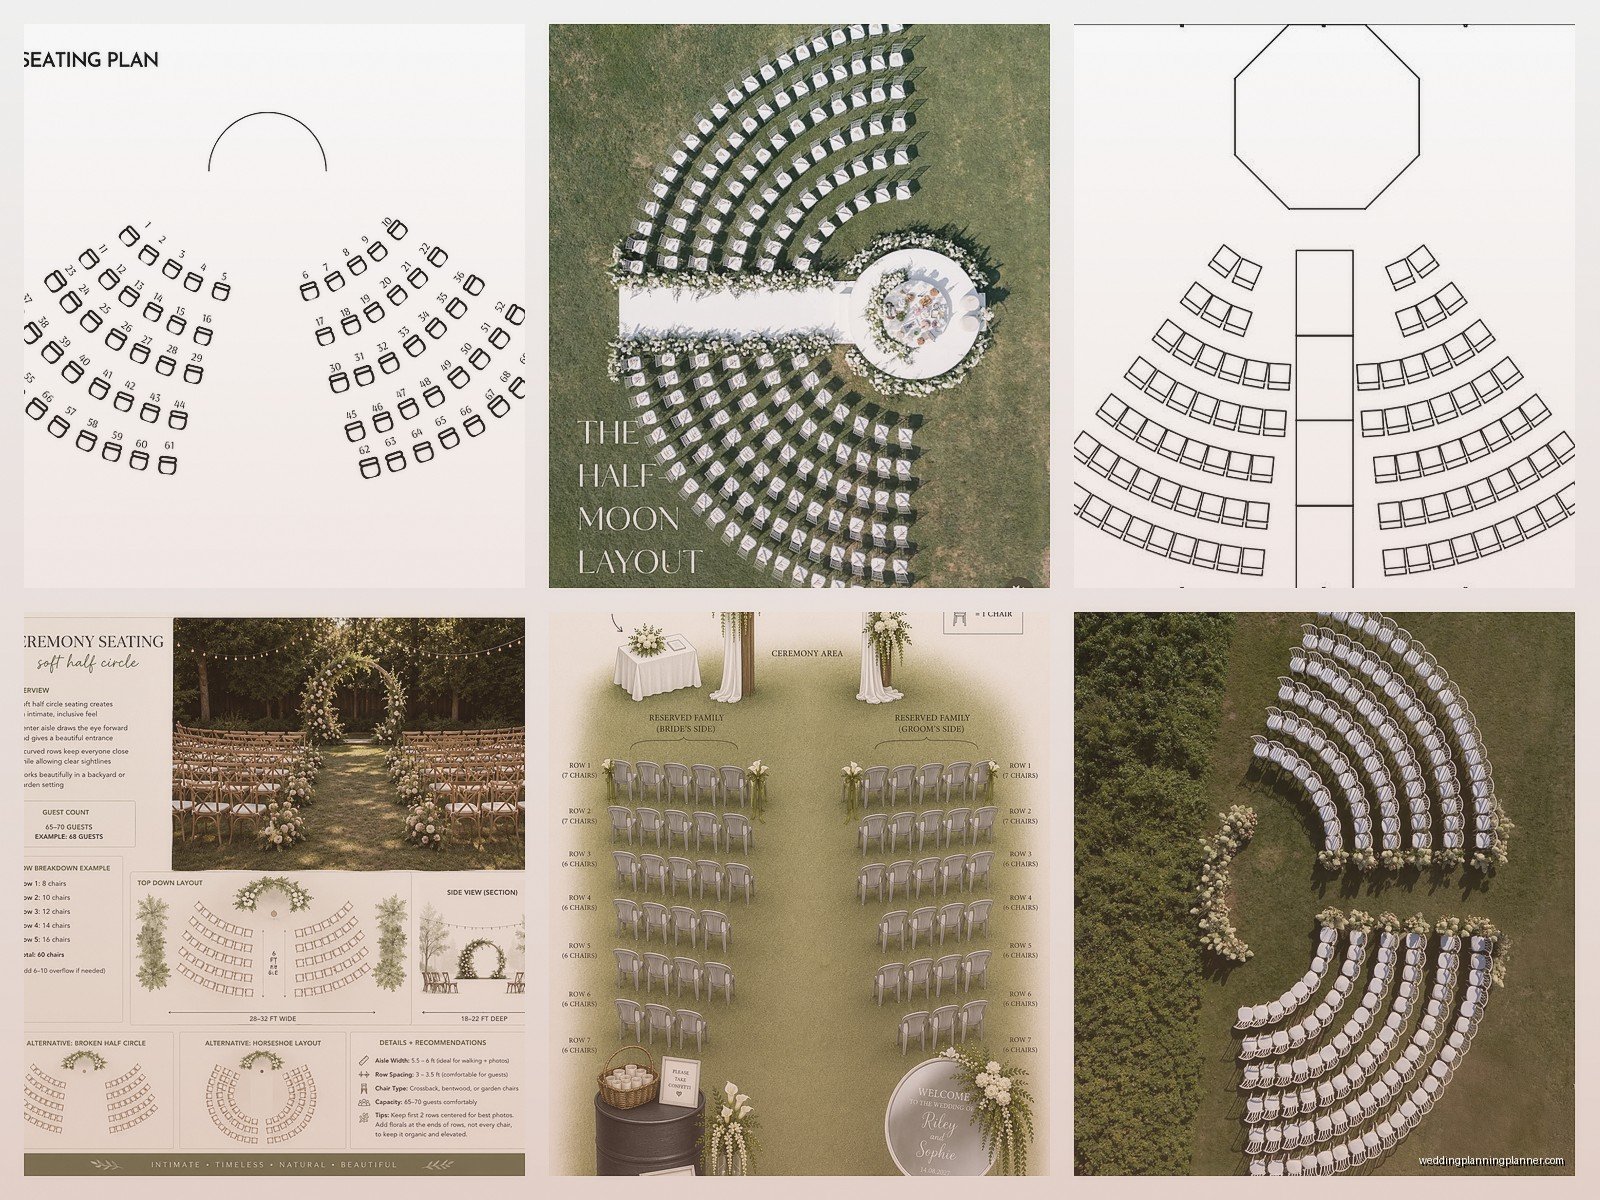
Circular or semi-circular arrangements are having a moment right now. The chairs curve around the ceremony space in concentric semi-circles and it feels more intimate. BUT and this is important your template needs to show the exact curve measurements because rental companies will just… make something up if you don’t specify and suddenly your circle looks like a lumpy oval.
Theater-in-the-round style puts the ceremony in the center with chairs surrounding it completely. This template is tricky because you gotta account for the processional path and make sure there’s enough space for the wedding party to enter without squeezing between chairs. I used this for a spring 2023 wedding in a barn and it was gorgeous but the rehearsal was chaos because nobody understood where to walk.
What Your Template Actually Needs To Include
This is where people mess up constantly. They download some pretty template from Pinterest that shows chair illustrations but has zero actual information on it.
Your template needs measurements. Like specific measurements in feet and inches. Distance from the first row to the ceremony focal point should be at minimum 6 feet, preferably 8-10 feet so your photographer can move around. Space between rows needs to be 12-14 inches minimum otherwise guests can’t walk through to their seats without doing this awkward sideways shuffle.
Mark your aisle width clearly. Standard is 4-5 feet for a center aisle but if you’re doing a bridal party entrance with multiple people walking side-by-side you might need 6-8 feet. I had a bride in 2022 who wanted her four bridesmaids to walk down together and we didn’t catch the aisle width issue until the rehearsal and it was… not great.
Include a legend that explains your symbols. Are you using different chair icons for reserved family seating versus general seating? Mark it. Are certain rows designated for specific groups? Label everything because the setup crew is working from your template at 6am and their coffee hasn’t kicked in yet.
You need to show the total chair count broken down by section. Left side: 75 chairs in 10 rows. Right side: 75 chairs in 10 rows. Reserved front row seating: 12 chairs total. Your rental company needs these numbers to deliver the right quantity and your venue needs it for their capacity requirements.
Free Tools That Don’t Suck
Alright so where do you actually get these templates without spending money because wedding planning is expensive enough already.
AllSeated has a free version that’s actually useful for basic ceremony layouts. You can drag and drop chairs, it auto-counts your quantities, and you can export as a PDF. The interface is kinda clunky but it works and you can save multiple layout options to show your couple.
Social Tables does the same thing and their free tier lets you create floor plans with measurements. I find their chair spacing tools more accurate than AllSeated but the learning curve is steeper. You’ll spend like 30 minutes figuring out where everything is and then it’s fine.
Canva has ceremony seating chart templates that you can customize. They’re more visual and pretty which clients love but they’re less technical. I use these for client presentations and then create a separate detailed version with actual measurements for vendors. The thing that annoys me about Canva templates is half of them have these elaborate decorative elements that look nice but make it harder to see the actual layout information.
Good old Excel or Google Sheets works if you’re comfortable creating your own grid system. I have a master spreadsheet template where each cell represents one square foot of space and I color-code it. Chairs are blue, aisle is white, ceremony arch area is green, reserved sections are yellow. It’s not pretty but it’s precise and you can include all your measurements in adjacent cells.
For hand-drawn templates which honestly sometimes are the fastest option just use graph paper and a ruler. One square equals one foot. Draw your space perimeter, mark your focal point, sketch in your chairs with proper spacing. Take a photo with your phone and that’s your template. I did this for an outdoor wedding where we were setting up on uneven ground and needed to adjust on the fly.
The Specific Measurements Nobody Tells You
Chair width varies by rental company but standard folding chairs are usually 16-18 inches wide. Chiavari chairs are about 16 inches. Those fancy ghost chairs everyone wants are typically 17 inches. Your template needs to account for the actual chair dimensions from your specific rental company.
Front row should be 8-12 feet from the ceremony focal point depending on your space. Too close and your photographer can’t get good shots without being in the family’s faces. Too far and it feels disconnected.
Reserve the first 2-3 rows for immediate family and VIPs. Mark these clearly on your template with a different color or symbol. I usually do rope or ribbon to physically mark reserved rows at the actual ceremony because people will absolutely sit wherever they want if you don’t.
For outdoor ceremonies your template needs to show at least 15-20 feet of clearance from any trees or structures because you need space for floral installations, speakers, and sometimes a ceremony canopy or arch. I learned this when a florist showed up with a 10-foot ceremony arch and we’d positioned chairs only 6 feet from where it needed to go.
Side aisle spacing if you’re doing multiple sections needs to be at minimum 3 feet. This is for wheelchair accessibility and also so people can reach their seats without climbing over others.
Download File Formats That Actually Work
Save your template in multiple formats because different vendors need different things and you don’t wanna be reformatting files at 9pm two days before the wedding.
PDF is your universal format. Everyone can open it, it maintains your formatting and measurements, and you can email it or print it easily. Make sure your PDF includes a scale notation like “1 inch equals 5 feet” so people can print it at different sizes and still understand dimensions.
PNG or JPG image files are good for texting to vendors quickly or including in digital planning tools. Export at high resolution so measurements stay readable when people zoom in.
Keep an editable version in whatever program you used to create it. Things change constantly in wedding planning and you need to update layouts quickly. I probably modify ceremony chair layouts an average of 4-5 times per wedding as details get finalized.
Excel or Google Sheets version with your full chair inventory and spacing calculations. This is your working document that has all the math and notes even if it’s not pretty enough to show clients.
Common Layouts For Different Guest Counts
For 50 guests or less you can do 5 rows of 5 chairs on each side with a center aisle. Keeps it intimate and everyone has a great view. Template should show this fits in roughly a 20×20 foot space minimum.
For 100 guests you’re looking at about 10 rows of 5 chairs per side or 8 rows of 6-7 chairs depending on your space width. This needs approximately 25×35 feet of space when you include aisle width and front clearance.
For 150-200 guests you might need to go to 12-15 rows or increase chairs per row to 8-10. This is where you really need exact measurements because you’re gonna be tight on space in most venues. Your template should show whether you have physical room for this many chairs before you promise it to a client.
For really large weddings over 200 guests consider the three-section split aisle layout because one long center aisle means people in back rows are really far from the ceremony and also it takes forever for everyone to walk out during the recessional.
The Stuff That Screws Up Your Layout
Venue restrictions are the biggest issue. Some venues have specific layout requirements due to fire codes or capacity limits. Your template needs to work within their rules or you’re gonna have problems. Always get venue approval on your layout before ordering rentals.
Uneven ground for outdoor ceremonies means your perfectly measured template might need adjustment on site. Build in some flexibility and maybe create an alternate layout option.
Existing structures like trees, poles, speakers, lighting fixtures all affect chair placement. Walk the venue and note every obstacle on your template. I use red X marks for “don’t put chairs here” zones.
Sound system setup needs space and your template should show where speakers or amps will go. Nothing worse than setting up all the chairs and then realizing the DJ equipment blocks half the aisle or something… which happened to me and I’m still annoyed about it because the venue coordinator assured me it wouldn’t be an issue.
Cocktail hour logistics matter too because sometimes ceremony chairs need to be flipped for reception or moved entirely. Your template should include notes about post-ceremony chair plans so the venue knows whether they’re striking everything immediately or leaving it.
Actually Using The Template On Wedding Day
Print multiple copies. Give one to the rental delivery team, one to your venue coordinator, one to your setup crew, and keep one for yourself. I also take a photo of the template on my phone so I always have it.
Tape the template to a clipboard with a measuring tape attached. Sounds silly but you’ll reference it constantly during setup and having everything together saves time.
Mark the ground with tape or chalk if you’re setting up yourself. Use the measurements from your template to mark where the first chair in each row goes and then it’s just filling in from there. Painter’s tape works great indoors and sidewalk chalk works outside.
Double-check the layout when it’s about 75% set up because that’s when you can still make adjustments easily. Once all chairs are in place moving things is annoying and time-consuming.
Keep your template even after the wedding because if you work with that venue again you’ll have exact measurements and specifications already done. I have a folder of every venue layout I’ve ever done and it saves me hours of planning time for repeat venues.
Quick Template Checklist
Before you finalize any ceremony chair layout template make sure it includes venue name and dimensions, total guest count, chairs per row and number of rows, aisle width and location, distance from first row to ceremony focal point, reserved seating sections marked clearly, actual chair dimensions from your rental company, accessibility accommodations if needed, and scale/measurement key.
Also note any special requirements like unity ceremony table placement, musician seating areas, or photographer positioning zones. The more information on your template the fewer day-of questions you’ll get.
Your template is basically a communication tool between you and like six different vendors so make it clear and detailed enough that someone who’s never been to the venue can set it up correctly. That’s the actual goal here not making something pretty for Instagram although if it’s both functional and pretty that’s cool too I guess.
One more thing is keep templates from weddings that had problems because those teach you what NOT to do and what details you forgot to include. My messy templates with notes scribbled all over them are more valuable than the perfect ones because they remind me what to watch for next time.
