Planning Guides, Style Guide
Black and Gold Invitations: Elegant Metallic Contrast
Nov
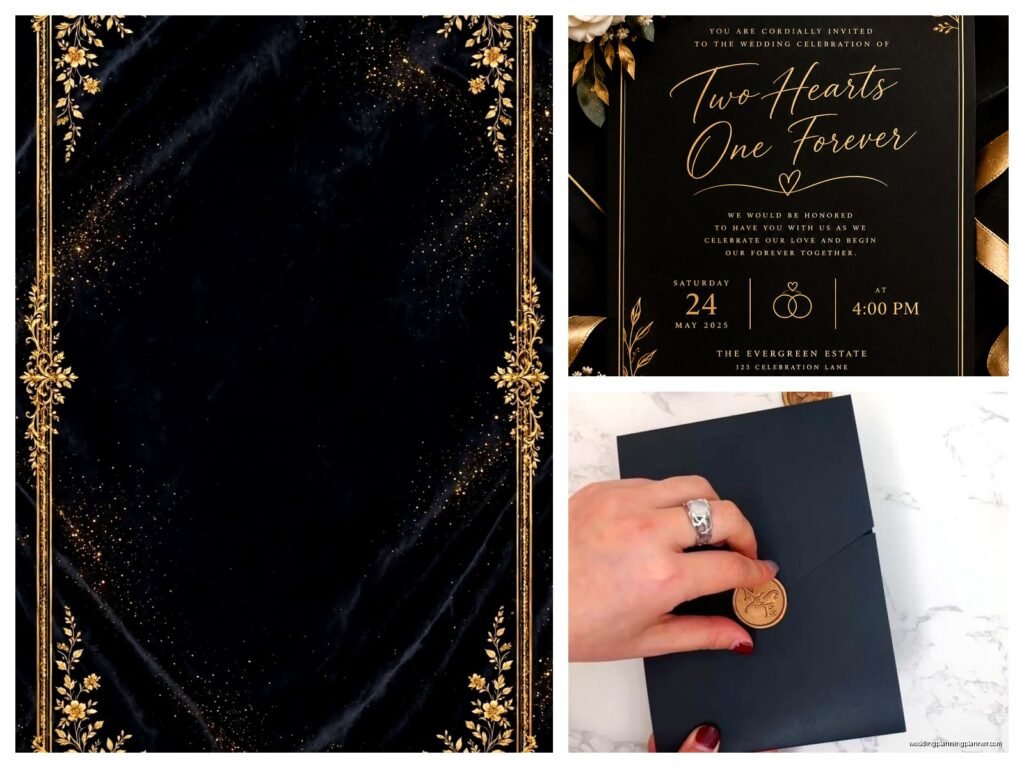
Okay so black and gold invitations are literally one of the most requested combos I get
The thing about black and gold is that it looks expensive without actually having to BE expensive if you know what you’re doing. I had this bride back in spring 2023 who was absolutely set on this color scheme but her budget was like… not matching her Pinterest board at all, and we made it work beautifully so I’m gonna walk you through everything.
First thing – you need to decide what KIND of gold you want because this matters way more than people think. There’s rose gold, champagne gold, antique gold, and that bright shiny gold that kinda looks like a trophy. I personally think the warmer golds look better with black because they soften the contrast a bit, but if you’re going for maximum drama then yeah the bright metallic gold is your friend.
Paper Stock Makes or Breaks This Look
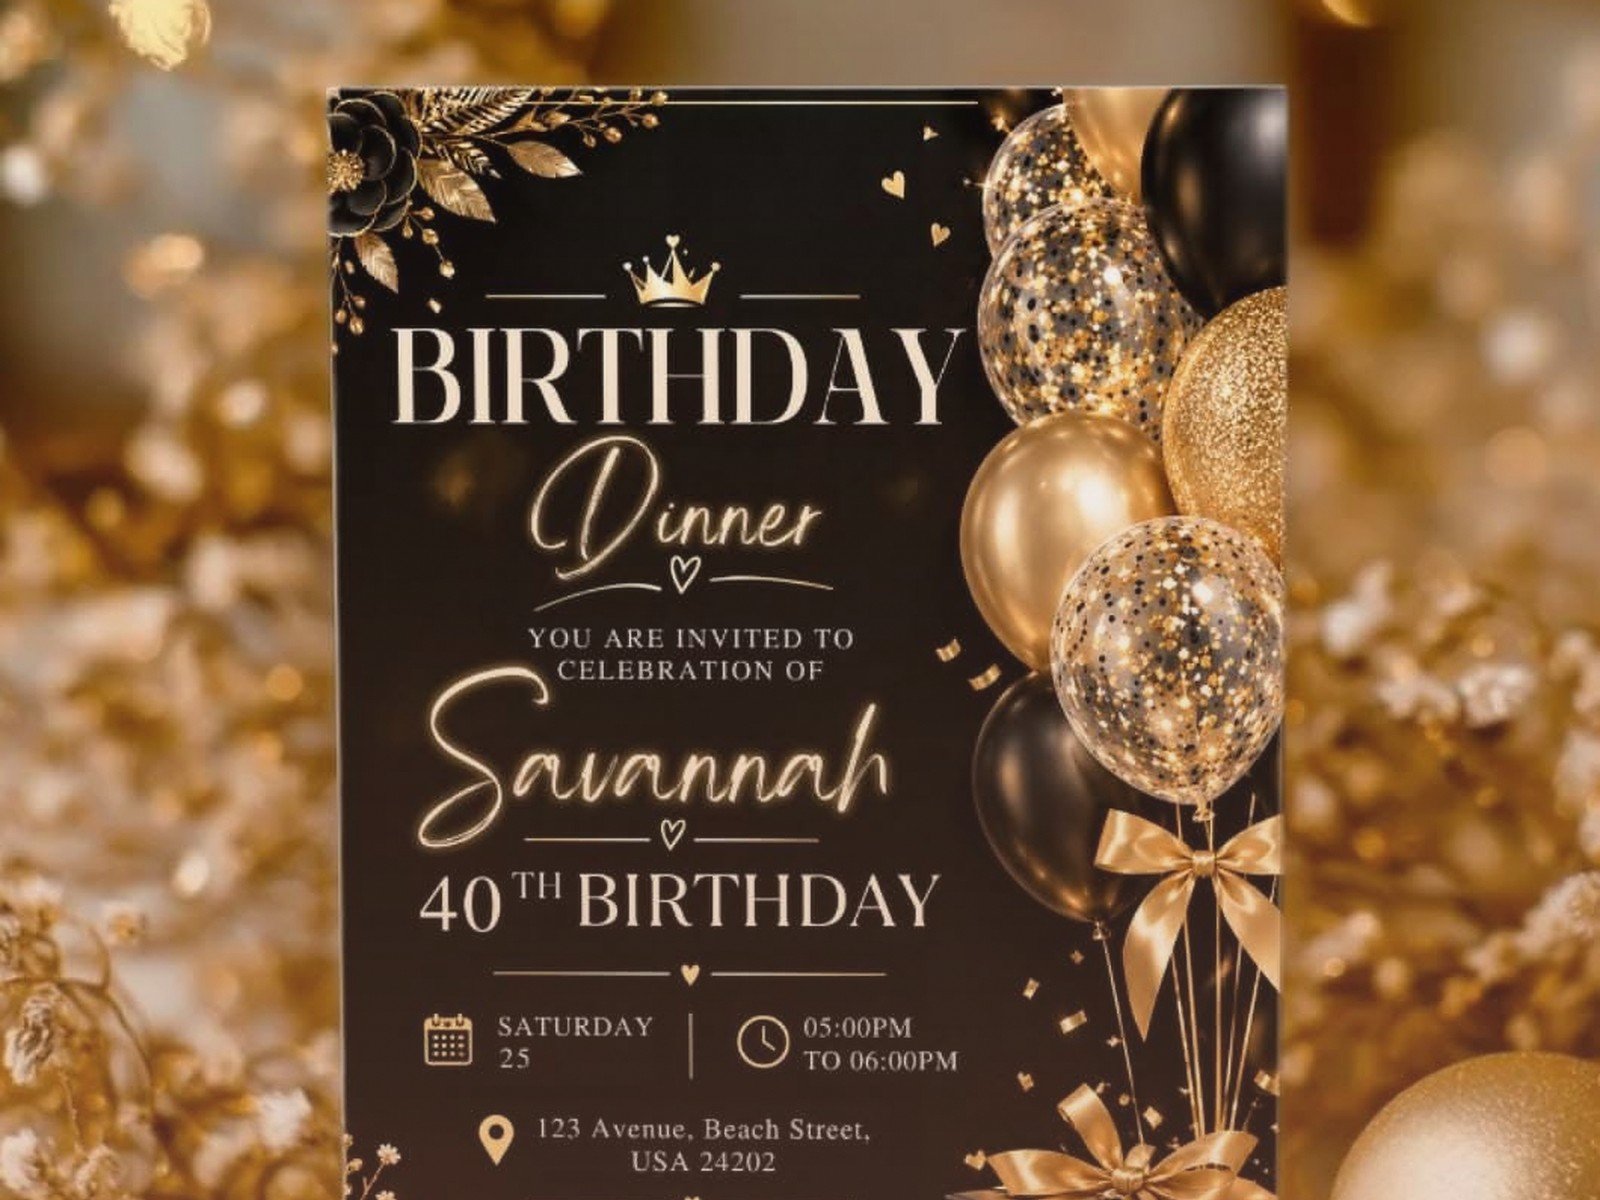
You cannot – and I mean CANNOT – do black and gold on flimsy paper. It’ll look like a birthday party invitation for a 50th birthday, not a wedding. The paper needs weight. I always recommend at least 110lb cardstock as your absolute minimum, but honestly 130lb feels better in the hand. When someone picks up that invitation they should feel like they’re holding something substantial.
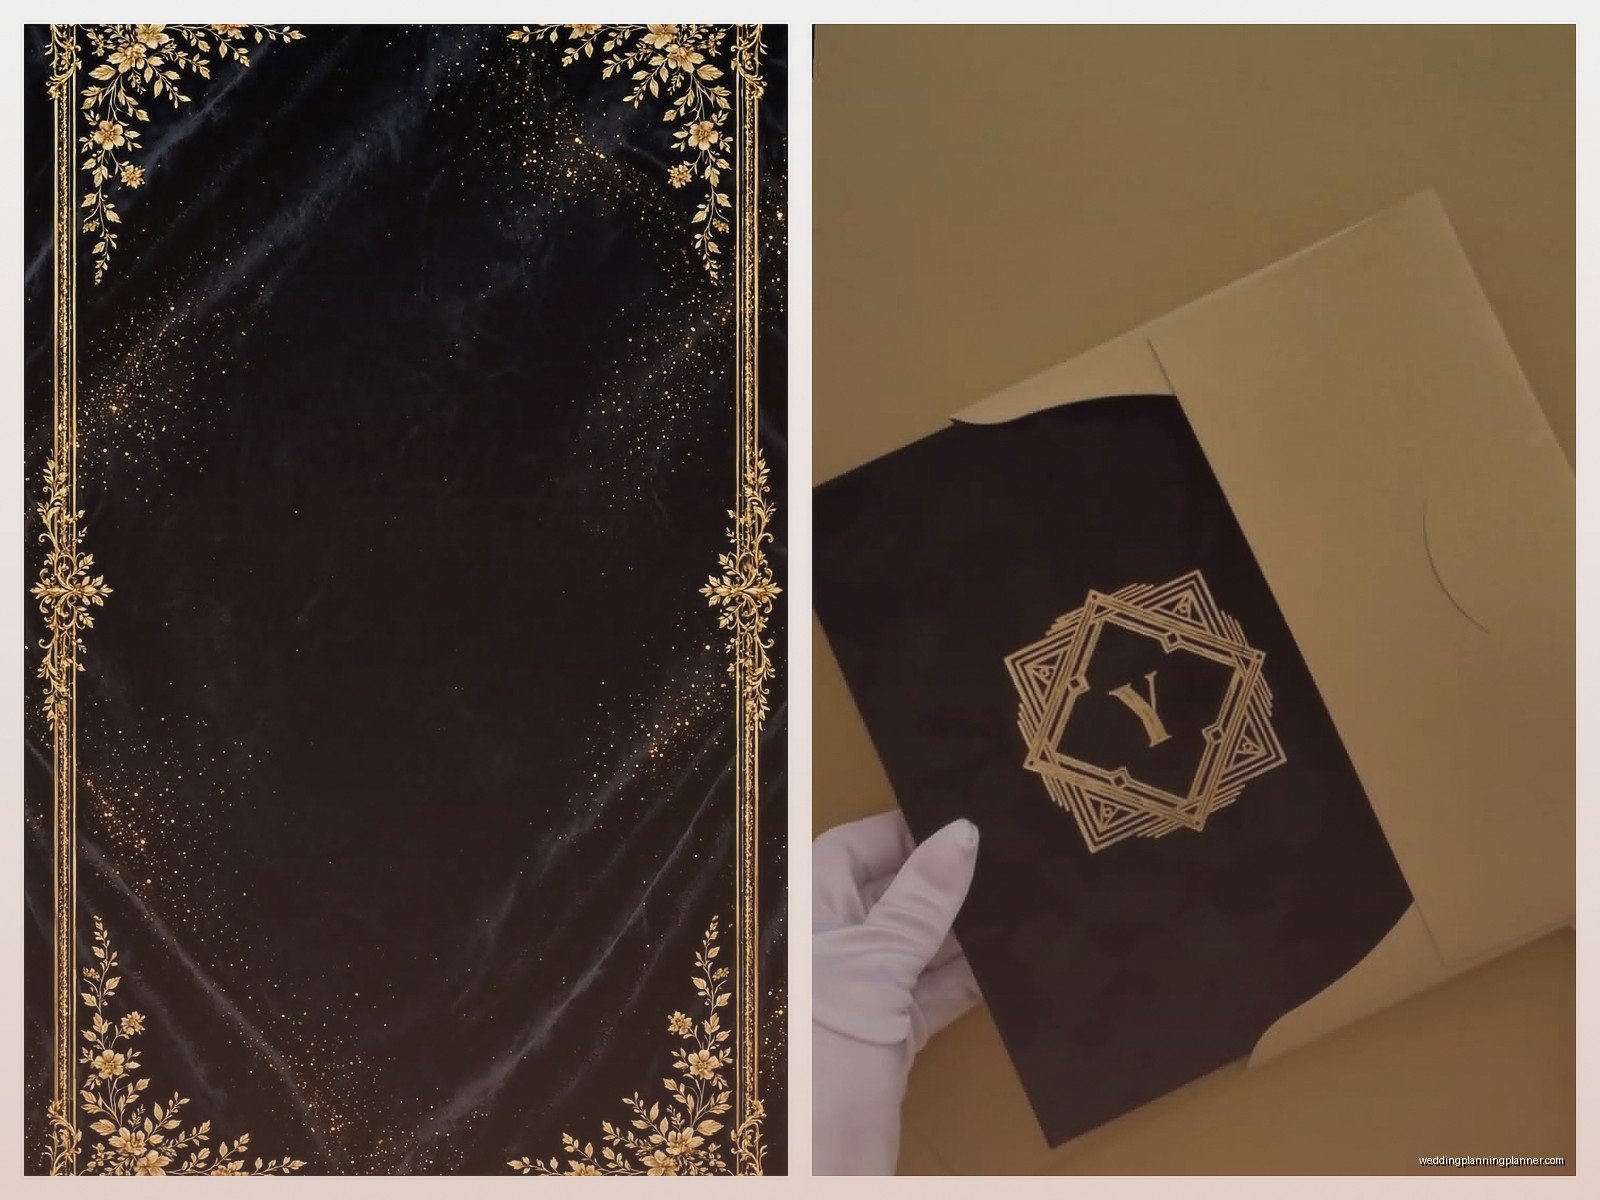
Matte black cardstock is gorgeous but here’s what annoyed me for YEARS until I figured it out – fingerprints. Oh my god the fingerprints. If you’re doing matte black as your base, you either need to handle everything with cotton gloves (yes really) or you need to do a protective coating. I usually skip the matte black base entirely now and do black printing on cream or ivory stock with gold accents, or I do the reverse with gold printing on black. Way less headache.
Foiling vs Printing That Looks Like Foiling
Real gold foil is the dream but it’s expensive. Like really expensive. Foil stamping requires special equipment and dies and the setup costs alone can be $200-300 before you even print a single invitation. For a set of 100 invitations with real gold foil you’re looking at anywhere from $800 to $2000 depending on how much foiling you want.
But here’s the thing – metallic gold ink or toner has gotten SO good in the last few years. I’ve had clients do metallic digital printing that photographs almost identically to foil. The difference is when you touch it. Foil has that raised, textured feel and it catches light differently because it’s actually reflective. Metallic ink is flat but it still has that shimmer.
If your budget allows for real foil on at least the names or one design element, do it there and use metallic printing for everything else. Nobody’s gonna inspect your RSVP card with a magnifying glass to see if it’s real foil, you know?
Design Elements That Actually Work
Geometric patterns are your best friend with this color combo. Art deco style lines, hexagons, chevrons – all of that works beautifully. I did this wedding in summer 2021 where we used these thin gold geometric borders on black cardstock and it looked like something from the Great Gatsby era but modern somehow? The bride sent me a photo of her invitation displayed at her reception and I still use it in my portfolio.
Florals can work too but they need to be the right style. Delicate line drawings in gold on black look elegant. Big blooming roses… eh, not so much. Keep florals minimal and linear if you’re going that direction.
Script fonts in gold are classic – you’ve seen this everywhere probably. It works because the contrast is so strong. But here’s a trick I learned: if you do ALL script it can get hard to read, especially for older guests. Mix a script font for names with a clean sans-serif or serif for the details. Your guests will actually know what time to show up.
Envelope Situations
Black envelopes are dramatic as hell and I love them BUT (and this is a big but) – some postal services don’t love them. Dark envelopes can be harder for automated sorting machines to read, especially if you’re using gold or white ink for addresses. I always tell clients to check with their local post office before ordering 150 black envelopes.
Also gold ink on black envelopes looks amazing until you realize you have to address 100+ of them and gold gel pens skip on textured paper and… yeah. Either hire a calligrapher, print them digitally with white or gold toner, or do black envelopes with a gold liner and white/cream address printing. The liner gives you that pop of gold when people open it which is actually kinda more exciting than having it on the outside?
Speaking of liners – gold foil liners or gold patterned liners are not that expensive to add and they make such a difference. You can buy them pre-made or print your own on metallic gold paper. My cat knocked over my entire box of envelope liners once while I was working on a rush order and I almost… anyway, keep your supplies away from pets.
Belly Bands and Ribbons and All That Extra Stuff
Okay so belly bands are those paper strips that wrap around your invitation suite to hold everything together. Black belly band with a gold wax seal? *Chef’s kiss.* But you gotta make sure the band is wide enough and thick enough that it doesn’t look flimsy.
Wax seals in gold are having a MOMENT right now and honestly they’re not hard to do yourself if you have time. You can buy wax seal kits on Etsy or Amazon for like $25. The wax comes in gold (obviously) and you just melt it and stamp it. Fair warning though – it’s addictive and you’ll find yourself wanting to wax seal everything including your grocery lists.
Ribbon is tricky with this color scheme because gold ribbon can look cheap really easily. Silk ribbon in champagne or a deep cream color actually works better than shiny gold ribbon in my opinion. Or you can do black velvet ribbon with a gold detail. Velvet ribbon is expensive but it photographs SO well.
The Whole Suite Needs to Match (But Not Too Much)
Your invitation is just one piece. You’ve also got save the dates, RSVP cards, details cards, maybe a weekend itinerary if you’re doing a destination thing, programs, menus, place cards, table numbers… it adds up.
Here’s what I usually map out: pick which items get the most gold. Usually that’s the main invitation and maybe the programs or menus. Everything else can have gold accents but doesn’t need to be as elaborate. Your RSVP card can be simple black text on cream cardstock with just a thin gold border – it doesn’t need the full treatment.
Table numbers are a great place to go all out with gold though because you only need like 15-20 of them usually, so even if you do expensive gold foil or print them on gold mirror acrylic or whatever, the total cost isn’t crazy.
Digital Printing vs Letterpress vs Thermography
I should probably explain the printing methods because this affects your budget big time.
Digital printing is the cheapest – it’s basically like a really high-quality printer. Modern digital presses can do metallic inks and the quality is honestly great for most purposes. Turnaround is fast, costs are low, you can easily do different wording for different guests. The downside is there’s no texture, everything is flat on the page.
Letterpress is when the design is pressed INTO the paper so you get that gorgeous debossed effect. You can do black letterpress on gold paper or gold on black. It’s expensive because they have to create custom plates. But it’s so beautiful and tactile. If you run your fingers over letterpress you feel the impression and it just feels… luxury, you know?
Thermography is that raised printing that looks shiny and feels bumpy. It’s cheaper than letterpress but still more expensive than digital. It can look a bit dated depending on how you use it – like it can give off 1990s vibes if you’re not careful. But for formal wedding invitations it’s still considered totally appropriate and classic.
Foil stamping I already mentioned – that’s a separate process that can be combined with any of these methods. You can do digital printing with foil accents, or letterpress with foil, whatever.
Assembly Is Gonna Take Forever
Nobody warns you about this but assembling invitation suites takes SO MUCH TIME. If you’re doing belly bands, wax seals, ribbon, envelope liners, and you’ve got multiple inserts… plan for like 3-5 minutes per invitation. For 100 invitations that’s 5-8 hours of work.
Get friends to help. Bribe them with wine and snacks. Create an assembly line system. One person stuffs envelopes, one person does belly bands, one person does wax seals. I learned this the hard way with that spring 2023 bride I mentioned – we were doing her invitations the week before they needed to mail and I was doing them solo at first and I was gonna lose my mind. Her maid of honor came over and we turned on some terrible reality TV show and just assembly-lined it. Made such a difference.
Also you WILL mess some up. Order 10-15% extra of everything. Wax seals crack, you’ll print an address wrong, someone will spill coffee (speaking from experience), whatever. Just plan for it.
What To Actually Include In Your Suite
At minimum you need the main invitation with the who/what/when/where. Then an RSVP card with a self-addressed stamped envelope (yes you pay for postage both ways). If you have a wedding website include that info on a details card.
A lot of couples are doing online RSVPs now which honestly I recommend because tracking paper RSVPs is annoying and people forget to mail them and then you’re texting everyone a week before your deadline like “are you coming or not” which is awkward. If you do online RSVP you can skip the RSVP card entirely or just include a simple card with the website URL.
Details cards can include hotel blocks, transportation info, dress code, whatever. Keep it concise though – if it’s more than one side of a card you’ve got too much info and people won’t read it anyway.
Timing and Ordering
Invitations should mail 6-8 weeks before your wedding. Which means you need to order them like 10-12 weeks before the wedding to allow for printing time, shipping, assembly, and addressing. If you’re doing custom design work add another few weeks for the design process and proofing.
Always always ALWAYS order a printed proof before you do the full print run. I don’t care how many times you’ve checked the PDF. Once had a client who didn’t order a proof and printed 200 invitations with her fiancé’s name spelled wrong. It was supposed to be “Barrett” and it said “Barret” and she didn’t notice until they were all printed with gold foil. Could not fix it. Had to reorder everything. Don’t be that person.
Where To Actually Buy This Stuff
If you want full custom design, find a stationery designer or use a service like Minted or Paperless Post (well, Paperless Post is digital but they have templates). Minted does great foil printing and their designs are on-trend. A bit pricey but good quality.
For DIY, you can buy supplies from Paper Source, Cards & Pockets, or LCI Paper. Envelopes.com has every color and size of envelope you can imagine. For printing, Catprint or GotPrint do good metallic printing at reasonable prices.
Etsy has tons of templates you can customize yourself if you’re decent with Canva or have access to Photoshop. You buy the template for like $15-30, customize it, and then get it printed wherever you want. This is honestly the cheapest route if you’re comfortable with design software.
Vistaprint is fine for basics but their metallic printing options are limited and the quality is… fine. It’s fine. If budget is super tight they’ll work but don’t expect luxury.
Little Details That Elevate Everything
Gold edge painting on your cardstock – you can do this yourself with a gold leafing pen or pay extra to have it done. It’s that little stripe of gold on the edge of the card and it looks so fancy.
Vellum overlays with gold printing – you print your design on translucent vellum and layer it over the main invitation. Creates this soft, elegant look and you can see both layers. Works gorgeously with black and gold.
Gold envelope addressing in calligraphy or even just a nice printed font – don’t use your home printer’s default font for addresses, it ruins the whole vibe you’ve created. Either do proper calligraphy or use a nice formal font and print them professionally.
Vintage postage stamps – you can find black and gold themed vintage stamps on Etsy. They cost more than regular stamps but they complete the look. This is one of those things that seems extra but people really do notice.
I think that covers most of it? The main thing is to not stress too much about making everything perfect. I’ve seen couples spend months agonizing over invitation details and honestly, guests look at it for like 30 seconds, put it on their fridge, and that’s it. Make it pretty, make sure the info is clear, and move on to the other million things you gotta plan for a wedding.