Planning Guides, Style Guide
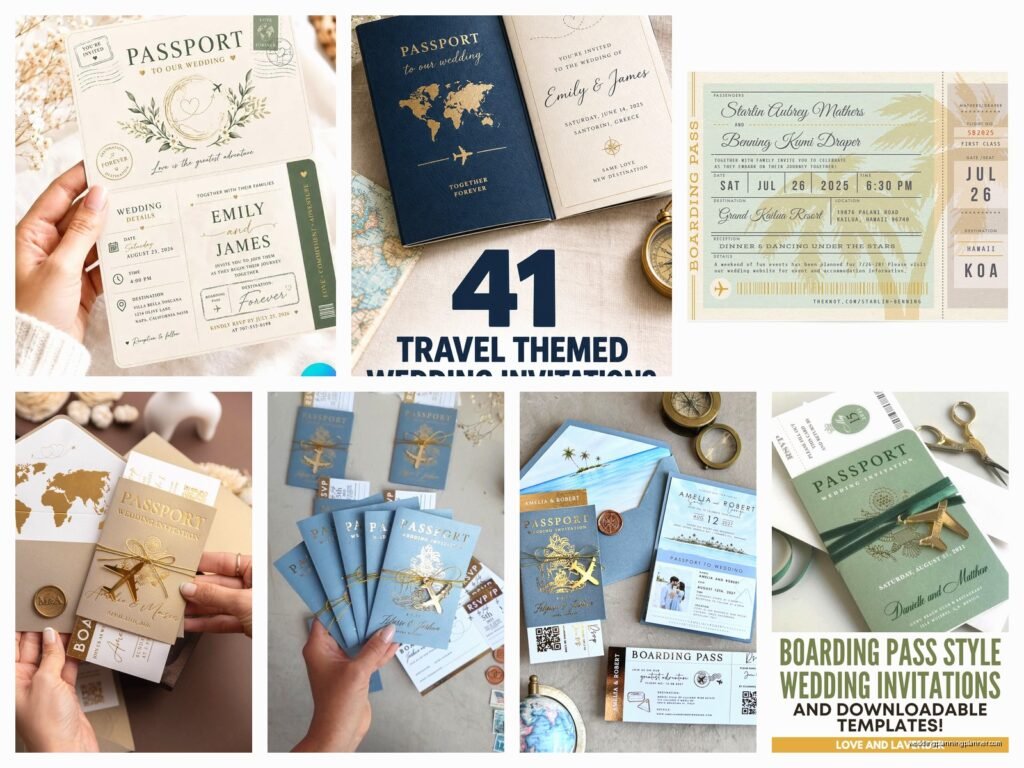
Boarding Pass Wedding Invitations: Travel Theme Designs
Nov
Getting Started with Boarding Pass Invitations
So boarding pass wedding invitations are having this huge moment right now and honestly they’re perfect if you’re doing any kind of travel theme. I had this couple back in spring 2023 who met on a layover in Iceland (I KNOW, right?) and they wanted their whole wedding to feel like an adventure, so we went all-in on the boarding pass design and it was probably one of my favorite projects that year.
The basic idea is you’re mimicking an actual airline boarding pass but with your wedding details instead of flight info. Your names become the “passengers,” the wedding venue is the “destination,” ceremony time is the “departure time”—you get it. It’s kinda genius because people immediately understand the concept and it sets the tone before they even open the envelope.
Design Elements You Actually Need
Okay so the must-haves for making these look authentic. You need that perforated edge or at least the appearance of one. Most print shops can do actual perforation which is cool because guests can tear off the RSVP portion just like a real ticket stub. If perforation isn’t in your budget (it does add cost), you can fake it with a dotted line design.
The barcode is super important for that realistic look. You can generate actual barcodes online—I usually put the wedding date in barcode format or sometimes the couple’s initials. It doesn’t need to scan to anything real obviously, but it needs to look legit. There are free barcode generator websites that’ll do this in like 30 seconds.
Font choices matter more than you’d think. You want something that looks official and airline-ish. I typically use OCR-A or OCR-B fonts for the main text because that’s what actual boarding passes use. Then you can get a bit more creative with the couple’s names—maybe a nice serif font to make those stand out.
The Information Layout
Here’s where it gets tricky and what honestly annoyed me when I first started doing these—there’s SO much information to fit onto what’s essentially a narrow rectangle. You’ve got names, date, time, venue, dress code maybe, and you still need room for RSVP details or at least direct people to your wedding website.
Standard boarding pass size is about 8.5″ x 2.75″ but I usually recommend going slightly larger, maybe 9″ x 3.5″ so you’re not cramming everything. You can do double-sided too which gives you way more room to work with.
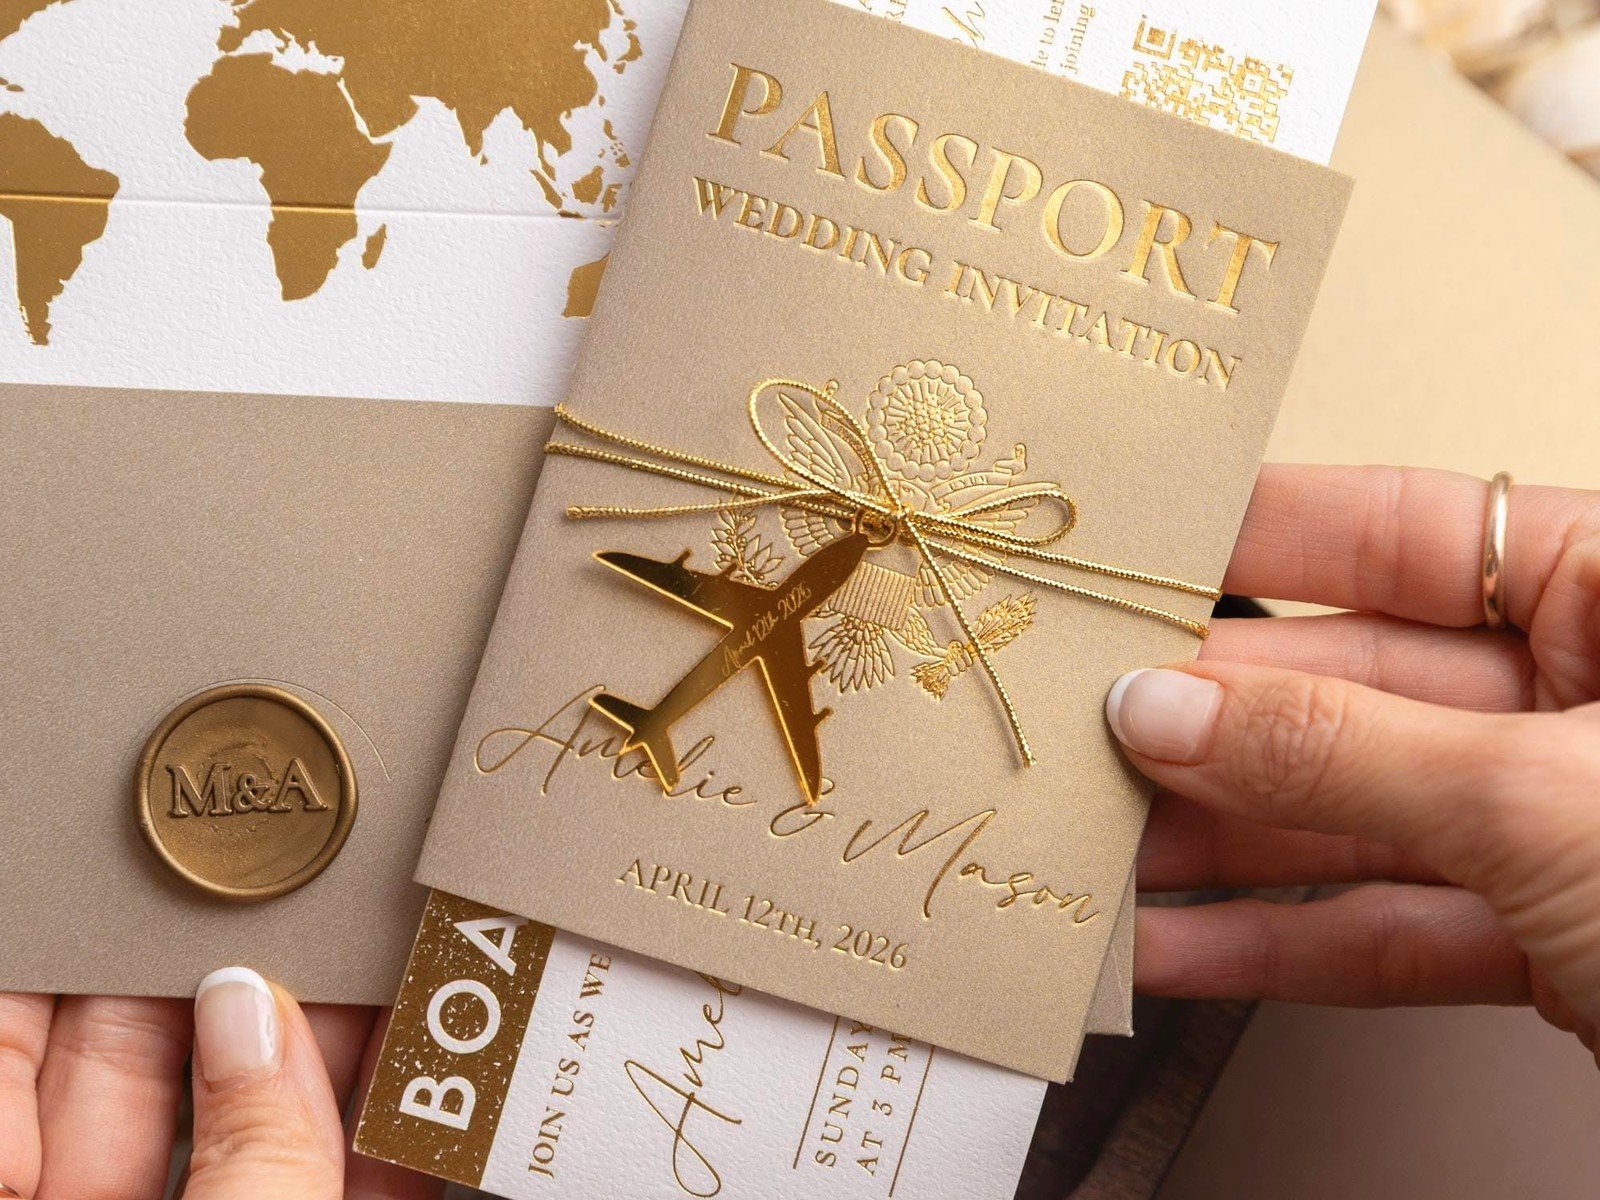
The typical layout I use:
- Top section: Airline name (make up something cute like “Forever Airlines” or use your last name like “The Johnsons Air”)
- Passenger names: Bride and Groom listed as passengers
- Flight number: Wedding date works great here (like Flight 061524 for June 15, 2024)
- Departure: Where guests are “leaving from” (could be symbolic or literal)
- Destination: Your venue city or the actual venue name
- Boarding time: Ceremony start time
- Gate: Ceremony location specifics
- Seat: Could be “Open Seating” or if you’re doing assigned seating this is where that goes
Color Schemes That Actually Work
Real boarding passes are usually pretty boring color-wise—lots of blues, blacks, whites. But this is your wedding so you can do whatever. I’ve seen gorgeous ones in coral and navy for a beach destination wedding, sage green and gold for a more elegant vibe, even all black with rose gold foil for a super modern look.
That Iceland couple I mentioned? They did this beautiful icy blue and white color scheme with little snowflake details and it was stunning. Their wedding was actually in July in California but the whole aesthetic was about their meet-cute story which I thought was really sweet.
If you’re going for authenticity though, stick with traditional airline colors. Most major carriers use blue, red, or a combination. You could even model yours after a specific airline if that’s meaningful to you—like if you met on a Delta flight, do their colors as an easter egg.
Paper Stock Decisions
This is gonna sound weird but paper weight matters SO much with these. Real boarding passes are on that thin cardstock right? But for a wedding invitation you want something that feels substantial and special. I usually recommend 110lb cardstock minimum. It’s thick enough to feel quality but not so thick that it won’t fit in a standard envelope easily.
Matte finish tends to look more authentic than glossy. Although I did have one couple insist on glossy and it actually looked pretty cool in a retro Pan Am kind of way, so… you do you.
The RSVP Situation
Okay so you have options here. The traditional way is to make the boarding pass perforated with a tear-off stub that guests mail back. This is cute and thematic but honestly in 2024 most people prefer online RSVPs because who has stamps anymore?
What I typically recommend is including a small tear-off portion that has your wedding website URL and maybe a QR code that goes straight to your RSVP page. Best of both worlds—you get the authentic boarding pass look with the perforation, but people can just scan and respond on their phones.
You could also do a separate RSVP card that’s designed to look like a luggage tag. I’ve done this before and it’s adorable, ties into the theme perfectly, and gives you more room for meal choices and all that practical stuff you need to know.
Envelope and Packaging Ideas
Don’t just stick these in a plain white envelope please. You’ve gone through all this effort on the design! I love using those red and blue airmail striped envelopes—you can get them on Etsy or from specialty paper suppliers. They’re not expensive and they make such a difference.
Another option is a clear envelope so people can see the boarding pass design right away. Or go full extra and get custom passport-style invitation holders. These are basically little booklets that look like passports and your boarding pass invitation slides inside along with other inserts like accommodation info, itinerary, etc.
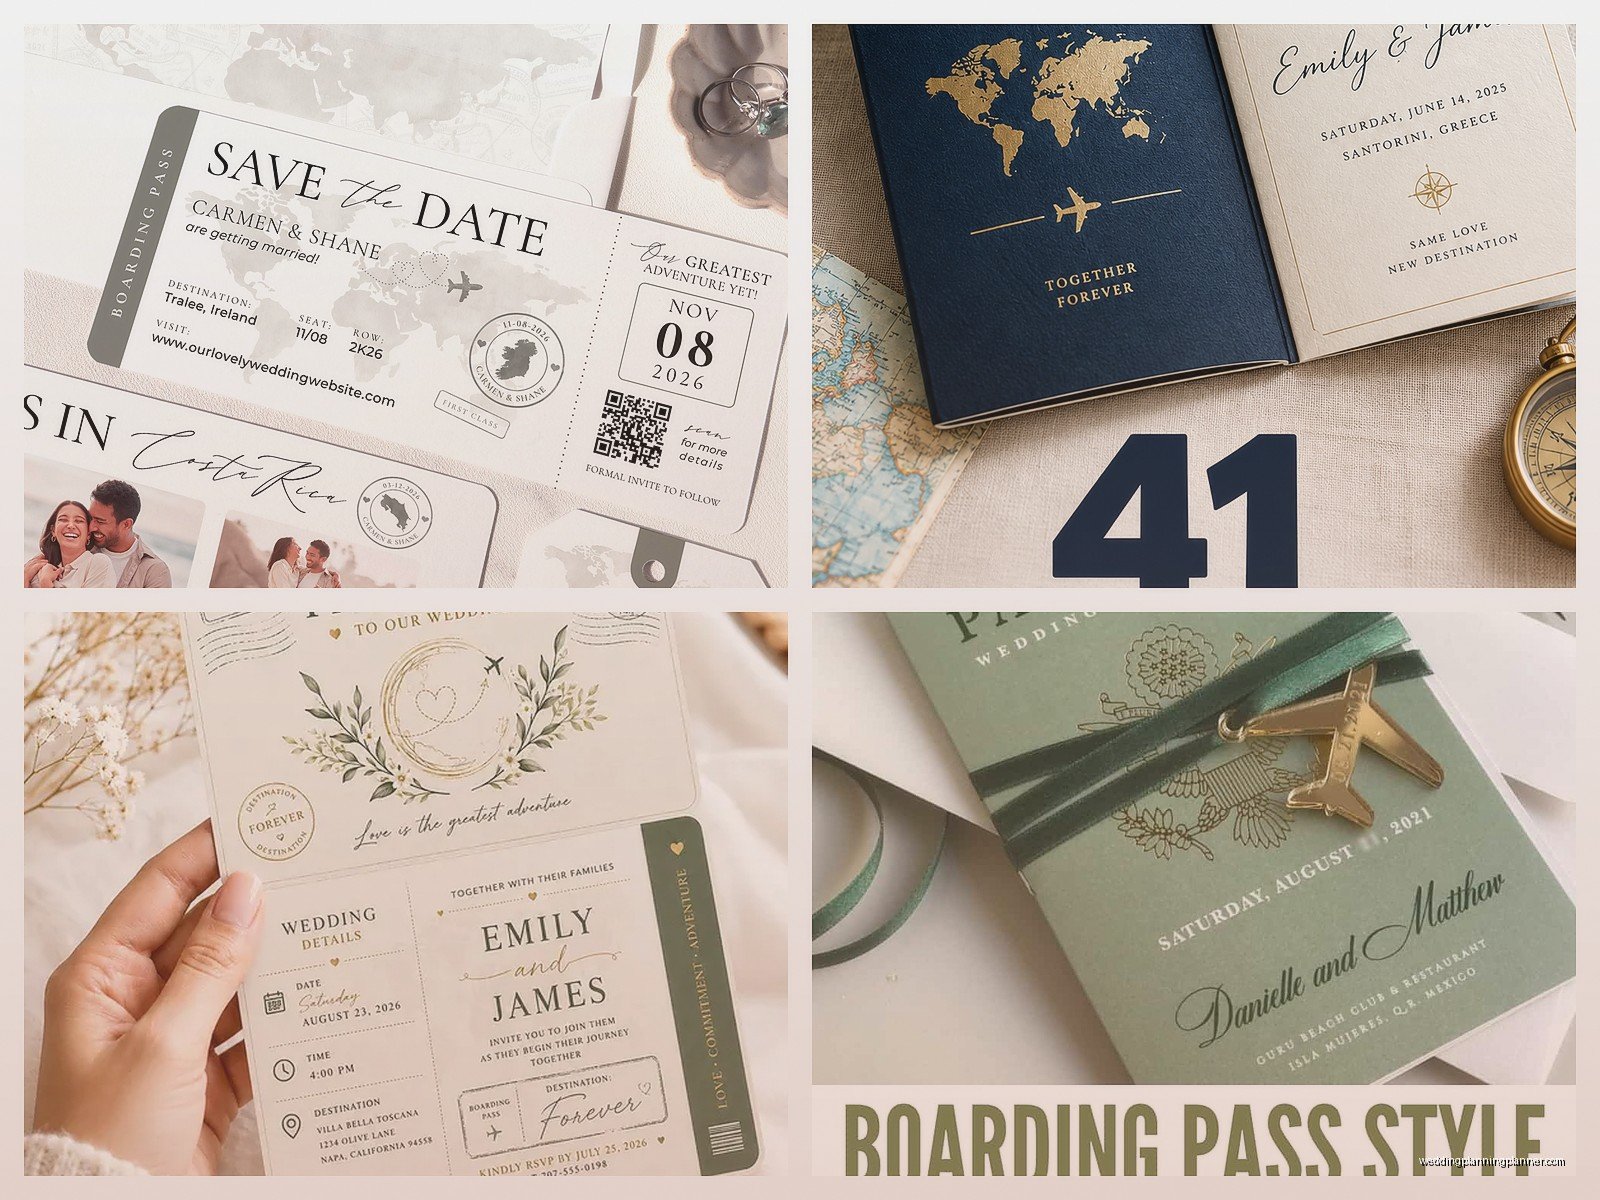
For destination weddings especially, the passport holder thing is really practical because you can include so much travel information in an organized way that guests will actually keep and reference.
Digital vs. Printed
Look, I’m a stationery person obviously so I’m biased toward printed invitations, but digital boarding passes can work too especially if you’re on a tight budget or timeline. You can design them the same way and email them as PDFs or even set up an actual “mobile boarding pass” that guests can save to their phone’s wallet app which is kinda cool and very modern.
The downside is you lose that tangible keepsake factor. There’s something special about holding a physical invitation, plus older relatives might not be as comfortable with digital-only invites. My cat knocked over my coffee onto a stack of sample invites once and I literally almost cried, so maybe physical copies have their risks too but…
Customization Details That Make Them Special
Okay this is where you can get really creative. Beyond the basic boarding pass structure, think about personalization:
Add a little map showing the flight path from where you live to your wedding venue. I’ve seen people include tiny icons for where they met, got engaged, and where they’re getting married all connected with a dotted line.
Include your engagement photo somewhere—maybe in that little box where airlines usually put their logo, replace it with a circular crop of you two.
Baggage claim section for gift registry info. Instead of tacky registry cards, you can have a small section that says “Baggage Claim” with your registry website listed as the “carousel number” or something cute like that.
Boarding group could indicate the guest’s relationship to you—like immediate family is “Priority Boarding Group 1,” close friends are “Group 2,” etc. This is either really cute or potentially offensive depending on your crowd so use judgment there.
Working with Designers vs DIY
You can totally DIY these if you’re comfortable with Canva or basic graphic design programs. There are templates available on Etsy for like $10-20 that you can customize yourself. Just make sure you’re paying attention to bleed lines and safe zones when you’re setting up your file for printing—I can’t tell you how many times I’ve seen DIY invitations where important text got cut off because people didn’t account for the print margins.
If you’re hiring a designer, bring lots of reference images. Show them actual boarding passes, show them examples you’ve found on Pinterest that you like, be specific about colors and fonts. The more direction you give upfront, the fewer revision rounds you’ll need.
Print shops that specialize in wedding stationery will usually have better paper options and finishing touches than like, your local FedEx print center. Although honestly I’ve seen some couples do these at FedEx and they turned out fine, just didn’t have the fancy foil stamping or letterpress options.
Timing and Quantities
Order at least 25 extra invitations beyond your guest count. You’ll mess up addressing on some, you’ll want to keep a few for yourselves, people will ask for extras. Just trust me on this.
If you’re doing custom printing with special finishes, give yourself at least 8-10 weeks before you need to mail them. Standard printing is faster, maybe 3-4 weeks, but why stress?
Mail your invitations 8 weeks before the wedding, 12 weeks if it’s a destination wedding where people need to book travel. This should be on the boarding pass somewhere too—I usually put it in fine print at the bottom like “Please confirm attendance 6 weeks prior to departure” or something that sounds official.
Common Mistakes I Keep Seeing
Using too many fonts. Stick to 2-3 maximum. Real boarding passes are clean and easy to read—yours should be too even with wedding flair.
Forgetting essential information because you got too caught up in the theme. I’ve seen boarding pass invites that didn’t include the actual street address of the venue because there wasn’t a natural place for it in the boarding pass format. Put it on there somewhere, even if it’s on the back or in small print.
Making the RSVP deadline unclear. Don’t just put “respond by” in tiny letters somewhere—make it prominent. “Final Boarding Call” with the RSVP date works well thematically.
Not considering envelope size. Some of these designs end up being odd dimensions that require custom envelopes which gets expensive fast. Standard envelope sizes are your friend from a budget perspective.
Extra Inserts and Matching Pieces
If you’re doing boarding pass invitations, you’ll probably want other stationery pieces to match. Save the dates can be designed like vintage travel posters or luggage tags. Programs can look like in-flight magazines (so cute). Menu cards could be designed like airline meal service cards. Place cards as luggage tags with guests’ names.
Thank you cards after the wedding could continue the theme—maybe designed like postcards from your honeymoon destination. I had a couple do this and it was such a nice full-circle moment for their guests.
Just don’t go so overboard that it becomes cheesy. You want cohesive, not costume party. Balance is key and sometimes less is more, or at least that’s what I tell myself when couples want to put little airplane confetti in every envelope which just makes a mess and annoys everyone including the postal service probably.
Budget Breakdown Reality Check
DIY template from Etsy plus home printing: $50-100 for 100 invitations depending on paper quality
DIY template plus professional printing: $200-400 for 100 invitations
Custom designed and professionally printed: $500-1000+ for 100 invitations depending on how fancy you get with foiling, letterpress, etc.
Those numbers don’t include envelopes, postage, or any extra inserts. Postage adds up quick especially if your invitations are thick or oversized and require extra postage. Take a finished invitation to the post office and have them weigh it before you buy a bunch of regular stamps and find out you’re short.
You can save money by doing simpler designs, printing on both sides instead of multiple inserts, skipping special finishes like foil or embossing, and using standard paper weights and sizes. The boarding pass concept itself is eye-catching enough that you don’t necessarily need all the bells and whistles to make an impact.

Canva
Wedding Memories Hardcover Template Canva Editable For Notebook, Journal, Novel, Hard Covers, Canva template For KDP Cover 6×9″ 120 pages
Canva
The Ultimate Wedding Planning Bundle, Canva Editable.
Canva
Customizable Wedding Video Invitations templates, Canva Editable Digital Wedding invitation Minimalist, Animated Custom Invitation
Digital Planning Templates
Wine Wedding Planner Bundle – 200-Page Printable PDF + 10 Editable Wedding Invitations | Instant Digital Download
Canva
Orange Wedding Planner Bundle – 200-Page Editable Canva Templates + 10 Editable Wedding Invitations | Instant Digital Download
Digital Planning Templates
Champagne Wedding Planner Bundle – 200-Page Printable PDF + 10 Editable Wedding Invitations | Instant Digital Download
Canva
Wedding Memories Hardcover Template Canva Editable For Notebook, Journal, Novel, Hard Covers, Canva template For KDP Cover 6×9″ 120 pages
Digital Planning Templates
Yellow Wedding Planner Bundle – 200-Page Printable PDF + 10 Editable Wedding Invitations | Instant Digital Download
Canva
Dusty Blue Wedding Planner Bundle – 200-Page Editable Canva Templates + 10 Editable Wedding Invitations | Instant Digital Download