
Planning Guides, Style Guide
Free Wedding Invitation Templates for Word: Microsoft Downloads
Jul
Getting Started with Microsoft Word Wedding Invitation Templates
Okay so Microsoft Word has this whole library of free wedding invitation templates that honestly I didn’t even know existed until like summer 2021 when a bride called me panicking because her stationery budget got slashed last minute. She’d already spent everything on upgrading her venue and I had to find her something that didn’t look completely cheap. That’s when I dove deep into what Microsoft actually offers and yeah, it’s surprisingly decent if you know where to look and how to customize them properly.
First thing you gotta do is open Word and go to File, then New. You’ll see a search box that says “Search for online templates” and this is where most people just type “wedding invitation” and call it a day. But here’s what actually works better—try specific searches like “floral wedding invitation” or “modern wedding card” or “rustic save the date” because Microsoft’s search function is kinda weird and specific terms pull up way more options than generic ones.
Where the Templates Actually Live
Microsoft has templates built into Word but they also pull from their online template gallery at templates.office.com. You can access this directly through your browser too which sometimes loads faster than going through Word itself. I usually have both open because my cat likes to walk across my keyboard and close windows randomly, so having a backup browser tab saves me from wanting to throw my laptop out the window.
The templates are organized into categories but honestly the organization is… not great? Like you’ll find wedding invitations under “Home & Garden” sometimes or under “Events” other times. It annoyed me so much when I was trying to show a client options during a consultation and I couldn’t find the exact template I’d seen the day before because Microsoft had reorganized everything. Just be prepared to scroll and click around.
What You Actually Get in These Templates
Most Microsoft wedding invitation templates come as either single-page designs or folded card layouts. The single-page ones are usually formatted for standard letter size (8.5 x 11 inches) which you can then resize or print multiple per page. The folded ones are set up as half-fold or quarter-fold configurations.
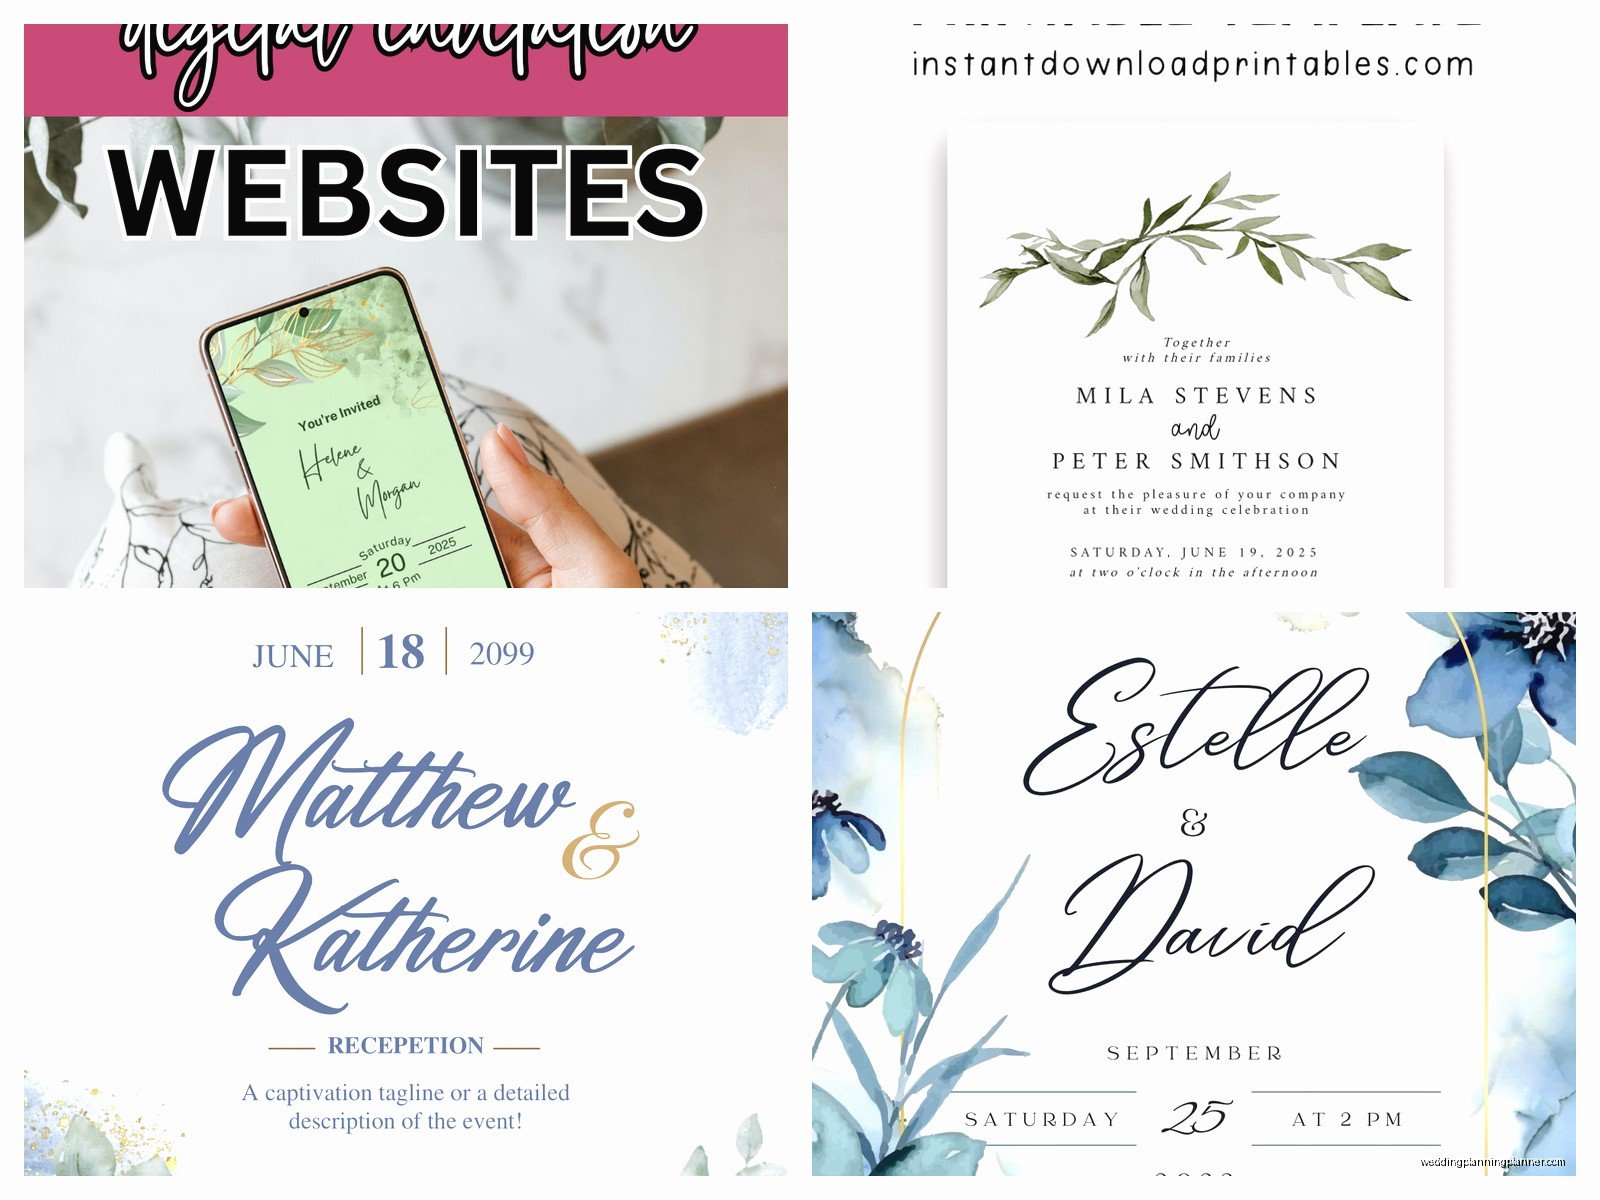
Here’s what typically included in a decent template:
- Placeholder text for names, dates, venue details
- Pre-designed borders or decorative elements
- Font pairings that actually work together (sometimes)
- Color schemes you can modify
- Basic layout structure with text boxes
The quality varies like crazy though. Some templates look like they were designed in 2003 with weird clipart and fonts that make me cringe. Others are genuinely beautiful with watercolor effects or elegant typography. You just have to sort through them.
Customizing Templates Without Losing Your Mind
Alright so you found a template you like, now what. Double-click to download it and it’ll open in Word. First thing I always do is Save As immediately with a new filename because I’ve accidentally overwritten templates before and had to re-download them which is just annoying.
The text boxes are usually the easiest part—just click inside them and type your information. But here’s where people mess up: they don’t pay attention to text box sizing. If your venue name is longer than the placeholder text, the font might automatically shrink or the text might overflow outside the visible area. Always check your print preview after making changes.
Font Situations
Microsoft templates use fonts that come standard with Word, which means you’re kinda limited unless you install additional fonts. For wedding invitations, you’re gonna see a lot of Edwardian Script, Lucida Calligraphy, or Gabriola. These are fine but everyone uses them, so your invitations might look like every other Word-generated invitation out there.
If you want something more unique, you can download free fonts from sites like DaFont or Google Fonts and install them on your computer. Then they’ll show up in Word’s font menu. I usually recommend pairing a script font for names with a clean serif or sans-serif for the details. Like Playfair Display for the couple’s names and Montserrat for the venue information—that kinda thing.
One thing that drives me crazy is when people use too many different fonts. I had a bride in spring 2023 who insisted on using five different fonts on one invitation and it looked like a ransom note. Stick to two, maybe three maximum if you really know what you’re doing.
Color Customization
Most templates come with a default color scheme but you can change everything. Select the element you want to recolor, then go to the Format tab (or right-click and choose Format Shape). You can change fill colors, border colors, text colors, whatever.
If you’re trying to match specific wedding colors, use the “More Colors” option and enter your exact RGB or HEX codes. This is super important if you’re printing these yourself and want consistency across all your stationery. Although honestly, home printers are gonna give you slightly different colors than professional printers anyway, so don’t stress too much about perfect color matching unless you’re sending files to a print shop.
Practical Printing Considerations
Here’s something nobody tells you about Word templates until you’re standing at your printer at 11pm the night before you need to mail invitations—Word is not actually designed for precise printing projects. The margins can shift, elements can move slightly, and what you see on screen isn’t always exactly what prints.
Do a test print on regular paper first. Actually do like three test prints because I’ve seen the first one come out fine and then the next ten are misaligned. Check that everything fits within the printable area of your paper, especially if you’re using cardstock or specialty paper.
Paper Types and Sizes
Most templates default to standard letter size but you might want 5×7 invitations or A6 or something else. You can change the page size under Layout > Size > More Paper Sizes. Just make sure you adjust the template elements to fit the new dimensions because Word won’t automatically resize everything proportionally.
For paper, you’re gonna want cardstock at minimum 80lb weight, preferably 110lb for invitations. Regular printer paper looks cheap and flimsy. You can get cardstock at any office supply store or online. Make sure whatever paper you buy is compatible with your printer—some home printers can’t handle really thick cardstock and will jam constantly which is just… I can’t even tell you how frustrating that is.
Printing at Home vs. Professional Printing
If you’re printing at home, invest in good quality ink. Cheap ink cartridges will give you faded colors and might smudge. Print a few at a time rather than running 100 invitations straight through because printers overheat and the quality degrades.
For professional printing, you’ll need to save your Word file as a PDF (File > Save As > PDF). Most print shops prefer PDFs because they preserve formatting. Call ahead and ask about their file requirements though—some places want specific margins or bleed areas that Word templates might not include by default.
Advanced Customization Tricks
Once you get comfortable with basic editing, you can do more complex stuff. Insert your own images by going to Insert > Pictures. This is great if you want to add engagement photos or custom graphics. Just make sure your images are high resolution (at least 300 DPI) or they’ll look pixelated when printed.
You can also add design elements from Word’s built-in shapes and icons. Insert > Icons gives you access to tons of graphics you can recolor to match your theme. I used this for a rustic wedding where we added little leaf icons to corners of the invitation template, and it looked way more custom than the original template.
Working with Text Boxes and Layouts
Sometimes the template layout just doesn’t work for your specific wording or you need to add additional information like a reception card or directions card. You can insert new text boxes (Insert > Text Box) and format them to match the existing design.
To keep everything aligned properly, use Word’s alignment guides. When you drag text boxes or images around, you’ll see green lines appear showing when elements are centered or aligned with other elements. This prevents that thing where everything looks slightly crooked and unprofessional.
One trick I learned kinda by accident—if you group elements together (select multiple items, right-click, choose Group), you can move them all at once without messing up their relative positions. This is super helpful when you’re trying to center a whole invitation design on the page or need to resize everything proportionally.
Specific Template Recommendations
From all the templates I’ve worked with, there are a few that actually hold up well:
The “Elegant Wedding Invitation” template with the gold geometric border is surprisingly versatile. You can change the gold to any metallic color or even remove it entirely and it still looks good. The layout works for both formal and semi-formal weddings.
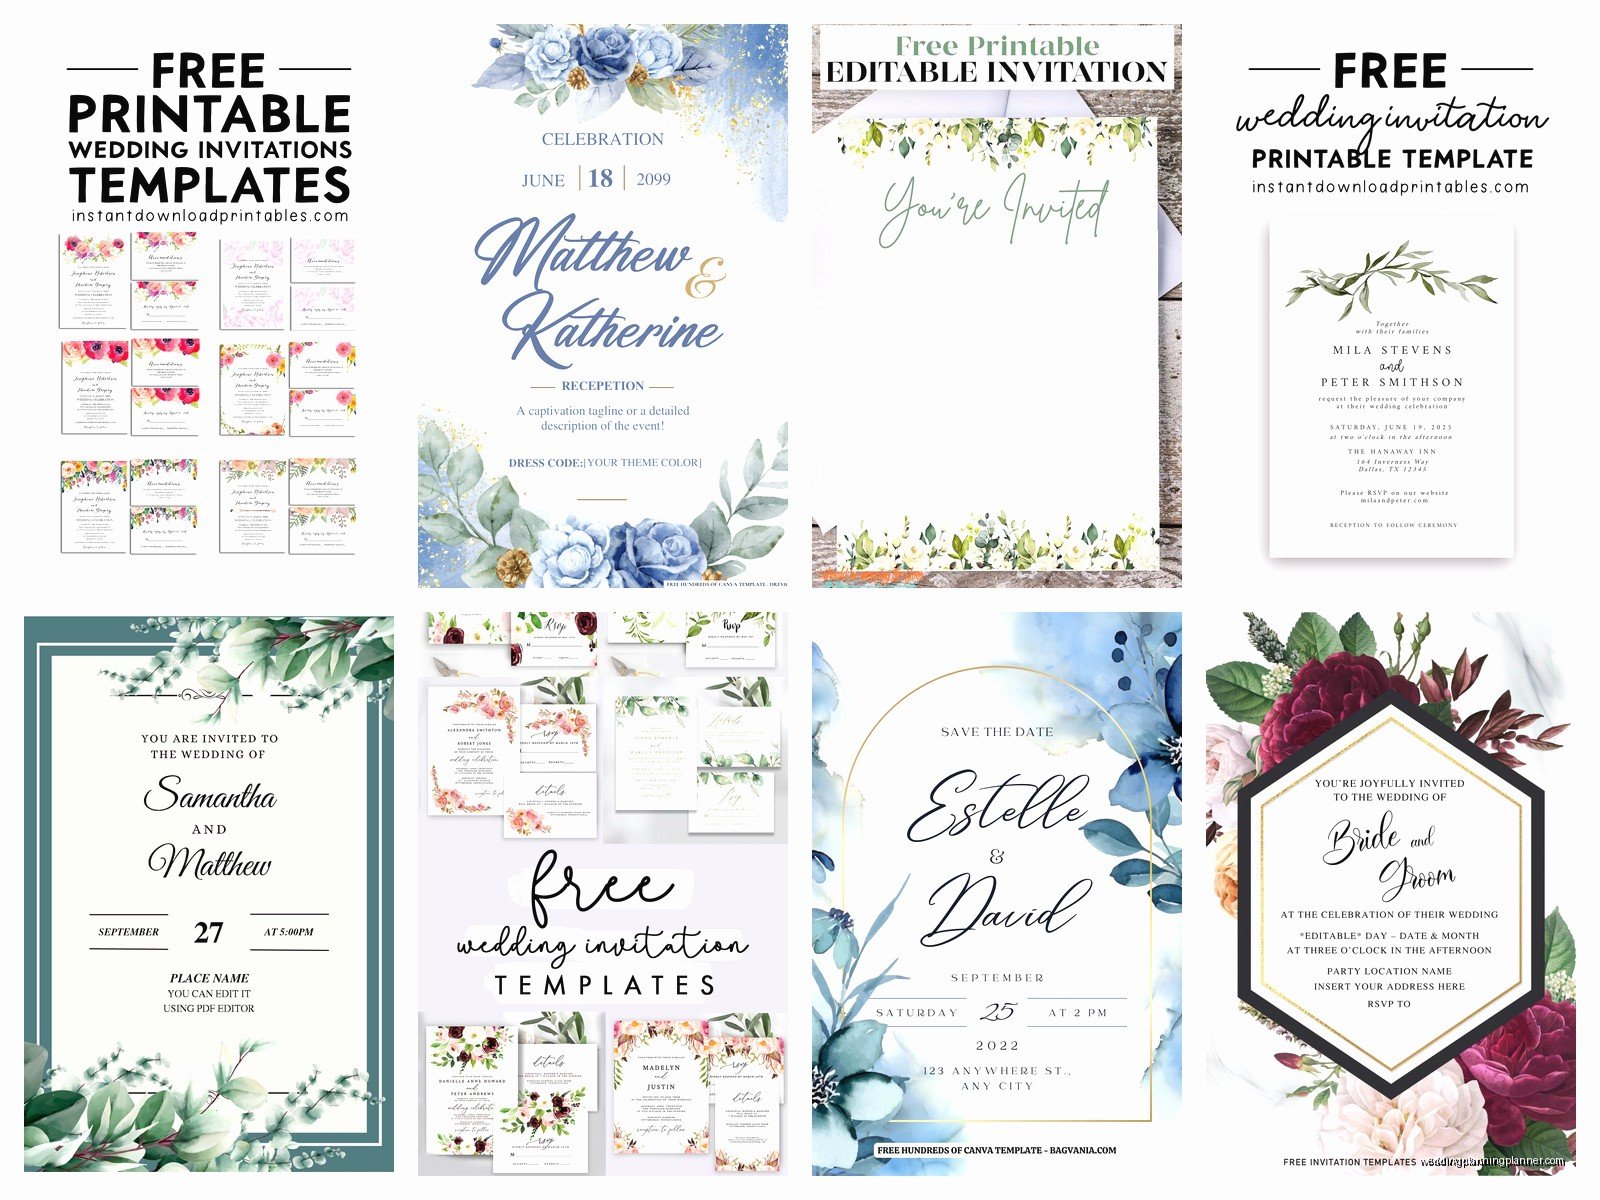
There’s a watercolor floral template that’s really popular right now—I think it’s called “Floral Wedding Suite” or something similar. It comes with matching RSVP cards and details cards which is nice if you want everything coordinated. The watercolor effect prints decently even on home printers.
For modern minimalist weddings, search for “Simple Wedding Invitation” and look for the one with just clean lines and lots of white space. It’s basically a blank canvas you can customize heavily without it looking like you started from a template.
What to Avoid
Stay away from templates with really complex backgrounds or textures that tile or repeat. These eat up ink like crazy and often don’t print evenly. Also avoid anything with those weird pre-inserted photos of random couples—yeah those exist and they’re as awkward as they sound.
Templates labeled “vintage” are hit or miss. Some are genuinely nice vintage-inspired designs, others look like they were made for a 1990s office party. You’ll know the difference when you see it.
Troubleshooting Common Issues
Okay so things will go wrong, just expect it. Text might overflow its box when you change fonts—fix this by either making the font smaller or enlarging the text box. Elements might shift when you print—add guidelines or borders temporarily so you can see if things are aligning correctly.
If colors look different on screen versus printed, that’s normal. Screens display RGB colors while printers use CMYK. You can’t fully fix this in Word but you can adjust by printing tests and tweaking your colors until they print how you want.
Margins cutting off parts of your design means you’re printing too close to the edge. Most home printers can’t print all the way to the edge of paper (that’s called “bleed” in printing terms). Move your design elements at least 0.25 inches away from all edges.
Saving and File Management
Save multiple versions as you work. I usually do something like “Wedding_Invitation_v1,” “Wedding_Invitation_v2,” etc. This way if you mess something up or a client wants to go back to an earlier version, you have it. Also save both the Word file and a PDF version—Word file for future editing, PDF for printing.
Back up your files to cloud storage or email them to yourself. I learned this the hard way when my computer crashed during a wedding season and I lost a bunch of client files. Not fun trying to recreate everything from scratch.
If you’re making multiple pieces (invitation, RSVP, details card, etc.), keep them in the same document as different pages or save them as separate files in one folder. Staying organized now saves you from searching through dozens of files later trying to find that one thing you need to reprint because someone spilled coffee on it… which definitely happened to me and definitely wasn’t my own coffee.
The nice thing about Word templates is you can go back and edit them anytime. Need to add someone to the guest list last minute and print one more invitation? Just open your saved file, print one more, done. Try doing that after you’ve already placed an order with a professional printer and paid rush fees.
