
Planning Guides, Style Guide
Gold Foil Invitations: Metallic Pressed Luxury Designs
May
What You Actually Need to Know About Gold Foil Invitations
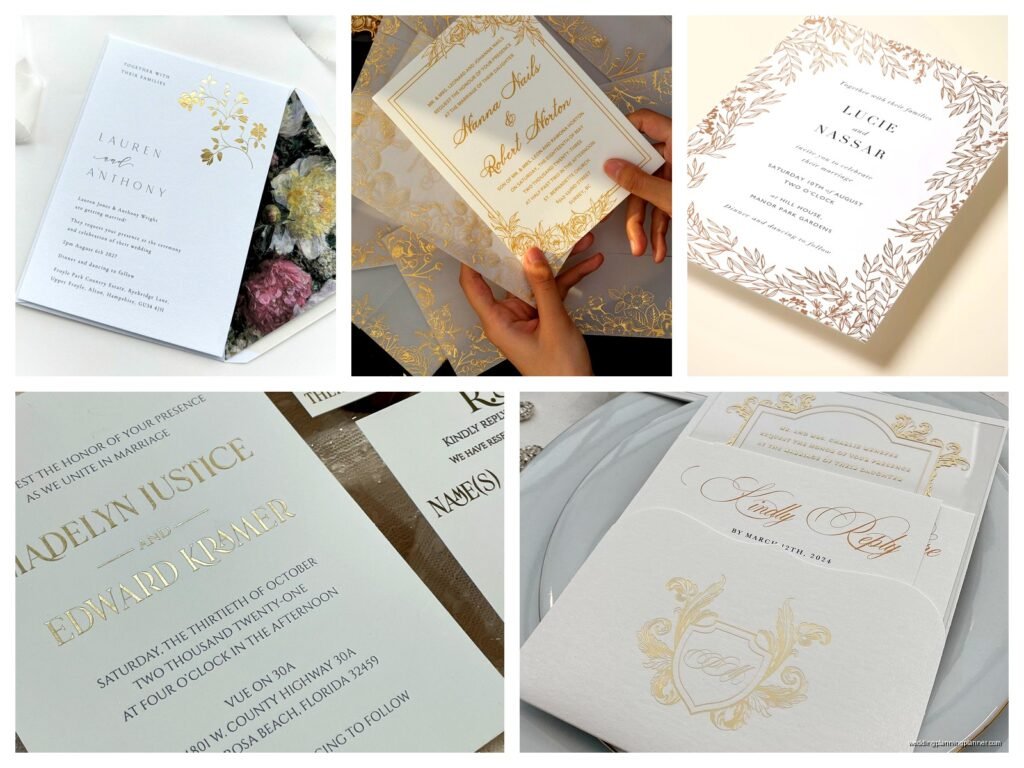
So gold foil invitations are basically the thing that makes people gasp when they open the envelope and honestly that’s why couples keep asking for them. The metallic pressed process creates this raised, shiny effect that you can’t get with regular printing and it catches light in a way that feels expensive because… well, it kinda is expensive.
The foil stamping process uses actual metal dies and heat to press metallic foil onto paper. It’s not just gold ink printed on cardstock. There’s this whole stamping machine situation and the foil comes in sheets and the die has to be custom-made for your design. Which is why you can’t just change your mind about the wording three days before printing like you might with digital invitations.
The Real Cost Breakdown Nobody Tells You Upfront
Okay so here’s what annoyed me back in spring 2023 when I had this bride who fell in love with a heavily foiled design she saw on Pinterest – vendors don’t always explain the die cost upfront. You’re paying for the actual metal die creation which can run anywhere from $150 to $400 depending on the complexity. Then you pay per invitation for the foiling process itself.
For a basic design with moderate foil coverage you’re looking at:
- Die setup: $200-350
- Per invitation cost: $8-15 each for foiling alone
- Premium cardstock: $2-4 per invitation
- Envelopes with foil addressing: add another $3-5 each
- Assembly if there are layers or belly bands: $1-2 per suite
So for 100 invitations with gold foil you’re gonna spend roughly $1,500 to $2,500 just for the invitation itself. Not including save the dates, not including programs or menus or any other stationery items.
Types of Foil and What They Actually Look Like
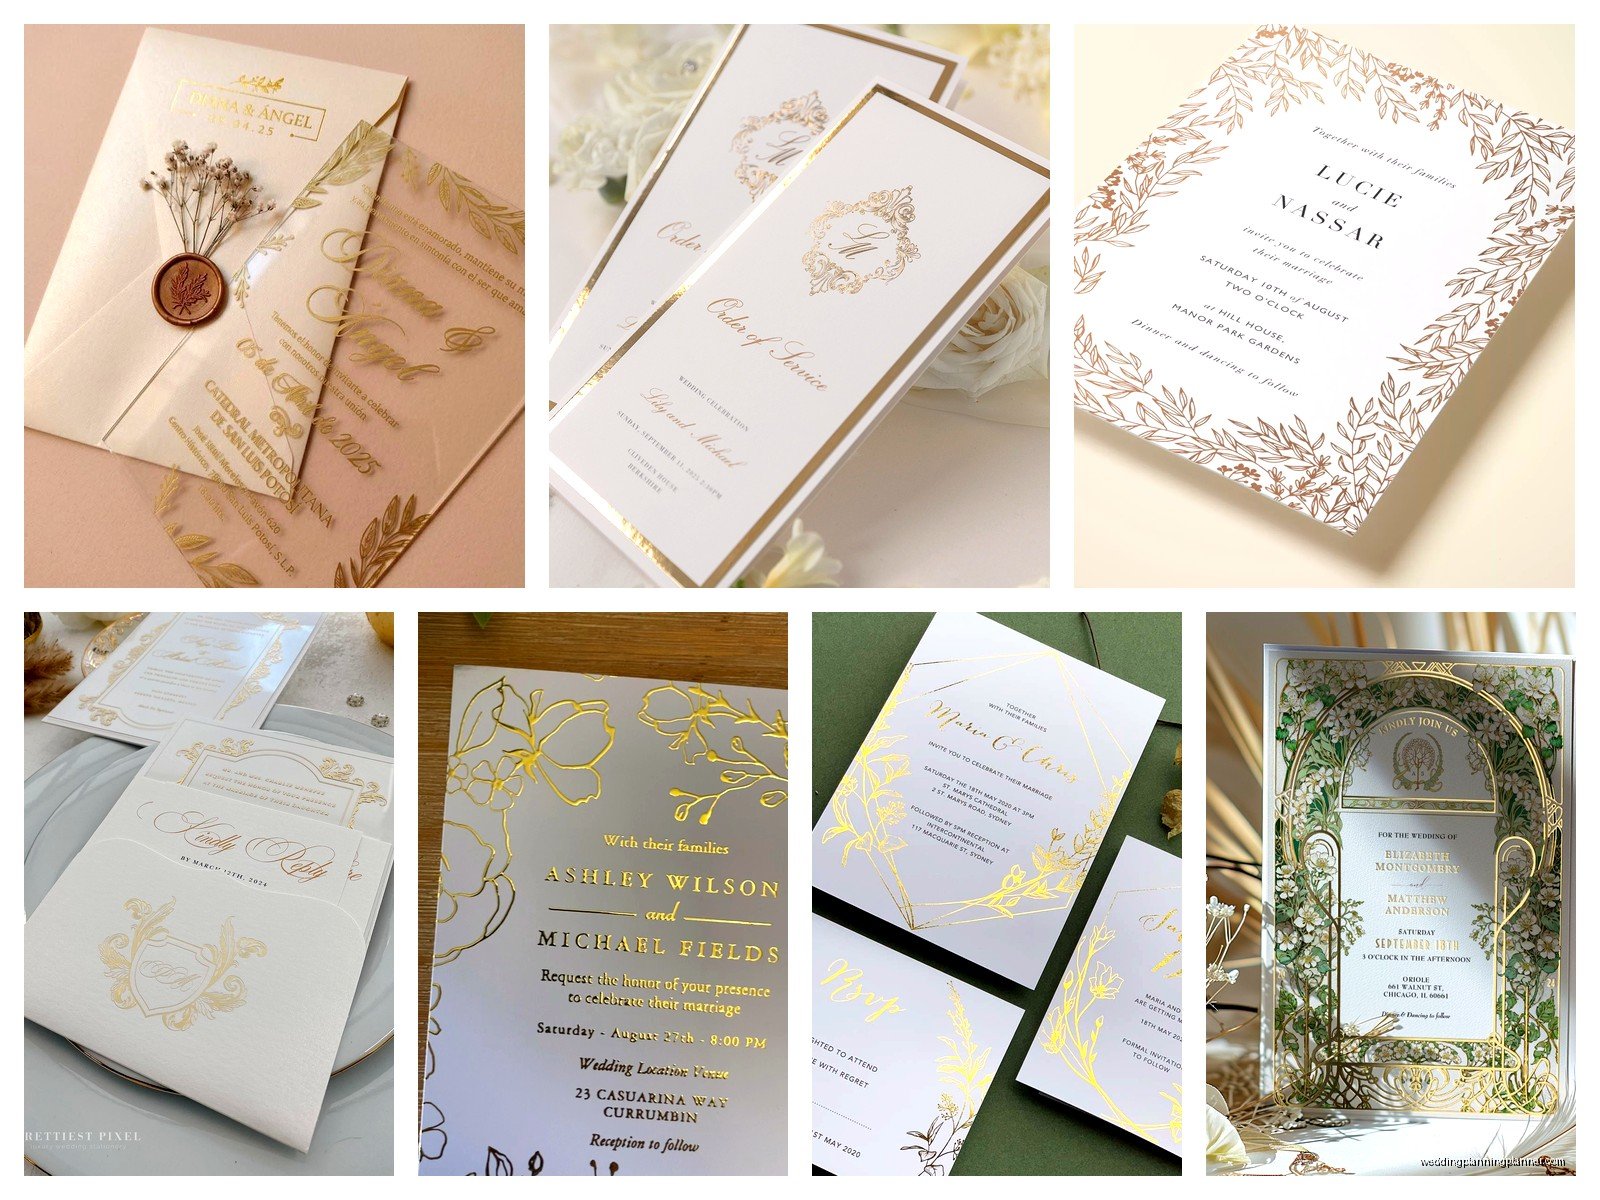
Gold foil isn’t just one thing and this is where couples get confused. There’s shiny gold (super reflective, very traditional looking), matte gold (softer, more contemporary), rose gold (pinkish tone, been trendy for years now), and champagne gold (subtle, almost barely there metallic).
I always tell people to request physical samples because what you see on a screen is completely different from what the foil looks like in your hand. The way it catches light, the texture, the warmth of the tone – you gotta see it in person. Most good foil printers will send you sample packs but you might need to pay like $15-30 for them.
There’s also copper foil which looks amazing with autumn weddings and silver which is cooler-toned obviously. You can even do holographic foils but those read more modern and less classic luxury.
Design Considerations That Actually Matter
The thing about foil is that it works best with certain design elements. Thin delicate lines can look stunning but they’re also harder to execute perfectly. Really thick solid blocks of foil can sometimes look… I dunno, heavy? Like too much? You want balance.
Text works beautifully in foil especially script fonts and serif fonts with varying line weights. The foil emphasizes the thick parts of letters and creates this gorgeous contrast. Sans serif fonts can work too but they don’t show off the foil quite as dramatically.
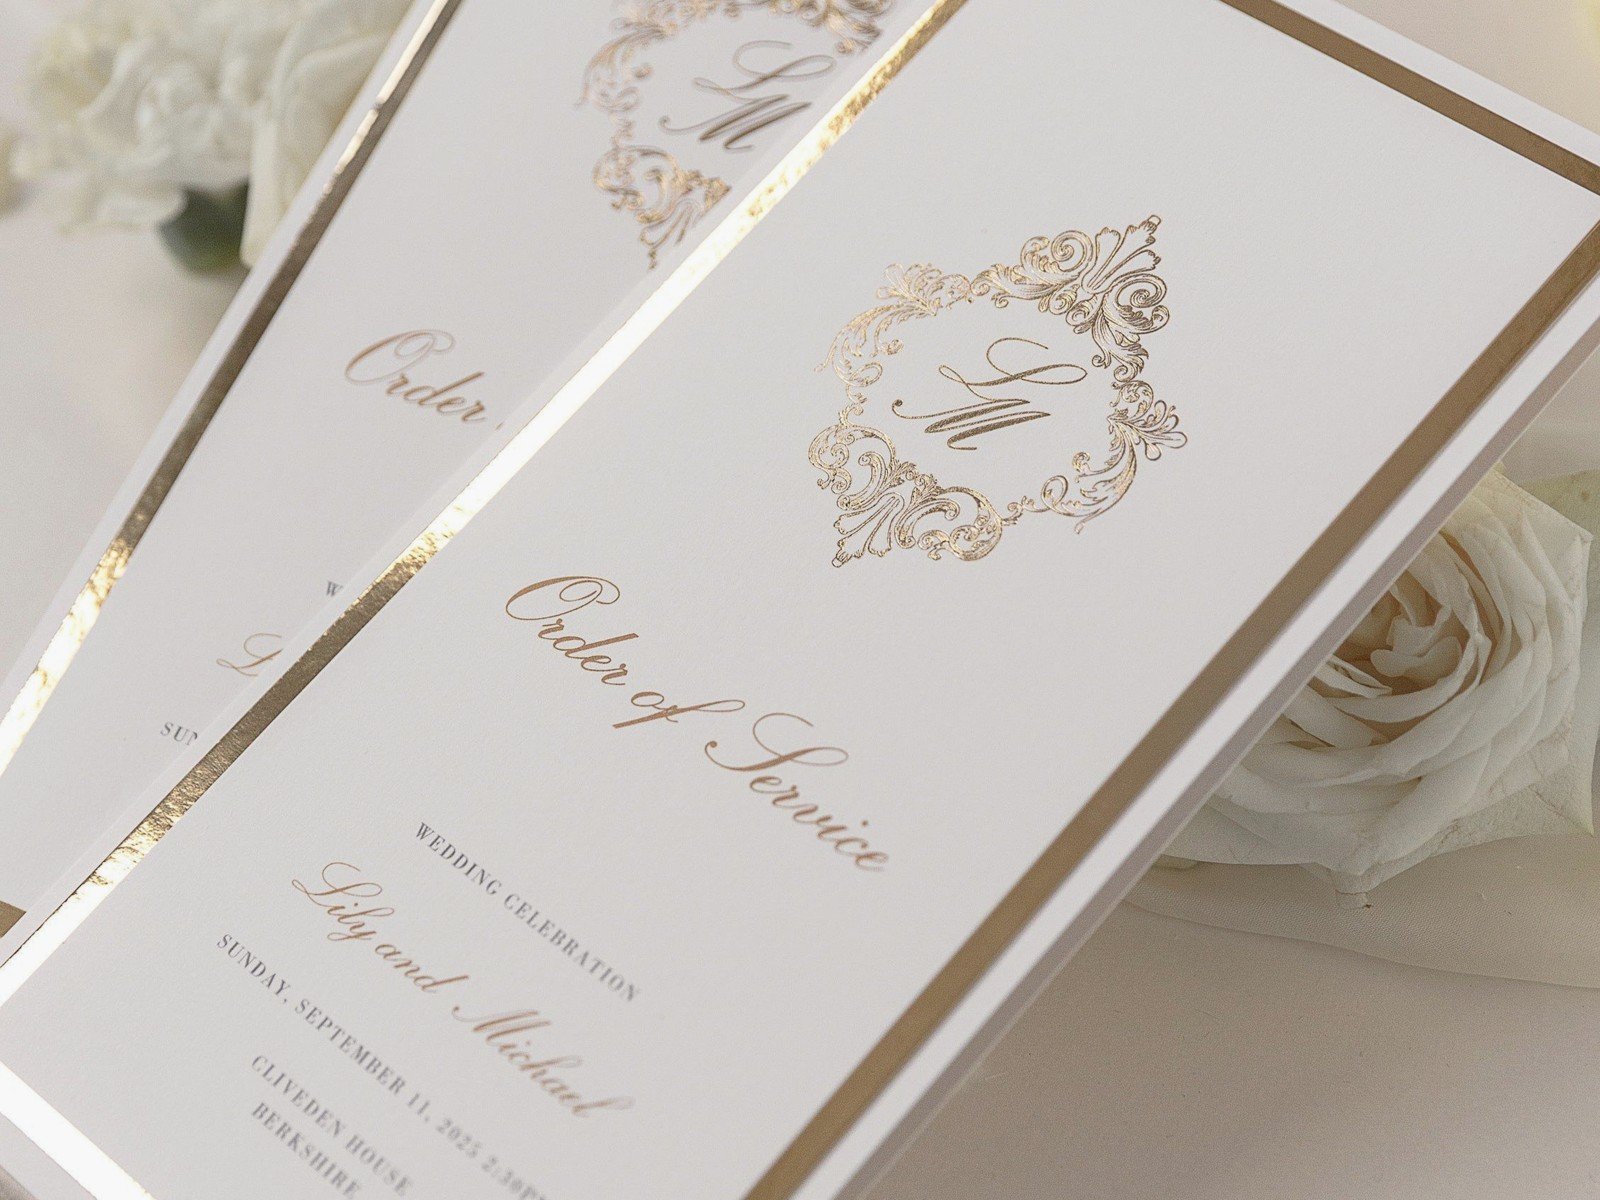
Borders and frames are classic choices for foiling. Even just a simple rectangular border in gold foil around your text makes everything feel more formal and elevated. Monograms obviously look incredible foiled – that’s like the number one use case for foil after text.
What Paper Actually Works
You can’t just foil on any paper and expect good results. The paper needs to be thick enough and smooth enough for the foil to adhere properly. I usually recommend:
- Cotton cardstock: 110lb or heavier, takes foil beautifully and feels substantial
- Smooth finish cardstock: the smoother the better for crisp foil application
- Avoid heavily textured papers: the foil won’t adhere evenly and you’ll get patchy results
Colored cardstock can look amazing with gold foil. Navy blue with gold foil is chef’s kiss. Deep burgundy or forest green with gold creates that rich luxurious vibe. Black cardstock with any metallic foil is dramatic and modern. White or cream is classic and lets the gold really pop.
My cat knocked over my sample box once and I had invitation samples everywhere but anyway – one thing I noticed sorting through them was how different the same gold foil looked on different paper colors. It’s wild how much the background affects the metallic appearance.
Design Elements That Work vs Don’t Work
Here’s what I’ve learned works really well:
- Names of the couple in a beautiful script font
- Decorative flourishes or botanical line drawings
- Venue illustrations if kept relatively simple
- Borders and geometric patterns
- Monograms and crests
- Important words like “reception” or “black tie” to make them stand out
What doesn’t work as well:
- Photographs or images with gradients – foil is solid color only
- Super tiny text under 8pt font size gets hard to read
- Extremely intricate patterns with tons of detail can look muddy
- Large solid areas of foil can sometimes show imperfections more
Working With Printers and Designers
So when you’re shopping for foil invitation printing you need to ask specific questions because not all printers are set up for this. Some stationery designers outsource their foiling to specialty printers. Some have in-house equipment. This affects turnaround time and cost.
Questions to ask:
- What’s the die fee and is it one-time or per color?
- Can you keep the die for future orders? (some printers will store it, others won’t)
- What’s the minimum order quantity?
- How many proof rounds are included?
- What’s the production timeline after approval?
- Do you provide a physical proof before full production?
That physical proof thing is important. You want to see an actual foiled sample of YOUR design before they print all 150 invitations. Digital proofs don’t show you how the foil will actually look. I had a situation in summer 2021 where a client approved everything digitally and then was shocked that the gold foil was much more yellow-toned than she expected and we had to… well it was a whole thing and pushed the timeline back.
Timeline Reality Check
Foil invitations take longer than digitally printed ones. Period. You need to factor in:
- Design finalization: 1-3 weeks depending on revisions
- Die creation: 1-2 weeks
- Physical proof production and shipping: 1 week
- Your review time: a few days hopefully not weeks please
- Final production: 2-3 weeks for foil printing
- Assembly: 1 week if it’s complex
- Addressing and mailing prep: 1 week
So realistically you’re looking at 8-12 weeks from starting the design process to having invitations ready to mail. Plan accordingly. Don’t come to me 6 weeks before your wedding asking for custom foil invitations because nah, that’s gonna be rushed and stressful for everyone.
Combining Foil With Other Printing Techniques
Here’s where things get really interesting – you can layer foiling with other methods. Digital printing for your main text and then foil for accent elements is super popular because it keeps costs down while still giving you that luxury touch.
Letterpress and foil together creates insane texture and dimension. The letterpress debosses into the paper and the foil sits raised on top. It’s gorgeous but also yeah, expensive because you’re paying for two specialty processes.
Edge painting (where the edges of the cardstock are painted in a coordinating color) plus foil is another combo that looks really high-end. The edge painting is usually done by hand and adds another $2-3 per invitation but the effect is stunning.
You can also do foil on vellum overlays which creates this ethereal semi-transparent effect with the metallic catching light through the translucent paper. Works beautifully for floral designs or delicate patterns.
Envelope Addressing Options
Once you’ve spent all this money on foiled invitations you probably want the envelopes to match the vibe right. Options include:
- Foil addressing directly on envelopes: most expensive, looks incredible, adds $4-7 per envelope
- Digital calligraphy printing: cheaper, still pretty, around $1-2 per envelope
- Hand calligraphy: if you want someone to actually write them, budget $3-5 per envelope minimum
- Printed labels with foil: compromise option, maybe $1.50 per envelope
Foil return addressing on the envelope flap is a nice touch too and usually costs less than full addressing since it’s smaller.
Common Problems and How to Avoid Them
Okay so things that can go wrong with foil invitations and trust me I’ve seen most of them. The foil doesn’t adhere properly and looks patchy – this usually happens with textured paper or if the pressure/heat settings aren’t right. Make sure your printer does test runs.
The registration is off meaning the foil doesn’t line up exactly with where it should be. This is more noticeable with text than with decorative elements. A tiny bit of shift is normal but if names are half foiled and half not that’s a problem.
The paper warps from the heat of the foiling process. Thicker cardstock helps prevent this but it can still happen especially with large foiled areas. Sometimes you need to have invitations pressed flat after foiling.
The color isn’t what you expected which goes back to seeing physical samples. Computer screens and even photos don’t accurately represent metallic finishes. Always always request samples.
DIY Foiling – Should You Even Try
There are home foiling machines now like the Minc and various laminators that can do foiling. I’m gonna be honest with you – for wedding invitations where you need consistency across 100+ pieces, I don’t usually recommend DIY unless you’re really crafty and have tons of time.
The home machines work differently than professional foil stamping. They use toner-based designs that heat-activate foil adhesive. It can look good but it’s not the same as traditional foil stamping with metal dies. The foil is thinner, the shine is slightly different, and getting consistent results takes practice.
If you’re doing like 20 invitations for a tiny wedding and you enjoy crafting, sure give it a try. But for a standard wedding you’re probably gonna stress yourself out and the results will look handmade rather than professionally luxurious. Which might be fine depending on your vibe but just… know what you’re getting into.
Coordinating Your Full Stationery Suite
Once you commit to gold foil invitations, you’ll probably want other pieces to match. The full suite typically includes:
- Save the dates (can do simpler foiling or just coordinate colors)
- Main invitation card
- RSVP cards (smaller, less foiling = more affordable)
- Details card for accommodations and website info
- Reception cards if ceremony and reception are separate
- Envelope liners (printed or solid color, no foiling needed)
You don’t have to foil every single piece. I usually suggest foiling the main invitation and maybe the save the date, then coordinate the other pieces with matching colors and fonts but skip the foiling to save money. Nobody’s judging your RSVP card as harshly as the main invitation.
Day-of stationery like menus, programs, place cards, and table numbers can incorporate gold foil too but again, budget accordingly. Programs with foil can run $4-7 each. Menus maybe $5-8 each. Place cards $2-4 each. It adds up fast when you’re doing 150 of everything.
Seasonal Considerations for Gold Foil
Gold foil works year-round but it definitely has seasonal sweet spots. Fall and winter weddings with gold foil just make sense – it’s warm, it’s rich, it feels appropriate for the season. Pair it with burgundy, navy, emerald, or deep plum.
Spring and summer weddings can absolutely use gold foil but I’d suggest keeping the overall design lighter. White or blush paper with gold accents. Or consider rose gold or champagne gold instead of yellow gold for a softer metallic that feels less heavy for warm weather.
Beach weddings or tropical destinations – gold foil can work but be thoughtful about it. Maybe use it sparingly as an accent rather than all-over foiling. Or go with a cooler metallic like silver that feels more appropriate for a seaside vibe.
Storage and Handling Tips
Gold foil invitations need to be handled more carefully than regular printed ones. The foil can scratch if you’re not careful. When they arrive from the printer, don’t just toss them around. Store them flat in their boxes until you’re ready to assemble and mail.
Fingerprints show up on foil more than regular ink so handle them by the edges when possible. If you’re assembling invitation suites yourself, make sure your hands are clean and dry. Some people wear cotton gloves for assembly which seems excessive but actually helps.
Don’t leave foiled invitations in direct sunlight or anywhere really hot because extreme heat can affect the foil adhesion over time. Room temperature in a box is perfect until mailing.
When you mail them, use rigid mailers or add a “do not bend” card inside the envelope to prevent folding damage. Foiled invitations can’t really be fixed if they get creased or scratched in transit. I learned this the hard way when… actually that’s a whole other story involving the postal service and a very angry bride but we got through it.
For your own keepsake invitation, consider framing it or storing it in an archival box away from light and humidity. The foil should stay shiny for years if stored properly. Some foils can tarnish over decades but modern foils are pretty stable as long as they’re not exposed to harsh conditions.
