Planning Guides, Style Guide
Hindu Shadi Card: Design & Ordering Guide
Jun
Getting Your Hindu Wedding Cards Right
Okay so Hindu wedding invitations are honestly one of the most detailed things you’ll deal with during wedding planning and I mean that in both good and bad ways. The design process alone can take weeks if you’re being thorough about it, and don’t even get me started on printers who promise you turnaround times they absolutely cannot meet.
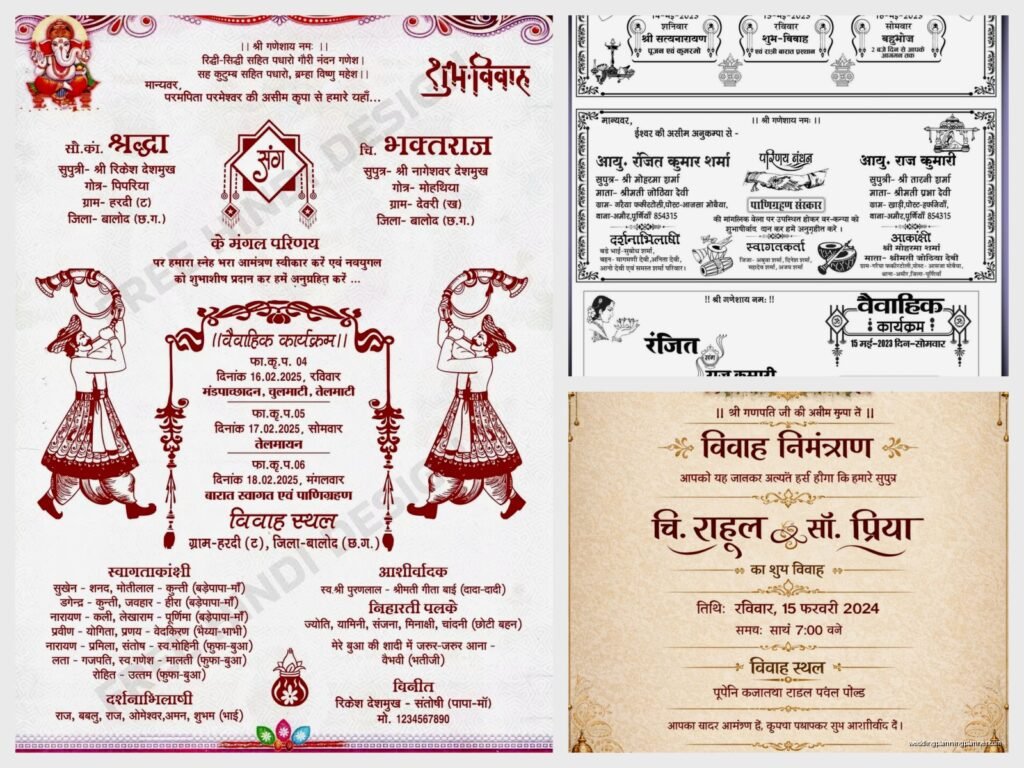
First thing – you gotta understand that Hindu shadi cards aren’t just invitations. They’re like this whole cultural package that includes multiple inserts, specific wording requirements, and symbolism that actually matters to your families. I had this couple back in spring 2023 who wanted to go super minimal and modern, which is totally fine, but their parents were horrified because there was no Ganesh symbol anywhere on the card. We ended up doing this compromise design where we incorporated a subtle Ganesh motif in the corner that honestly looked stunning.
Traditional Elements You Should Know About
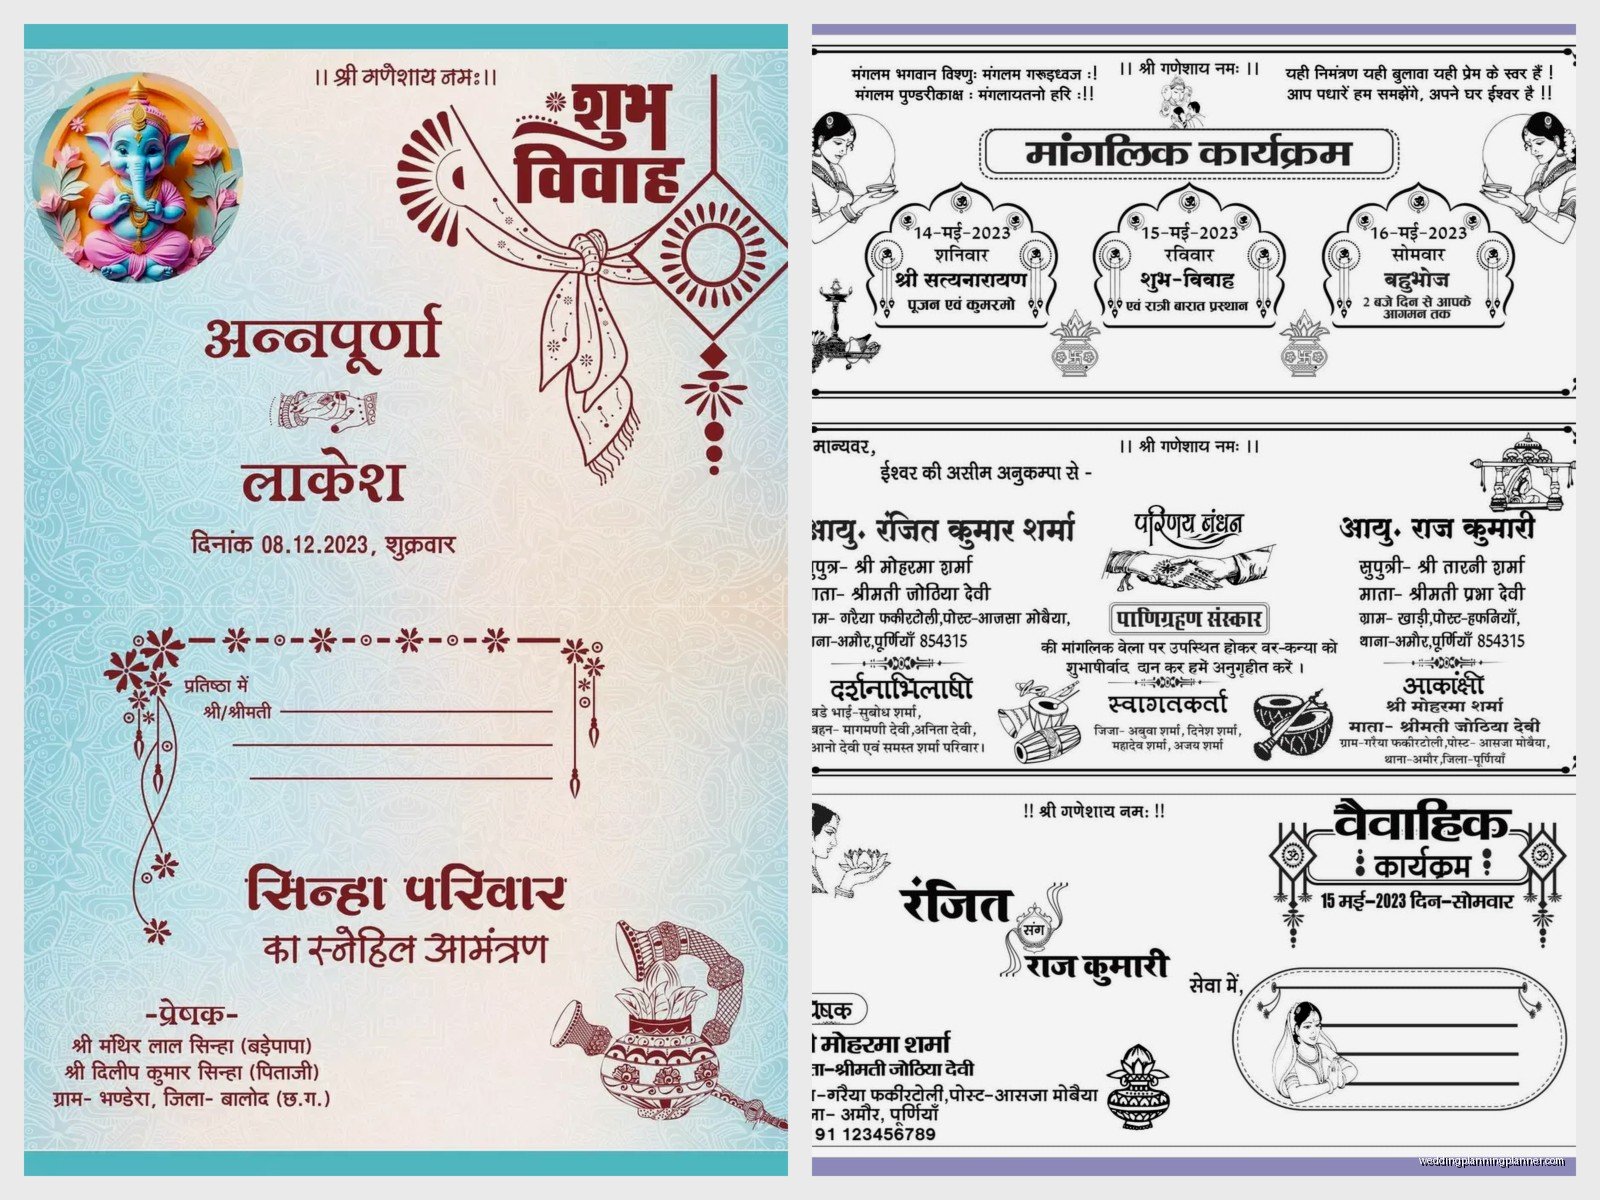
Most Hindu wedding cards include Lord Ganesh because he’s the remover of obstacles. You’ll see him right at the top usually, sometimes as an illustration, sometimes as just the Om Ganeshaya Namah text. Some families are super particular about this and some are more relaxed but I always ask early on.
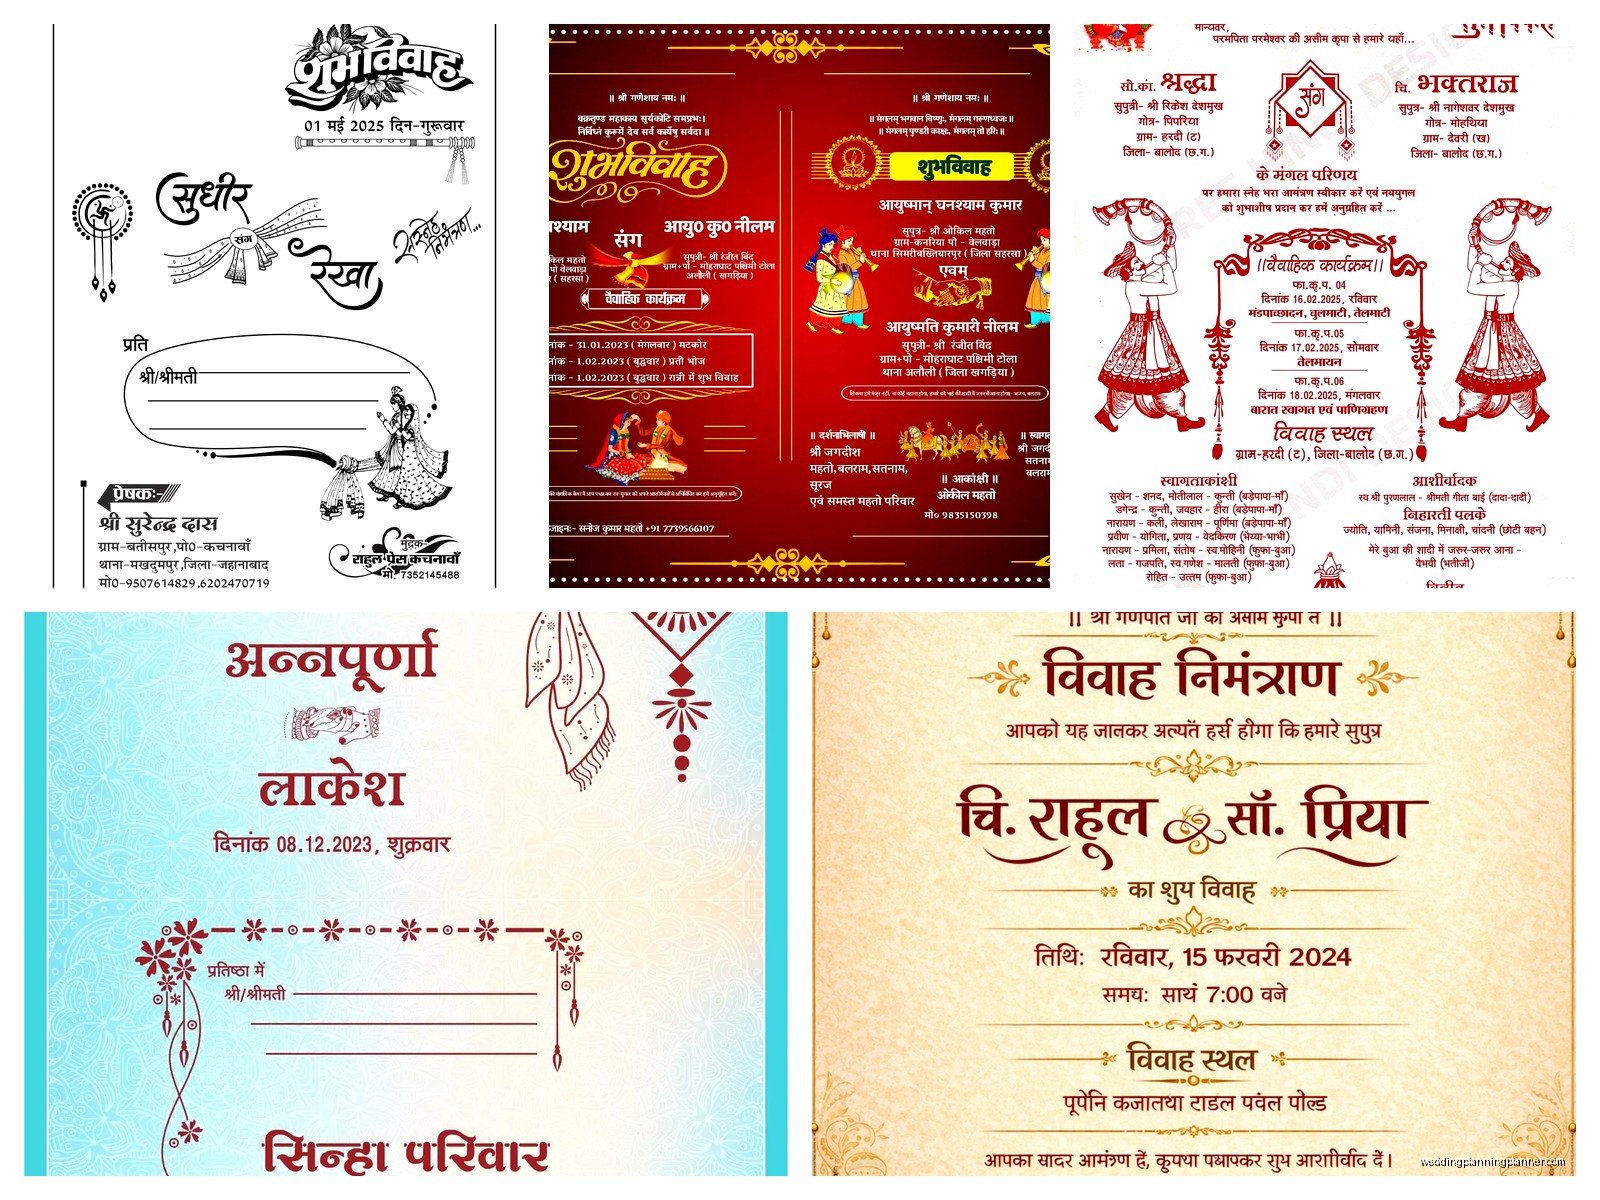
The colors matter too – red and gold are classic choices because red symbolizes prosperity and gold represents purity and wealth. But lately I’ve seen gorgeous cards in royal blue with copper foiling, deep maroons with rose gold, even emerald green with traditional gold. The color palette you choose sets the entire tone for your wedding aesthetic so… yeah don’t just pick red because everyone else does if that’s not your vibe.
Sanskrit shlokas or verses are another common element. Usually you’ll see the Mangalashtak or other wedding blessings printed either on the main card or on a separate insert. Make sure whoever is designing your cards can handle Devanagari script properly because I’ve seen some disasters where the typography was all wrong.
What Goes Inside The Envelope
This is where it gets kinda overwhelming. A traditional Hindu wedding invitation suite can include like 5-8 different inserts and you need to figure out what’s actually necessary for YOUR wedding.
The main invitation card obviously comes first. This typically includes the actual wedding ceremony details – date, time, venue, and the names of both families. Hindu invitations usually list parents’ names first because they’re technically the hosts, then the couple’s names.
Then you’ve got your function cards. Most Hindu weddings aren’t just one event – there’s the Mehndi ceremony, Sangeet night, Haldi ceremony, the actual wedding ceremony, and the reception. Each event might need its own insert card with specific timing and dress code. I personally think you can combine some of these if they’re on the same day or at the same venue, but some families want everything separate and formal.
RSVP cards are necessary unless you’re doing online RSVPs only (which honestly saves money and trees). Include a pre-addressed stamped envelope if you’re going traditional route because people are lazy and won’t RSVP otherwise.
Accommodation inserts if you have out-of-town guests. List hotel room blocks with booking codes and maybe a small map or transportation info.
Direction cards or venue maps – though honestly with Google Maps I’m not sure these are as essential as they used to be? But older guests appreciate them.
Design Styles and What Actually Works
You’ve got basically four main design directions for Hindu wedding cards these days and each has its pros and cons.
Traditional ornate designs feature heavy embellishments, intricate borders, paisley patterns, peacock motifs, and lots of gold foiling. These look expensive and formal but they can also feel dated if not executed well. Works great for very traditional families or large formal weddings.
Contemporary fusion style is probably what most of my clients end up choosing. You take traditional elements like Ganesh or paisley patterns but render them in modern minimalist ways. Clean typography, lots of white space, maybe one or two metallic accent colors. This style photographs beautifully and appeals to both generations usually.
Boxed invitations are having a moment and they’re gorgeous but expensive. You’re looking at literally putting your entire invitation suite in a decorated box with ribbon or fabric wrapping. Some include small gifts like sweets or candles. These make a statement but shipping costs will make you cry.
Scroll or folded card invitations give you that traditional feel with the drama of unrolling or unfolding the invitation. The scroll style especially works well if you’re incorporating a lot of text or multiple languages.
Material Choices That Matter
Paper quality is where you can really tell the difference between a budget card and a luxury one. Standard cardstock (around 80-100 lb) works fine for most invitations but if you want that substantial feel in hand, go for 120 lb or higher.
Handmade paper with flower petals or fabric threads embedded looks stunning but it’s harder to print on and more expensive. I had a bride once who insisted on handmade paper and we went through three different printers before finding one who could handle it without the ink bleeding.
Velvet or fabric-covered cards are super luxe but also super pricey. They feel amazing though and guests will definitely notice the quality.
Acrylic invitations are trendy right now – clear acrylic sheets with printed or engraved text. They’re modern and unique but not everyone’s style and you gotta be careful with shipping because they can crack.
Printing Techniques and Costs
Digital printing is your most affordable option and honestly the quality has gotten really good. Works well for most designs and you can do smaller quantities without the price per card going crazy. Usually runs between $3-8 per invitation suite depending on complexity.
Letterpress creates that beautiful debossed impression in the paper and feels super fancy when you run your fingers over it. More expensive though – expect $8-15 per card minimum. Also you need thicker paper stock for letterpress to work properly.
Foil stamping in gold, rose gold, silver, or copper adds that metallic shine that photographs beautifully. Can be combined with other printing methods. This is where costs start climbing – maybe $10-20 per invitation depending on how much foiling you’re doing.
Thermography gives you raised printing that kinda mimics engraving but at a lower cost. It’s a good middle ground option.
Laser cutting creates intricate cut-out patterns in the card itself. Absolutely gorgeous but also one of the pricier options and you need to be thoughtful about the design because too much cutting can make the card feel flimsy.
The Actual Ordering Process
Start this process at LEAST 4-5 months before your wedding. I know that sounds like forever but here’s why – you need time for design revisions, printing, potential reprints if something goes wrong (and something always goes wrong), assembly if you’re doing it yourself, addressing, and mailing. Wedding invitations should go out 6-8 weeks before the wedding date, maybe 3 months for destination weddings.
First decide your budget per invitation. Include EVERYTHING in this calculation – printing, envelopes, postage (which can be expensive if your invites are heavy or oversized), assembly labor if you’re hiring someone. A realistic budget is anywhere from $5-25 per complete invitation suite but I’ve seen people spend $50+ per invite for really elaborate designs.
Get your guest list count finalized or as close as possible. Order 10-15% extra invitations beyond your guest count for last-minute additions, keepsakes, and mistakes during addressing. You’ll thank me later.
Finding a Designer or Printer
You’ve got several routes here. Independent stationery designers will create custom designs specifically for you – most collaborative but also most expensive, usually starting around $1500-3000 for full design and printing. I work with a few designers I trust and can refer clients to them.
Online template companies like Minted, Zola, or specialized South Asian wedding card sites let you customize existing templates. Much more affordable, usually $300-800 for a full order, but less personalized. The selection for Hindu-specific designs has gotten way better though.
Local Indian wedding card shops exist in most major cities with significant South Asian populations. They often have catalogs of designs you can choose from and customize. Pricing varies wildly and quality can be hit or miss – definitely ask to see physical samples.
Etsy designers are a great middle ground. You can find talented designers who specialize in South Asian weddings, communicate directly with them, and often get semi-custom designs at reasonable prices. Just read reviews carefully and ask about revision policies.
What really annoyed me recently was this printer who kept sending proofs with the wrong spellings of the couple’s names – like how many times do I need to send the correct spelling before you actually read it? Three rounds of proofs with the same mistake. Anyway.
Proof Review Process
When you get your first proof DO NOT just glance at it and approve. I’m serious about this. Check every single detail:
All names spelled correctly including parents’ names and any honorifics. Check Sanskrit text if included – have someone who reads Devanagari verify it. Dates and times are accurate for every event. Venue names and addresses are complete and correct. Phone numbers and website links work. The overall layout looks balanced and nothing is cut off.
Get at least two other people to proofread everything. You’ll be amazed what you miss when you’ve been staring at the same design for weeks.
Most printers include 1-2 rounds of revisions in their pricing. Additional revision rounds might cost extra so try to consolidate all your changes into one round if possible.
Always always ALWAYS request a printed physical proof before approving the full run, especially if you’re doing foiling or letterpress or any special printing technique. Colors look different on screen versus paper and you need to see the actual quality.
Wording and Language Considerations
Hindu wedding invitation wording can be in English only, Hindi/regional language only, or bilingual. Bilingual is becoming really popular – English on one side or panel and Hindi/Gujarati/Tamil etc on the other.
The traditional format usually goes something like this: Opening with a Ganesh invocation or shloka, parents’ names as hosts, request for blessings and presence, couple’s names, ceremony details, reception details if separate, and RSVP information.
Some families want very formal traditional wording and some want more casual modern phrasing. This is definitely something to discuss with both sets of parents early because it can become a point of tension. That spring 2023 couple I mentioned? The wording negotiations took longer than the actual design process because both families had strong opinions.
If you’re including dress code information (which you should), be specific. “Indian formal attire” or “Black tie with Indian fusion welcome” or whatever makes sense for your wedding vibe. Guests appreciate knowing what’s expected.
Assembly and Addressing
Once your cards are printed you gotta assemble everything. If your suite has multiple inserts this can take HOURS. I usually recommend doing an assembly party with bridesmaids or family – put on a show (I was binging some terrible reality TV during my last big assembly session with a client), order food, and make it fun.
The traditional assembly order from bottom to top: main invitation card, then reception card, then function cards, then accommodation card, then RSVP card on top. Some people do it differently but this is standard.
Addressing can be handwritten for that personal touch – hire a calligrapher if your handwriting is messy or if you want it to look really special. Costs around $2-5 per envelope depending on the calligrapher. Printed labels are totally fine too and way faster, just use a nice font.
Or you can do digital calligraphy where a calligrapher creates the addresses digitally and they’re printed directly on the envelopes. Looks hand-done but more consistent.
Postage and Mailing
Take a fully assembled invitation to the post office and have them weigh it before you buy stamps. Oversized, square, or heavy invitations need extra postage and those cute decorative envelopes might require hand-canceling which costs extra.
Don’t just drop 200 invitations in a mailbox – take them inside the post office and hand them to a clerk, especially if they need hand-canceling. And maybe keep one complete invitation suite for yourself as a keepsake because you spent all this time and money on them.
International invitations should go out even earlier and will cost significantly more to mail. Consider doing digital save-the-dates for international guests and sending the physical invitation as more of a keepsake.
My cat knocked over an entire stack of addressed envelopes once and I had to re-do like 30 addresses which was… not fun. Anyway keep your workspace organized is what I’m saying.
Common Mistakes to Avoid
Don’t order your invitations before your venue and date are 100% confirmed. I’ve seen couples have to reprint everything because something changed.
Don’t forget about postage costs in your budget – they add up fast especially for heavy or oversized invites.
Don’t wait until the last minute to order thinking you can rush it. Rush fees are expensive and quality might suffer.
Don’t skip the proofreading step I cannot stress this enough.
Don’t feel pressured to include every single traditional element if it doesn’t feel right for your wedding – it’s okay to modernize and simplify as long as you’re respectful about it and communicate with your families.
Also don’t forget to order extra envelopes because you WILL mess up some addresses and you don’t wanna run out.
And honestly the whole process is gonna feel overwhelming at times but just break it down into steps and tackle one thing at a time and you’ll get through it just fine