Planning Guides, Style Guide
Invitation Card For Marriage Anniversary: Design & Ordering Guide
Jun
Getting Started With Anniversary Invitation Cards
Okay so first thing you gotta figure out is whether you even need formal invitations or if you can get away with a nice digital design. I had this couple in spring 2023 who were celebrating their 25th and they were SO set on printed invitations even though they were only inviting like 30 people and honestly it drove me a bit nuts because we could’ve saved them so much money with a digital option but whatever, the customer is always right I guess.
The main difference between anniversary invites and wedding invites is that anniversary cards are usually less formal unless you’re doing a big milestone like 25th or 50th. For those smaller anniversaries like 5th or 10th, you can totally be more casual and playful with the design.
Deciding What Type You Need
You’ve got basically three routes here and each one has its pros and cons that I learned the hard way over the years.
Digital Invitations
These are gonna be your cheapest option and honestly they’re perfectly fine for most situations. You can use sites like Paperless Post, Greenvelope, or even Canva to create something that looks professional. The annoying thing about digital invites though is that older relatives sometimes don’t check their email regularly or they accidentally delete them or… my cat just knocked over my coffee mug but anyway, you might need to follow up with phone calls to make sure everyone actually saw the invitation.
Digital invites work best for:
- Smaller gatherings under 50 people
- Casual anniversary parties
- Younger guest lists who are comfortable with technology
- Last-minute planning situations
- When you’re on a tight budget
Print-at-Home Cards
This is kinda the middle ground option. You design something on Canva or download a template from Etsy, then print them yourself on nice cardstock. I actually did this for my own parents’ 30th anniversary and it turned out pretty good except I didn’t realize our home printer would make the colors look completely different than they did on screen.
Pro tip: if you’re going this route, buy ONE sheet of the fancy cardstock first and do a test print before you buy like 50 sheets. Trust me on this.
Professional Printed Invitations
This is what most of my clients end up doing for milestone anniversaries. You work with a printing company like Minted, Shutterfly, Vistaprint, or a local print shop. The quality is obviously way better and you get options like foil stamping, letterpress, or embossing that you can’t do at home.
Design Elements That Actually Matter
Alright so here’s where people get overwhelmed because there are SO many options but honestly you just need to nail down a few key things and the rest falls into place.
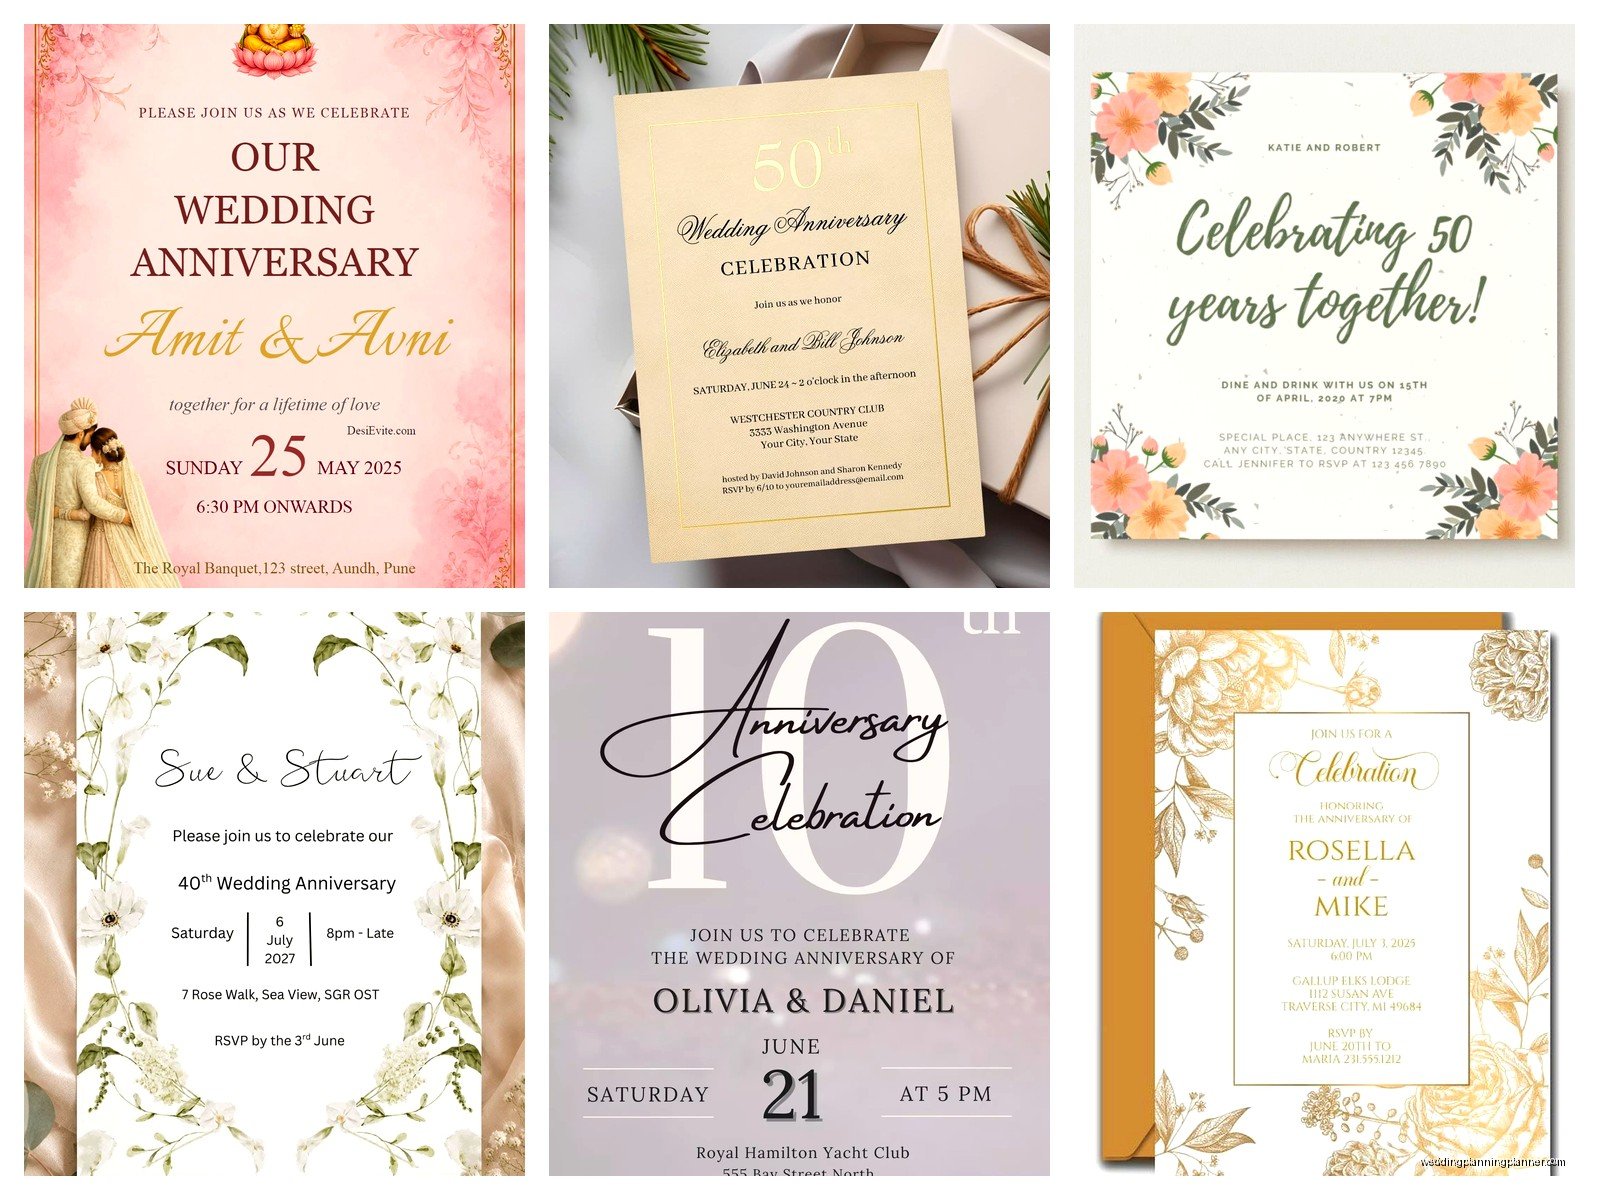
Color Scheme
Traditionally each anniversary year has associated colors and materials (like silver for 25th, gold for 50th) but you don’t have to follow that if it doesn’t match your style. I had clients who did their 40th anniversary in bright coral and turquoise because those were their wedding colors and it looked amazing.
That said, here are the traditional ones people usually ask about:
- 1st – Gold or Yellow
- 5th – Blue or Pink
- 10th – Silver or Blue
- 15th – Red
- 20th – Emerald Green or White
- 25th – Silver
- 30th – Green
- 40th – Ruby Red
- 50th – Gold
- 60th – Diamond White
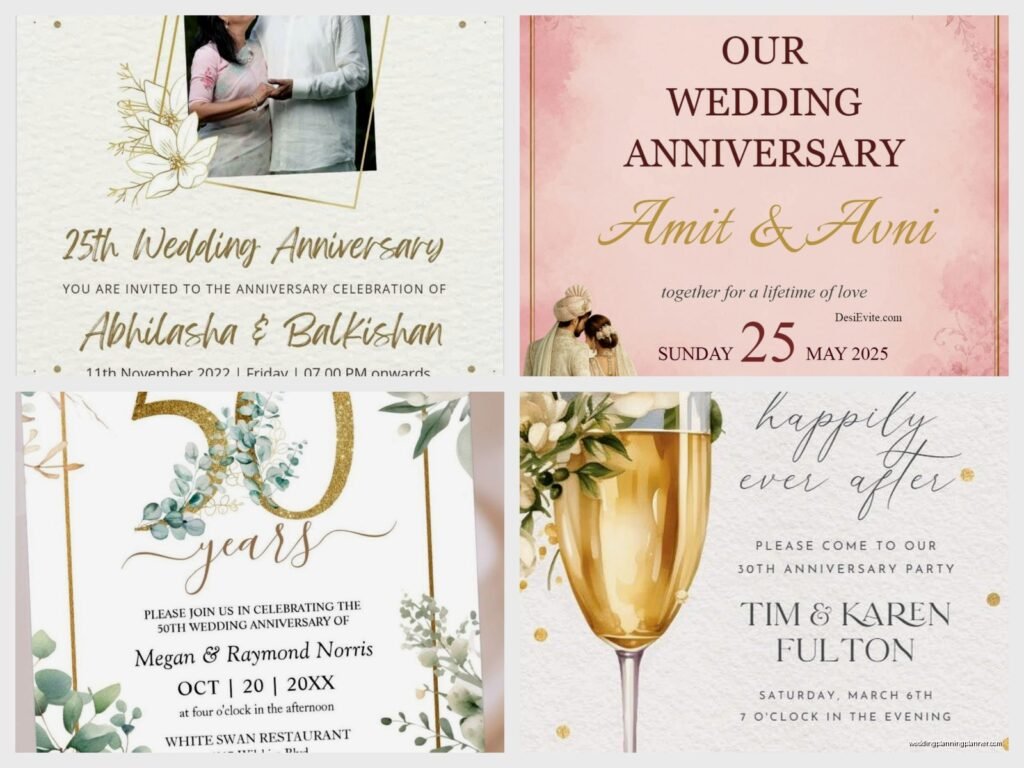
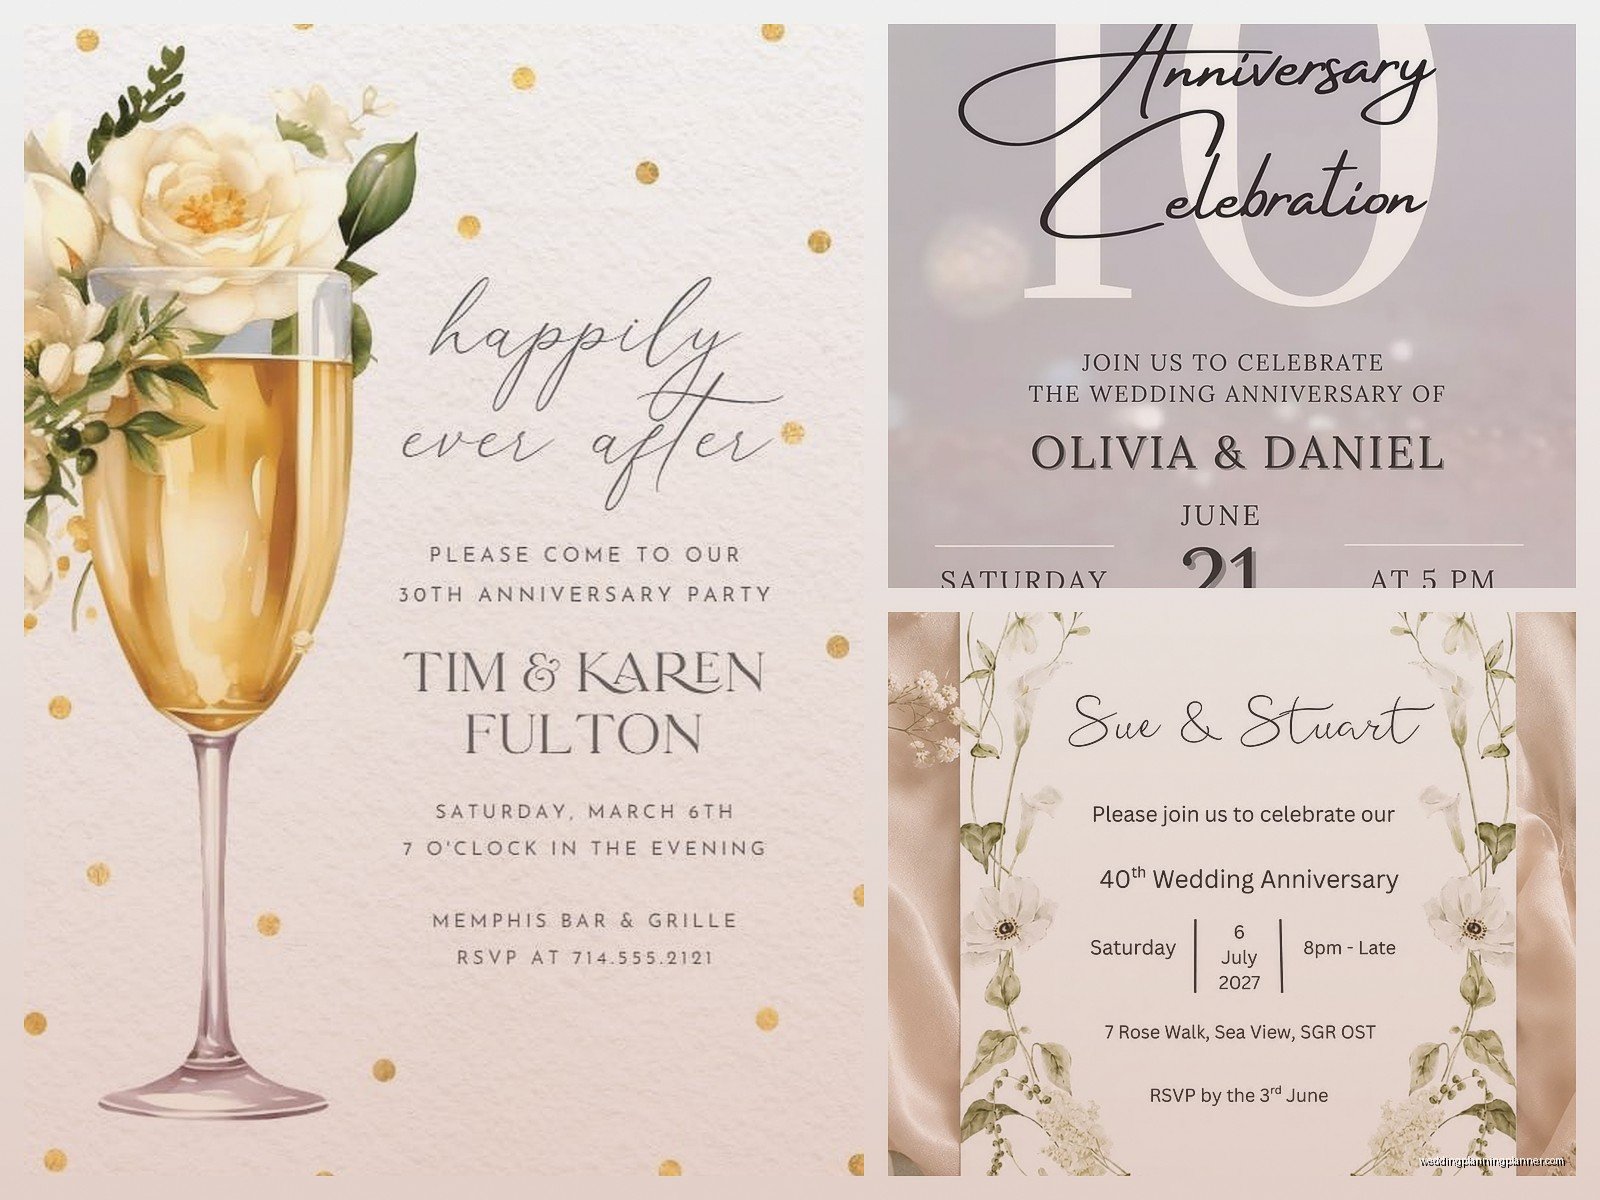
Photos or No Photos
This is totally personal preference but I will say that invitations with photos of the couple tend to feel more special and personalized. You can use a wedding photo, a recent photo, or both. The both option is really popular actually – like a “then and now” kind of thing.
If you’re using photos make sure they’re high resolution – at least 300 DPI if you’re printing. I can’t tell you how many times I’ve had to tell clients that their Facebook profile picture isn’t gonna work because it’ll print all blurry and pixelated.
Wording and Tone
Unlike wedding invitations where there’s all this formal etiquette about who hosts and how to word things, anniversary invitations are way more flexible. You can have the couple themselves send the invite, or the kids can host a party for their parents.
Here are some wording examples that I use all the time:
Formal approach:
“Please join us in celebrating the 25th wedding anniversary of John and Mary Smith”
Casual approach:
“We’re celebrating 10 years of marriage and we want you there!”
When kids are hosting:
“Join us in honoring our parents, John and Mary Smith, as they celebrate 30 years of marriage”
You also need to include the obvious stuff like date, time, location, and RSVP info. I know that sounds basic but you’d be surprised how many people forget to put the actual address or… wait, do people still need to include registry information on anniversary invites? Honestly that’s more of a personal choice now.
Where to Order and What to Expect
Okay so once you’ve got your design figured out you need to actually order these things and this is where timing becomes super important.
Online Printing Services
Minted: This is my go-to recommendation for clients who want really high-quality designs and have a decent budget. Their designs are created by independent artists so they’re unique. Expect to pay around $2-4 per invitation depending on the design and any upgrades. They usually take about 2 weeks for production plus shipping time.
Shutterfly: More affordable than Minted and they have sales literally all the time. Sign up for their email list because they’ll send you 40% off coupons constantly. Quality is good but not quite as fancy as Minted. About 1-2 weeks for production.
Vistaprint: Budget-friendly option that’s totally fine for casual parties. You can get invitations for under $1 each if you catch a sale. The design options are more limited and kinda template-y but for a backyard BBQ anniversary party it works perfectly fine.
Etsy: This is great if you want something custom or unique. You’re buying from individual designers who can often customize things for you. The catch is that you’re usually just buying the digital file and then you have to get it printed yourself either at home or through a print shop. Prices vary wildly.
Local Print Shops
Don’t overlook local printers especially if you need something rushed or want to support small businesses. I worked with a local shop in summer 2021 when a client needed invitations in less than a week because they’d totally forgotten to order them and the local place saved us. They charged more than online options would have but the turnaround time was incredible.
Timing Your Order
This is where people mess up constantly. Here’s my recommended timeline:
6-8 weeks before the party: Finalize your guest list and start designing your invitation. This gives you time to actually think about what you want instead of rushing.
5-6 weeks before: Place your order with the printing company. Most online services need 2-3 weeks for production but I always add extra buffer time because stuff happens.
4 weeks before: Invitations should arrive. Check them immediately when they come to make sure there aren’t any errors. I once had a client whose invitations arrived with the wrong date printed and we only caught it because they opened the box right away.
3-4 weeks before the party: Mail out the invitations. Yes this seems early but people need time to plan, especially if they’re traveling.
For digital invitations you can obviously compress this timeline significantly but you still want to send them at least 3 weeks out.
Envelope and Mailing Stuff
So you’ve got your beautiful invitations printed and now you need to actually get them to people which sounds simple but there are decisions to make here too.
Most printing companies will include basic envelopes but you can upgrade to fancier ones. Colored envelopes, lined envelopes, or envelopes with the return address printed on them. The printing on envelopes thing is actually really nice because it saves you from having to write or print labels for all of them.
One thing that really annoyed me is when printing companies advertise a price for invitations but then the envelopes are sold separately and you don’t realize until checkout that you’re paying extra. Always check if envelopes are included.
For addressing envelopes you’ve got options:
- Handwrite them yourself (most personal but time-consuming)
- Print labels (easy but kinda impersonal)
- Use a service that prints directly on the envelope (looks professional)
- Hire a calligrapher if you wanna get fancy for a milestone anniversary
Postage Considerations
Standard invitations that are regular size and weight just need a regular stamp but if you’ve gone with square invitations or added any embellishments or used thick cardstock you might need extra postage. Take one completed invitation to the post office and have them weigh it before you put stamps on all of them. Nothing worse than having invitations returned because of insufficient postage.
Also those fancy vintage stamps or custom stamps are cute but they cost more so factor that into your budget.
Budget Breakdown
Let me give you realistic numbers for what to expect because I think a lot of people underestimate invitation costs.
Budget option (50 invitations):
Vistaprint or print-at-home: $25-75
Envelopes if not included: $10-20
Postage: $30
Total: About $65-125
Mid-range option (50 invitations):
Shutterfly or similar: $100-200
Upgraded envelopes: $25
Postage: $30
Total: About $155-255
High-end option (50 invitations):
Minted or custom designer: $200-400
Premium envelopes with printing: $75
Special postage: $40
Total: About $315-515
These numbers obviously scale up or down depending on your guest count.
Extra Touches Worth Considering
If you want to make your invitations feel extra special there are some add-ons that are actually worth it in my opinion.
Belly bands or ribbon: These are decorative wraps that go around the invitation and they make it feel more formal and put-together. You can DIY these pretty easily.
Matching thank you cards: If you order these at the same time as your invitations you can usually get a discount and everything coordinates which is nice.
Save the dates: For really big milestone anniversaries where people might need to travel, sending save the dates 2-3 months out is actually a good idea.
RSVP cards: These can be helpful for getting accurate headcounts but honestly for anniversary parties I usually just tell people to include RSVP info on the main invitation with an email or phone number. Separate RSVP cards feel a bit excessive unless it’s like a 50th anniversary with a formal dinner.
Common Mistakes I See All The Time
Not proofreading carefully enough – seriously get like three different people to read your invitation before you order because once you’ve ordered 75 invitations with a typo you’re kinda stuck with them.
Ordering the exact number you need without extras – always order at least 10% more than your guest count because you’ll mess up addressing some envelopes or want to keep some as keepsakes or realize you forgot to invite someone.
Choosing fonts that are too small or too decorative – remember that many of your guests might be older and need to actually be able to read the invitation. That gorgeous calligraphy font might look amazing but if people can’t read the address it’s not functional.
Not considering the overall weight and size before designing – if you’re adding layers or pockets or thick cardstock you’re gonna pay more for postage and printing.
Forgetting to include important details like dress code or whether kids are invited – these are things people need to know to plan accordingly.
DIY Design Tips
If you’re designing your own invitation on Canva or similar here’s what actually matters. Keep it simple – you don’t need to use every font and graphic element available. Pick 2 fonts maximum, use your color scheme consistently, and make sure there’s enough white space so it doesn’t look cluttered.
The hierarchy of information should be clear – the most important stuff (what you’re celebrating, when, where) should be the most prominent. Secondary details can be smaller.
Use high-quality graphics and photos – Canva has tons of free elements but if something looks pixelated on your screen it’s gonna look worse printed.
Think about your paper choice if you’re printing yourself – not all cardstock is created equal and the really cheap stuff from the office supply store can look kinda flimsy. I usually recommend 80lb or heavier cardstock for invitations.