
Planning Guides, Style Guide
Trifold Invitations: Three-Panel Folded Card Designs
May
Okay So Trifold Invitations Are Actually Pretty Genius
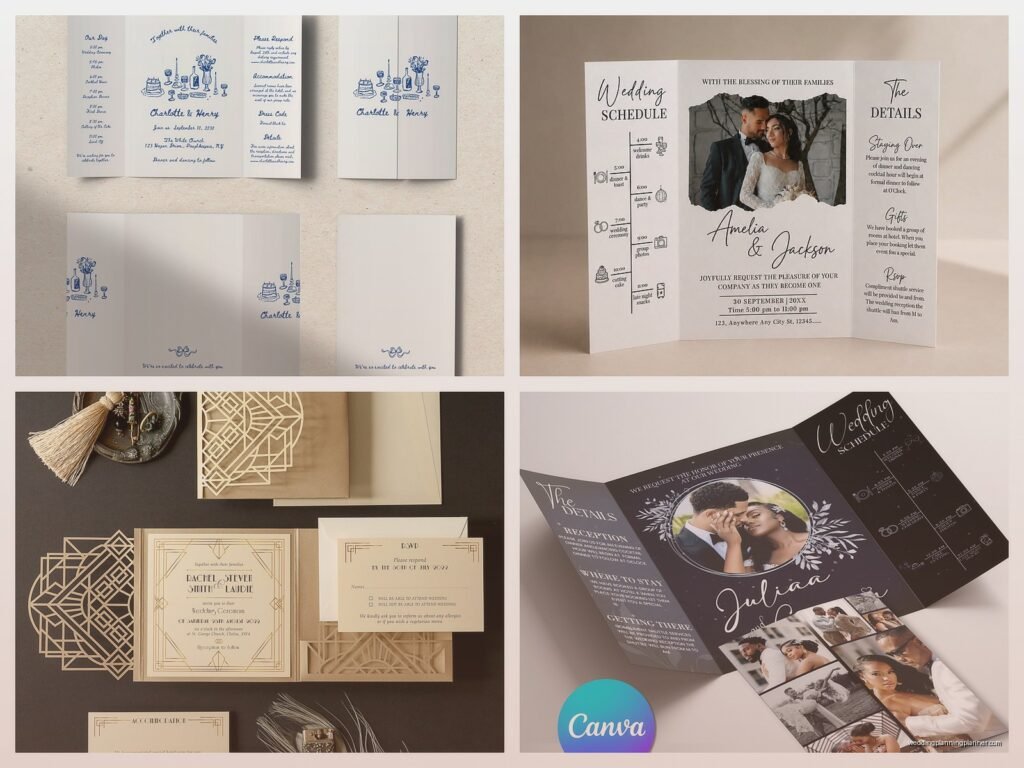
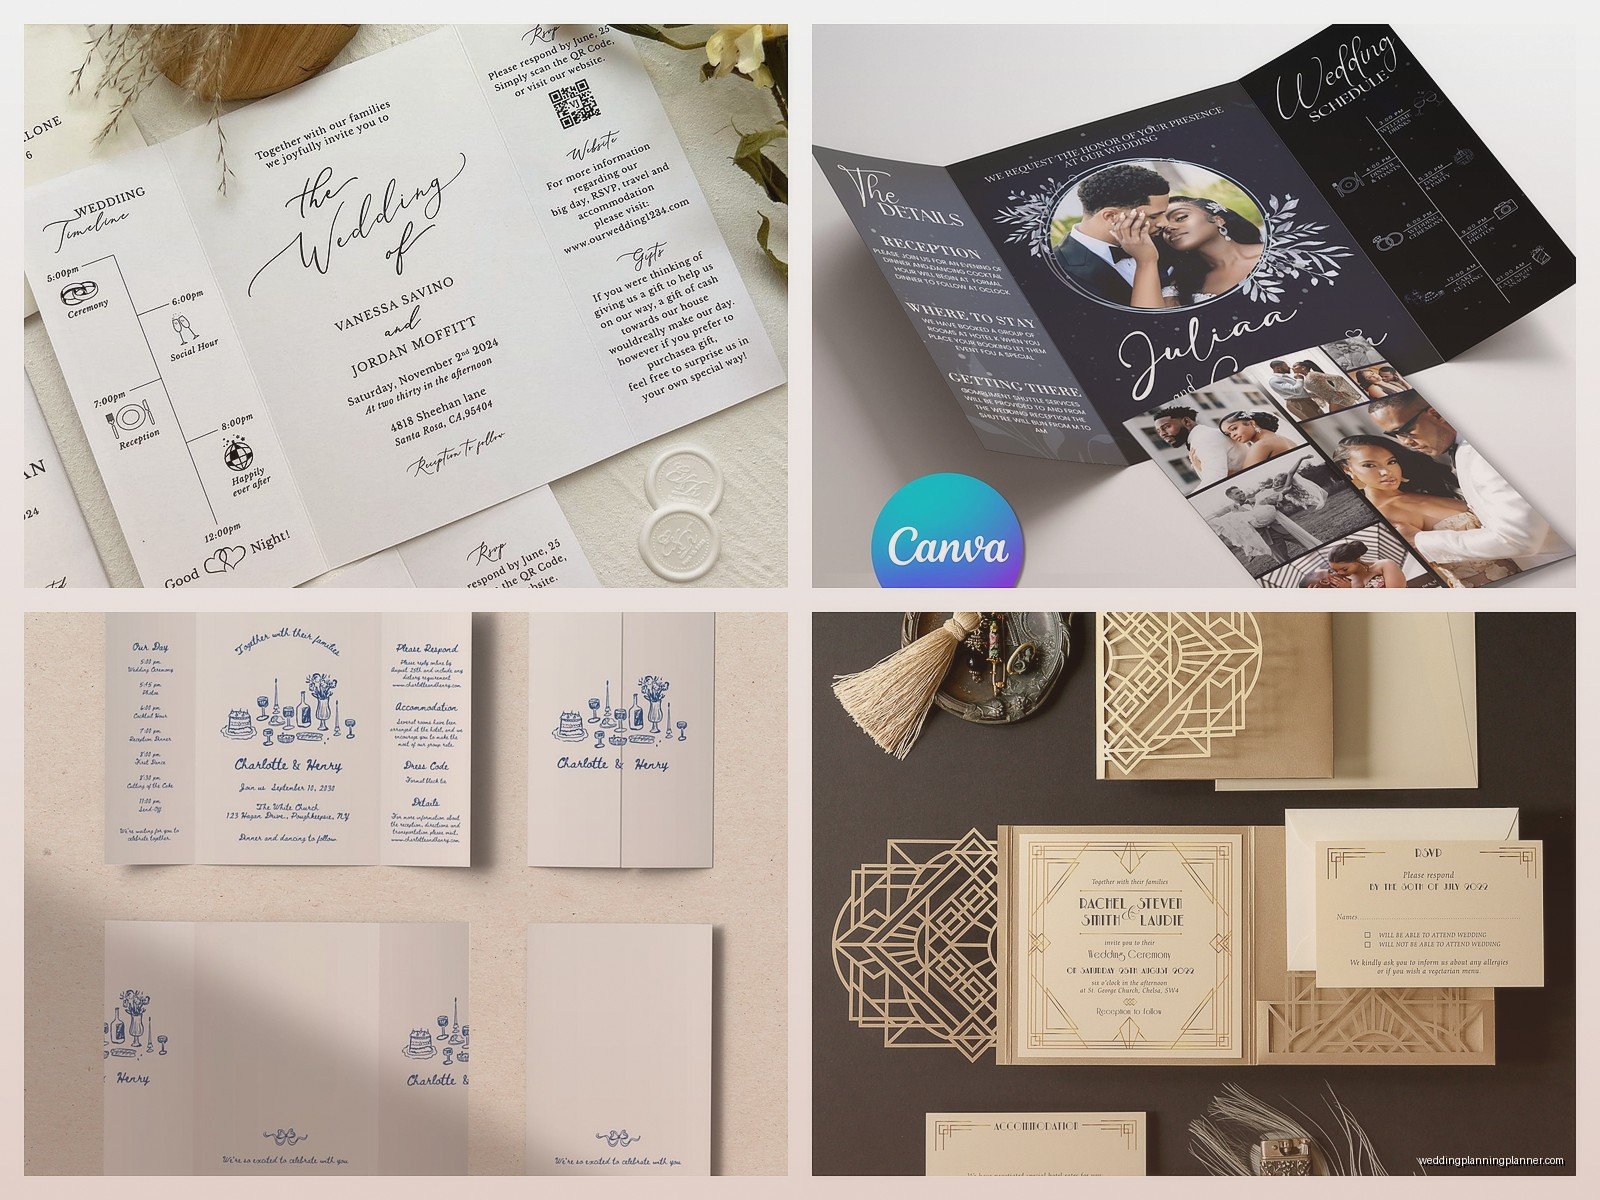
Trifold invitations are basically these three-panel folded cards that give you SO much more space than regular invites, and honestly they’re kinda underrated? Like, you get three sections to work with instead of just a front and back, which means you can fit all your ceremony details, reception info, AND maybe even a little map or RSVP section without cramming everything together like you’re trying to fit your entire life story on a postcard.
The most common way these fold is either as a letter fold (think how you’d fold a business letter into thirds) or a Z-fold where it zigzags. Both work fine but they give totally different vibes when someone opens them.
The Basic Structure You’re Working With
When you lay a trifold flat, you’ve got three panels in a row. For a letter fold, the right panel folds in first, then the left panel folds over that. So when someone gets it, they see the front panel, open it once to see the middle section, then unfold it completely to see all three panels at once.
Z-fold is different because it literally folds like the letter Z – back and forth. Panel one faces you, panel two folds behind it, panel three folds forward again. It creates this accordion effect that’s pretty cool when people open it.
Most trifold invitations are around 5×7 inches when folded, which means you’re working with about 15 inches of horizontal space when it’s completely flat (give or take). That’s a LOT of real estate compared to a standard 5×7 card.
What Really Annoys Me About Trifolds Though
Here’s the thing that drives me absolutely crazy – people don’t think about the WEIGHT. I had this bride in spring 2023 who wanted this gorgeous trifold with like, three different cardstock layers, ribbon, a vellum overlay, AND she wanted to include two insert cards. The whole thing weighed so much that it needed extra postage, which she didn’t budget for, and then she was shocked when I told her it would cost like $2+ per invitation just to mail. We’re talking about 150 invitations, so that’s an extra $300 she hadn’t planned for in postage alone.
Always, ALWAYS take a finished mock-up to the post office and have them weigh it before you print 200 of them. Trust me on this.
How to Actually Plan Your Layout
You gotta think about the journey someone takes when they open your invitation. With a letter fold, the front panel is your first impression – usually this is where you put names, maybe “together with their families” or whatever, possibly a design element or photo.
Then they open it and BAM – middle panel. This is prime real estate. I usually put the main ceremony information here. Date, time, venue name and address, the important stuff. Some people put a photo here instead and move ceremony details to the inside right panel.
The inside right panel (the one that was folded in first) is great for secondary information. Reception details if it’s at a different location, dress code, hotel information, wedding website URL. Or if you’re doing a Z-fold, you might want to think about it differently because…
Z-Fold Strategy Is Kinda Different
With Z-folds, people naturally want to keep unfolding to see what’s next, so you can create more of a storytelling flow. Front panel is still your introduction, but then when they flip it open, they see the middle panel, and they’re gonna keep going to see that back panel. So you can put your timeline across all three panels, or tell your love story, or do a “ceremony > cocktail hour > reception” breakdown across the three sections.
I designed Z-folds for a couple once where panel one was “how we met,” panel two was “the proposal,” and panel three was “please celebrate with us” plus all the actual wedding details. It was cheesy but they loved it and honestly it was really cute.
Paper Weight and Scoring Lines
Okay this is super important – you need to score your fold lines or your invitations are gonna look like a crumpled mess. Scoring means creating an indented line where the paper should fold, which makes it fold cleanly and professionally instead of just… bending awkwardly.
For trifold invitations, I recommend 80lb to 100lb cardstock. Anything lighter and it feels flimsy and cheap. Anything heavier and it becomes really hard to fold nicely, plus the weight issue I mentioned before gets even worse. My cat knocked over an entire box of 120lb cardstock samples last week and I’m still finding pieces under my desk, but anyway – 80-100lb is the sweet spot.
Most professional printers will score the fold lines for you, but if you’re DIYing this, you need a scoring board or at minimum a bone folder and a ruler. Don’t just fold it with your hands and hope for the best because it’ll look wonky.
Design Tips That Actually Matter
Here’s what I’ve learned after doing this for years – you need to think about margins differently with trifolds. You want at least a half-inch margin on all edges, but you need MORE space near the fold lines. Like maybe three-quarters of an inch, because text that goes right up to a fold looks weird and is hard to read.
Also, be careful with designs that span across multiple panels. I’ve seen people try to put a photo that stretches across two panels and when you fold it, the image gets broken up in a weird way. Unless you’re specifically planning for that effect, keep each panel’s design somewhat independent.
Typography Across Three Panels
You can play with font sizes more dramatically in trifolds than regular invitations because you have that extra space. Your names can be HUGE on the front panel if you want, then you can go smaller for the detailed information inside. Just make sure nothing is smaller than 9pt font or people will need reading glasses to figure out what time your ceremony starts.
I usually do names in like 24-36pt, main details in 12-14pt, and secondary info in 10-11pt. But that’s just a starting point and depends totally on your font choice.
Color Schemes and Visual Flow
One thing people don’t think about is that when someone opens a trifold completely, they’re seeing all three panels at once laid out in a row. So your color scheme needs to work both when it’s folded (just seeing the front) and when it’s completely open (seeing everything).
I like to use one main color throughout all panels with maybe different shades or intensities. Or you can do a gradient effect across the three panels which looks really cool. What doesn’t work is having each panel be a completely different color scheme because then it looks like three separate invitations that got stuck together by accident.
When to Include Insert Cards vs Using the Panels
This is sorta a debate in the invitation world… do you use those three panels for EVERYTHING, or do you still include separate insert cards for like RSVP cards, accommodation info, etc?
Honestly it depends on how much information you have. If you’ve got ceremony, reception, hotel blocks, transportation info, dress code, wedding website, registry info, and an RSVP card, you’re probably gonna need some inserts no matter what. The trifold gives you space for the main event details, but you can’t fit literally everything.
I usually recommend using the three panels for ceremony and reception details, maybe a simple map or timeline, and then including separate RSVP cards and a details card with accommodations and website info. But if you’re doing online RSVPs only and your venue is easy to find, you might be able to fit everything on the trifold itself.
Printing Considerations That’ll Save You Money
Here’s something I learned the hard way – not all printers charge the same for trifolds. Some charge them as oversized cards, some charge them as custom sizes, and some have standard trifold pricing. Get quotes from like 3-4 different printers because the price difference can be significant.
Also, digital printing vs offset printing makes a difference at different quantities. If you’re printing under 100 invitations, digital is usually cheaper. Over 200, offset might be better. Between 100-200 is this weird zone where you need to compare both options.
And please, for the love of everything, order samples before you commit to printing 300 invitations. I cannot stress this enough. The color on your screen is NOT gonna match the printed version exactly, and you need to see how the paper feels, how the folds work, how heavy it is, all of that.
Assembly and Mailing
Trifolds usually fit in A7 envelopes (5.25 x 7.25 inches) when they’re folded, which is pretty standard. But if you’re adding a lot of insert cards or belly bands or ribbons or whatever, you might need to go up to a 5.75 x 8.75 envelope.
For assembly, I always recommend assembling them in this order: trifold invitation (obviously), then any insert cards tucked into one of the folds or stacked on top, then into the envelope. If you’re using a belly band or ribbon to hold it closed, put that on before you add the inserts so everything stays together.
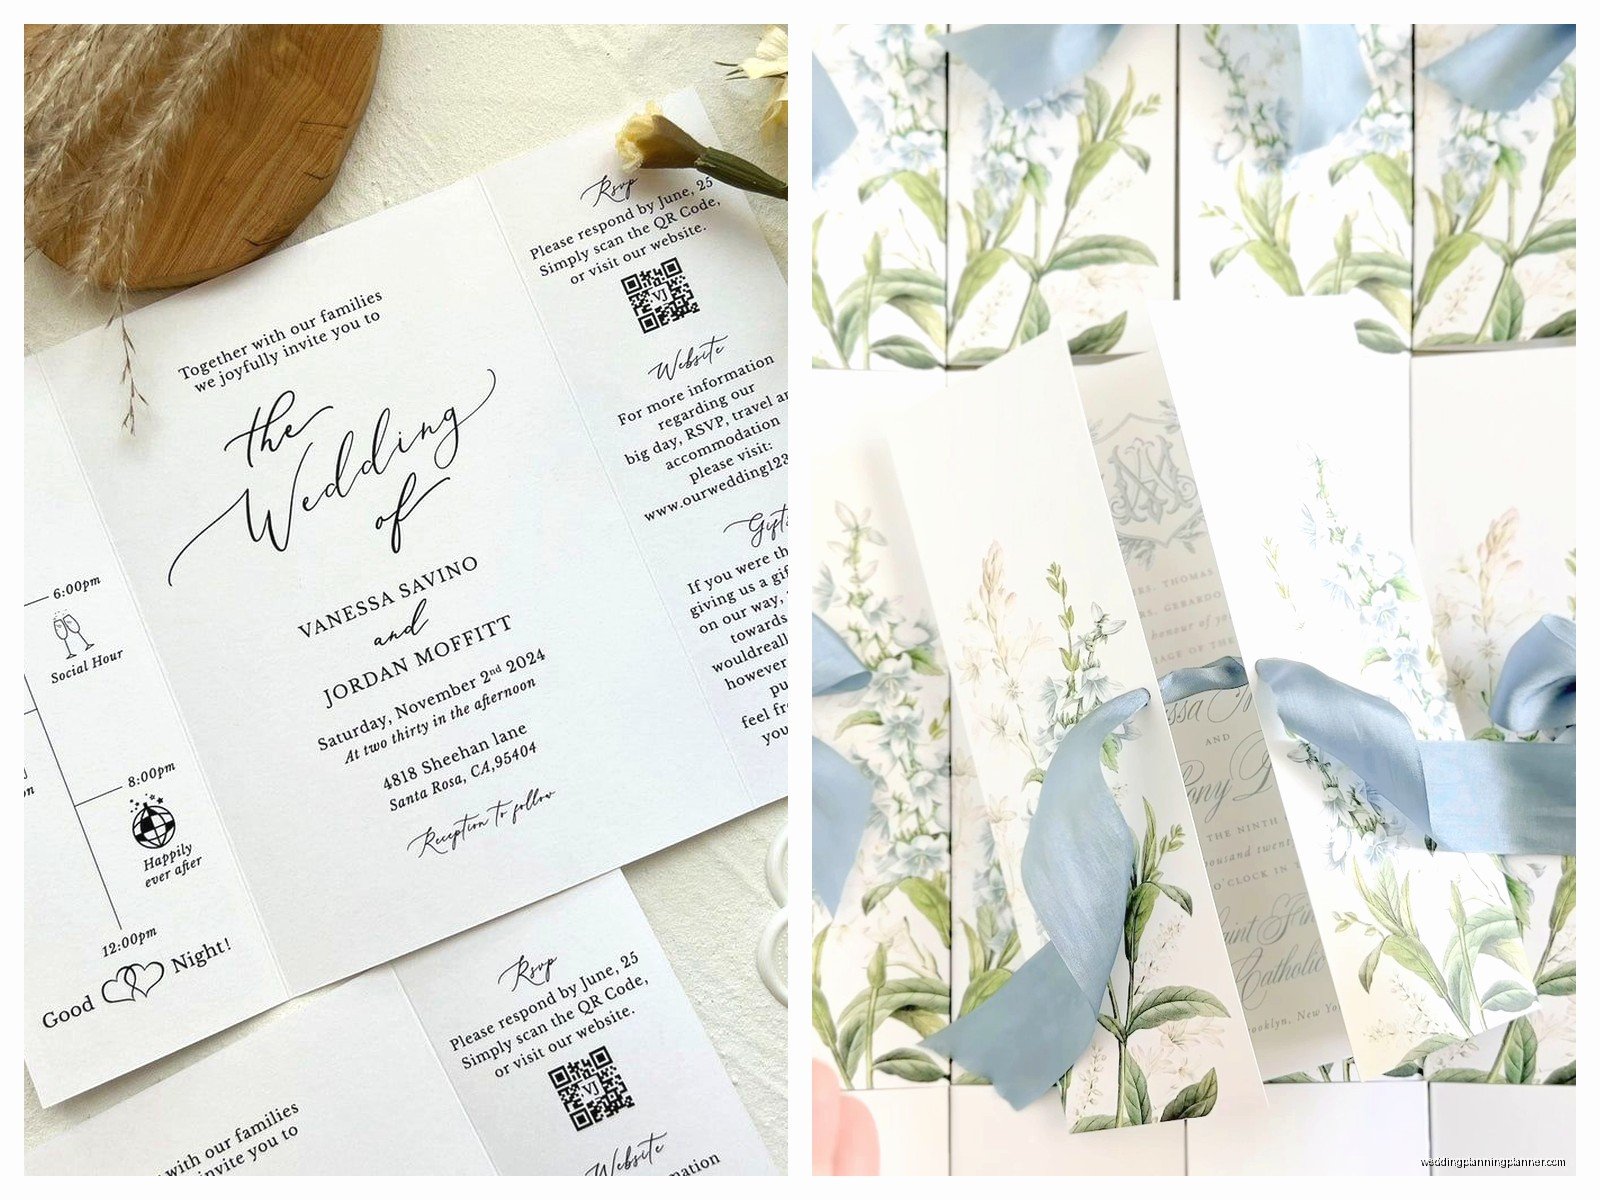
Some people like to use a small sticker or wax seal to keep the trifold closed, which looks nice but adds another step to assembly. During a particularly stressful client situation in summer 2021, we had to hand-apply 200 wax seals the night before invitations needed to go out because the bride changed her mind about the closure method at the last minute. My thumb was literally sore for three days from pressing that wax seal stamp. So maybe decide on your closure method early and stick with it.
Postage Reality Check
Standard First-Class Mail postage covers up to 1 ounce for normal-sized envelopes. Trifolds with any inserts are probably gonna push you over that, which means you need additional postage. Square envelopes also cost more even if they’re under an ounce because they’re considered non-machinable.
You can buy pretty commemorative stamps to make up the postage difference, or you can use boring regular stamps, whatever. Just make sure you have enough postage or your invitations are coming back to you, which is a nightmare scenario three weeks before your wedding.
DIY vs Professional Printing
Look, I’m gonna be honest – trifolds are harder to DIY than regular flat cards. The scoring, the folding, making sure everything lines up correctly across three panels… it’s a lot. If you’re crafty and have done paper projects before, maybe you can handle it. But if you’re already stressed about wedding planning, this might not be the place to try to save money.
That said, you CAN order blank pre-scored trifold cards from paper suppliers and then print on them yourself if you have a good printer. Just test it first because some home printers don’t handle cardstock well, and if it’s already scored and folded, it might jam your printer.
I’ve seen people successfully DIY trifolds using Canva templates and a local print shop that offers scoring services. That’s kinda the middle ground option – you design it yourself but let professionals handle the printing and scoring.
When Trifolds Actually Make Sense
Not every wedding needs a trifold invitation, right? They make the most sense when you have multiple events or locations to communicate, when you want to include a lot of visual elements like photos or maps, or when you just want something that feels more substantial and special than a flat card.
They’re also great for destination weddings where you need to include travel information, hotel blocks, transportation details, maybe a weekend itinerary. All that stuff fits nicely across three panels without feeling cramped.
But if you’re having a simple ceremony and reception at the same venue, and you’re doing online RSVPs, and you don’t have a ton of extra info to share… honestly a regular flat invitation might be perfectly fine and way easier to deal with. Trifolds are cool but they’re not mandatory or anything.
Timing for Ordering and Mailing
Give yourself extra time for trifolds compared to regular invitations. Design takes longer because you’re working with three panels, printing takes longer because of the scoring and folding, and assembly definitely takes longer.
I usually tell clients to start working on trifold designs like 6-8 months before the wedding, order them 4-5 months out, and plan to mail them 8-10 weeks before the wedding date. That gives you buffer time for if something goes wrong, which… something usually goes wrong, that’s just how wedding planning works.
Also remember that your stationer or designer is probably working on multiple weddings at once, so don’t expect them to turn around your trifold design in like three days. Good design takes time, especially when you’re coordinating information across multiple panels and making sure everything flows visually.
