
Planning Guides, Style Guide
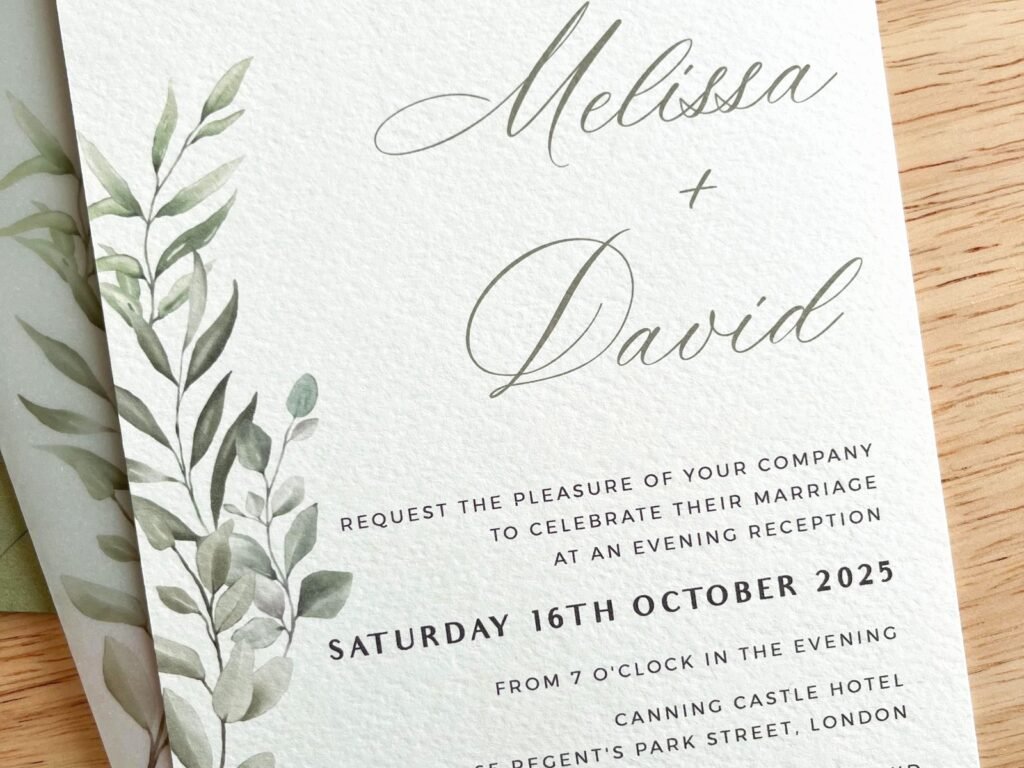
Reception Card: Post-Ceremony Party Details Insert
May
Reception Cards Are Actually Really Useful
So reception cards – these are those smaller insert cards that go with your main invitation when your ceremony and reception are in different places or at different times. I’ve had SO many couples skip these thinking they can just squeeze everything onto the main invite and then… chaos. People showing up to the ceremony venue three hours early expecting cocktails, or worse, going straight to the reception venue and missing the actual wedding.
Back in spring 2023 I had this couple who insisted they didn’t need a separate reception card because “everyone will just figure it out” and I’m gonna be honest, I let them make that choice but told them to at least put clear info on their website. Well, fifteen guests showed up at the wrong place and the bride was texting me during her own cocktail hour asking what went wrong. That’s when you need a reception card.
When You Actually Need One
You definitely need a reception card if your ceremony and reception are at different venues. Like if you’re getting married in a church downtown but having dinner at a vineyard 20 minutes away – separate card. Also if there’s a significant time gap, like a 2pm ceremony but reception doesn’t start until 6pm, people need to know what to do with themselves.
If you’re having an adults-only reception but families are invited to the ceremony, this card makes that super clear without being awkward on the main invite. Or if your reception is at a hard-to-find location that needs extra directions or parking info.
What really annoys me is when couples put reception info in tiny font at the bottom of their invitation and then act surprised when half their guests miss it. Your aunt Barbara is 67 and left her reading glasses at home, she’s not gonna see that 8-point type.
What Information Goes On It
The basic stuff you gotta include: the word “Reception” as a header, the venue name, full address, and time. If cocktail hour starts at 5:30 but dinner is at 6:30, I usually put “Cocktails at 5:30pm, Dinner to follow” so people know they can arrive during that window.
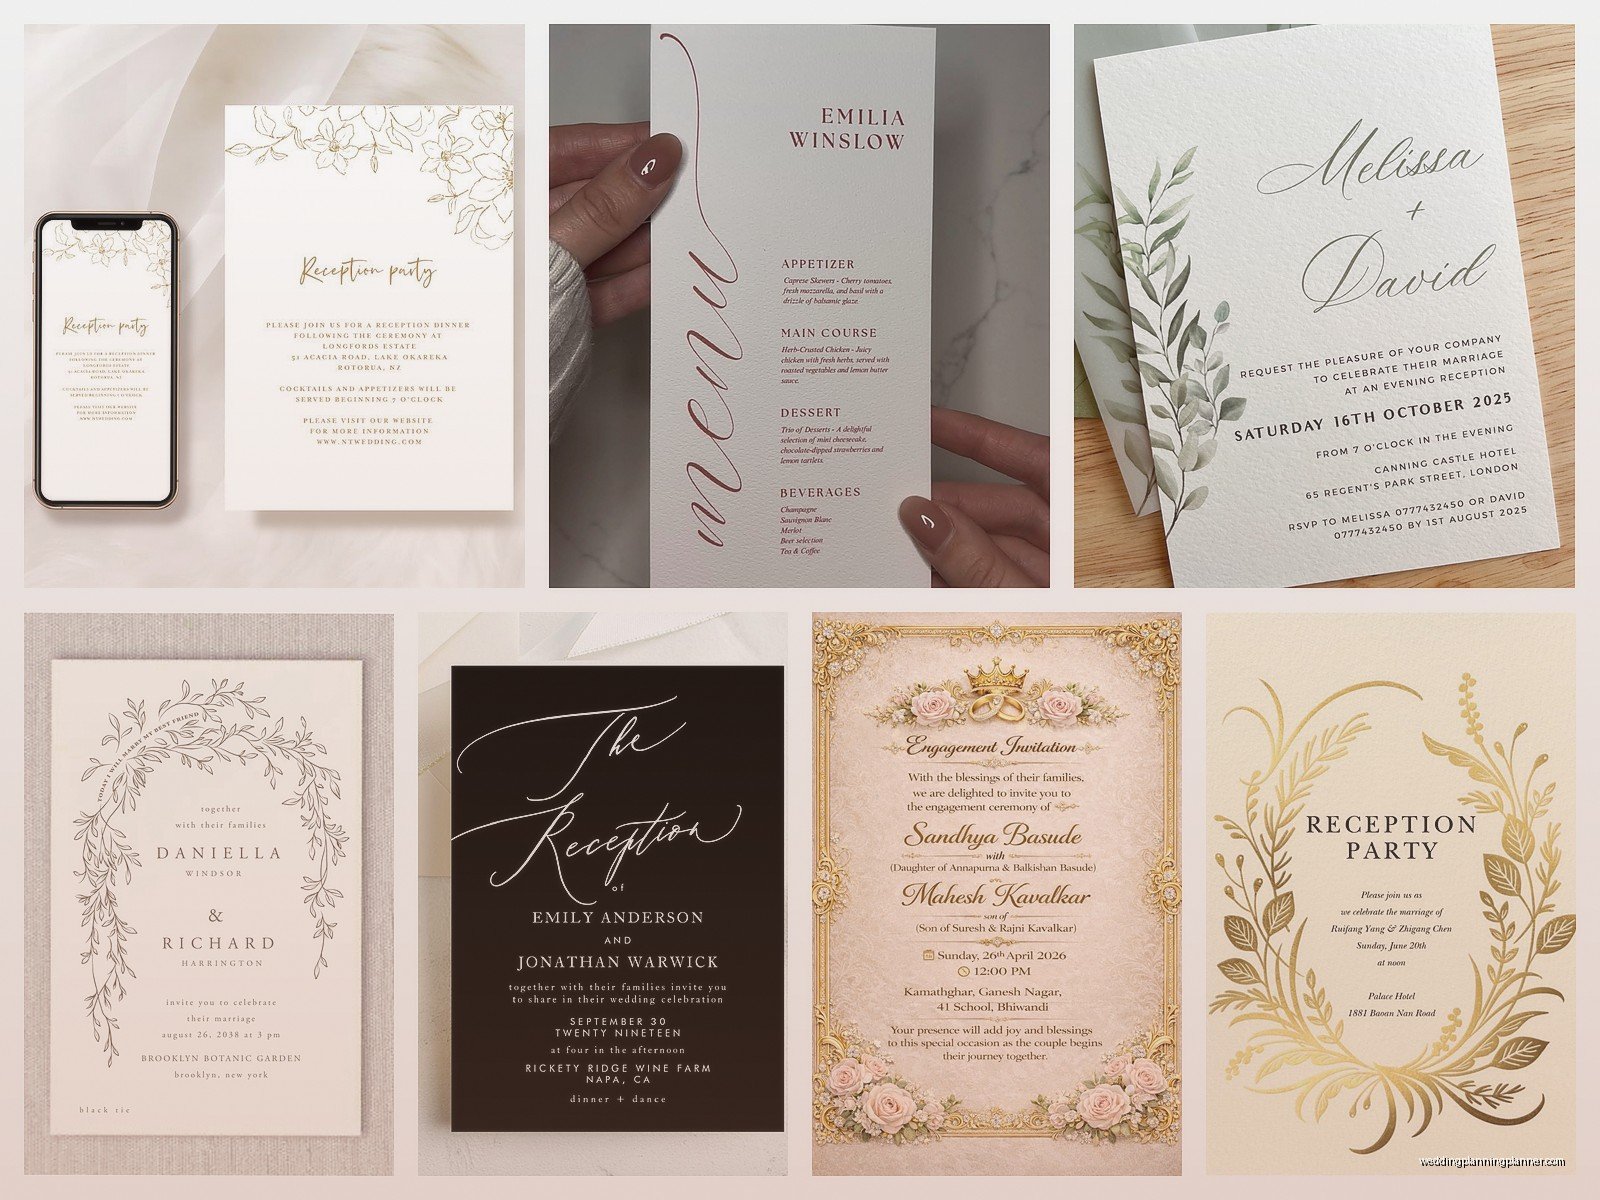
You want the venue name spelled correctly (sounds obvious but I’ve seen it misspelled), the full street address including city and zip code, and if the venue has a specific entrance or building name, include that. Like “The Conservatory at Hotel Grandview, Garden Entrance” because some of these venues are massive and confusing.
If there’s a dress code that’s different from what people might expect, put it here. “Festive Attire” or “Garden Party Attire” or whatever. Some couples do “Black Tie Optional” for the reception even if the ceremony is more casual, and this is where you clarify that.
Size and Format Basics
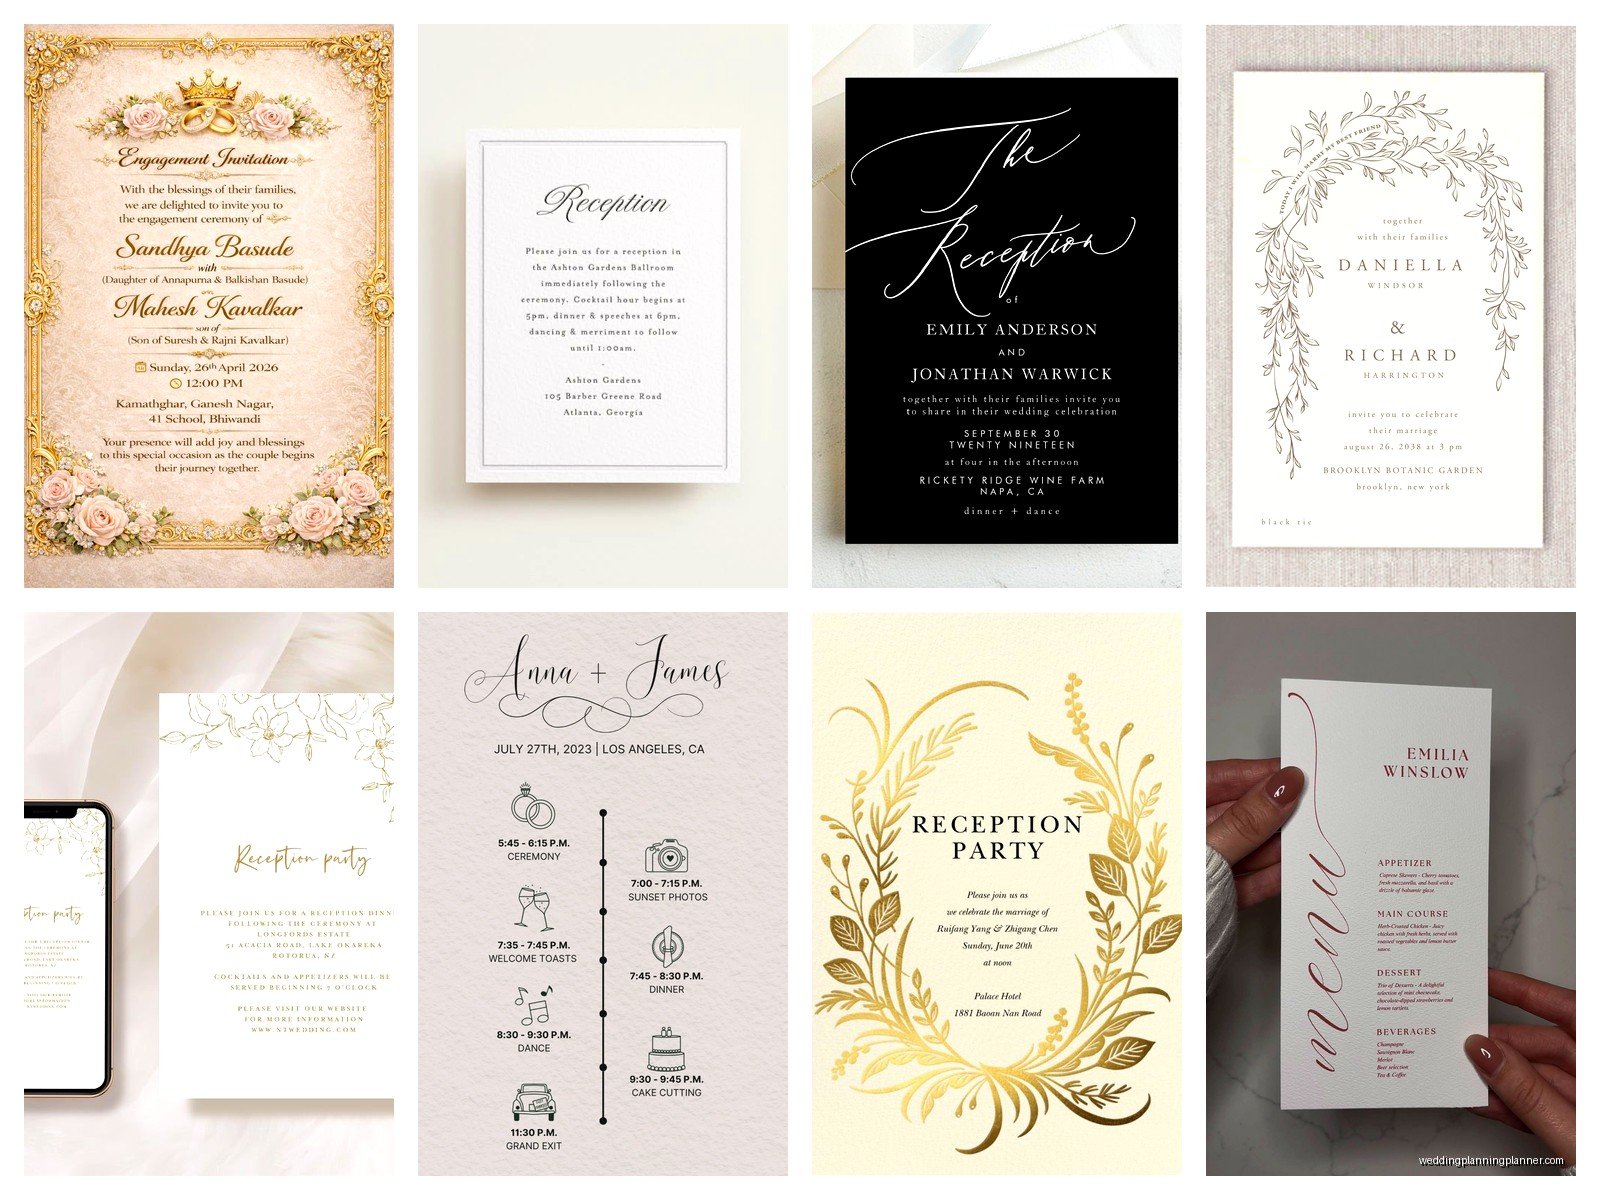
Most reception cards are smaller than the main invitation – typically 4.25″ x 5.5″ or 4″ x 6″ so they fit nicely inside the envelope without looking cluttered. You can match the paper and design to your main invite or do something complementary.
I usually recommend keeping the same font family and color scheme as your invitation suite so everything looks cohesive. If your invites are classic and formal with traditional calligraphy, your reception card should match that vibe. If you’re doing modern and minimalist, keep that going.
Wording Examples That Actually Work
For a basic different-venue situation, you can keep it simple:
Reception
immediately following the ceremony
The Riverside Pavilion
482 Harbor Drive
Charleston, South Carolina
If there’s a time gap between ceremony and reception:
Reception
six o’clock in the evening
Willow Creek Estate
1847 Mountain View Road
Asheville, North Carolina
Dinner and dancing to follow
For an adults-only reception when the ceremony includes kids:
Adult Reception
seven o’clock in the evening
The Grand Ballroom
Hotel Luxe
900 State Street
Boston, Massachusetts
You can also get a bit more descriptive if you want:
Please join us for cocktails, dinner, and dancing
following the ceremony
The Boathouse at Riverside Park
2156 Lakeshore Boulevard
Chicago, Illinois
Outdoor seating available
Adding Helpful Extra Details
This is where you can include practical stuff that doesn’t fit on the main invitation. Parking information is huge – “Complimentary valet parking available” or “Street parking only, please arrive early” or “Parking garage entrance on Oak Street.”
If your venue is tricky to find or GPS sends people to the wrong entrance, add a note like “Please use the North entrance off Maple Drive” or “Follow signs for private events.” I once had a venue where Google Maps took everyone to the loading dock in the back and the couple had to post someone there with directions… could’ve been avoided with a simple note on the reception card.
Weather contingency plans if you’re doing an outdoor reception: “Rain or shine” or “Tented pavilion with heaters provided.” Transportation details if you’re providing shuttles between venues: “Shuttle service available from ceremony site beginning at 4:30pm.”
My cat just knocked over my coffee while I was typing this and I’m realizing I need to move my mug further back on my desk but anyway – back to reception cards.
Design Mistakes I See All The Time
People cram too much text onto these cards trying to include every possible detail. The card should be readable at a glance. If you’re writing paragraph-length explanations, you need to either simplify or create a separate details card.
Using fonts that are too decorative or too small. I get it, that script font is gorgeous, but if your guests can’t read the address, what’s the point? Body text should be at least 10 or 11 point, and addresses need to be super clear.
Not leaving enough margin space – text shouldn’t go right to the edge of the card. You want at least a quarter inch border, preferably more, so it doesn’t look cramped and so nothing gets cut off if there are printing variations.
Forgetting to consider the envelope size. Your reception card plus RSVP card plus any other inserts need to fit comfortably in your envelope without being folded or shoved in there. Work backwards from your envelope size when planning your insert dimensions.
Paper and Printing Considerations
Match your paper weight to your main invitation – if your invite is on thick cotton cardstock, your reception card should be too. You can go slightly lighter if needed but don’t do like 110lb invitation with a flimsy 80lb reception card, it looks cheap.
Printing method should also match. If you’re doing letterpress invitations, your reception card should be letterpress too (or at least flat printed in a way that looks consistent). Digital printing, engraving, foil stamping – whatever you choose, keep it consistent across all your pieces.
I usually recommend printing everything at once from the same vendor to ensure color matching. I’ve seen couples order their invitations from one place and then try to DIY their reception cards later and the whites don’t match, the fonts look different, the whole thing looks disjointed.
Coordinating With Other Insert Cards
Your reception card is probably going into an envelope with your RSVP card, maybe a details card, maybe an accommodations card. You need to think about the whole suite and how these pieces work together.
Size them so they stack nicely – I usually do the invitation as the largest piece, then reception card slightly smaller, RSVP card smaller than that. Or you can do all inserts the same size for a clean, modern look. Just don’t have like five different random sizes that look unplanned.
If you’re including a lot of information, consider whether some of it could go on a separate details card instead of cramping everything onto the reception card. Like if you need to include hotel blocks, website info, AND reception details, split that up. Reception card for venue and time, details card for everything else.
Timing and Order of Information
The flow of information should match the flow of your wedding day. Ceremony details on the main invite, reception details on the reception card, then any post-wedding brunch or next-day events on a separate card if needed.
Think about what your guests need to know and when. They need the ceremony location first because that’s where they’re going first. Then reception details. Then maybe accommodations and travel info. Order your inserts in a way that makes sense for reading through them.
Digital vs Physical Reception Cards
Some couples skip the physical reception card and just put everything on their wedding website. This works if your crowd is tech-savvy and you’re confident everyone will actually check the website. But in my experience, a solid 30% of guests don’t look at the website until the week of the wedding or… never.
If you’re doing digital-only information, you need to mention the website on your invitation pretty prominently. Something like “For reception details and more information, please visit ourwedding.com” in a readable font size.
But honestly? For different venues or complex logistics, I always recommend a physical reception card. It’s right there in the envelope, they can’t miss it, and older guests especially appreciate having everything in print.
What About Ceremony and Reception at the Same Place
If your ceremony and reception are at the same venue, you probably don’t need a separate reception card. You can just put “Dinner and dancing to follow” or “Reception immediately following” on the main invitation. Easy.
The exception is if you need to communicate specific logistics – like the ceremony is in the chapel but reception is in the ballroom and they’re on opposite sides of a large property, or there’s a cocktail hour in a different space, or there’s a time break between. Then a reception card with those details helps clarify the flow.
Proofing and Avoiding Mistakes
Triple check every single detail before printing. The number of times I’ve caught address errors or wrong times right before someone was about to order 200 cards is kinda ridiculous. Get the venue’s exact address from their website or Google Maps, don’t rely on memory.
Verify the reception time with your venue coordinator. If you think cocktails start at 5:30 but the venue has you down for 6:00, that needs to be sorted out before printing.
Have multiple people proofread – you, your partner, your mom, your detail-oriented friend who notices everything. Fresh eyes catch mistakes you’ve looked at so many times you don’t see anymore.
Check spelling of the venue name on their official website. I once caught someone spelling “Centre” as “Center” when the venue specifically used the British spelling. Small detail but it matters.
When to Send Them Out
Reception cards go out with your invitations, obviously. The standard timeline is 6-8 weeks before the wedding for local weddings, 8-12 weeks for destination weddings. This gives people enough time to make plans, especially if they need to arrange travel between ceremony and reception venues.
Order your reception cards at the same time as your invitations so everything’s ready to assemble and mail together. You don’t want your invitations sitting there ready to go while you wait for reception cards to arrive.
Budget-Friendly Options
If you’re watching costs, reception cards are one place you can potentially simplify. You don’t need fancy paper or special printing techniques here – clear information is more important than elaborate design.
Consider printing on slightly lighter weight paper than your invitation to save money while still looking coordinated. Or do a simpler printing method for inserts – like if your invitation is letterpress, maybe inserts are flat printed.
Some online printing companies offer good deals on insert cards when you order your full invitation suite together. Shop around and compare, but again, try to get everything from one place for consistency… I know I keep saying that but it really matters for the overall look.
You could also do a slightly smaller size to reduce paper costs. A 4″ x 5″ card instead of 5″ x 7″ uses less paper and might even qualify for cheaper postage if it brings your total envelope weight down.
