Planning Guides, Style Guide
Greeting Island Wedding Card: Design & Ordering Guide
Jun
What Greeting Island Actually Is
So Greeting Island is basically this online platform where you can customize cards for pretty much any occasion and honestly their wedding card section is huge. I discovered them back in spring 2023 when a bride was having an absolute meltdown because her stationery vendor went out of business six weeks before her wedding and she needed backup invitations ASAP. That’s when I really dug into what they offer and I was kinda impressed.
The platform lets you pick from thousands of templates, customize literally everything about them, and then either download them for printing yourself or order printed versions. For weddings specifically they’ve got save the dates, invitations, thank you cards, programs, menus, and like a million other things you didn’t even know you needed until you start planning.
Why You’d Even Consider Using Them
Look, I’m gonna be honest – Greeting Island isn’t gonna give you those ultra-luxury letterpress invitations with hand-torn edges and wax seals. But if you need something that looks good, is customizable, and won’t make you remortgage your house, they’re solid. The biggest advantage is the price point and the speed. You can literally design something tonight and have files ready to print tomorrow.
The other thing is flexibility. You’re not locked into one design aesthetic or one designer’s vision of what your wedding should look like. There are templates ranging from super traditional to modern minimalist to boho to… honestly some questionable choices but we’ll get to that.
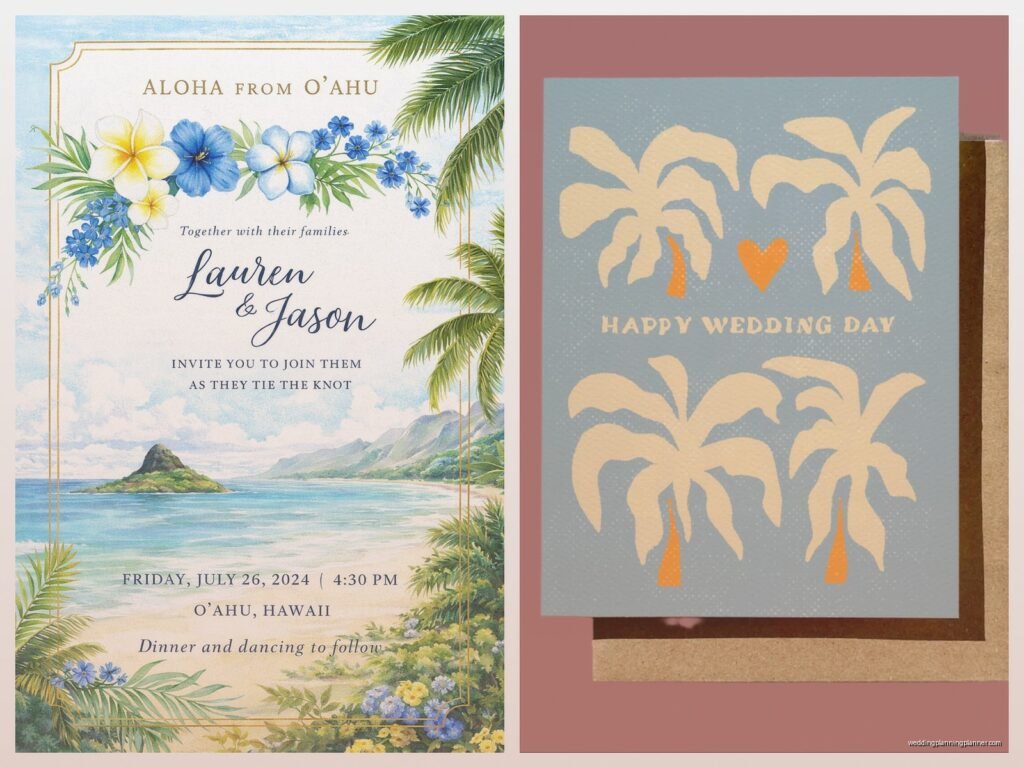
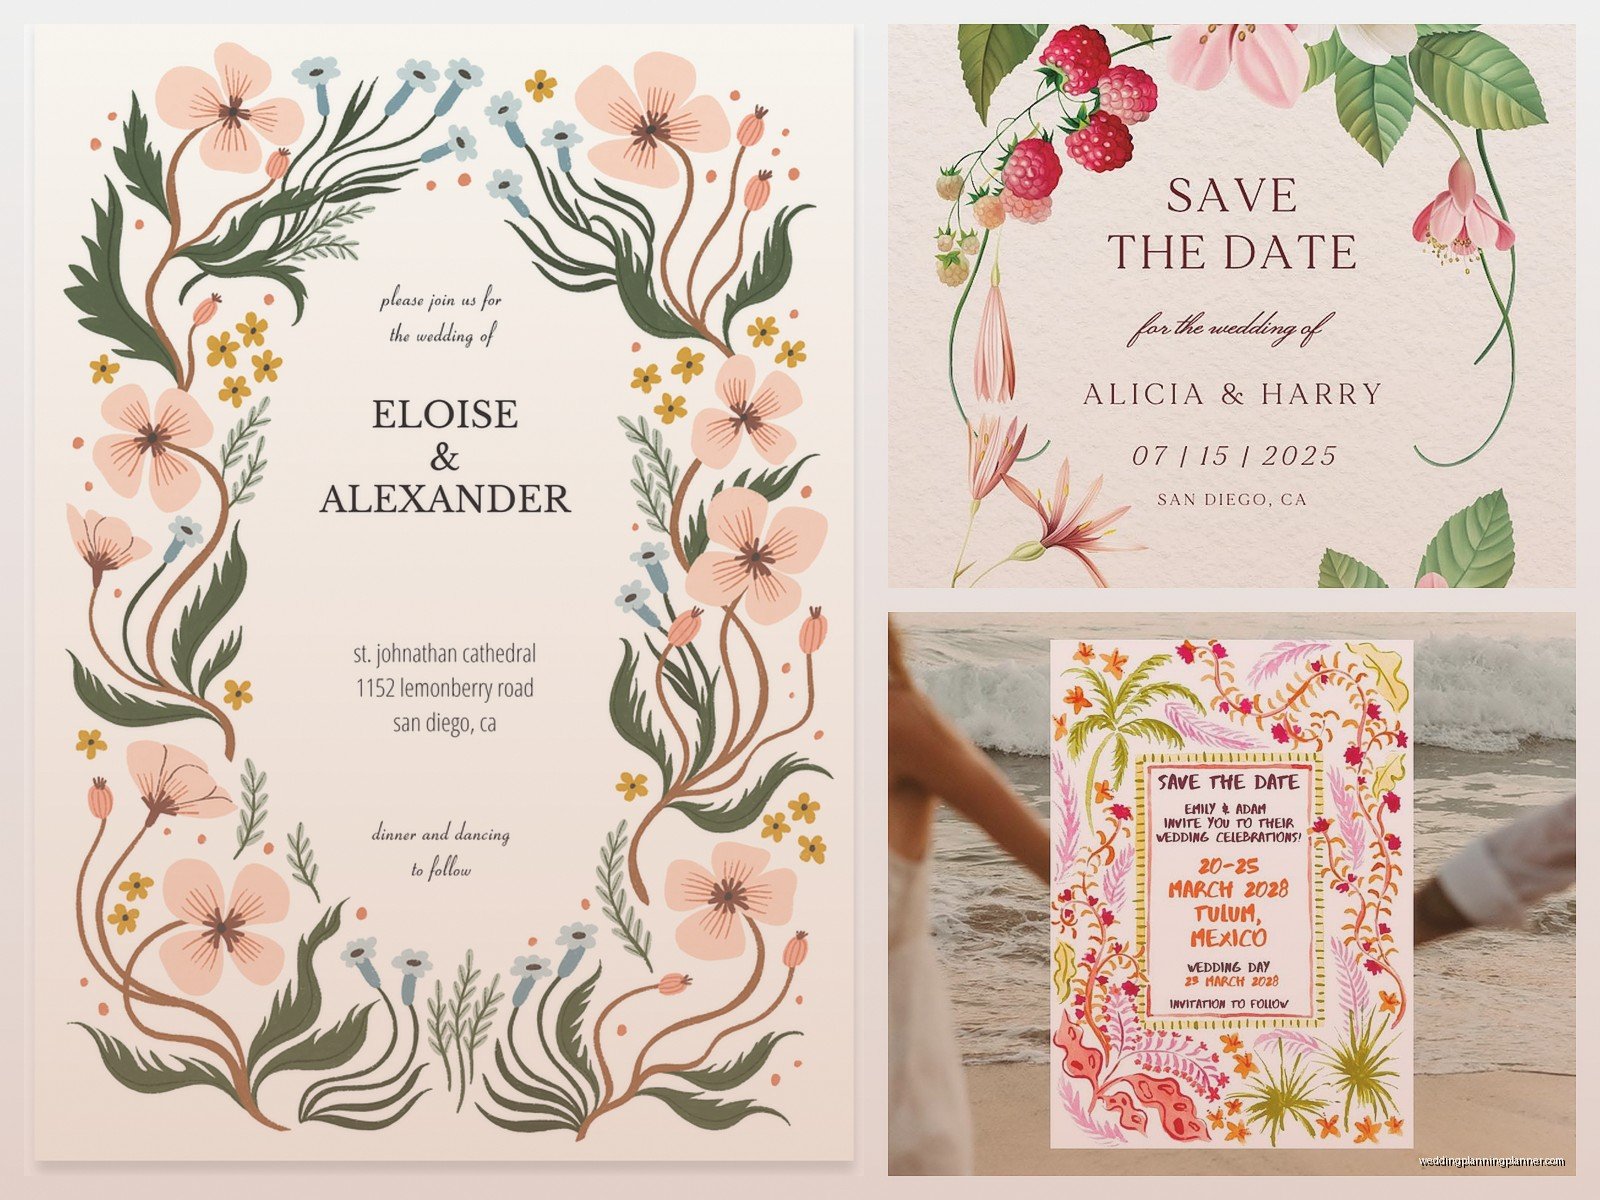
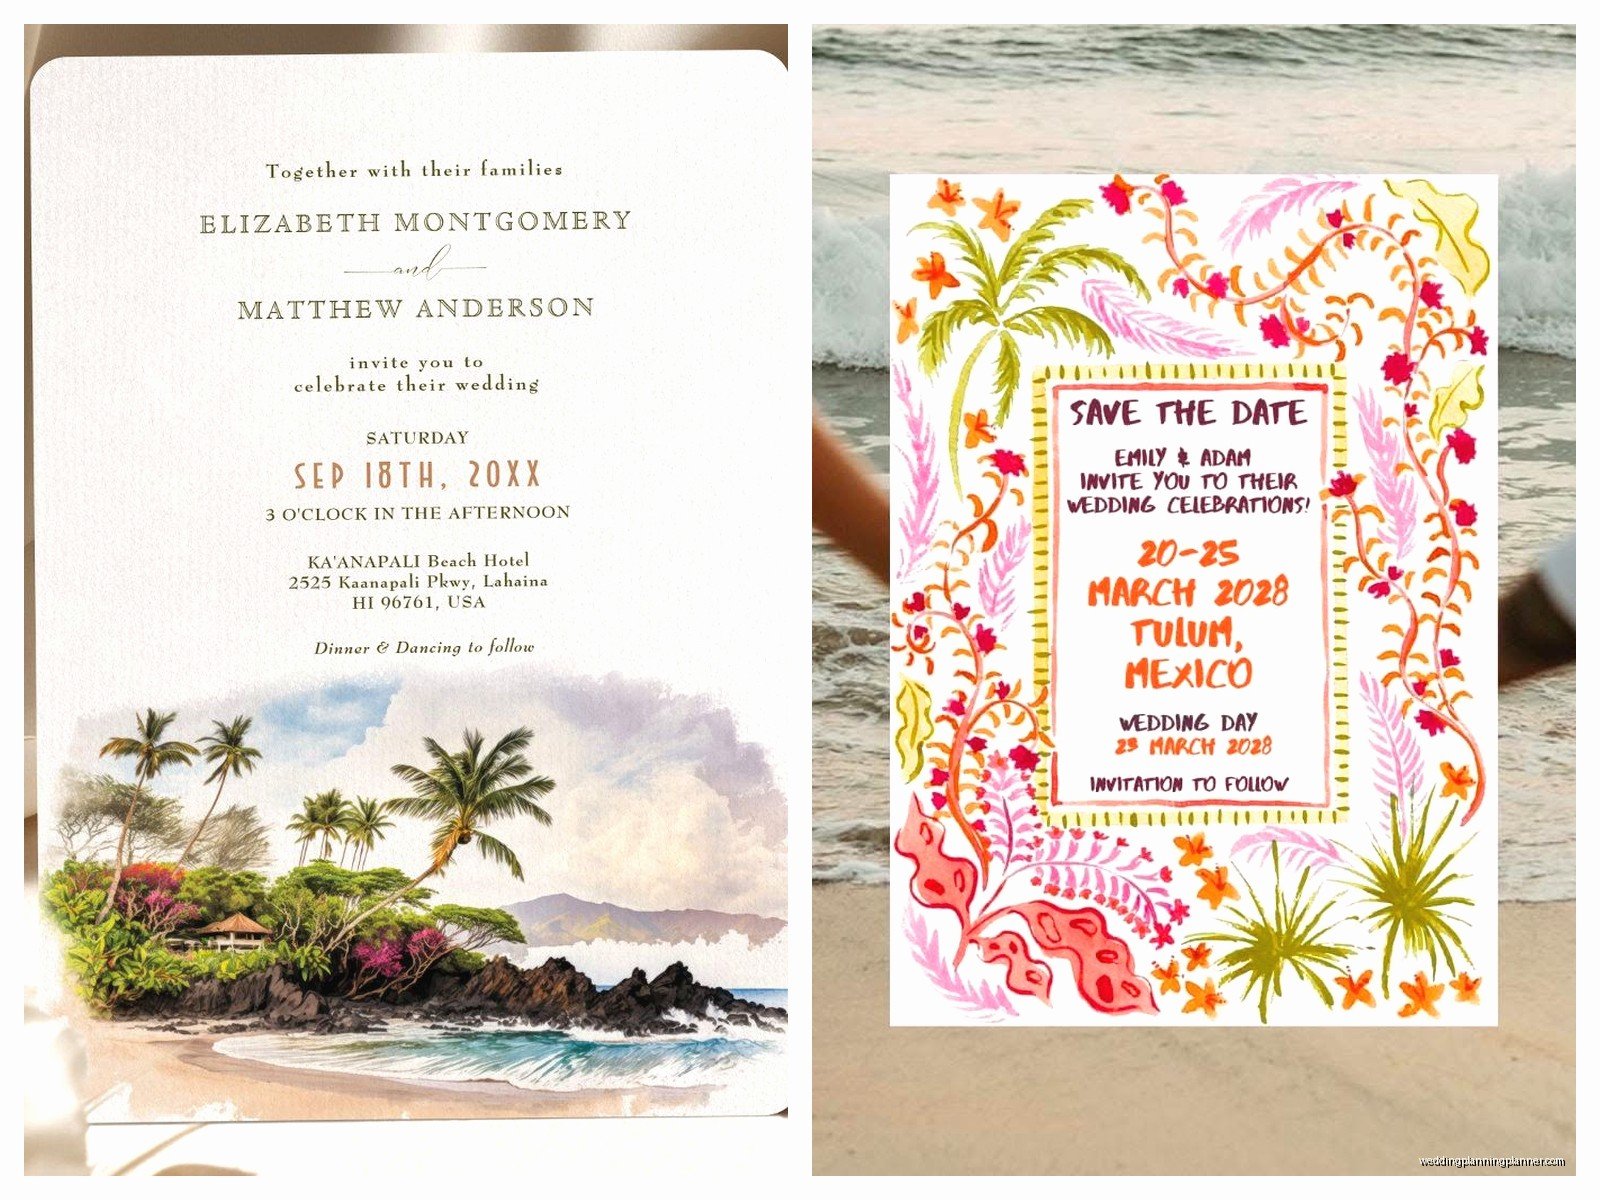
Browsing Their Wedding Card Templates
When you first land on their wedding section it’s overwhelming because there are SO many options. They organize things by category which helps – you can filter by invitation type, color scheme, theme, or style. My cat just knocked over my coffee while I’m writing this so excuse me if this gets rambly but anyway…
The search function is decent but not perfect. Sometimes you gotta try different keywords to find what you’re actually looking for. If you search “rustic wedding invitation” versus “rustic invitation” you’ll get different results which is annoying but whatever.
Here’s what I tell clients when they’re browsing: spend like 20 minutes just looking without clicking on anything. Get a feel for what catches your eye. Then go back and actually open the ones that made you pause. The thumbnail previews don’t always show you the full design potential.
Template Categories That Actually Matter
They break down wedding cards into these main categories and you should know what you’re looking at:
- Save the Dates – usually simpler designs, photo-heavy options
- Wedding Invitations – the main event, most variety here
- RSVP Cards – often matching sets with invitations
- Reception Cards – for when ceremony and reception are separate
- Thank You Cards – post-wedding stuff
- Programs, menus, place cards – all the day-of paper goods
The quality of templates varies wildly. Some look like they were designed yesterday by someone who actually understands current trends. Others look like they’re from 2008 and honestly should be retired but they keep them around I guess because someone somewhere still wants that look.
The Customization Process
Alright so you found a template you like. Now what. You click on it and it opens in their editor which is browser-based – no downloads needed. The interface is pretty intuitive even if you’re not design-savvy.
You can change the text obviously. But you can also modify colors, fonts, add or remove design elements, upload your own photos or graphics, resize things, move stuff around. It’s not as powerful as actual design software but for most people it’s more than enough.
Text Editing
Click on any text element and you can edit it directly. The default wording they provide is usually pretty formal and traditional so you’ll wanna change it to match your actual vibe. You can adjust font size, font style (they have a decent selection), color, alignment, and spacing.
One thing that drove me nuts when I was helping that bride in 2023 – sometimes the text boxes are grouped together and you have to ungroup them to edit individual lines. Not a huge deal but it’s not immediately obvious how to do it and we wasted like 15 minutes figuring it out.
Color Customization
Most templates let you change the color scheme entirely. You can usually select individual elements and change their colors separately. They have preset color palettes which is helpful if you’re not sure what goes together, or you can input specific hex codes if you’re trying to match your exact wedding colors.
Pro tip: if you have official wedding colors, get the hex codes from your venue or florist or whoever and plug them in exactly. “Navy blue” can mean fifty different blues and you want consistency across all your stationery.
Adding Photos
For save the dates especially, you probably want photos. You can upload your own images directly into the editor. The system is pretty forgiving with photo quality but don’t upload super low-res images and expect them to look good printed. Aim for at least 300 DPI if you’re planning to print.
You can crop, resize, and position photos within the design. Some templates have designated photo spots, others let you place images wherever. Just… please don’t use blurry photos or that one picture from your phone where half your face is cut off. I’ve seen it happen more times than I can count.
Design Tips From Someone Who’s Seen A Lot Of Bad Invitations
Okay so I’ve been doing this for years and I gotta say some choices people make with these templates are questionable. Here’s what actually works:
Keep it readable. I know that super swoopy script font looks romantic but if your grandmother can’t read it without a magnifying glass, pick something else. Use script fonts for names or small decorative elements, not for all your important details.
White space is your friend. Don’t feel like you need to fill every inch of the card with text or graphics. The designs that look most expensive are usually the ones with plenty of breathing room.
Match your actual wedding vibe. If you’re having a casual backyard wedding, that super formal invitation with gold foil accents is gonna confuse people. Your stationery should give guests a preview of what to expect.
Proofread everything three times then have someone else proofread it. Typos on printed invitations are permanent and expensive. Check dates, times, addresses, names, everything. Then check again.
Downloading vs Ordering Prints
So once you’ve designed your card you have two options – download the file or order prints through Greeting Island. Both have pros and cons.
Downloading Files
You can download your design as a PDF or image file. This is the cheaper option because you’re just paying for the digital file, then you handle printing yourself. Good if you want to print at a local print shop, have a friend with a nice printer, or want to use a specific paper stock.
The files are usually high quality enough for professional printing. Just make sure you download in the highest resolution available. And double-check the dimensions – you need to know what size you’re actually getting.
If you go this route, bring the file to a local print shop and ask for samples before you commit to printing 150 invitations. Different printers and paper types will make the colors look different than they do on your screen.
Ordering Through Greeting Island
They also offer printing services which is convenient. You design it, they print it, they ship it to you. Done. The quality is decent – not luxury level but definitely acceptable for most weddings.
Paper options are somewhat limited compared to what you’d get at a specialty stationer. Usually you’re looking at standard cardstock in a few different weights. They sometimes offer upgraded options like glossy finishes or thicker paper but don’t expect crazy fancy stuff.
Pricing is pretty reasonable. It’s definitely cheaper than traditional wedding stationers but more expensive than printing everything yourself at home. You’re paying for convenience basically.
Shipping times vary. If you need them fast you can pay for expedited shipping but plan ahead if possible. I always tell clients to order at least 8-10 weeks before you need to mail invitations, just to be safe.
What Annoyed Me About The Whole System
The thing that really bugs me is that their preview system doesn’t always show you exactly what the final printed product will look like. Colors can shift between screen and print, and there’s no really good way to know until you get the actual cards. For something like wedding invitations where you’re potentially ordering hundreds of dollars worth, that uncertainty is frustrating.
Also some of their templates have design elements that you can’t actually remove or modify which is weird. Like you’ll find a template that’s almost perfect except for this one weird flourish and you just… can’t delete it. You have to work around it or pick a different template entirely.
Ordering Strategy For Different Wedding Stationery Needs
You don’t need to order everything at once and honestly you probably shouldn’t. Here’s how I usually break it down with clients:
Save the Dates: Order these first, obviously. You’re sending them 6-8 months before the wedding typically. This is also a good test run – order a small batch first, see how the quality is, make sure you’re happy before committing to invitations.
Invitations: Order these about 3 months before the wedding, mail them 6-8 weeks before. Order extras – like 15-20 more than you think you need. People lose them, addresses change, you’ll want some for keepsakes.
Programs and menus: Wait on these until closer to the wedding because details might change. Plus you’ll have a better headcount. You can design them now to match everything else but don’t print until like a month out.
Making Sure Everything Matches
If you want a cohesive look across all your wedding stationery, Greeting Island makes this pretty easy. Many templates come in sets – you can get matching save the dates, invitations, RSVP cards, thank you notes, all with the same design elements.
Even if they don’t offer a complete set, you can usually recreate the design elements across different card types. Save the color scheme, fonts, and any graphics you used. Apply them to each new card type you create.
Take screenshots of your completed designs or save the customization details somewhere. You’d be surprised how easy it is to forget exactly which shade of blue you used when you come back to design the thank you cards three months later.
The File Management Situation
Greeting Island saves your designs to your account which is helpful. You can go back and edit them later, reorder, or create variations. But I’d still recommend downloading copies of everything and saving them to your own computer or cloud storage because you never know.
Name your files something logical. “Wedding_Invitation_Final_v3” is better than “Design_47382” or whatever random name it generates. Trust me when you’re looking at fifteen different files trying to figure out which one is the actual final version you approved, you’ll thank yourself for this.
Budget Considerations
The cost really depends on how you use the platform. If you’re downloading files and printing yourself, you might spend $50-100 total on designs for all your wedding stationery. If you’re ordering everything printed through them, you’re probably looking at a few hundred dollars depending on guest count and what all you need.
Compare that to traditional wedding stationers where you could easily spend $1000+ on invitations alone, and you can see why people like Greeting Island. But also compare it to completely DIY options like Canva where templates are free – Greeting Island falls somewhere in the middle price-wise.
The value proposition is really about convenience and selection. You get way more template options than most free platforms, better customization than cheap print shops, but you’re not paying for the white-glove service of a full stationer.
Common Mistakes I See People Make
Waiting too long to order. Even though Greeting Island is fast, you still need time for design, proofing, printing, and mailing. Don’t try to order invitations four weeks before your wedding unless you want to be super stressed.
Not ordering samples first. If you’re doing printed cards through them, order one or two samples before you commit to 150. Make sure you actually like how it looks in person.
Forgetting about envelopes. The cards are only half the equation – you need envelopes too. Greeting Island usually offers matching envelopes but double-check that before you finalize everything.
Choosing design over function. That invitation might look gorgeous but if it doesn’t clearly communicate the date, time, location, and RSVP instructions, it’s not doing its job.
Not considering the full suite. Your invitation might look perfect but then you design programs that don’t match at all and suddenly your whole wedding aesthetic feels disjointed. Think about the big picture even if you’re not ordering everything at once.
Technical Stuff You Should Know
The editor works best in Chrome or Firefox. I’ve had weird glitches in Safari before where elements wouldn’t move properly or colors looked different than they should.
You need a decent internet connection because everything is browser-based. If your wifi is spotty you might lose work or have the editor freeze up which is super annoying when you’re in the middle of getting everything perfect.
The platform is mostly intuitive but there is a bit of a learning curve. Give yourself an hour or so to mess around with it before you try to create your actual final designs. Watch their tutorial videos if they have them – it’ll save you time in the long run.
File sizes can get large if you’re uploading high-res photos. Just be patient with uploads and don’t close the browser window until you’re sure everything saved.
Working With RSVP Cards Specifically
RSVP cards are their own thing and I see people mess these up constantly. You need to include a deadline for responses – usually 3-4 weeks before the wedding. You need to make it crystal clear how people should respond – are they mailing the card back, going to a wedding website, texting you?
Include a line for meal choices if you’re doing plated dinner. Include a line for number of guests attending. Make it impossible for people to screw up basically because they will find a way anyway but at least you tried.
If you’re doing traditional mail-back RSVPs, remember you need to include a pre-stamped envelope. Factor that into your budget and timeline.